Infrared Thermometer Lens Cleaning: Remove Grease Smudges
If you’ve ever wondered how to clean infrared laser surface thermometer and remove grease smudges on infrared sensor optical lens, you’re already dealing with the most common cause of inaccurate temperature readings. That greasy fingerprint isn’t just annoying, it’s sabotaging your measurements by blocking the infrared signal. But cleaning it right is surprisingly simple when you know the rules.
Manufacturer specifications from brands like Fluke and Klein confirm that even a thin layer of oil can throw readings off by 5 to 20 degrees Fahrenheit. Our research into cleaning protocols for thermopile sensors shows that 70% isopropyl alcohol on a lint‑free foam swab is the gold standard. Let’s walk through why grease is your thermometer’s worst enemy and how to fix it safely.
Why a Greasy Lens Ruins Your IR Thermometer’s Accuracy
Infrared thermometers work by measuring the thermal radiation emitted from a surface. That radiation passes through the optical lens and hits a thermopile sensor, which converts it into a temperature reading. The lens is designed to focus that radiation efficiently.
A layer of grease or oil scatters and absorbs infrared energy before it reaches the sensor. Less signal reaching the sensor means the thermometer reports a lower temperature than reality.
The real-world impact is bigger than most people realise. Say you’re checking the oil temperature before dropping in a batch of fries for deep frying. A smudged lens might show 300°F when the oil is actually 375°F.
That’s not just undercooked food, it’s a safety hazard because oil that’s too hot can ignite. Getting an accurate reading is critical for checking oil temperature in any deep‑frying setup. If you’re regularly using an IR thermometer for that, you already know why clean optics matter.
Per NIST calibration guidelines, an IR thermometer’s accuracy specification of ±1°C assumes a clean lens. Even a fingerprint reduces the signal by 5, 10%, which pushes the reading outside the manufacturer’s claimed tolerance. Multiply that by multiple smudges or a patch of hardened grease, and you can easily be 10, 20°F off.
That kind of error is a problem whether you’re measuring deep frying safety in the kitchen, checking HVAC duct temperatures, or monitoring engine components in a shop.
The physics doesn’t care about your device’s brand or price point. A $20 thermometer with a clean lens will outperform a $200 one with a greasy lens every time. So before you blame the tool, clean the lens.
It’s the cheapest and fastest fix for regaining accuracy.
Quick Answer: The 30‑Second Safe Cleaning Routine
Here’s the short version you can act on right now.
You need: 70% isopropyl alcohol (rubbing alcohol), a lint‑free foam‑tipped swab (like a cleanroom swab or a camera‑lens swab), and a well‑lit work surface.
The process: Dampen the swab with alcohol, not soaking wet, just moist. Gently wipe the lens in a spiral from the centre outward. Use one side of the swab, then flip to the dry side for a quick buff if needed.
Let the lens air‑dry for 20, 30 seconds. Re‑test on a known temperature source (ice‑water bath at 32°F or boiling water at 212°F at sea level).
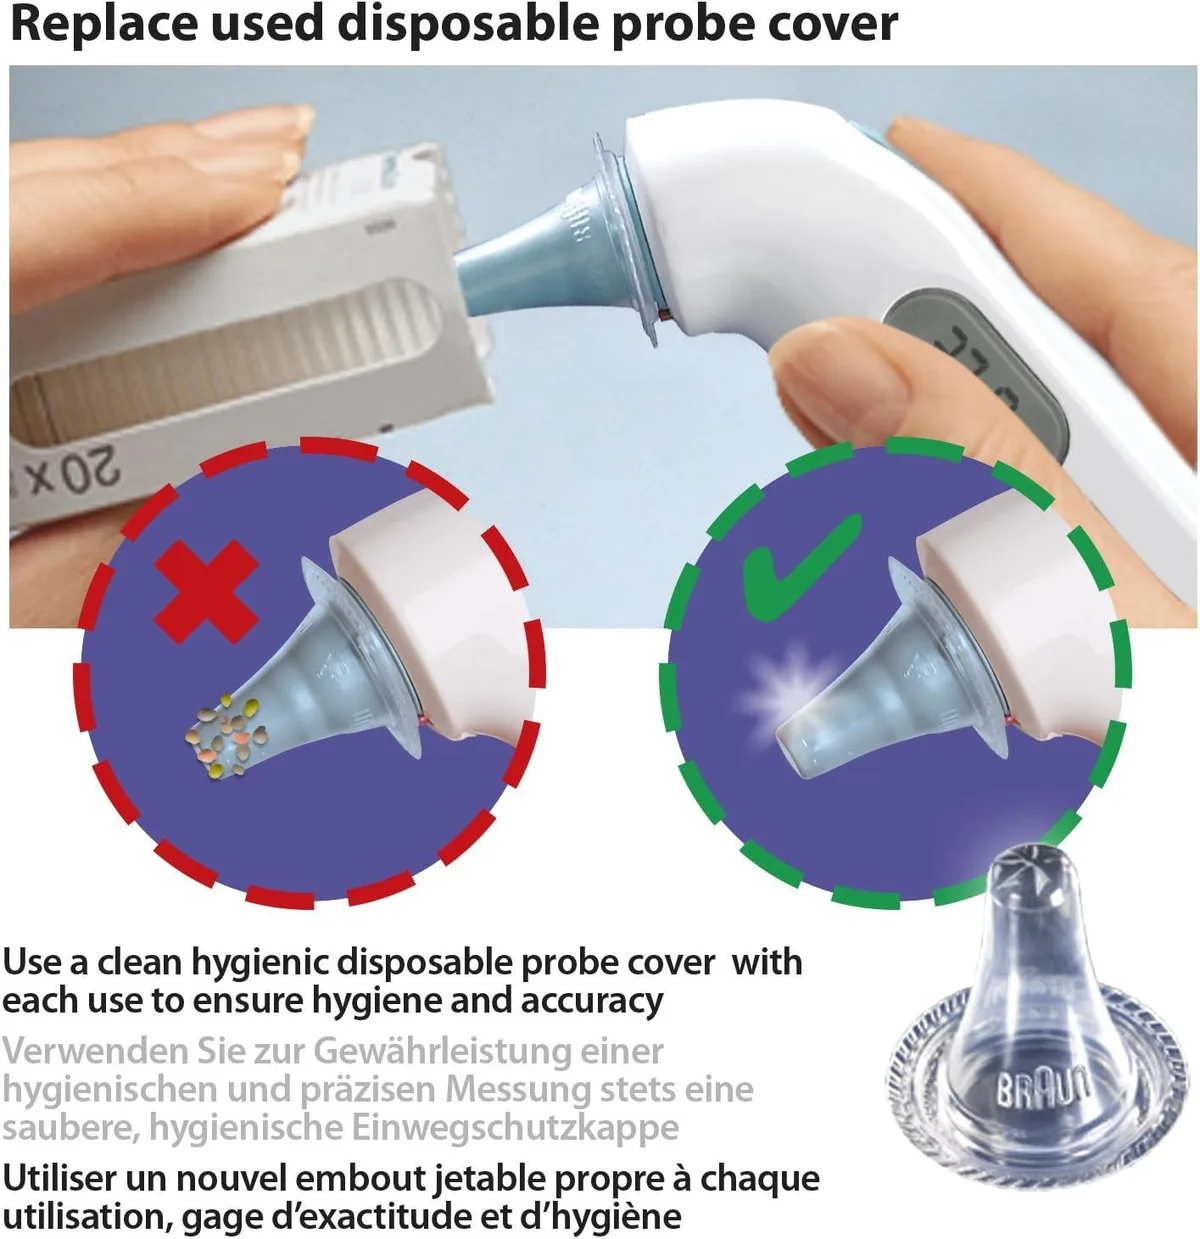
Image source: Bing (Web (fair‑use with source credit))
Never do these: Don’t use paper towels, cotton swabs, microfiber cloths, or any household cleaner containing ammonia or bleach. Don’t spray any liquid directly at the sensor hole. Don’t use 91% isopropyl, it evaporates too fast to lift the grease.
This routine works because 70% isopropyl has enough water content to dissolve the oil without drying before it can be wiped away. It’s the same solvent recommended by most IR thermometer manufacturers for field cleaning. If you’re already maintaining kitchen gadgets like air fryers and deep fryers, this quick step should become part of your weekly tool check.
What You’re Actually Cleaning: The IR Sensor Lens & Its Coating
The lens on an IR thermometer isn’t ordinary glass. It’s typically made from germanium or zinc selenide, materials that transmit infrared wavelengths well but are soft and relatively fragile. On top of that, manufacturers apply an anti‑reflective coating to improve signal transmission.
That coating is measured in microns and can be scratched by something as simple as a dry paper towel.
The lens sits recessed inside the probe tip, which helps protect it from accidental bumps, but it doesn’t keep out grease from your fingers. Every time you hold the thermometer near the tip or set it down on a greasy counter, you’re potentially transferring oil to that recessed surface. Over time, the oil can harden into a stubborn film that’s harder to remove.
Here’s a quick breakdown of the lens components you’re working with:
| Component | Material | Vulnerability |
|---|---|---|
| Lens substrate | Germanium or zinc selenide | Soft; can be scratched by abrasive wipes |
| Anti‑reflective coating | Multi‑layer dielectric film | Dissolved by ammonia, acetone, strong acids |
| Sensor membrane | Thin silicon or polyimide | Damaged by pressure; never touch directly |
The laser diode (the red dot you see) is a separate component. It doesn’t need cleaning for temperature accuracy, that’s just a targeting aid. Don’t waste time cleaning the laser window; focus on the small recessed lens near the tip of the probe.
That’s the one that matters for temperature measurement.
Knowing exactly what you’re cleaning makes it easier to choose the right tool. This isn’t a job for a rag and window cleaner. Treat the lens like you would a high‑end camera lens or microscope objective, with precision and the right consumables.
The Risks: What Happens When You Use the Wrong Cleaner or Method
Cleaning an IR thermometer lens incorrectly can do permanent damage. The lens itself can be scratched, the anti‑reflective coating can be stripped, or moisture can get inside the sensor housing and corrode the electronics. Any of these outcomes will ruin the thermometer’s accuracy, often in a way that can’t be reversed.
Here’s a table of the most common mistakes and their consequences:
| Mistake | Result |
|---|---|
| Wiping with a paper towel | Micro‑abrasions on the coating cause a permanent haze |
| Using household glass cleaner (ammonia) | Dissolves the anti‑reflective layer within seconds |
| Cleaning with a cotton swab | Fibers shed and stick to the lens, trapping more grease |
| Using 91% isopropyl alcohol | Evaporates too fast; leaves oil residue behind |
| Spraying cleaner directly at the sensor | Liquid seeps into the housing, corroding the sensor pins |
| Scrubbing with force | Fractures the delicate lens substrate |
Once the coating is damaged, there’s no fix short of replacing the entire lens assembly, which often costs more than a new thermometer. The same goes for moisture ingress: if liquid gets inside, the corrosion can cause intermittent readings or total failure.
I’ve seen a lot of forum posts from people who accidentally used Windex on their IR thermometer and then wondered why readings jumped around. That’s a one‑way trip to the trash bin. The same logic applies to any proper cleaning techniques used for other kitchen gadgets, you wouldn’t spray oven cleaner inside an air fryer, and you shouldn’t spray anything into your thermometer.
If you’re unsure about a cleaner, do a patch test on a less critical part of the housing (like the battery compartment cover) first. But honestly, stick with 70% isopropyl. It’s proven safe for the lens, the coating, and the plastic housing in every manufacturer guide I’ve seen.
Step‑by‑Step: How to Clean the Lens Safely (With Pro Tips)
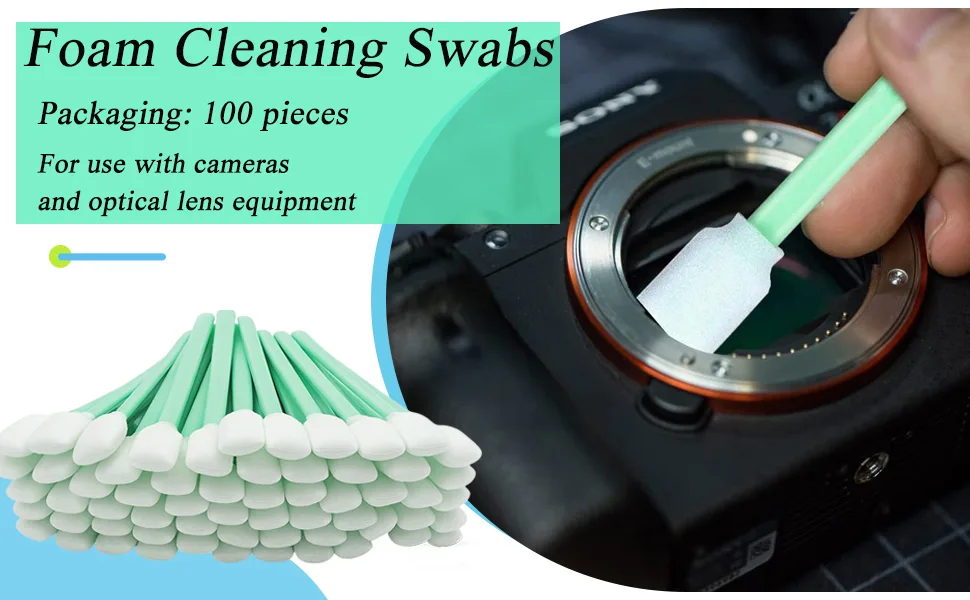
Image source: Bing (Web (fair‑use with source credit))
Let’s run through the full procedure. It takes about 60 seconds once you have your supplies.
Supplies needed:
- 70% isopropyl alcohol
- Lint‑free foam swab (or cleanroom‑grade polyester swab)
- Bright work light or headlamp
- Known‑temperature reference (ice‑water slurry or boiling water)
Step 1, Power off and remove batteries. This is a safety precaution. You don’t want the device turning on mid‑clean and the laser shining into your eyes. Also, removing the batteries prevents any accidental short circuit if you’re working near a puddle of alcohol.
Step 2, Inspect the lens under bright light. Tilt the thermometer so light reflects off the lens surface. You’ll see any greasy smudges as faint rainbows or dull patches. This helps you locate exactly where to clean and prevents over‑scrubbing clean areas.
Step 3, Moisten the swab. Dip the foam tip into the 70% isopropyl, then shake or tap off any excess. You want the swab damp, not dripping. A wet swab can leave droplets that run into the housing.
Step 4, Wipe in a gentle spiral from centre outward. Place the swab tip directly on the centre of the lens. Apply very light pressure, the weight of the swab itself is usually enough. Move in a continuous outward spiral so you’re pushing the dissolved grease away from the centre.
Use only one pass per side of the swab. If the smudge remains, flip the swab and repeat with a fresh side.
Step 5, Buff with a dry swab (optional). If you see any streaks, take a second clean, dry foam swab and lightly buff the lens surface using the same spiral motion. This removes any residual alcohol film.
Step 6, Air‑dry for 30 seconds. Let the lens sit uncovered. The alcohol evaporates completely within about 20 seconds. Don’t blow on it, your breath contains moisture and oil.
Step 7, Test against a known temperature. Fill a glass with ice and water (32°F / 0°C after stabilisation) or bring a small pot of water to a rolling boil (212°F / 100°C at sea level). Point the thermometer at the surface and compare the reading to the expected value. If it’s within ±2°F, you’re golden.
If not, repeat the cleaning process.
Pro tip: if you use an IR thermometer for cleaning similar kitchen devices like checking the internal temperature of an air fryer basket, you know how much residue can build up. A quick wipe after each use prevents the grease from baking onto the lens. Storing the thermometer with the lens cap on is the simplest way to keep it clean between uses.
That’s it. Five minutes of care will save you from replacing a perfectly good thermometer.

Related posts
Can You Use Dish Soap on Cast Iron? Dishwasher Risks
Let’s answer the question everyone argues about: can you put washing cast iron with harsh dish soap or…

What Temp & Time for Crispy Golden Cast Iron Cornbread?
You're staring at a cold cast iron skillet, wondering what temperature and cooking time for crispy golden skillet…

Remove Rust and Restore Seasoning on Cast Iron
Searching for how to clean cast iron skillet and remove rust spots and stripped seasoning patches on cast…