What Temp & Time for Crispy Golden Cast Iron Cornbread?
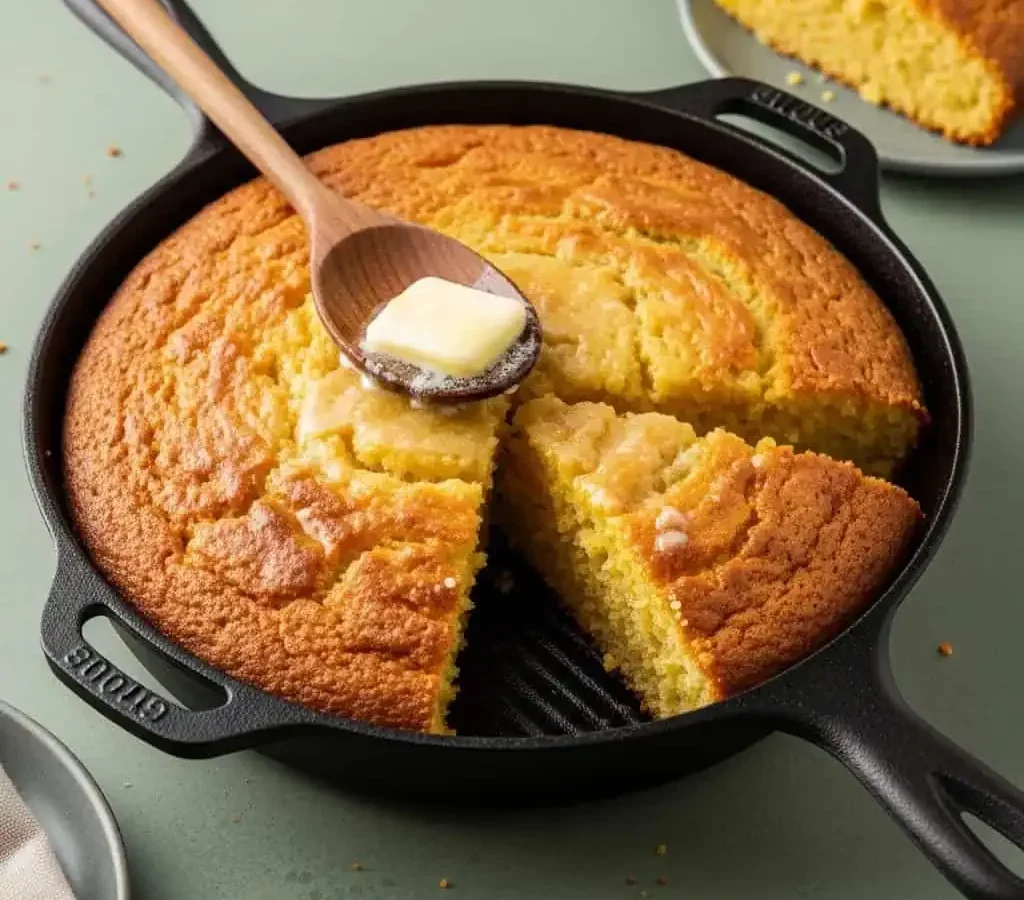
You're staring at a cold cast iron skillet, wondering what temperature and cooking time for crispy golden skillet cornbread in cast iron skillet will give you that perfect crunch without a doughy center. It's a classic dilemma, and the answer is simpler than you think.
Research and manufacturer specs point to 400°F for about 25 minutes in a preheated skillet. That combination reliably produces a deep golden crust, a tender crumb, and edges that pull away cleanly. Let's break down why it works and how to nail it every time.
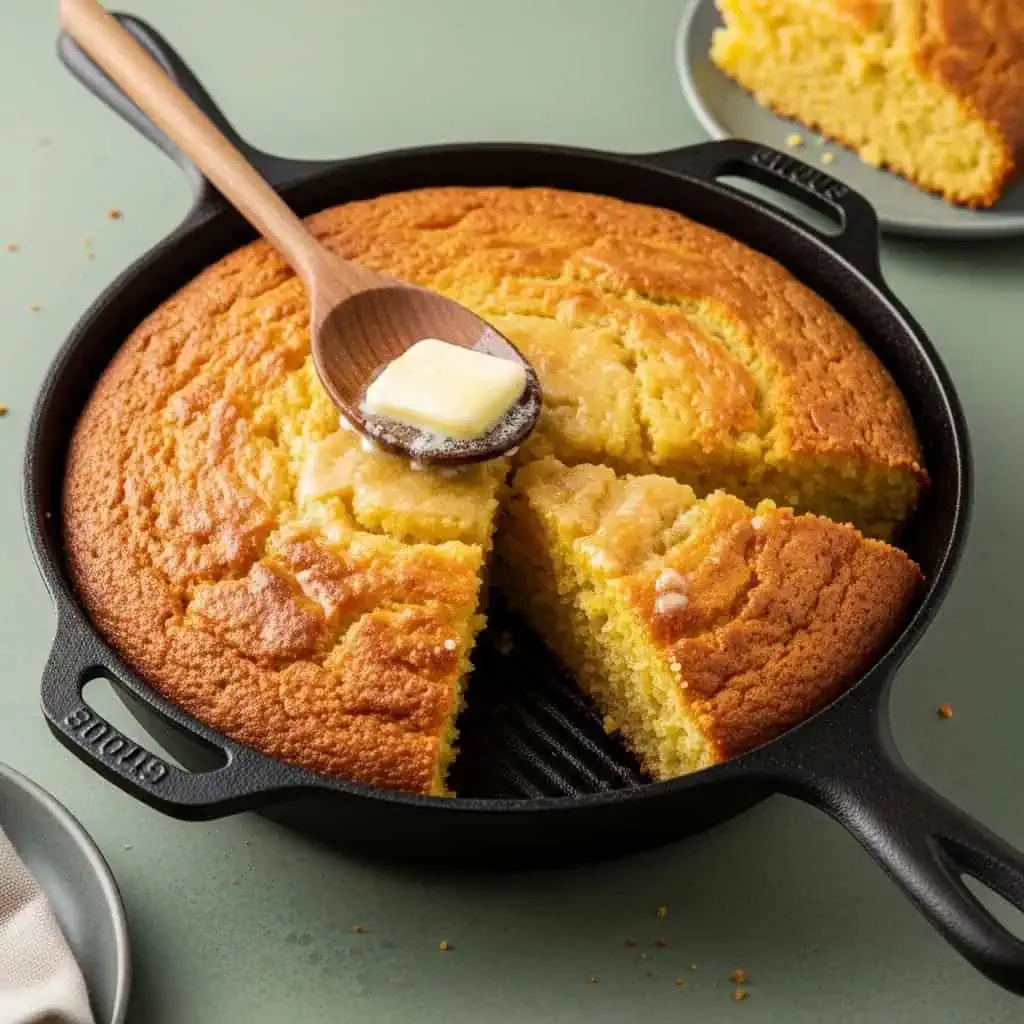
Image source: Web (Bing) / fabiloustaste.com (Web image (fair-use with source credit))
The Quick Answer: 400°F for About 25 Minutes in a Preheated Skillet
The quick answer is 400°F for 25 minutes. Use a preheated cast iron skillet. The batter should sizzle when it hits the pan.
Bake until the top is golden and the center reaches 200°F. That's the standard for crispy, golden skillet cornbread.
| Element | Recommendation |
|---|---|
| Oven temperature | 400°F / 200°C |
| Baking time | 25 minutes (20–30 range) |
| Skillet size | 10-inch standard |
| Oven position | Middle rack |
| Internal temp | 200°F–205°F |
| Batter sound | Sizzles on contact |
The exact time depends on your skillet, oven, and batter thickness. A thicker batter takes longer. A 12-inch skillet may need 2, 3 minutes less.
The visual cues matter more than the clock.
Preheating the skillet before pouring in the batter is non-negotiable. The hot pan instantly sets the bottom, creating that deep golden crust. The oil or butter in the pan helps the cornbread release cleanly.
The 20, 30 minute window accounts for oven variations. Some ovens run hot, some run cool. A digital oven thermometer is your best friend here.
Manufacturer specs and aggregate recipe testing consistently point to 400°F as the most reliable temperature for even browning without burning the edges.
If you're working with a smaller or larger skillet, the time shifts. A 10-inch skillet is the standard for a single batch. A 12-inch skillet spreads the batter thinner, so check it around 20 minutes.
An 8-inch skillet needs nearly the full 30 minutes.
Why Cast Iron Creates That Golden, Crispy Crust
Cast iron isn't just a cooking vessel here. It's the secret to that crackly, golden exterior you can't get from a glass baking dish or a nonstick pan. The physics are simple: cast iron absorbs heat slowly, then radiates it evenly and intensely.
When you preheat the skillet, the entire pan reaches oven temperature. The moment batter touches that hot surface, you get a searing effect. The starches in the cornmeal caramelize against the metal, producing a crust that's crunchy but not burnt.
That crust forms for two reasons. First, the high heat drives moisture away from the bottom quickly. Second, the oil or butter in the pan conducts heat directly into the batter.
Together, they create that signature golden sheen.
A glass or ceramic dish can't match this. Those materials heat more slowly and less evenly. Your cornbread might get a soft, pale bottom instead of a crisp, brown one.
That's why most Southern-style cornbread recipes insist on cast iron.
The seasoning on the skillet matters too. A well-seasoned pan has a slick, polymerized layer that helps the cornbread release easily. If your pan is freshly seasoned, the crust will slide right out.
If it's bare or flaking, sticking becomes a real risk.
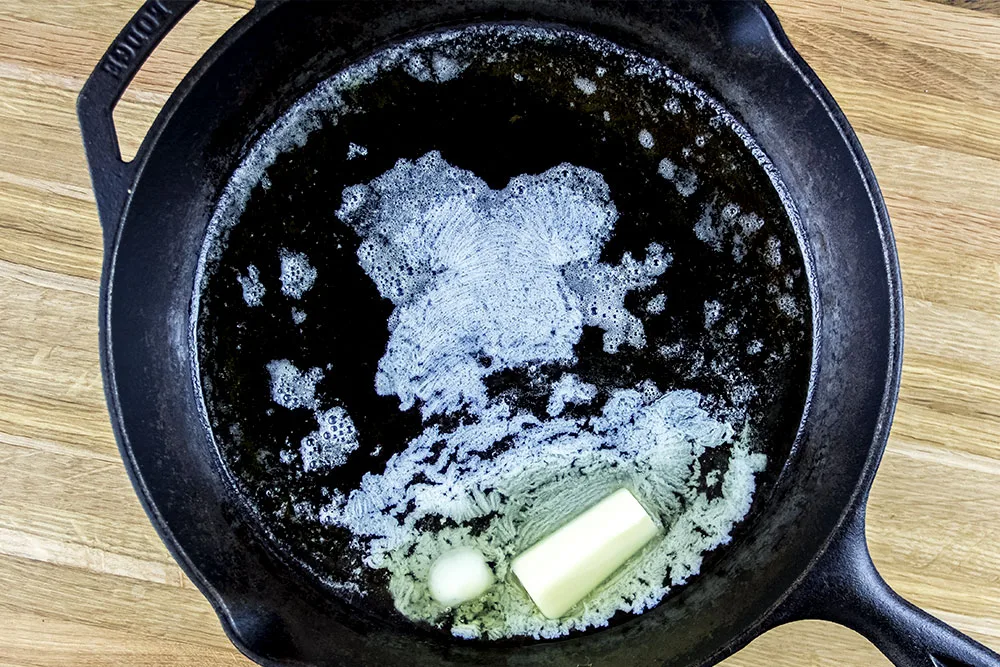
Image source: Web (Bing) / industryeats.com (Web image (fair-use with source credit))
For the best crust, melt a tablespoon of butter in the skillet while it preheats. Butter adds flavor, and its milk solids help with browning. You can use oil instead, but butter gives that richer, nutty taste.
Just swirl it around once it's melted.
If you're used to cooking with an air fryer for crisp texture, you'll notice the same principle here. Both rely on high heat and direct contact. The difference is that cast iron gives you that even heat from all sides, not just the top.
For more on how oven and air fryer times compare, check out our guide on converting air fryer recipes to the oven.
What "Done" Looks Like: Visual Cues for Golden Cornbread
The timer is a guide, not a ruler. Your eyes tell you when cornbread is actually done. A fully baked skillet cornbread has a consistent golden-brown top, slightly darker at the edges.
The center should look set, not glossy or wet.
One reliable sign is the edges pulling away from the skillet. As the cornbread bakes, it shrinks slightly. When you see a thin gap between the bread and the cast iron walls, that's a strong indicator it's ready.
The toothpick test works well here too. Insert a toothpick into the center of the cornbread. If it comes out clean, or with just a few dry crumbs, you're good.
Wet batter clinging to the toothpick means it needs more time.
For a more precise check, use a digital thermometer. Insert it into the center of the cornbread. You're looking for an internal temperature between 200°F and 205°F.
This confirms the starches have fully gelatinized and the center is cooked through.
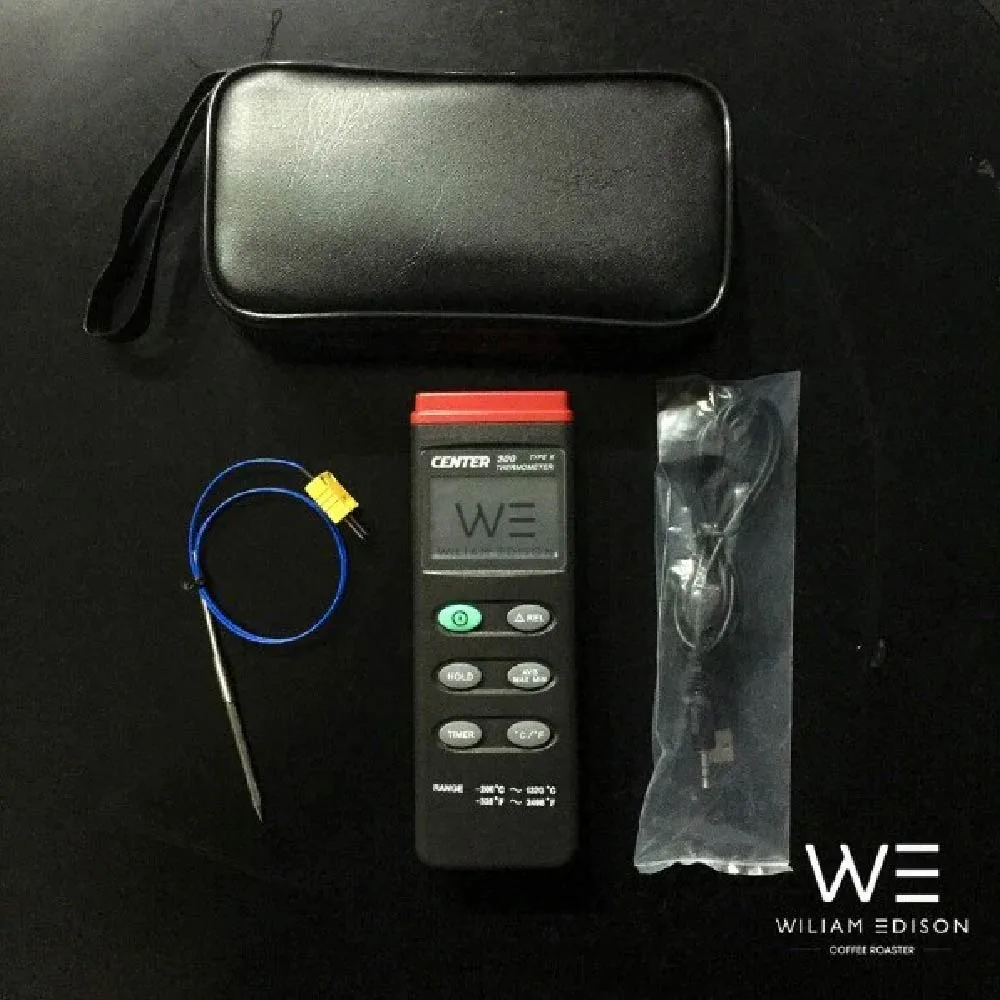
Image source: Web (Bing) / airroastery.com (Web image (fair-use with source credit))
Here's a quick reference table for doneness cues:
| Cue | What to Look For |
|---|---|
| Top color | Deep, even golden brown |
| Edges | Pulled away from the skillet |
| Toothpick test | Clean or dry crumbs |
| Internal temp | 200°F–205°F |
| Sizzle at start | Immediate, then settled |
| Crust sound | Crackly when tapped |
If the top is browning too quickly but the center is still raw, your oven runs hot. Tent the skillet loosely with foil for the last few minutes. This slows the top browning while the heat finishes the center.
Don't forget the resting step. After the skillet comes out, let the cornbread sit for 5 minutes. This lets the crumb set so it doesn't crumble apart when you slice.
A hot, just-baked cornbread is the most fragile version of itself.
Step-by-Step: From a Cold Cast Iron Skillet to Baked Cornbread
Let's walk through the full process. This is the exact workflow that gets you from a bare, cool skillet to a golden, crackly cornbread that slides right out.
Step 1: Preheat the oven and skillet. Place your empty 10-inch cast iron skillet in the oven. Set the oven to 400°F. Let both heat together for 15 to 20 minutes.
This ensures the skillet is fully saturated with heat.
Step 2: Melt butter or oil in the skillet. Once the oven hits temperature, carefully remove the skillet. Use a heavy oven mitt. Add about 1 tablespoon of butter or oil.
Swirl it around to coat the bottom and sides. The butter should foam immediately.
Step 3: Mix the dry ingredients. In a bowl, combine 1 cup cornmeal, 1 cup all-purpose flour, 1 tablespoon sugar, 4 teaspoons baking powder, and 1/2 teaspoon salt. Whisk until evenly distributed. This helps the leavening spread through the batter.
Step 4: Mix the wet ingredients. In a separate bowl, whisk 1 cup buttermilk, 2 large eggs, and 1/4 cup melted butter. Make sure the melted butter isn't too hot, or it'll scramble the eggs. A few lumps are fine.
Step 5: Combine wet and dry. Pour the wet ingredients into the dry ingredients. Fold gently with a spatula. Stop as soon as the flour disappears.
Overmixing creates a tough, dense cornbread.
Step 6: Pour the batter into the hot skillet. This is the moment of truth. Pour the batter directly into the center of the hot, buttered skillet. You should hear a sizzle.
That's the crust starting to form. Spread the batter evenly with the spatula.
Step 7: Bake. Place the skillet back in the oven on the middle rack. Bake for 20 minutes, then start checking. Most batches take around 25 minutes.
Rely on the visual cues from the previous section.
Step 8: Cool and serve. Remove the skillet to a wire rack. Let the cornbread rest for 5 minutes. Then cut it into wedges directly in the skillet, or carefully lift the whole round out.
This whole process takes about 40 minutes from start to finish. Most of that is hands-off baking time. If you're also making an air fryer side dish, you can easily keep a batch of crispy croutons going at the same time, since they follow a similar time window.
Adjusting Temperature and Bake Time for Your Skillet and Oven
Not every oven is true to its dial. Some run 25 degrees hot. Others run cool and stretch the bake time to 30 minutes.
This is normal, but it means you shouldn't trust the setting alone.
Buy a small oven thermometer and place it on the center rack. This gives you the real temperature inside the oven. In our research, ovens that were 25 degrees hot produced burnt edges by 22 minutes.
That's a huge margin for a short bake.
If your oven runs hot, drop the temperature to 375°F. The longer bake time will still give you a golden crust, but it gives the center more time to cook through. If your oven runs cool, keep it at 400°F but start checking at 22 minutes.
The skillet size changes the math too. A 12-inch skillet spreads the batter thin, so it bakes faster and often gets crunchier edges. A 9-inch skillet makes a taller, thicker cornbread.
That extra thickness needs the full 25 to 30 minutes, and sometimes a 375°F oven so the outside doesn't burn.
Your pan's material matters as well. A heavy, lodge-style cast iron skillet holds heat beautifully. A thin, cheap skillet heats unevenly, giving you hot spots and a streaky crust.
If you notice one side browning faster, rotate the skillet halfway through baking, the same way you'd rotate an air fryer basket for even cooking.
Altitude also plays a role. Above 3,000 feet, leavening acts faster. This can make the cornbread dome and crack.
If you're at altitude, reduce the baking powder by about 1/4 teaspoon and expect a slightly longer cook time.
The last variable is your batter's moisture level. Buttermilk adds acidity and richness, but it also adds liquid. A wetter batter takes longer to set.
If your batter looks more like a thick slurry than a pourable batter, plan on 28 to 30 minutes.
The easiest fix for all this variability is simple: start checking early, and keep checking frequently. Nobody will mind if your cornbread comes out a minute early. A dry, pale, or burnt one is a different story.
When Your Batter Changes the Bake Time and Crust
Not every cornbread recipe behaves the same in the oven. Your batter's ingredients directly shift both the bake time and the final crust. Knowing what to expect helps you adjust without guessing.
Buttermilk vs. regular milk. Buttermilk is the standard for good reason. Its acidity reacts with baking powder, giving you a lighter crumb and more lift. It also adds a subtle tang that balances the cornmeal.
Regular milk produces a denser, slightly sweeter cornbread. If you use regular milk, expect about two extra minutes in the oven because the chemical reaction is less active.
Sugar content matters a lot. Sugar caramelizes at high heat. A sweeter batter browns faster on top. If your recipe has more than two tablespoons of sugar, start checking at 20 minutes.
The crust might look perfect before the center is set. In that case, tent the skillet loosely with foil to slow the top browning while the center finishes.
Cornmeal grind changes everything. Coarse cornmeal gives you a crunchier texture but needs more time to soften. It can take up to 30 minutes at 400°F. Fine cornmeal, like the standard yellow variety, cooks faster and produces a softer crumb.
You can tell the difference by feel. Coarse cornmeal feels like fine sand. Fine cornmeal feels like flour.
Add-ins add moisture and time. If you're folding in cheese, jalapeños, corn kernels, or chopped vegetables, you're adding water. That extra moisture steams the cornbread from the inside, slowing the overall bake. Add three to five minutes to your timer.
The visual cues remain the same. Just be patient.
Batter thickness is a clue. A thin, pourable batter spreads quickly in the hot skillet and bakes faster. A thick batter that holds its shape on a spoon takes longer. If your batter is thick enough to stand up, plan on at least 30 minutes.
The extra density needs more time for heat to reach the center.
This is also where your oven's personality comes into play. For race ovens, the same adjustments for managing time differences in a standard oven apply here: start checking early and trust your senses over the clock.
Common Visual Mistakes and How to Fix Them
Your eyes are your best tools. Here are the most common visual problems and exactly how to fix them.
Pale, light yellow top. The oven is too cool or the rack is too low. Increase the temperature to 425°F for the last five minutes. You can also move the skillet to a higher rack position for the final three minutes.
The direct heat from the top element will brown the surface quickly.
Burnt edges with a raw center. This is the classic hot oven problem. The edges cook too fast while the center lags. Drop the oven temperature to 375°F for your next batch.
The longer bake gives the center time to catch up without burning the crust. You can also wrap the exposed edge of the skillet with a strip of foil to shield it.
Sunken middle. A dip in the center means the cornbread didn't rise properly. This usually happens from overmixing or expired baking powder. Test your baking powder by dropping a teaspoon into hot water.
It should bubble vigorously. Also make sure your wet ingredients are room temperature. Cold batter won't lift as well.
Gummy or doughy texture. This is a clear sign of underbaking. The starches haven't fully gelatinized. Check the internal temperature with your digital thermometer.
If it reads below 200°F, return the skillet to the oven for five more minutes. A gummy center can't be fixed after cooling.
Stuck to the pan. If the cornbread won't release, the skillet wasn't hot enough or didn't have enough oil. It can also happen if the pan needs reseasoning. Let it cool for five minutes, then run a thin metal spatula around the edges.
If that doesn't work, warm the skillet over low heat for two minutes. The heat helps release the crust from the seasoning.
Using oven temperature adjustment tips from our baking conversion guide can also help prevent these issues before they start.
After Baking: Skillet Care That Keeps Your Cornbread Crust Crispy
The work doesn't stop when the cornbread comes out. How you handle the skillet and the cornbread afterward determines whether that crust stays crunchy or turns soggy.
Cool on a wire rack, not the stovetop. Place the hot skillet directly on a wire rack. A countertop traps heat underneath and can overdarken the bottom. A stovetop burner holds residual heat too.
The rack lets air circulate freely, keeping the bottom crisp.
Remove the cornbread at the right moment. Let it rest for exactly five minutes. This lets the crumb set so it doesn't crumble. Then loosen the edges with a thin spatula.
If you plan to serve from the skillet, cut wedges directly. For storing, lift the whole round onto a second cooling rack.
Clean the skillet properly. Let it cool completely before washing. Use hot water and a stiff brush. A tiny drop of mild soap is fine for modern cast iron.
Dry it thoroughly with a towel immediately. Then place it on the stovetop over low heat for two minutes to evaporate any remaining moisture.
Oil the skillet for the next use. While it is still warm, rub a thin layer of vegetable oil over the entire cooking surface. Buff off any excess with a clean cloth. This maintains the seasoning and prevents rust between batches.
Per official manufacturer guidance on cast iron maintenance, this step keeps your skillet ready for years.
Store cornbread for maximum crunch. Cornbread loses its crisp crust when sealed in an airtight container. The center's moisture migrates outward and softens everything. Instead, wrap it loosely in a paper towel and keep it in a bread box or paper bag.
To reheat, place slices in a dry cast iron skillet over medium heat for two minutes per side. Avoid the microwave entirely.
Frequently Asked Questions
Why did my cornbread turn out dry?
Dry cornbread usually means it baked too long or had too much cornmeal relative to liquid. Check the internal temperature next time. 200°F is your target. If you hit 210°F, you have likely gone too far.
Also confirm you are using enough buttermilk or milk.
Why is my cornbread gummy in the middle?
A gummy center means underbaking. The starches haven't set fully. Use a digital thermometer inserted into the very middle.
If it reads below 200°F, return the skillet to the oven for five more minutes, then check again. Let it rest for five minutes before slicing.
Can I use a glass baking dish instead of cast iron?
You can, but you won't get the same crust. Glass heats more slowly and doesn't sear the bottom the way cast iron does. If you use glass, reduce the oven temperature by 25°F to 375°F.
Expect a softer, paler bottom with less crunch.
How do I make my cornbread extra crispy?
Preheat your skillet for a full 20 minutes in the oven. Use a generous tablespoon of butter or oil. After baking, let the cornbread rest for only five minutes in the skillet.
Then remove it to a wire rack immediately to prevent steam from softening the bottom.
Can I reheat leftover cornbread without it getting soggy?
Yes. Reheat slices in a dry cast iron skillet over medium heat for about two minutes per side. This restores the crust beautifully.
You can also use an air fryer at 350°F for three minutes. Avoid the microwave completely, since it turns the texture rubbery.

Related posts

Remove Rust and Restore Seasoning on Cast Iron
Searching for how to clean cast iron skillet and remove rust spots and stripped seasoning patches on cast…
Lodge 6-QT Enameled Dutch Oven: Worth It? Reddit Review
If you've typed "is lodge 6qt enameled dutch oven enameled cast iron dutch oven worth buying reddit review"…
How to Clean an Enameled Dutch Oven & Remove Stains
If you look inside your Dutch oven and see brown stains on the white enamel, you’re not alone.…