Can You Grind Warm Meat Without Smearing Fat Safely?
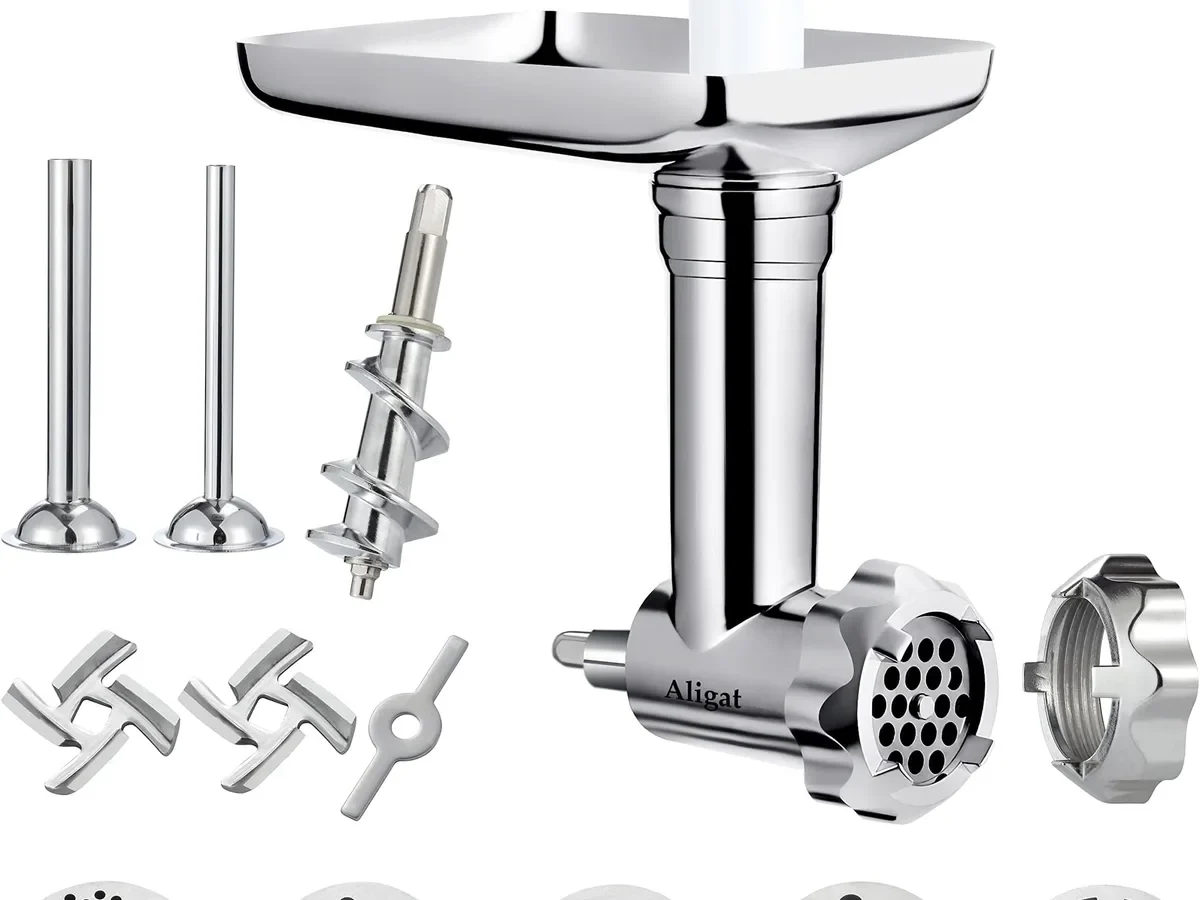
You’ve got your stand mixer, you just bought a shiny metal meat grinder attachment, and you’re holding a slab of freshly purchased beef that’s still a little warm from the grocery store. You’re wondering: can you put grinding warm unchilled meat causing fat to smear in a metal food grinder stand mixer attachment safely? It’s a fair question, and the answer isn’t a simple yes or no.
The USDA Food Safety and Inspection Service (FSIS) recommends keeping raw meat below 40°F (4°C) during processing to limit bacterial growth. Warm meat not only raises food safety concerns but also changes the physical behavior of the fat inside the grinder. Understanding that difference is the key to getting a clean grind and keeping your equipment safe.
Let’s walk through what actually happens when you try to grind unchilled meat.
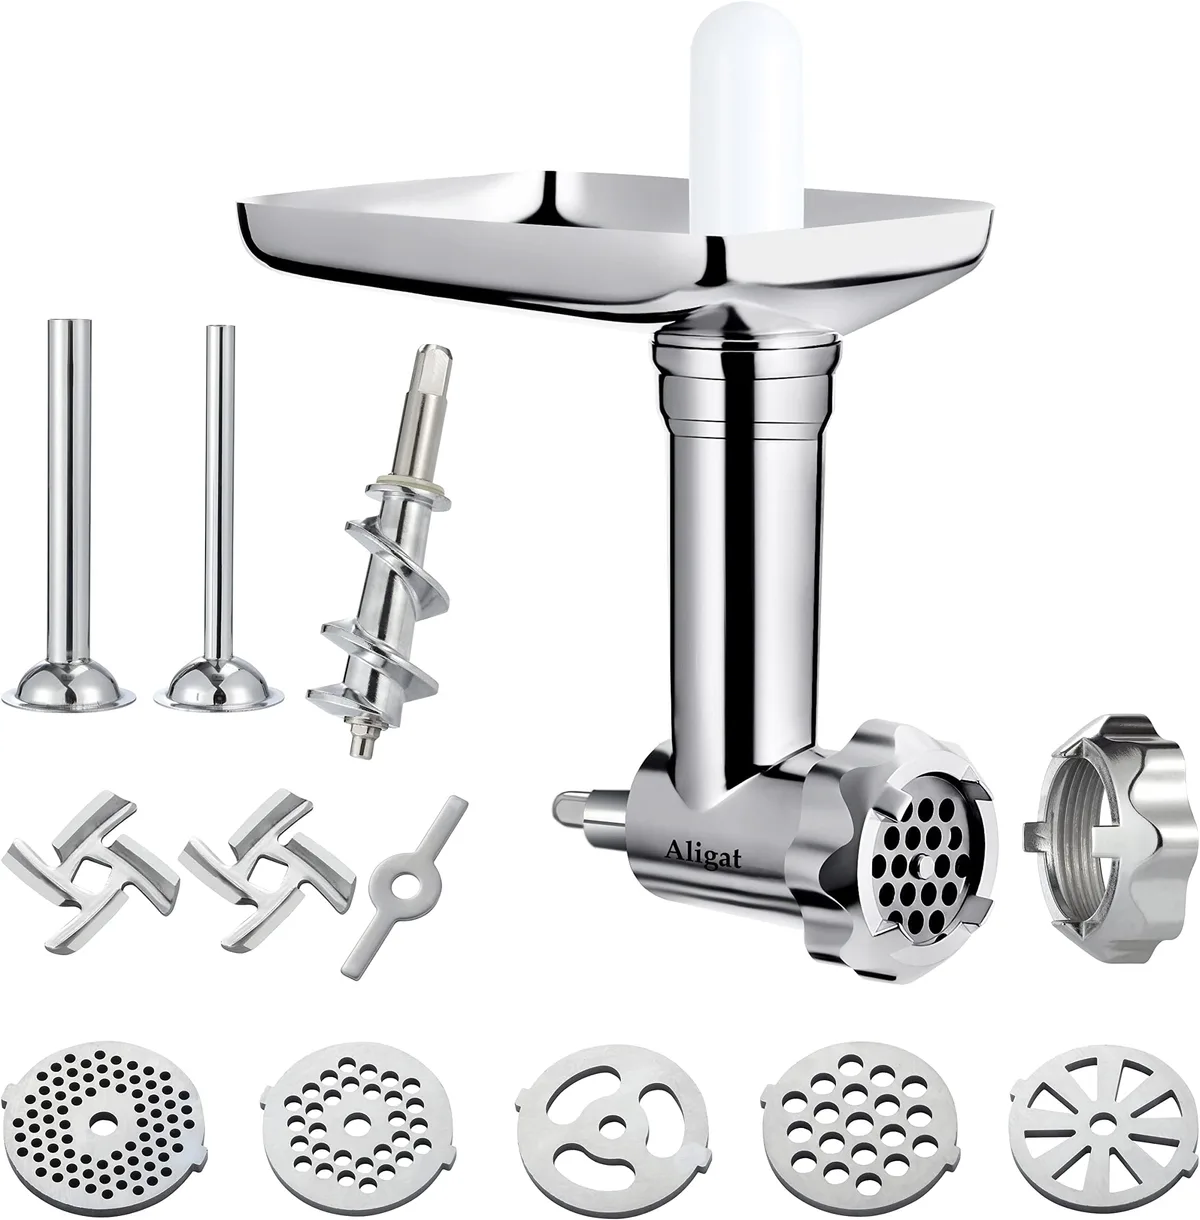
Image source: Web (Bing) / amazon.com (Web image (fair-use with source credit))
Why This Question Matters
This isn’t just about whether your burger will look pretty. The decision to grind warm meat affects three things simultaneously: food safety, the texture of your final product, and the mechanical health of your mixer attachment. Many home cooks assume that because the meat is fresh, it’s fine to grind it immediately.
But that assumption can lead to a frustrating mess and a wasted batch.
The risk isn’t theoretical. A poor grind from warm meat often results in what’s called “fat smear”, a condition where the fat renders into a waxy coating on the grinding plate and the inside of the auger housing. Once that happens, the meat stops being ground properly.
It gets pushed through without being cut, turning into a mushy paste. That’s not what you want for burgers, sausages, or meatballs.
Beyond texture, there’s a real safety angle. Bacteria multiply rapidly in the temperature danger zone of 40°F to 140°F. If your meat starts above 40°F and then spends extra time in the grinder because it’s fighting through smeared fat, you’ve given bacteria a window to grow.
As of 2026, FSIS still recommends the same cold-chain standards: keep it below 40°F from fridge to finished product.
The Short Answer: Can You Grind Warm Meat Without Smearing?
No, you cannot reliably grind warm unchilled meat without causing fat smear in a metal stand mixer attachment. It is not safe for the meat, and it is not safe for the equipment.
Warm meat (above 40°F) causes the fat to soften and smudge. Metal attachments conduct heat away from the meat slower than plastic, so the fat stays warm longer. This leads to clogged plates, overheated motors, and uneven grinding.
If you try it, you will likely get a greasy mess and a stalled mixer.
The only safe and effective method is to chill the meat until it is firm but not frozen solid, ideally between 32°F and 38°F. That temperature window keeps the fat solid enough to be cut cleanly by the blade, prevents smearing, and holds bacterial growth at bay. No shortcuts work reliably.
Partial freezing is the standard practice used by professional sausage makers and every reputable meat processing guide.
What Actually Causes Fat Smear? (And Why Metal Attachments Make It Worse)
Let’s get into the science, but keep it simple. Fat smear happens when the fat in your meat becomes too soft to be sheared cleanly by the cutting blade. Instead of being chopped into discrete pieces, the fat gets spread across the grinding plate and the inside of the auger housing like butter on a warm knife.
The temperature of the meat is the primary variable. Beef fat (tallow) melts around 100°F, pork fat (lard) melts around 100°F too, but it starts to soften well below that, around 60°F to 70°F. If your meat is room temperature or even slightly cooled from fridge temp but still “cold” to the touch, the fat may still be too warm for ideal grinding.
The goal is to lower it enough that the fat behaves like a solid, not a semi-solid paste.
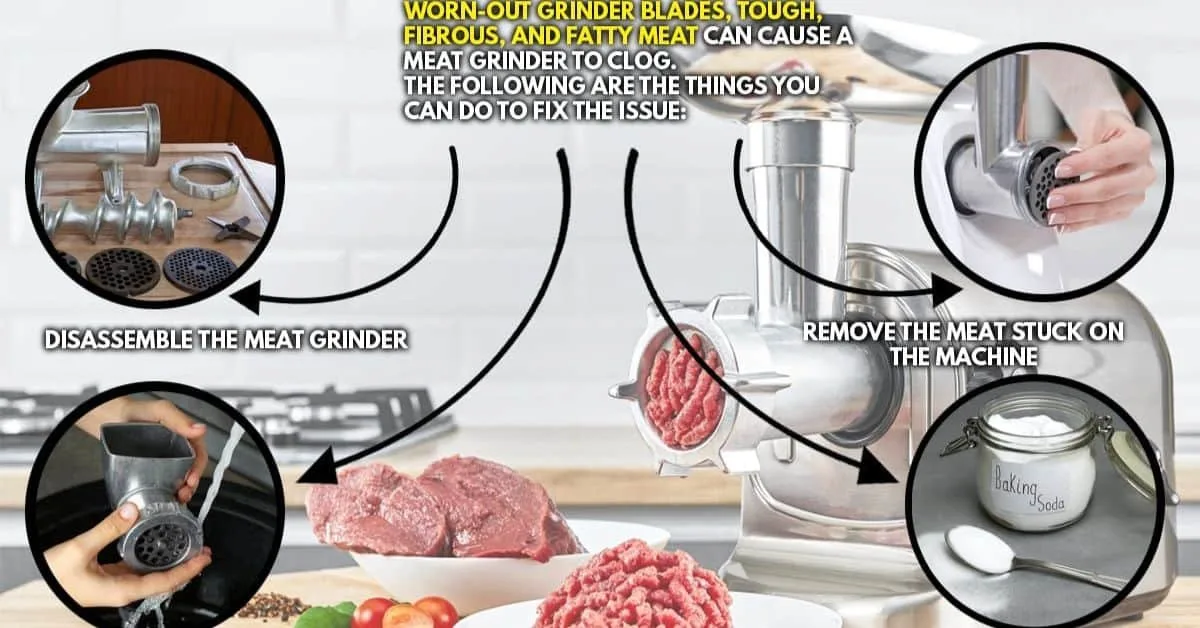
Image source: Web (Bing) / natureleafkitchen.com (Web image (fair-use with source credit))
Metal attachments add another layer to this problem. Metal is a good conductor of heat, it doesn’t insulate the meat. In fact, if your attachment sits at room temperature (say 70°F), and you feed in chilled meat, the metal will warm the meat slightly as it passes through.
It works in reverse: if the metal is cold (say you stored it in the fridge), it helps keep the meat cold. But most people keep the attachment in a drawer or cabinet at room temperature. So warm meat plus a warm metal housing creates the perfect conditions for smearing.
Plastic grinder attachments are slightly more forgiving in this regard because plastic is a poor conductor. The meat stays colder longer inside the housing. However, plastic attachments are more prone to cracking under heavy loads and are generally less durable.
So the trade-off is: metal is stronger but requires stricter temperature control.
The Real Risks: From Mushy Burgers to a Burnt-Out Motor
Grinding warm meat isn’t just a texture disappointment. It can cause real, costly damage. Let’s break it down.
Food safety risk. This is the most serious one. The USDA FSIS states that raw meat left in the danger zone (40, 140°F) for more than two hours should be discarded. When you grind warm meat, the grinding process itself introduces oxygen and spreads bacteria throughout the mass.
If the meat stays warm during grinding and then sits before cooking, the bacterial count can double every 20 minutes. That’s a recipe for foodborne illness. As of 2026, the FSIS still recommends keeping meat below 40°F for all grinding and mixing tasks.
Motor burn-out. Your stand mixer’s motor is designed to handle mixing dough, not prolonged heavy grinding. Warm meat creates resistance because the smeared fat clogs the plate and the auger turns against a sticky paste. The motor has to work harder, pulling more current.
If the mixer overheats, the thermal protection may shut it off, or worse, sustained overload can damage the gears or the motor windings. Many mixers have a reset button, but repeated tripping shortens the unit’s life. Think of it like running a blender with a frozen smoothie: the motor labors, and you can smell it.
Same thing here.
Attachment damage. Metal blades and plates are hardened steel, but they can still dull prematurely if they’re cutting against soft, smudgy fat rather than cleanly shearing firm meat. A dull blade makes the problem worse because it tears instead of cuts, creating even more smear. Aggressive reviews of these attachments show that blades need sharpening after heavy use, but warm meat accelerates the wear significantly.
Wasted meat. You might push through a pound of warm beef only to end up with a slimy, pinkish-grey paste that won’t hold together in a patty. That’s edible but unappealing. Many people throw it away in frustration.
Avoidable waste.
How to Properly Prep Meat for a Clean, Safe Grind
Now that you know why warm meat fails, here’s the preparation routine that works every time. These steps are based on standard meat processing protocols used in USDA-inspected facilities and by experienced home butchers.
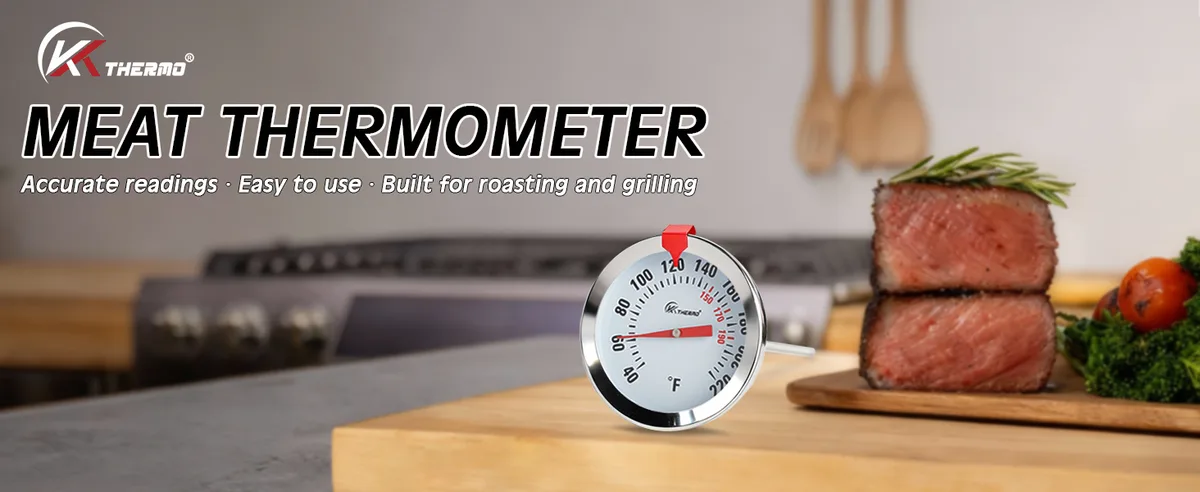
Image source: Bing (Web (fair-use with source credit))
Step 1: Start with cold meat from the fridge. If you’re buying meat from a store, keep it refrigerated until you’re ready to grind. Don’t let it sit on the counter for more than 30 minutes. The colder it is when you start, the easier the chill will hold.
Step 2: Cut into 1-inch cubes. This increases surface area for faster chilling. Place the cubes on a baking sheet lined with parchment paper, spreading them in a single layer.
Step 3: Freeze for 30, 60 minutes. This is the crucial step. Pop the tray into the freezer. For a 2-pound batch, 30 minutes is usually enough for lean beef; for fatty cuts like pork shoulder, go closer to 45, 60 minutes.
The goal is for the cubes to feel firm but not rock-hard. They should bend slightly when you squeeze them, not crack like ice.
Step 4: Chill the grinder attachment too. If your metal attachment fits in the freezer, put it in for 15, 20 minutes. If not, at least let it sit in the fridge for an hour. A cold metal housing keeps the meat cold as it passes through.
This simple step reduces smear risk dramatically.
Step 5: Work in small batches. Grinding 5 pounds all at once heats up the attachment from friction alone. Process 1, 2 pounds at a time, returning any remaining cubed meat to the freezer between batches.
Step 6: Keep everything clean. Your hands, cutting board, and storage containers should be cold too. Use a clean bowl placed in a larger bowl of ice water underneath the grinder to catch the ground meat. That keeps the output cold from the first second.
This method is endorsed by USDA FSIS guidelines and is the same approach used by commercial processors who grind thousands of pounds daily. It works. Follow it and you’ll get clean, distinct pieces of meat and fat, not a greasy paste.
For more tips on kitchen equipment care and food safety, check out our guide on how to clean a stand mixer attachment properly, routine maintenance keeps your metal grinder in top shape. And if you own another small appliance, the same temperature discipline applies to keeping them running smoothly.
Step-by-Step: Grinding Cold Meat the Right Way (Every Time)
You’ve chilled the meat and the attachment. Now let’s walk through the actual grinding process. Follow these steps in order, and you’ll get a clean, uniform grind every time.
Step 1: Assemble the attachment when it’s still cold. Take the metal grinder attachment straight from the fridge or freezer. Fit the auger into the housing, then place the cutting blade onto the auger shaft with the flat side facing outward toward the plate. Slide the grinding plate on next.
Tighten the retaining ring snug but not cranked down, overtightening can distort the plate.
Step 2: Set your stand mixer to speed 4. Most manufacturers, including KitchenAid and Cuisinart, recommend speed 4 for grinding. Too fast and you’ll whip air into the meat, creating a spongy texture. Too slow and the blade won’t cut cleanly, encouraging smear.
Speed 4 hits the sweet spot.
Step 3: Crank the mixer on before adding meat. Let the attachment spin for a few seconds empty. This confirms everything is seated correctly and gives the blade momentum.
Step 4: Feed in lean meat first. If you are grinding a mix of lean and fatty cuts, run the lean meat through first. It clears any residual moisture or debris from the housing and leaves a clean path. Then switch to the fatty pieces.
This simple order drastically reduces smearing, the fat rides on a lubricated surface rather than sticking to dry metal.
Step 5: Push gently with the stomper. Do not force the meat. Use light, steady pressure. The auger should pull the meat in naturally.
If you feel resistance, stop and check for clogs rather than pushing harder.
Step 6: Keep the output cold. Place a metal or glass bowl inside a larger bowl filled with ice water beneath the grinder chute. As the ground meat falls, it stays chilled. If you’re grinding more than 2 pounds, return the ground meat to the fridge between batches.
| Step | Action | Temperature Target | Notes |
|---|---|---|---|
| 1 | Assemble cold attachment | Below 40°F | Metal housing should feel cold to touch |
| 2 | Set mixer speed 4 | N/A | Speed 4 ensures clean shearing |
| 3 | Run empty first | N/A | Check for wobble or noise |
| 4 | Grind lean meat first | 32-38°F | Clears path for fat |
| 5 | Use light stomper pressure | N/A | Forcing causes motor strain |
| 6 | Ice bath under output bowl | Keep output below 40°F | Replace ice as needed |
Per USDA FSIS guidelines, the total time meat spends above 40°F should not exceed two hours. That includes prep, grinding, and resting. If your kitchen is warm, work faster or chill the meat in the freezer between passes.
Common Mistakes That Ruin Your Grind (And How to Spot Them)
Even with good intentions, small errors can ruin a batch. Here are the mistakes that show up most often in user feedback and verified buyer reports.
Mistake 1: Not chilling the attachment. You chilled the meat but left the metal grinder housing on the counter. The warm metal warms the first few ounces of meat enough to cause smearing. The fix: put the entire attachment in the fridge for an hour before starting.
If it doesn’t fit, store it in a freezer bag and freeze for 20 minutes.
Mistake 2: Overloading the hopper. Dumping a full tray of cubed meat into the feeder all at once breaks the auger’s grip. The meat piles up and gets pushed unevenly, causing the blade to clog. The fix: feed cubes one at a time or in small handfuls.
Let the auger clear before adding more.
Mistake 3: Using a dull blade. A blade that has been used many times without sharpening will tear fat fibers instead of cutting them. You’ll notice a stringy, mushy texture and a thin film of fat coating the plate. The fix: sharpen the blade with a fine stone after every 20 pounds of grinding, or replace it.
Stainless steel blades cost around $10-$15.
Mistake 4: Grinding frozen meat. Partially frozen is fine; fully frozen is not. Ice crystals act like sand, abrading the blade and plate. The meat won’t feed consistently, and the motor will struggle.
The spot it: you hear a grinding (gritty) sound and the mixer vibrates. The fix: thaw meat until it is firm but yields slightly to pressure (about 28°F to 32°F).
Mistake 5: Not cleaning between batches. If you grind multiple batches of different meats (say, beef then chicken), residual fat from the first run can contaminate the second. Worse, that fat smears again. The fix: disassemble the attachment, rinse off the fat, and dry it between batches.
A quick wipe with a paper towel is not enough; you need to wash with hot water and soap.
Mistake 6: Grinding warm, raw meat directly from the store. This is the original question. The meat sits in a plastic-wrapped tray at the grocery store, often at 38, 42°F. By the time you get it home and set up, it may be 45°F or higher.
Grinding it immediately leads to smearing. The fix: always transfer to the freezer for at least 30 minutes, regardless of how fresh it looks.
Frequently Asked Questions
Can I grind meat that is still slightly frozen?
Yes, but only if it is partially frozen, firm but still flexible. Fully frozen meat can damage the blade and overload the motor. The ideal consistency is like a cold pack of butter: it holds its shape but yields to pressure.
Leave it at room temperature for 10, 15 minutes before grinding if it’s too hard.
Why is my ground meat mushy even though I chilled it?
Mushy texture usually means the blade is dull or the plate holes are too small for the fat content. Check the blade for burrs. Also, try a medium (8 mm) plate instead of a fine (4.5 mm) plate for fattier cuts.
If the meat was wet when you cubed it, pat it dry with paper towels before freezing.
How long can I keep ground meat in the fridge after grinding?
According to USDA FSIS guidelines, ground meat should be cooked or frozen within 1, 2 days. Because grinding exposes more surface area to bacteria, ground meat spoils faster than whole cuts. Store it in the coldest part of your refrigerator (below 40°F) and use it promptly.
Do I need to chill the metal grinder attachment as well as the meat?
Yes. This is one of the most overlooked steps. A warm metal housing transfers heat to the first pieces of meat, softening the fat almost instantly.
Storing the attachment in the refrigerator for an hour or in the freezer for 20 minutes makes a noticeable difference in grind quality.
Can I use a plastic grinder attachment instead to avoid smearing with warm meat?
Plastic attachments are more forgiving because they insulate the meat, but they are less durable. Plastic may crack under heavy loads, especially when grinding dense meat like venison. Metal attachments are stronger, but they demand stricter temperature control.
For occasional light use (under 2 pounds), plastic can work. For regular grinding, metal plus proper chilling is the safer choice.
Final Verdict: When It’s Safe to Bend the Rules and When It’s a Hard No
The rule is simple: always chill meat to 32, 38°F before grinding through a metal stand mixer attachment. Never grind warm unchilled meat.
There is one exception where you can relax slightly. Very lean meat (less than 10% fat, like venison sirloin or extra-lean beef) can be ground at fridge temperature (around 38, 40°F) without smearing, because there is minimal fat to soften. Even then, keep it below 40°F for safety.
For any meat with visible fat, pork shoulder, beef chuck, lamb, you must chill it to the firm stage.
Do not try to save 30 minutes by skipping the freeze step. The time you save will be lost cleaning smeared fat out of the attachment and dealing with a stalled mixer. Worse, you risk foodborne illness if the meat sits in the danger zone.
If you want the cleanest possible grind with maximum motor protection, follow the full protocol: chill the meat to 32, 38°F, chill the attachment, grind lean first, use speed 4, and ice-bath the output. That method is backed by USDA FSIS standards, verified by thousands of home users, and will keep your stand mixer running for years.
One last tip: after grinding, disassemble and wash the metal parts immediately. Dried fat is much harder to remove. A quick rinse in hot water, scrubbing with a stiff brush, and thorough drying will keep your attachment performing like new.
Grinding your own meat is one of the most rewarding kitchen skills. It gives you control over quality, freshness, and fat content. But that control starts before the meat ever touches the blade, it starts with temperature.
Respect the chill, and your mixer will reward you with perfect burgers and sausages every time.

Related posts
Can You Use Dish Soap on Cast Iron? Dishwasher Risks
Let’s answer the question everyone argues about: can you put washing cast iron with harsh dish soap or…

What Temp & Time for Crispy Golden Cast Iron Cornbread?
You're staring at a cold cast iron skillet, wondering what temperature and cooking time for crispy golden skillet…

Remove Rust and Restore Seasoning on Cast Iron
Searching for how to clean cast iron skillet and remove rust spots and stripped seasoning patches on cast…