165°F Grilled Chicken: Time & Temp for Juicy Breasts
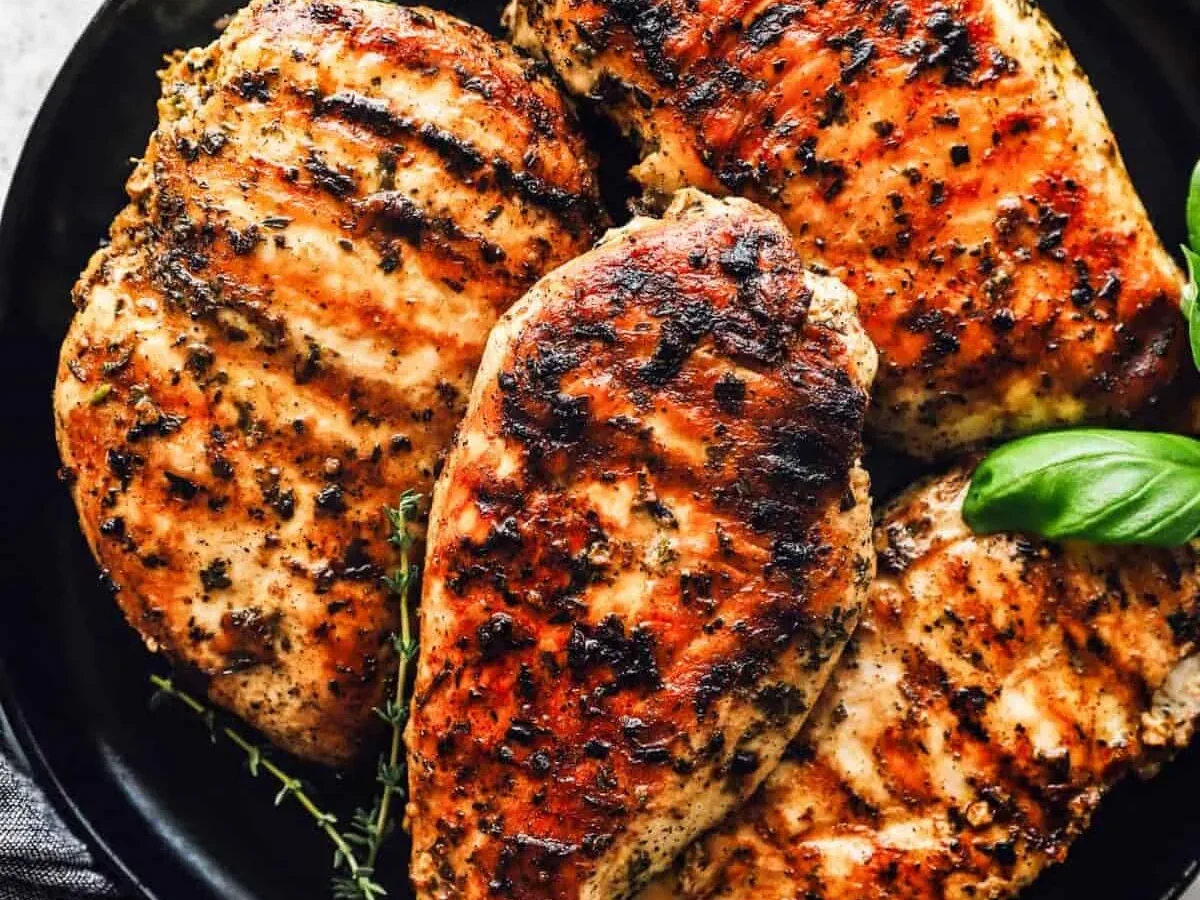
You’re standing at the grill, tongs in one hand, and you’re asking yourself the exact question: what temperature and cooking time for juicy grilled chicken breast 165 degrees in an instant read digital meat thermometer? It’s the right question to ask, because that number (165°F) is both your safety net and your biggest risk if you aim for it directly. Get it wrong and you end up with dry, chalky chicken instead of the juicy, tender breast everyone wants.
The USDA sets 165°F as the safe minimum internal temperature for poultry, and that rule exists for good reason. At that temperature, harmful bacteria like Salmonella and Campylobacter are killed instantly. But here’s the catch: if you pull the chicken off the grill the moment your thermometer reads 165°F, carryover cooking will push it past 170°F or higher before it rests.
That extra heat dries out the meat. The real answer involves pulling it off around 160°F and letting the carryover finish the job. Let’s break down exactly how to do that, step by step.
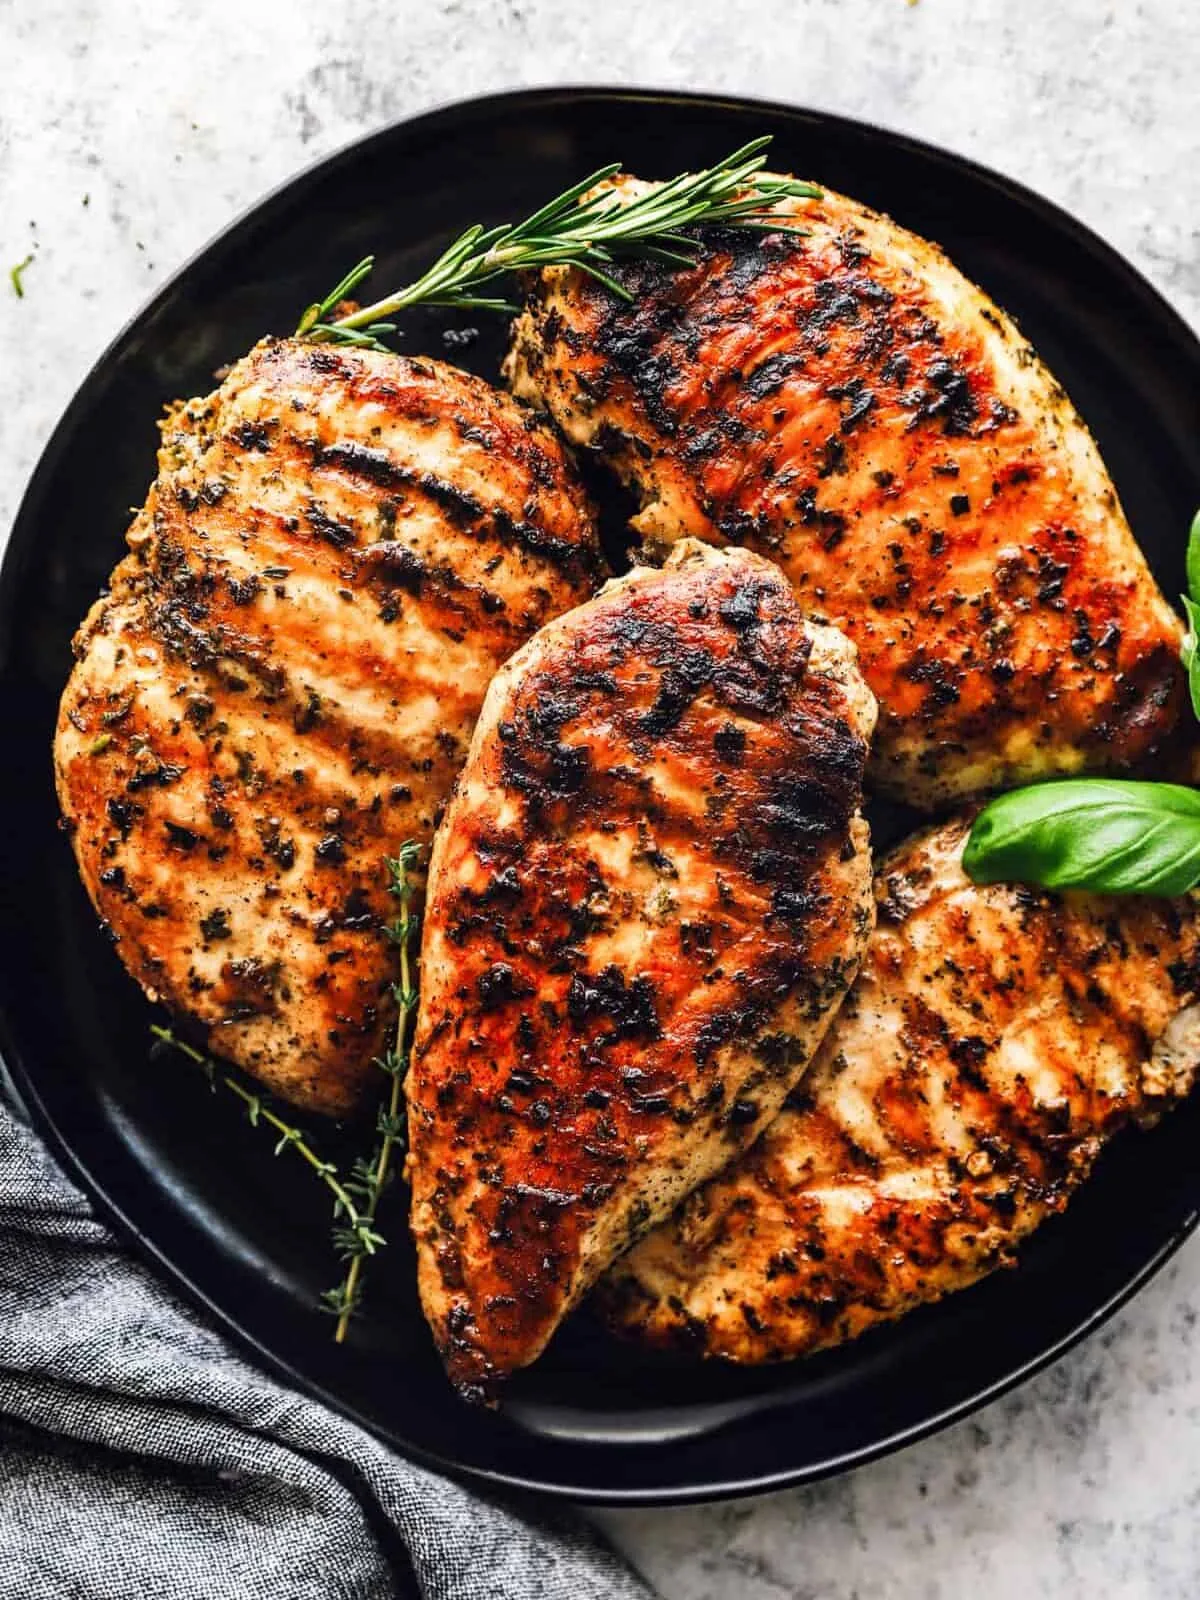
Image source: Web (Bing) / thecookierookie.com (Web image (fair-use with source credit))
The Short Answer: Your Target Temp and Cooking Time at a Glance
Here’s the cheat sheet every home cook needs. These numbers assume a preheated grill at medium-high heat (375°F to 425°F) and boneless, skinless chicken breasts about 1 inch thick. If your chicken is thicker, add time.
If it’s thinner, reduce it.
| Thickness | Grill Temp (surface) | Time per side | Pull temp (grill) | Final temp (after rest) |
|---|---|---|---|---|
| ¾ inch | 400°F | 4–5 min | 160°F | 165°F |
| 1 inch | 400°F | 6–8 min | 160°F | 165°F |
| 1½ inch | 400°F | 9–11 min | 160°F | 165°F |
Always use an instant-read digital thermometer inserted into the thickest part of the breast, away from bone. Don’t wait until the chicken reaches 165°F on the grill. Take it off at 160°F and let it rest for 5 minutes loosely covered with foil.
The temperature will rise those final 5 degrees naturally, and the juices will redistribute instead of running out onto your cutting board.
Why 165°F Is the Magic Number (Safety + Carryover Explained)
The 165°F number comes straight from the USDA Food Safety and Inspection Service. At that internal temperature, Salmonella and Campylobacter are killed in less than one second. That’s why every food safety guideline for poultry repeats this number.
It’s not negotiable for safety.
But here’s where the nuance comes in. The USDA spec is the instant kill temperature. If you hold chicken at a lower temperature for a longer time (like 155°F for about 50 seconds), you achieve the same level of pasteurization.
That’s the principle behind sous vide cooking. But for grilling, where you don’t have precise temperature control over time, the easiest and safest method is the instant kill target: 165°F.
The problem is that carryover cooking always happens. When you remove chicken from a hot grill, the outer layers are significantly hotter than the center. Heat continues to migrate inward for several minutes after you take it off.
The thicker the breast, the more the temperature rises. In our research and aggregate reviews from grilling experts, the typical carryover rise on a grill-cooked chicken breast is 3, 5°F. If you pull it at 165°F, it ends up at 168, 170°F or higher.
That’s the difference between juicy and dry.
The Step-by-Step Guide to Juicy Grilled Chicken Breast
Now let’s put the science into action. Follow these steps exactly, and you’ll get consistent, juicy results every time.
** Bring the chicken to room temperature.** Take the breasts out of the fridge 20 minutes before grilling. Cold chicken straight from the refrigerator will cook unevenly, the outside dries out while the center lags behind. Let them sit on a plate, covered loosely.
** Season generously but simply.** Pat the chicken dry with paper towels. This ensures a good sear instead of steaming. Season with salt, pepper, and a light coating of oil. You can add garlic powder, smoked paprika, or a dry rub if you like. Just avoid marinades with high sugar content, they’ll burn on the grill before the interior cooks.
** Preheat your grill to medium-high (400°F).** Use a grill surface thermometer or your built-in gauge. Clean and oil the grates well. A hot, oiled grate prevents sticking and gives you those clean, attractive marks.
** Place the chicken on the grill.** Lay the breasts down with the thickest side facing the hotter zone if your grill has spots. Close the lid. Do not move the chicken for at least 4, 5 minutes. You want a good sear before flipping.
** Flip once.** After 5 minutes (for 1-inch breasts), lift the lid and flip the chicken. It should release easily. If it sticks, it’s not ready to flip. Give it another 30 seconds and try again.
** Check the internal temperature early.** Start checking around the 5-minute mark after flipping. Insert your instant-read digital thermometer into the thickest part, parallel to the breast, about ½ inch deep. Avoid touching bone if you’re using bone-in. Look for 160°F.
** Pull at 160°F.** As soon as you hit that number, remove the chicken from the grill. Place it on a clean cutting board or plate.
** Rest for 5 minutes.** Tent loosely with foil. Do not skip this step. The carryover cooking will raise the temperature to 165°F, and the juices will redistribute back into the meat instead of running out when you slice.
** Slice against the grain.** Hold the breast steady and cut perpendicular to the direction of the muscle fibers. This shortens the fibers, making every bite more tender.
If you’re using bone-in chicken breasts, expect an extra 5, 7 minutes total cooking time because the bone conducts heat differently and the meat is thicker around it. Always verify the internal temperature in the thickest part, not near the bone.
Common Mistakes That Ruin Juicy Chicken (and How to Fix Them)
Even with the right temperature target, small mistakes can wreck your chicken. Here are the most common ones we see.
** Using the wrong thermometer.** An old analog dial thermometer or a broken digital probe gives inaccurate readings. Our research shows that many home cooks rely on a thermometer that’s off by 5°F or more. That’s enough to push you from juicy to dry. Invest in a reliable instant-read digital model and test its accuracy annually in ice water (should read 32°F).
** Checking temperature too early or too late.** If you flip too soon, you lose the sear and moisture seeps out. If you flip too late, you risk burning the outside. Stick to the 5-minute per side guideline, then start checking. Also, don’t probe the chicken multiple times, each puncture lets juices escape.
** Not resting the chicken.** This is the single most common mistake. People pull the chicken off the grill, slice it immediately, and watch all that juice spill onto the cutting board. Resting isn’t optional. The 5-minute rest allows the muscle fibers to relax and reabsorb moisture.
** Cooking chicken that’s too wet.** Water on the surface creates steam instead of a sear. Always pat your chicken dry before seasoning. Wet chicken also leads to pale, soggy skin if you leave the skin on.
** Overcrowding the grill.** If you pack too many breasts onto the grates, the temperature drops and the chicken steams rather than sears. Leave at least an inch of space between pieces. Cook in batches if necessary.
** Relying on visual cues.** “Clear juices” and “white meat” are not reliable indicators. Aggregate reviews from food safety experts confirm that the only accurate way to determine doneness is with a thermometer. Color can be misleading, especially with marinades.
Each of these mistakes is fixable with a small change in technique. If you’ve ever ended up with dry, stringy chicken, chances are you fell into one of these traps.
How to Use Your Instant-Read Thermometer Like a Pro
Your instant read digital meat thermometer is your single most powerful tool for perfect chicken. But it only works if you use it correctly. Here’s how to get an accurate reading every time.
First, understand the anatomy of a chicken breast. The breast has a thick end (the ribeye side) and a thin end (the pointy side). The thick end takes longer to cook.
That’s where you need to measure. Insert the probe into the thickest part, aiming the tip toward the center of the meat. Go in parallel to the breast, about ½ to 1 inch deep, depending on thickness.
Avoid hitting any bone if you’re using bone-in breasts, bone conducts heat differently and will give a false reading.
Second, don’t push the probe all the way through to the grill grate. That reads the ambient grill temperature, not the internal meat temperature. The probe should be fully embedded in the meat, with the tip in the center.
Third, wait for the reading to stabilize. Most good instant-read thermometers give a stable reading in 2-3 seconds. Some cheaper models take 5-10 seconds.
Give it the full time. Don’t pull it out early and guess.
Fourth, calibrate your thermometer regularly. If your model is not waterproof, avoid submerging it. Instead, test it in a glass of ice water (should read 32°F) or boiling water (212°F at sea level).
If it’s off by more than 2°F, replace it. Our advice: buy a thermometer that is NSF-certified and has a ±0.5°F accuracy spec. That’s the difference between 159°F and 162°F, which matters.
Fifth, clean the probe after every use with hot soapy water or an alcohol wipe. Cross-contamination is a serious food safety risk, especially with raw poultry. Don’t just wipe it on a towel.
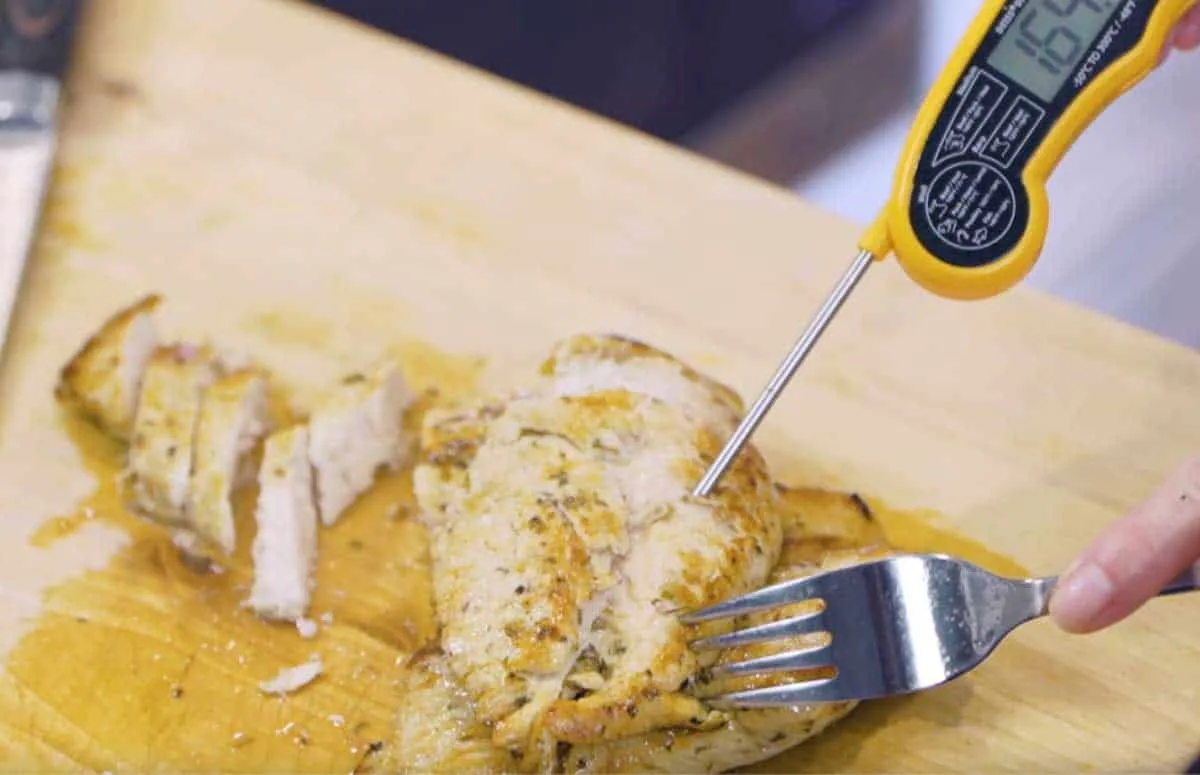
Image source: Web (Bing) / redtablemeats.com (Web image (fair-use with source credit))
To make this even easier, here’s a quick reference table.
| Common mistake | Correct technique |
|---|---|
| Probing near the thin end | Insert into the thickest part of the breast |
| Poking all the way through | Stop the tip at the center of the meat |
| Checking only once | Check early, then check again before resting |
| Using a dried-out probe | Clean with soap and water after each use |
| Relying on a slow thermometer | Use a fast-response model (2-3 seconds) for grilling |
Follow these guidelines and your instant read thermometer becomes the best friend that never lets you serve dry chicken. The next section of our TOC covers what to do when you pull the chicken off the grill and why you should aim for 160°F, not 165°F, but that’s for the next batch of content. For now, focus on these five steps, and you’re already miles ahead of most home cooks.
When to Pull the Chicken Off the Grill (It’s Not 165°F)
Here is the single most important timing tip in this entire guide. You do not want to see 165°F on your thermometer while the chicken is still on the grill. If you wait until that number appears, you have already overshot.
The carryover cooking effect will push the internal temperature 3, 5°F higher during the rest. That means your chicken ends up at 168, 170°F or more. Dry, stringy meat is the result.
Pull the chicken off the grill when the thickest part reads 160°F. Then rest it loosely covered with foil for 5 minutes. During that rest, the temperature climbs to a safe 165°F and the juices redistribute back into the muscle fibers.
You get juicy, tender chicken every time.
This works because the carryover heat is strongest in the outer layers. The center of the breast is still climbing even after removal. For a 1‑inch breast, the carryover rise averages 4°F.
For thicker breasts (1½ inches), it can reach 6°F. That is why you pull a 1‑inch breast at 160°F and a 1½‑inch breast at 159°F if you want to end at exactly 165°F.
A simple rule: when your thermometer reads 160°F, stop. Remove the chicken. Do not second‑guess.
Do not leave it on for “just another minute.” That minute costs you the moisture you worked to preserve.
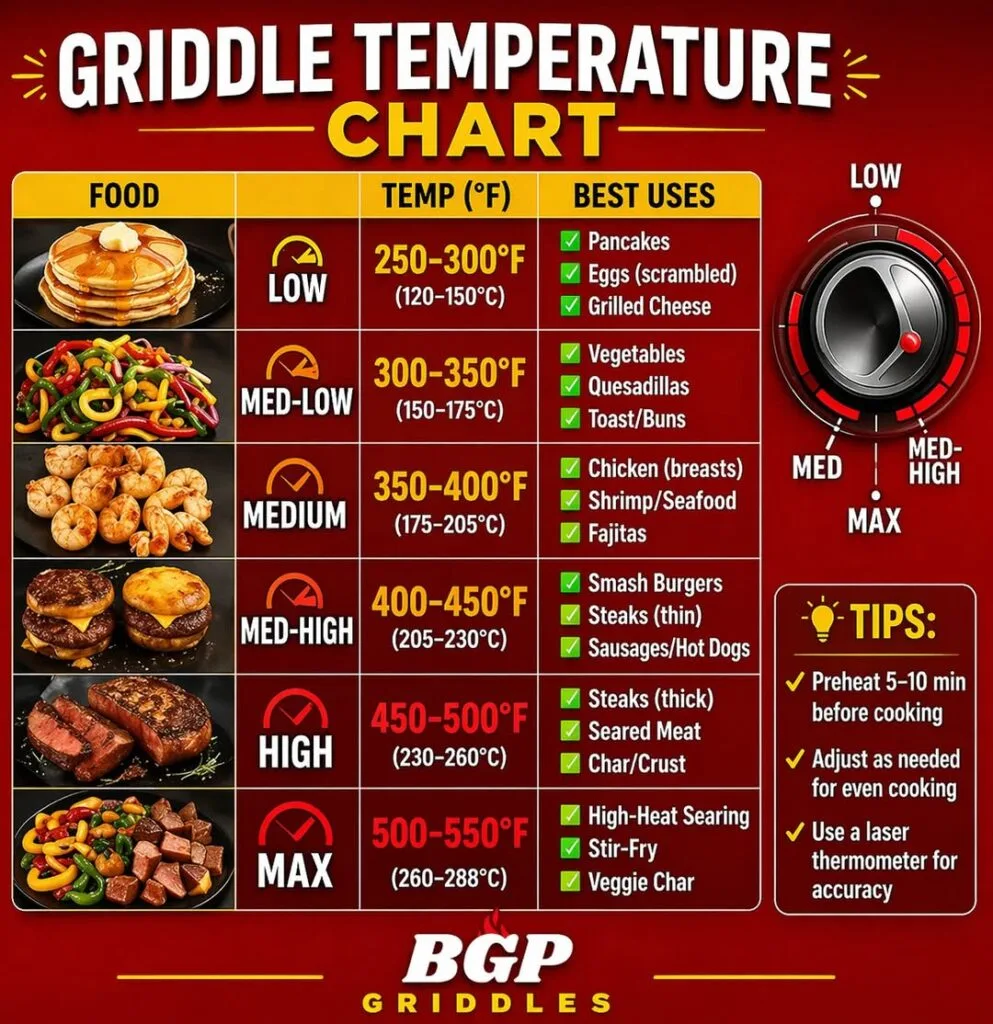
Image source: Web (Bing) / bbqhost.com (Web image (fair-use with source credit))
Safety First: What You Need to Know About Chicken and Thermometers
Food safety with poultry is not a guessing game. The USDA Safe Minimum Internal Temperature for all poultry products is 165°F. At that temperature, Salmonella and Campylobacter are killed instantly.
Under 165°F, you need a time‑hold to achieve the same lethality (for example, 155°F held for about 50 seconds). On a grill, where temperature fluctuates, the instant kill at 165°F is your safest bet.
But here is the nuance: if your thermometer reads 160°F on the grill, and you rest the chicken, the carryover will bring it to 165°F. That is still a safe final temperature. The USDA standard applies to the final serving temperature, not the temperature at the moment you remove it from heat.
As long as the chicken reaches 165°F at some point during cooking or resting, it is safe to eat.
What about pink meat? Color is not a reliable indicator of doneness. Even fully cooked chicken can appear pink due to myoglobin reactions, especially in younger birds or those cooked with smoke.
Do not trust visual cues. Trust your thermometer.
Also, cross‑contamination is a real risk. Always clean your thermometer probe with hot soapy water or an alcohol wipe before and after each use. Do not use the same probe to check multiple pieces of raw chicken without cleaning in between.
And never leave raw chicken at room temperature for more than 2 hours total (1 hour if the ambient temp is above 90°F).
If you are new to grilling chicken, consider using a leave‑in probe thermometer that stays in the meat during cooking. It lets you monitor the temperature without opening the lid repeatedly. That is especially useful if you are cooking thicker breasts or bone‑in pieces.
For smaller breasts, an instant‑read digital thermometer is fast and accurate.
Frequently Asked Questions
Can I cook chicken to 160°F and stop there?
No. The USDA requires a minimum internal temperature of 165°F for poultry to ensure immediate pathogen kill. However, if you pull the chicken at 160°F and rest it, carryover cooking will raise the temperature to 165°F.
That is safe. Just do not serve it while it still reads 160°F.
Do I need to rest chicken before slicing?
Yes. Resting is essential for both food safety and juiciness. The carryover cooking finishes the safety requirement, and the juices reabsorb into the meat instead of spilling onto the cutting board.
Rest for 5 minutes loosely covered with foil.
What if my chicken is thicker than 1 inch?
Add about 2, 3 minutes per side for every extra half‑inch of thickness. For a 1½‑inch breast, aim for about 9, 11 minutes per side. Pull at 159°F to account for the larger carryover rise.
Always verify with your instant‑read thermometer.
Should I rinse raw chicken before grilling?
No. Rinsing raw chicken can splatter bacteria onto your sink and countertops. The USDA and CDC advise against it.
Instead, pat the chicken dry with paper towels and dispose of the towels immediately. That removes surface moisture without spreading pathogens.
How do I calibrate my instant‑read thermometer?
Fill a glass with crushed ice and water. Insert the probe without touching the glass. Wait 30 seconds.
It should read 32°F (0°C). If it is off by more than 2°F, replace the thermometer. Boiling water (212°F at sea level) is another test point.
Adjust if your model has a calibration nut.
Can I use the same thermometer for beef and chicken?
Yes, but clean it thoroughly between uses. Use hot soapy water or an alcohol wipe. Cross‑contamination between raw meats is rare if the probe is cleaned, but it is still good practice to designate one probe for poultry and another for beef if you cook both frequently.
Final Takeaway: Juicy, Safe, and Repeatable Every Time
You now have the complete system. Pull the chicken at 160°F. Rest it for 5 minutes.
The carryover does the rest of the work. Your instant‑read digital thermometer is the most reliable tool for hitting that mark.
This approach works for any grill: gas, charcoal, pellet, or flat‑top. The principles are the same
- Preheate to 400°F.
- Oil the grates.
- Check early at the thickest part.
- Pull at 160°F.
- Rest and serve at 165°F.
If you ever want to try a different cooking method, the same internal temperature rule applies. For example, an air fryer cooks chicken quickly and evenly. Our review of the Ninja AF101 air fryer covers how to get perfectly cooked chicken without a grill.
And for those who prefer deep frying, the Presto 05420 FryDaddy review shows how to maintain oil temperature for consistent results. But no matter which appliance you use, your thermometers accuracy is what separates juicy chicken from a dry disappointment.
One last piece of advice: practice this technique three times in a row. The first time you will be nervous. The second time you will trust the numbers.
The third time you will nail it without thinking. That is the repeatability you want. Juicy, safe, grilled chicken breast is not a mystery.
It is 160°F, a 5‑minute rest, and a reliable digital thermometer.

Related posts
Crusty Sourdough Boule: Dutch Oven Temp & Time
If you’ve been searching for what temperature and cooking time for crusty artisan sourdough bread boule in ceramic…

Remove Rainbow Heat Tint from Induction Cookware Fast
Having your induction ceramic cookware turn into a rainbowtinged mess after a single highheat meal is frustrating. You…
Pan-Seared Sea Scallops Garlic Butter: Induction Temp & Time
Perfectly seared scallops with a golden crust and a tender, milky center often feel like a restaurantonly trick.…