Pan-Seared Sea Scallops Garlic Butter: Induction Temp & Time
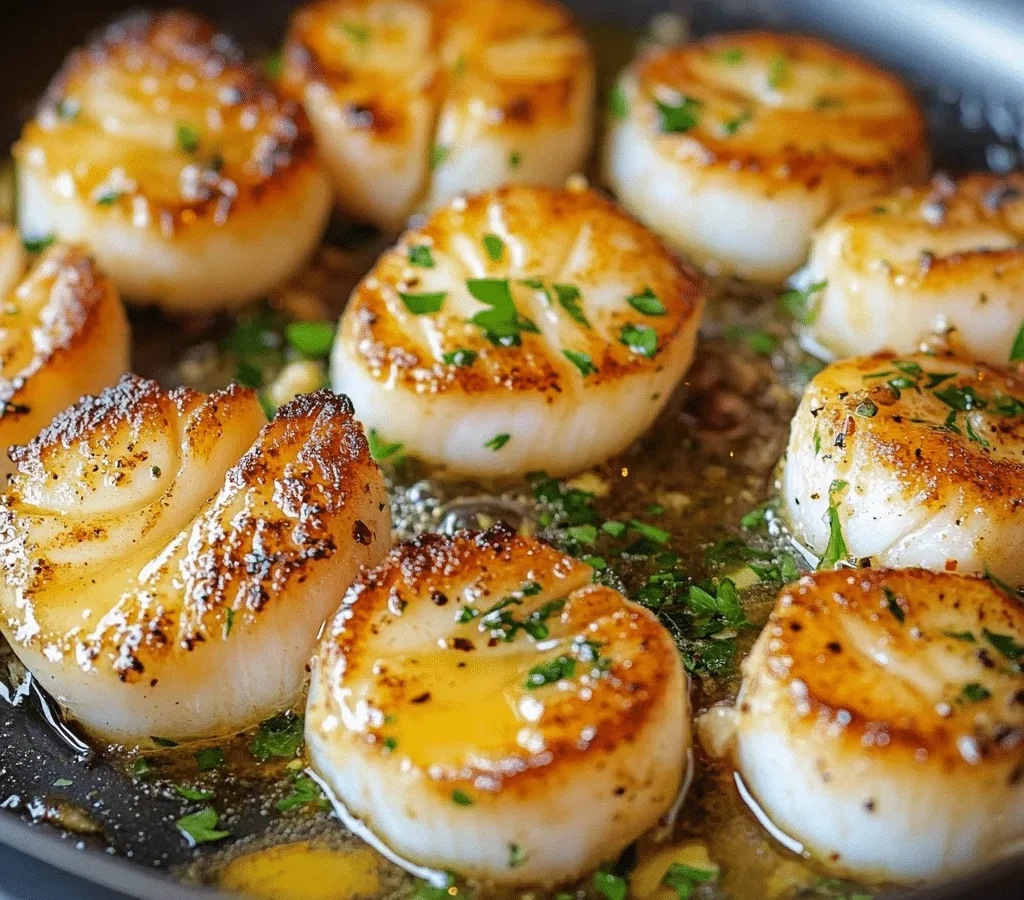
Perfectly seared scallops with a golden crust and a tender, milky center often feel like a restaurant-only trick. If you've been searching for what temperature and cooking time for pan-seared sea scallops with garlic butter in induction ceramic cookware set, you've probably noticed that generic advice doesn't quite work. Induction burners heat differently, and ceramic pans have their own quirks.
Get it wrong and you're staring at rubbery discs or burnt garlic.
Manufacturer specifications for most induction-compatible ceramic cookware indicate a maximum safe surface temperature around 450°F (232°C). That gives you a solid upper boundary. The sweet spot for scallops sits between 375°F and 400°F.
Let's break down how to hit that range every time.
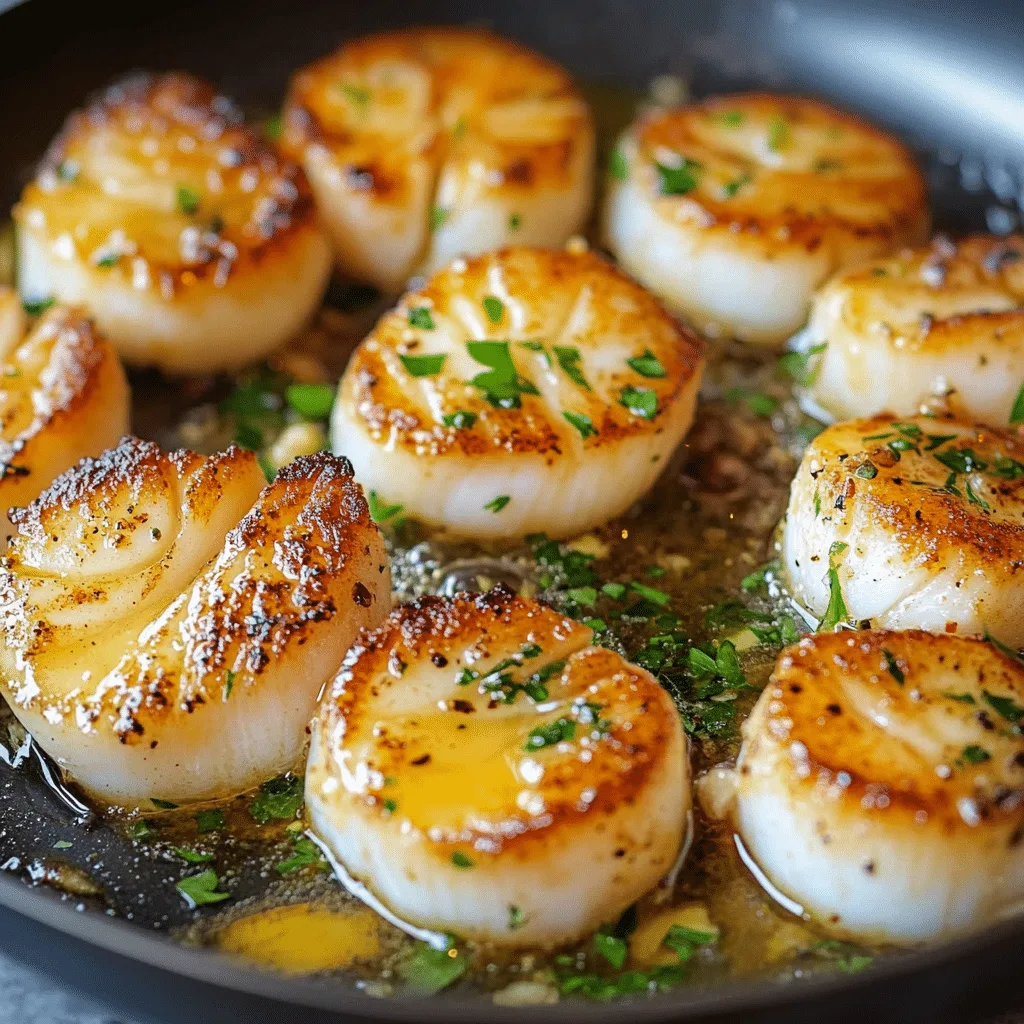
Image source: Web (Bing) / delectablemeal.com
Quick Answer
Heat your induction ceramic pan to 375°F to 400°F. Use medium-high heat, level 6 or 7 on most burners. Sear dry, patted scallops for 90 to 120 seconds per side.
Add butter and garlic after the flip. Rest them one minute off heat before serving.
The Core Numbers: Your Quick Answer on Temp and Time
The ideal pan surface temperature for sea scallops is 375°F to 400°F. That's roughly medium-high heat on most induction burners, which usually translates to a 6 or 7 on a 10-level dial. Below 350°F and the scallops steam instead of sear.
Above 425°F and the butter solids burn before the crust forms.
The water droplet test is the most reliable way to know your pan is ready without a thermometer. Flick a few drops of water onto the ceramic surface. If they bead up and skitter around like tiny glass marbles, you're in the right zone.
If they evaporate instantly, the pan is too hot. If they just sit there and boil, it's too cold.
As of 2026, most induction burners on the market cycle their power in short pulses. That means the pan surface temperature fluctuates more than with gas. A ceramic pan's thermal mass helps smooth those fluctuations out.
But you still need to watch the first batch closely to learn your specific burner's rhythm.
Time-wise, large U-10 scallops need 90 to 120 seconds per side. That's a firm 2-minute count for the first side, then about 90 seconds for the second. Medium U-20 scallops cook faster at 60 to 90 seconds per side.
The second side always takes less time because the pan has already transferred heat into the scallop.
This timing matches USDA recommendations for seafood safety. The USDA's safe minimum internal temperature for fish and shellfish is 145°F (63°C). Your scallops will reach that temperature during the rest period after coming off the heat.
Carry-over cooking adds about 8 to 12 degrees in the first minute off the pan.
Why Induction Ceramic Cookware Changes Your Approach
Induction cooking works by creating a magnetic field that heats the pan directly. The cooktop itself stays cool. This means your ceramic pan heats up faster than it would on gas or electric.
It also means the heat is more even across the pan surface.
That even heating is great for delicate seafood. You don't get the hot spots that cause uneven browning on a gas burner. But there's a trade-off.
Induction responds to changes instantly, which means you have less margin for error.
Ceramic cookware adds another layer of consideration. Most induction-compatible ceramic pans have a ferromagnetic stainless steel or aluminum base bonded to a ceramic non-stick coating. The ceramic coating has a lower maximum heat tolerance than raw stainless steel or cast iron.
Manufacturer guidelines typically list a max surface temperature between 400°F and 500°F.
Exceed that limit repeatedly and the coating can degrade. You might see discoloration, chipping, or loss of non-stick performance. Check your specific pan's manual if you still have it.
For pans with a 450°F max, your scallop searing temperature of 375°F to 400°F sits well within the safe zone.
The induction burner's cycling behavior matters here too. Lower-end induction burners pulse full power on and off to maintain a set temperature. This can cause brief spikes above your target temperature.
A good quality induction burner with more precise power control will hold a steadier temp. If you're using a portable induction burner, you may notice more fluctuation than with a built-in model.
Your pan's size also affects heat distribution. A pan that's significantly smaller than the induction burner's heating element will lose efficiency. The magnetic field extends beyond the pan base, wasting energy and creating uneven heat.
Match your pan size to the burner ring for the best results.
For a deeper look at how different cooking appliances handle temperature control, you might find our review of various kitchen tools helpful. We've covered how different designs handle heat retention and safety across multiple product categories.
Your Decision Tree: Three Questions That Change Everything
Not all scallops are the same, and not all induction ceramic pans behave identically. Your exact temperature and time depend on three variables. Answer these questions before you start cooking.
Question 1: Are your scallops dry pack or wet pack?
This is the single most important factor. Dry pack scallops have no added preservatives or water. They are naturally moist but not soaked.
Wet pack scallops have been treated with sodium tripolyphosphate (STPP) to extend shelf life and retain water weight.
Wet scallops release significantly more moisture during cooking. That moisture turns to steam in the pan. Steam prevents browning and can lower the pan surface temperature by 20 to 30 degrees.
Dry scallops sear beautifully with minimal liquid release.
If you have wet scallops, you need a hotter pan and a longer sear to evaporate the excess moisture. Start at 400°F pan temperature rather than 375°F. Extend the first side sear to 2 minutes and 15 seconds.
Pat them extremely dry with paper towels and let them sit uncovered in the fridge for 30 minutes before cooking.
If you have dry scallops, proceed with the standard 375°F to 400°F range. They will develop a golden crust within 90 seconds per side. Dry scallops are noticeably more expensive but deliver dramatically better results.
Question 2: What size are your scallops?
Scallop sizes are graded by count per pound. U-10 scallops are the largest, with fewer than 10 per pound. U-12 scallops have fewer than 12 per pound.
U-20 scallops are medium sized, with fewer than 20 per pound.
Bigger scallops need more time. A U-10 scallop that's about 1.5 inches thick needs a full 2 minutes on the first side. A U-20 scallop that's about 0.75 inches thick needs only 60 to 75 seconds per side.
If you cook the same time for both sizes, one will be underdone and the other will be overcooked.
Thickness matters more than diameter. Measure the thickest part of your largest scallop with your eyes. If it looks over an inch thick, lean toward the longer cooking time.
If it looks under an inch, shorten the sear.
Question 3: What is your ceramic pan's max heat tolerance?
Check the bottom of your pan or its original packaging for a maximum temperature rating. Common ratings include 400°F, 450°F, and 500°F. Some budget ceramic pans max out at 400°F.
Higher quality pans can handle 500°F.
If your pan maxes out at 400°F, stay at 375°F for scallops. That gives you 25 degrees of safety margin. Do not push it to 400°F for wet scallops because you risk damaging the coating.
If your pan is rated for 500°F, you have plenty of room to work at the higher end of the scallop range.
The table below summarizes how your answers change your approach.
| Variable | Condition | Pan Temp | First Side | Second Side |
|---|---|---|---|---|
| Scallop type | Dry pack | 375°F | 90 sec | 75 sec |
| Scallop type | Wet pack | 400°F | 135 sec | 90 sec |
| Scallop size | U-10 (large) | 375°F | 120 sec | 90 sec |
| Scallop size | U-20 (medium) | 375°F | 75 sec | 60 sec |
| Pan rating | 400°F max | 350°F | 120 sec | 90 sec |
| Pan rating | 450°F+ max | 400°F | 90 sec | 75 sec |
The Workflow: Step by Step from Scallop Bag to Caramelized Crust
Here is the complete process from start to finish. Follow these steps in order and adjust the timing based on your decision tree answers.
Step 1: Prep the scallops
Remove the scallops from the refrigerator 15 minutes before cooking. Do not leave them out longer than 30 minutes for food safety reasons. If they have a small rectangular side muscle attached, peel it off and discard it.
That muscle is tough and rubbery when cooked.
Pat each scallop dry with paper towels. Press firmly to absorb surface moisture. For wet scallops, change the paper towels and repeat.
Place the dried scallops on a plate lined with fresh paper towels. Put them back in the fridge uncovered for 30 minutes. This dry brine step pulls additional moisture from the surface.
Season the scallops lightly with salt just before they hit the pan. Do not salt them more than 5 minutes ahead, or the salt will draw out moisture and create steam in the pan. Fresh cracked white pepper is optional.
Black pepper looks unpleasant against the white scallop meat.
Step 2: Preheat your induction ceramic pan
Place the pan on the induction burner. Set the burner to medium-high heat, level 6 or 7. Let the pan heat for 2 to 3 minutes.
A cold pan on induction heats unevenly, so give it time to stabilize.
Perform the water droplet test. Flick a few drops of water onto the pan. They should form a sphere and skitter around.
If they spread out and boil, the pan is too cool. If they evaporate instantly, the pan is too hot. Wait for the skittering beads.
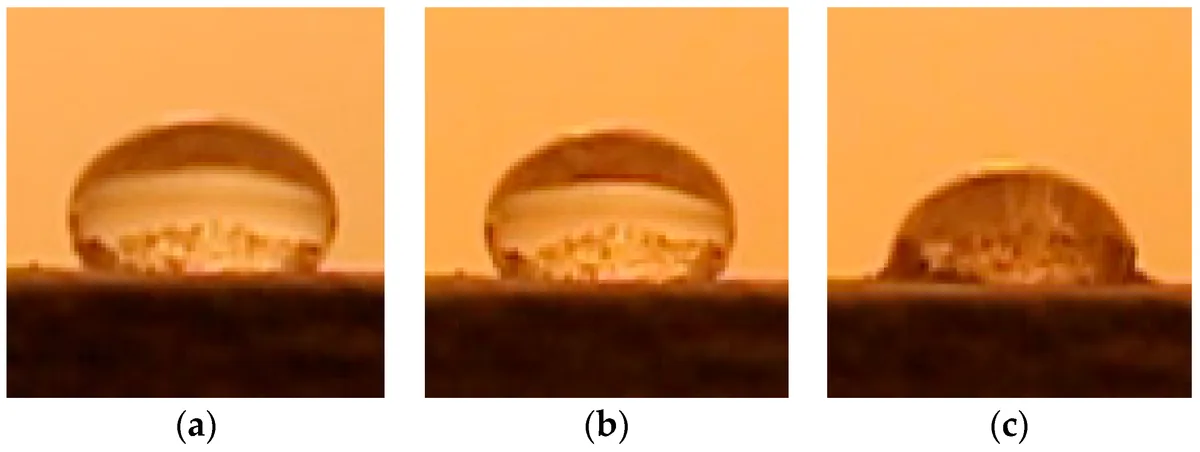
Image source: Web (Bing) / mdpi.com
Step 3: Add oil, then sear
Add 1 to 2 tablespoons of high smoke point oil to the pan. Avocado oil, grapeseed oil, or refined coconut oil all work well. Swirl the pan to coat the surface.
The oil should shimmer but not smoke.
Place the scallops in the pan with at least 1 inch of space between them. Do not overcrowd. If you need to cook more than 6 scallops, work in batches.
Overcrowding drops the pan temperature and causes steaming instead of searing.
Let the scallops cook undisturbed for the full first side time. Do not peek, poke, or shift them. The crust needs uninterrupted contact with the hot surface to form.
You will know they are ready to flip when the edges look opaque and golden brown.
Step 4: Flip, add butter and garlic
Flip each scallop with tongs. The cooked side should be golden brown with a visible crust. If it looks pale, leave it for another 15 to 30 seconds.
Immediately add 1 to 2 tablespoons of unsalted butter to the pan. Drop in 2 thinly sliced garlic cloves or 1 teaspoon of minced garlic. Tilt the pan slightly so the butter pools on one side.
Use a spoon to baste the scallops with the melted garlic butter.
The second side cooks faster, typically 60 to 90 seconds. The butter and garlic add flavor without burning because they arrive late in the process. If you added them at the start, they would burn before the scallops were done.
Step 5: Rest and serve
Transfer the scallops to a warm plate. Let them rest for 1 minute. During this time, carry-over cooking raises the internal temperature by 8 to 12 degrees.
The scallops should reach the USDA safe minimum of 145°F internally.
Pour the remaining garlic butter from the pan over the scallops. Serve immediately. Scallops do not hold well.
They lose texture and temperature within minutes.
The Four Most Common Failures (And How to Avoid Them)
Even experienced home cooks hit these roadblocks. Here is what goes wrong and how to fix it.
Failure 1: Rubber scallops
You bite into a scallop and it's tough and chewy instead of tender and buttery. That's overcooking. Scallops are lean protein with very little connective tissue.
Overcook them by even 30 seconds and the proteins tighten up into a rubbery texture.
The fix is precise timing. Pull the scallops off the heat when the center is still slightly translucent and the internal temperature is around 125°F to 130°F. Carry-over cooking will bring them to 135°F to 140°F.
If you wait until they feel firm to the touch in the pan, they are already overdone.
Failure 2: Steamed scallops with no crust
You pull the scallops out and they are white, wet, and pale. No golden crust. This means the pan was not hot enough, the scallops were too wet, or you overcrowded the pan.
The fix starts before cooking. Dry the scallops thoroughly. Use the water droplet test to confirm the pan is at temperature.
Leave space between scallops in the pan. If you hear a hiss rather than a sizzle, the scallops are steaming, not searing. Remove them, dry the pan, and start over with a higher heat setting.
Failure 3: Burned garlic butter
Black specks in your butter, bitter flavor, and acrid smell. Garlic burns faster than scallops cook. If you add garlic at the beginning, it will char before the scallops are done.
The fix is timing. Add the butter and garlic only after you flip the scallops. That gives them about 60 to 90 seconds to infuse flavor without burning.
Slice garlic thinly rather than mincing it. Thin slices burn slower than minced pieces. If you want stronger garlic flavor, use a microplane to grate a clove directly into the butter after the flip.
Failure 4: Sticking to the ceramic surface
Your scallops fuse to the pan. When you try to flip them, the crust tears off and sticks to the surface. Ceramic non-stick coatings should release food easily, but they can fail if used incorrectly.
The fix is proper preheating and oil choice. Make sure the pan is fully preheated before adding oil. Use a high smoke point oil that can handle the heat without breaking down.
Do not use cooking spray on ceramic pans. Spray contains lecithin and other additives that build up a sticky residue over time. If your pan already has sticky residue, clean it with a baking soda paste and a soft sponge.
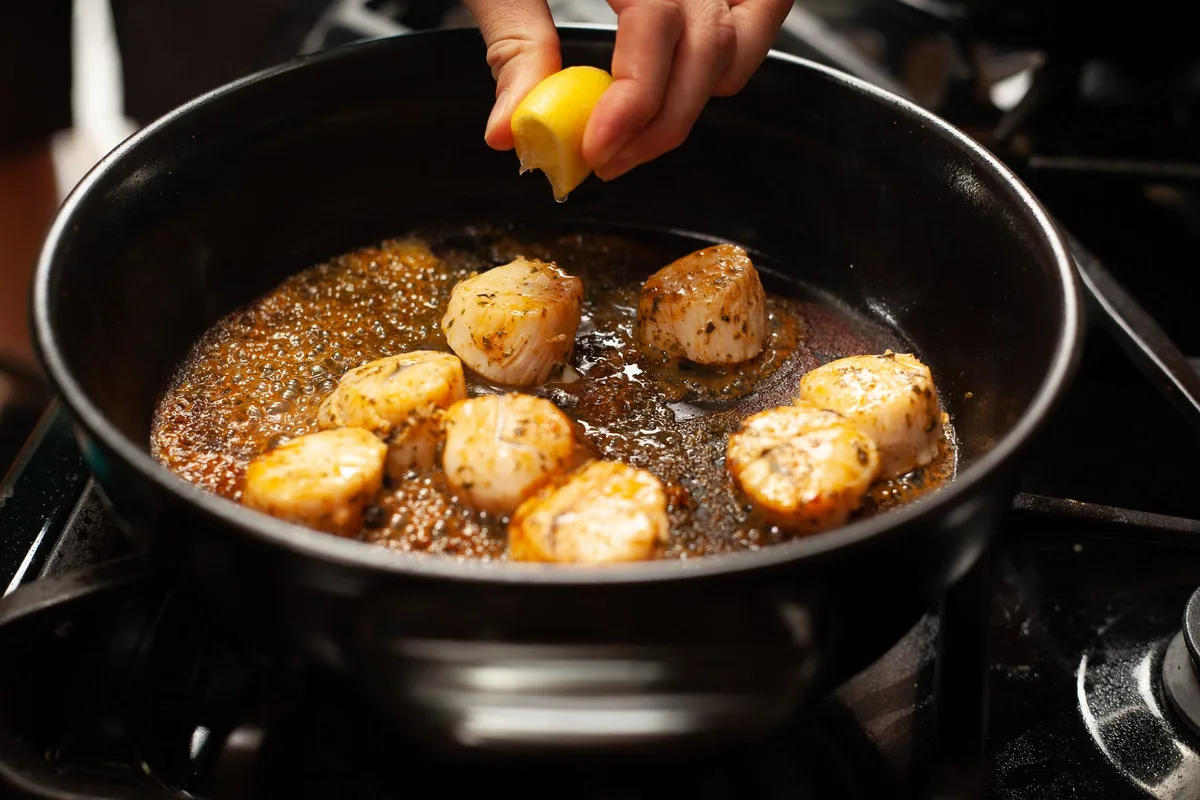
Image source: Bing (Web (fair-use with source credit))
Regular maintenance also prevents sticking. We've covered effective cleaning methods for various kitchen cookware that apply to ceramic pans as well. Keeping your pan's surface pristine is the best way to ensure reliable non-stick performance.
Matching Your Variables: Different Scallop Sizes, Different Settings
The timing charts from the decision tree give you a starting point. But real cooking requires adjustments based on what you actually see in the pan. Here is how the major size categories behave differently.
U-10 Scallops (Under 10 per Pound)
These are the jumbo scallops. They are about 1.5 inches thick and nearly 2 inches across. They have the most forgiving window for cooking because their mass takes longer to heat through.
Set your induction burner to a solid 7 if your dial goes to 10. You want the pan at the hotter end of the range, around 395°F to 400°F. The first side needs a full 2 minutes, sometimes 15 seconds more if the scallop is particularly thick.
The second side needs 90 seconds.
The crust on a U-10 scallop should be deep golden brown with visible browning around the edges. When you flip it, the seared surface should feel firm to the touch of your tongs. If it feels soft or mushy, leave it another 20 seconds.
U-10 scallops benefit from a brief rest of 2 minutes rather than 1 minute. The carry-over cooking is more significant with larger scallops. Internal temperature will rise about 12 to 15 degrees after removal.
U-12 Scallops (Under 12 per Pound)
These are still large but slightly thinner, around 1.25 inches thick. They are the most common size at seafood counters and fish markets.
Use burner level 6 or 7. The pan should be at 375°F to 385°F. First side takes 90 to 100 seconds.
Second side takes 75 seconds. These scallops cook quickly, and the difference between perfect and overdone is about 15 seconds.
Watch the edges carefully. When the sides turn opaque white about halfway up the scallop, it is nearly time to flip. The center should still look slightly translucent when you take them off the heat.
U-20 Scallops (Under 20 per Pound)
These are medium scallops, about 0.75 to 1 inch thick. They cook fast and require careful attention.
Set the burner to level 6. The pan should be at 365°F to 375°F. First side takes 60 to 75 seconds.
Second side takes 45 to 60 seconds. If you blink, you will miss the window.
U-20 scallops are more prone to overcooking because their thinner profile heats through rapidly. Consider reducing the heat slightly after the flip to give yourself more control. The carry-over cooking on these is minimal, only about 5 to 8 degrees.
Bay Scallops (The Exception)
Bay scallops are small, about the size of a pea or a thumbnail. They are not suitable for pan searing in the same way. Their thin shape means they overcook in about 20 seconds.
If you have bay scallops, consider a quick sauté instead. Heat the pan to 350°F. Cook them for 30 seconds total, shaking the pan constantly.
They will not develop a crust like large scallops. Aggregate reviews from home cooks consistently report disappointment when trying to sear bay scallops in the same manner as sea scallops.
| Scallop Size | Pan Temp | Burner Level | First Side | Second Side | Rest Time |
|---|---|---|---|---|---|
| U-10 (jumbo) | 395-400°F | 7 | 120 sec | 90 sec | 2 min |
| U-12 (large) | 375-385°F | 6-7 | 90-100 sec | 75 sec | 1-2 min |
| U-20 (medium) | 365-375°F | 6 | 60-75 sec | 45-60 sec | 1 min |
| Bay (tiny) | 350°F | 5 | 30 sec total sauté | N/A | None |
What a Real-World Batch Looks Like: Two Walkthroughs
Theory is useful. Seeing how the variables play out in actual cooking makes the process click. Here are two common scenarios with specific numbers and outcomes.
Walkthrough One: Frozen Wet-Pack Scallops from the Grocery
You picked up a bag of frozen sea scallops from the supermarket. The label says they contain sodium tripolyphosphate. These are wet scallops.
They are the most affordable option and the most likely to frustrate you if you do not adjust properly.
Thaw them overnight in the refrigerator on a paper towel-lined plate. Do not thaw them in water or in the microwave. Water thawing adds even more moisture.
After thawing, pat them dry with multiple paper towels. Change towels and repeat. You will be shocked at how much water comes off.
Place them on a fresh towel in the fridge uncovered for 45 minutes. This is the most critical step.
Your pan temperature needs to be at the high end, about 400°F. Set your induction burner to level 7. Use avocado oil for the sear because it handles high heat reliably.
Sear the first side for 2 minutes and 15 seconds. The scallops will release a small pool of white liquid into the pan. That is the STPP solution cooking out.
If you see a lot of liquid, the pan was not hot enough.
Flip and add butter and garlic immediately. Second side takes 90 seconds. The crust will be lighter in color than dry scallops.
It will be more of a pale gold than deep brown. That is normal for wet scallops.
Internal temperature after resting should reach 145°F. If it is below 140°F, the scallops are not safe to eat. Wet scallops sometimes need an extra 15 seconds per side to reach safe temperatures because the excess moisture cools the pan.
Walkthrough Two: Fresh Dry-Pack Scallops from the Fish Counter
You found a seafood market selling dry pack scallops. They cost more but they are worth it. They feel drier to the touch and have a sweet, clean ocean smell.
No thawing needed. Pat them lightly with a paper towel. Only a small amount of moisture will come off.
Skip the fridge drying step. They are ready to cook immediately.
Set your pan to 375°F on burner level 6. Use grapeseed oil for the sear. First side takes exactly 90 seconds.
The crust will develop quickly and evenly. It should be deep golden brown with visible caramelization.
Flip and add butter and a slice of garlic. Second side takes 60 seconds. The scallops will feel firm with a slight spring when pressed.
Internal temperature after a 1 minute rest should be around 135°F to 140°F. That is the ideal tender zone.
The taste difference is noticeable. Dry scallops have a sweet, buttery flavor with no chemical aftertaste. The texture is creamy rather than mealy.
Many experienced cooks consider dry scallops the only option for pan searing.
If you want to explore other cooking methods for different ingredients, the same temperature principles apply. The key is matching your technique to the specific product you have in hand.
Frequently Asked Questions
Can I use salted butter and add garlic at the same time?
Yes, but reduce the added salt on the scallops. Salted butter contains about 1/4 teaspoon of salt per stick. Season the scallops lightly and adjust after tasting.
The butter will still brown and baste normally.
Should I let my scallops come to room temperature first?
Let them sit out for 15 minutes, no more than 30. Scallops are shellfish and should not sit at room temperature for extended periods. The 15 minute rest helps them cook more evenly without a cold center.
What if my ceramic pan discolors from high heat?
White or light colored ceramic pans sometimes develop a yellowish tint over time. This is cosmetic and does not affect performance. It usually indicates oil residue that has baked onto the surface.
A baking soda paste and gentle scrubbing can remove it.
How do I clean burnt garlic off the ceramic surface?
Let the pan cool completely. Make a paste of baking soda and water. Apply it to the burnt areas.
Let it sit for 15 minutes. Scrub gently with a soft sponge. Avoid abrasive pads.
Ceramic coatings scratch easily.
Can I reuse the garlic butter for another batch?
You can, but the garlic will continue to infuse and may become bitter. Use the butter from the first batch within the same cooking session. Do not save and reheat it.
Fresh butter and garlic for each batch produce the best flavor.
Is it worth buying a kitchen thermometer for this?
Absolutely. An instant read thermometer removes all guesswork. Target 125°F to 130°F internal temperature before resting.
The scallops will carry over to 135°F to 145°F. This is the single best investment for consistent results.

Related posts
Crusty Sourdough Boule: Dutch Oven Temp & Time
If you’ve been searching for what temperature and cooking time for crusty artisan sourdough bread boule in ceramic…
Remove Rainbow Heat Tint from Induction Cookware Fast
Having your induction ceramic cookware turn into a rainbowtinged mess after a single highheat meal is frustrating. You…

Sensarte Ceramic Pan: Is This Budget Buy Worth It? Reddit
You're staring at a $25 ceramic pan wondering if it'll actually hold up or if you're just throwing…