Crusty Sourdough Boule: Dutch Oven Temp & Time
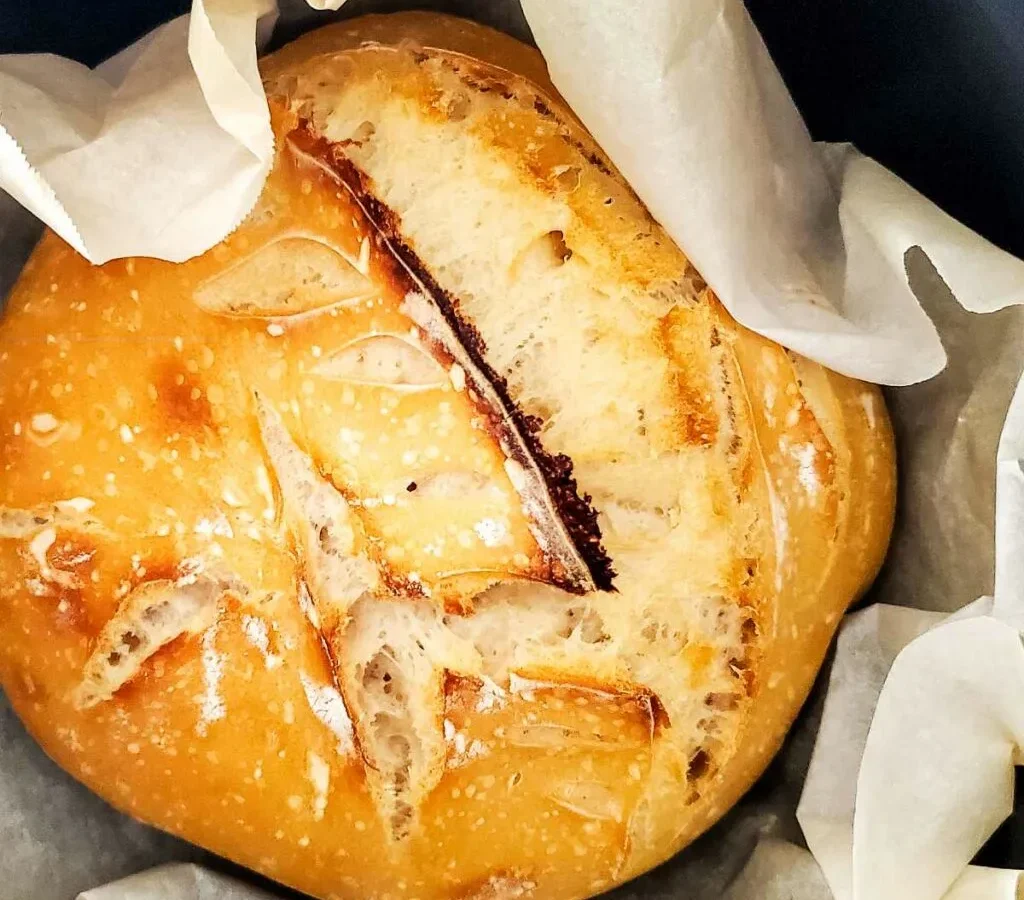
If you’ve been searching for what temperature and cooking time for crusty artisan sourdough bread boule in ceramic coated dutch oven, you already know that online advice can be frustratingly vague. Too many guides just say “bake at 450°F” without mentioning that your ceramic coating might crack above a certain heat or that a 1-kilo loaf needs more time than a smaller boule.
Manufacturer specifications indicate that most enameled cast iron Dutch ovens are rated for a maximum oven temperature between 450°F and 500°F, with the lid knob often being the weakest link. Ignore that limit, and you risk damaging your pot. Get the timing wrong, and you end up with a pale, soft crust or a burnt bottom.
That is exactly why we’re going to walk through the real variables that matter for your bake.
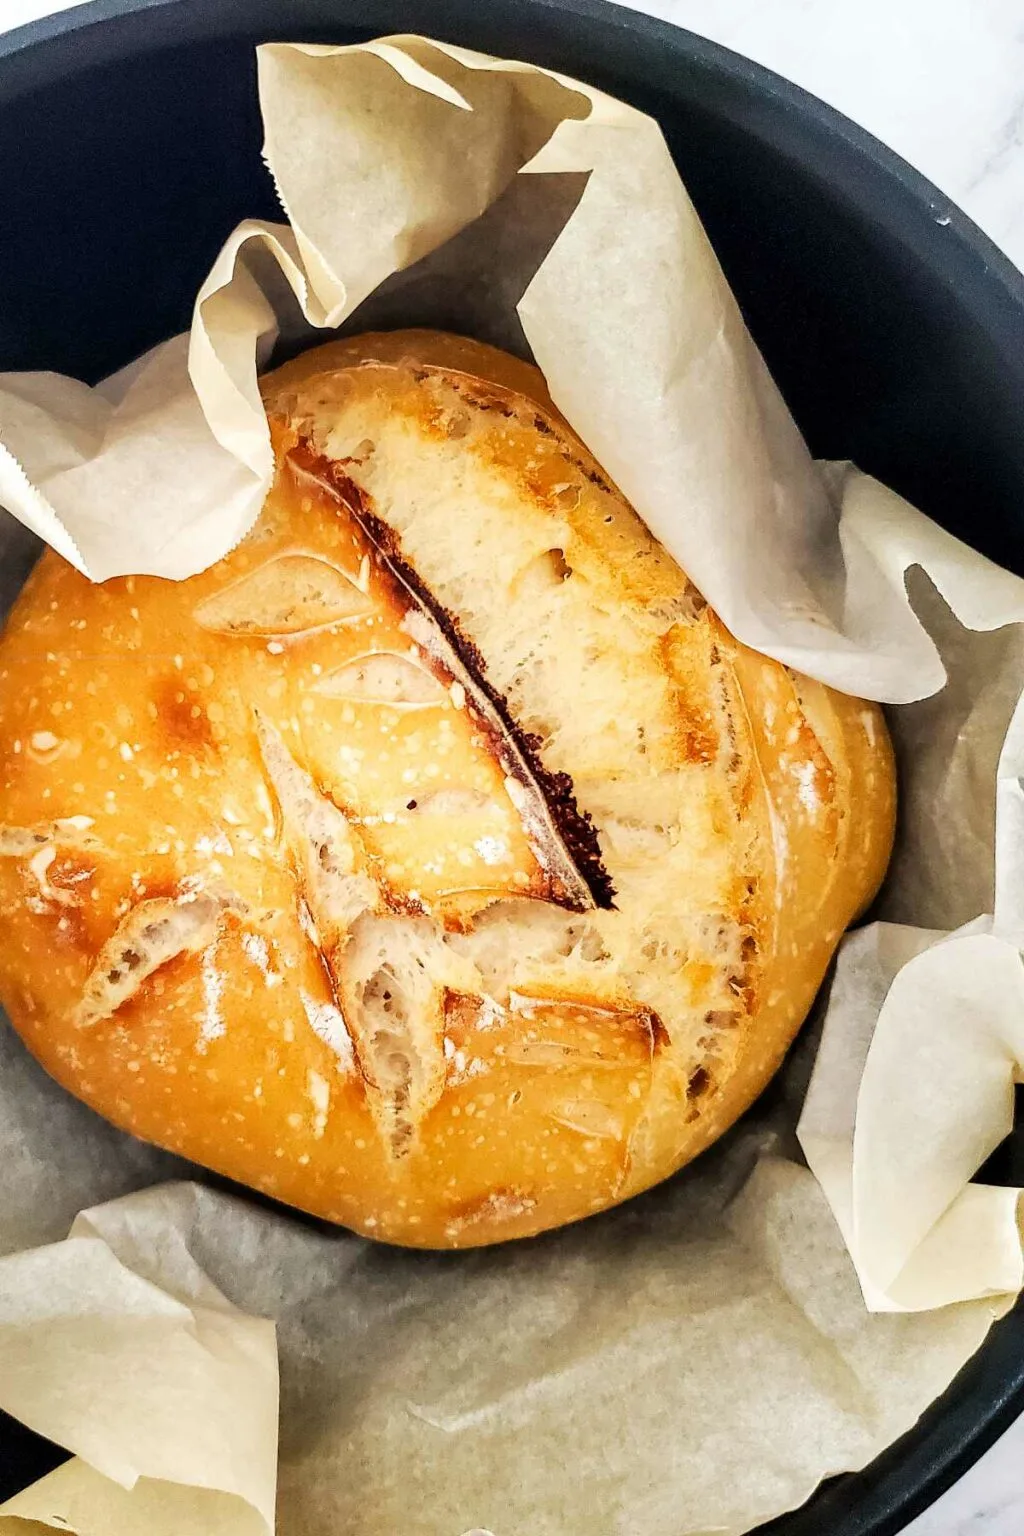
Image source: Web (Bing) / ikneadbread.com (Web image (fair-use with source credit))
Quick Answer
Bake your sourdough boule at 450°F for 30 minutes covered. Remove the lid. Bake uncovered for 15 to 20 more minutes.
Check the internal temperature, it needs to reach 205°F to 210°F. Total time is roughly 45 to 50 minutes for a standard 1-kilo loaf.
Adjust only if your manufacturer rating is lower than 450°F. In that case, drop to 425°F and extend the covered bake by 5 minutes. The crust will still develop, just with slightly less dark caramelization.
How a Ceramic Coated Dutch Oven Bakes Bread (and Why the Coating Changes Your Numbers)
A Dutch oven works like a miniature steam-injected oven. You preheat the pot, drop in your scored dough, and cover it. Moisture from the wet dough immediately turns to steam inside that sealed environment.
That steam keeps the crust soft and stretchy long enough for the dough to spring upward in the oven. Once you take the lid off, the remaining moisture evaporates and the crust hardens into that crisp, crackling shell you want.
Ceramic-coated cast iron does this job beautifully. But the coating introduces a couple of important limits. First, the enamel glaze is glass.
Heat it too high or too fast, or subject it to a sudden temperature shock, and the glaze can craze or chip. Second, the coating is slightly less conductive than bare iron, so the pot may take a little longer to reach full heat during the preheat phase.
| Factor | Ceramic Coated Dutch Oven | Bare Cast Iron Dutch Oven |
|---|---|---|
| Max safe temp | 450°F to 500°F (check yours) | 500°F+ |
| Preheat time | 45 to 60 minutes | 35 to 45 minutes |
| Crust browning | Slightly lighter at same temp | Darker, faster |
| Lid knob concern | Plastic or metal? Check rating | Usually metal, oven safe |
The practical takeaway is this: do not treat a ceramic-coated pot the same as bare cast iron. Aggregate reviews from home bakers consistently show that pushing a coated pot past 475°F increases the risk of hairline cracks in the enamel. Stick inside your manufacturer’s published range, and you will get years of reliable use.
Step by Step: Baking a Crusty Sourdough Boule in a Ceramic Coated Dutch Oven
This sequence assumes you have a fully proofed, scored boule ready to go. If your dough is still cold from the fridge, that is fine, cold dough actually produces better oven spring in many recipes.
Step 1: Position a rack in the lower third of your oven. Place your empty Dutch oven on the rack with the lid on. Set the oven to 450°F and let it preheat for a full 45 to 60 minutes. The pot needs to absorb heat evenly.
Rushing the preheat is one of the most common mistakes we see.
Step 2: Prepare your dough for transfer. Flour the top of your proofed boule lightly. Flip it onto a piece of parchment paper so the seam side is up. Score the top with a razor blade or a sharp knife, a single deep slash about 1/2 inch deep, or a cross pattern.
Scoring gives the steam a controlled exit point and directs the oven spring.
Step 3: Load the hot pot. Carefully take the preheated Dutch oven out of the oven. Remove the lid. Use the parchment paper as a sling to lower the dough into the pot.
Put the lid back on. Return the pot to the oven immediately. Work quickly but safely, the pot is extremely hot.
Step 4: Bake covered for 30 minutes. This is the steaming phase. Do not open the oven during this period. The trapped moisture is doing the heavy lifting for your crust and rise.
Step 5: Remove the lid and bake uncovered for 15 to 20 minutes. The crust now needs to dry out and brown. The final color depends partly on your oven’s personality. At 450°F, a typical 1-kilo boule comes out deep amber after about 15 minutes uncovered.
If you want a darker, almost mahogany crust, push it to 18 or 20 minutes, but watch the bottom of the loaf, it can scorch.
Step 6: Check the internal temperature. Pull the loaf out and insert an instant-read thermometer into the center of the bottom. You are looking for 205°F to 210°F. If it is below 200°F, the crumb will be gummy.
Return the loaf to the oven with the lid off for another 5 minutes, then test again.
Step 7: Cool completely on a wire rack. This step is not optional. Slicing while the loaf is warm will compress the crumb and release steam that should stay inside. Let it rest for at least one hour.
The Decision Tree: Adjusting Temp and Time for Your Loaf Size, Dough Hydration, and Coating Rating
Image source: Web (Bing) / kuladevatha.com (Web image (fair-use with source credit))
Not all sourdough boules are the same. The numbers above work for a standard 1-kilo loaf at about 75% hydration baked in a Dutch oven rated for at least 450°F. Change any of those variables, and you need to adjust.
Let us walk through the three biggest factors.
Loaf size matters more than people think. A smaller 600-gram boule needs less total time. Try 25 minutes covered and 12 to 15 minutes uncovered. A larger 1.2-kilo loaf needs the full 30 minutes covered and 20 to 25 uncovered.
The internal temperature test is your best guide here, do not rely on time alone.
Dough hydration changes how fast the crust forms. Wet doughs at 80% hydration or higher release more steam, which extends the covered bake slightly. You might want to leave the lid on for 35 minutes instead of 30 to let the structure set fully before exposing the crust to dry heat. Lower hydration doughs around 65% dry out faster, so you can trim the uncovered bake by a few minutes.
Your Dutch oven’s max temperature rating is the hard limit. Check the bottom of the pot or the manufacturer’s website. Here is how to adjust if your rating is lower than 450°F:
| Max Temp Rating | Covered Bake Temp | Covered Time | Uncovered Temp | Uncovered Time |
|---|---|---|---|---|
| 500°F+ | 475°F | 30 min | 475°F | 15 min |
| 450°F to 475°F | 450°F | 30 min | 450°F | 15-20 min |
| 425°F to 440°F | 425°F | 35 min | 425°F | 18-22 min |
| 400°F | 400°F | 40 min | 425°F | 20-25 min |
Yes, you can bake at 425°F and still get a good crust. The loaf will be slightly lighter in color and the bake time will be longer, but the interior crumb will be just as tender. Many bakers actually prefer a slightly milder crust for sandwiches.
7 Mistakes That Ruin Crusty Sourdough in a Ceramic Dutch Oven (and How to Fix Them)
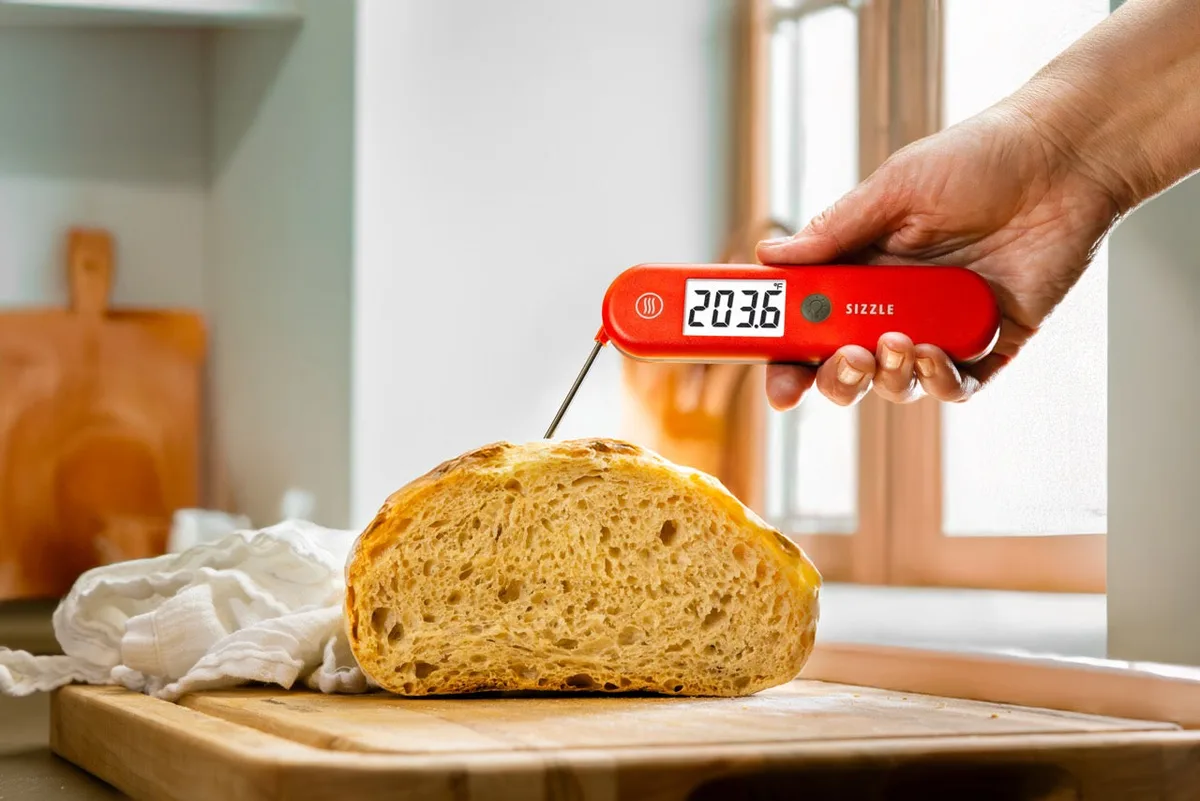
Image source: Bing (Web (fair-use with source credit))
Even experienced bakers hit snags with ceramic-coated pots. Here are the most common problems and the research-backed fixes.
Mistake 1: Baking above the coating’s rated max temperature. This is the fastest way to damage your pot. Crazed enamel or a chipped rim is usually permanent. Always verify your Dutch oven’s maximum safe temperature before you preheat.
If you lost the manual, check the manufacturer’s website.
Mistake 2: Putting a cold pot into a hot oven. Thermal shock can crack the ceramic coating. Always preheat the Dutch oven with the oven, do not place a room-temperature pot into a already-hot oven. Similarly, never put a hot Dutch oven onto a cold countertop directly.
Set it on a trivet or a folded towel.
Mistake 3: Skipping the preheat. A cold pot will not produce enough steam to generate proper oven spring. The dough will spread sideways rather than rising upward. You need that 45- to 60-minute preheat for the cast iron core to store enough energy.
Mistake 4: Opening the lid during the covered bake. Every time you lift that lid, steam escapes and the oven temperature drops. The crust begins to harden prematurely, and you lose potential rise. Resist the urge to peek.
Set a timer and trust the process.
Mistake 5: Using too much flour on the dough surface. Excess flour creates a barrier that prevents the crust from browning evenly in the uncovered phase. Use a light dusting on your proofing basket and scrape off any thick clumps before scoring.
Mistake 6: Under-proofing or over-proofing the dough before baking. Both affect how the loaf behaves in the oven. Under-proofed dough will tear open at the score line and yield a dense crumb. Over-proofed dough will flatten and spread.
The poke test is reliable: gently press your finger into the dough. If the indent springs back slowly and leaves a slight dimple, it is ready.
Mistake 7: Pulling the loaf before it reaches 205°F internally. Color alone is not a reliable doneness indicator. A dark crust can hide a gummy, under-baked interior. Always use an instant-read thermometer.
Insert it through the bottom of the loaf for the most accurate read.
Ceramic-Coated vs. Bare Cast Iron, Combo Cooker, and Bread Cloche: What Actually Works Best
So, is a ceramic-coated Dutch oven really the best tool for this job? The short answer is yes, but only if you respect its limits. Bare cast iron can take more heat, but it needs regular seasoning and a heavier hand.
A combo cooker is easier to load but often has a thinner wall. A bread cloche does a great job with steam, but it is less versatile.
Let me break down the differences. Bare cast iron Dutch ovens can comfortably hit 500°F or higher. That means you can bake hotter and get a faster, darker crust.
The trade-off is that bare iron needs to stay seasoned, and acidic dough can break down the seasoning over time. Ceramic-coated iron skips that headache. The glaze never reacts with your dough, and cleanup is simple.
| Vessel | Max Temp | Steam Retention | Loading Ease | Crust Quality |
|---|---|---|---|---|
| Ceramic-coated Dutch oven | 450–500°F | Excellent | Okay (deep sides) | Excellent |
| Bare cast iron Dutch oven | 500°F+ | Excellent | Okay (deep sides) | Excellent, darker |
| Combo cooker | 450–500°F | Good | Easier | Very good |
| Bread cloche | 450–500°F | Very good | Easier | Very good |
A combo cooker is essentially a shallow skillet with a deep lid that doubles as a second baking vessel. Many bakers love it for the shallow base. You can score your dough and slide it in without lowering it deep into a pot.
That makes the transfer safer and faster. The downside is that many combo cookers use lighter cast iron, so they lose heat faster when the lid comes off.
The cloche deserves a quick mention. It is a ceramic dome that traps steam without a separate pot. Loaves bake beautifully in it.
But you cannot use it for anything else. A Dutch oven, by contrast, makes soups, stews, and roasts too. For most home bakers, a ceramic-coated Dutch oven remains the most practical all-rounder.
The right choice depends on how often you bake. If you are choosing your first baking vessel, just stick with the Dutch oven you already have. If you are sorting out which vessel does what in your kitchen, the debate over whether to buy a dedicated machine or rely on a basic pot comes up often.
Safety First: Max Heat Ratings, Oven-Safe Knobs, and Thermal Shock Risks
This is the section where you protect your equipment and your hands. Most ceramic-coated Dutch ovens have a stated maximum oven temperature stamped into the bottom. That number is usually 450°F to 500°F.
Exceeding it can crack the enamel, ruin the pot, and leave glass-like shards near your food.
Your lid knob is the next thing to check. Many stock knobs are made of plastic or phenolic resin. These materials are heat-resistant only to around 425°F.
If your knob is not rated for the temperature you plan to use, unscrew it and replace it with a metal knob. Many manufacturers sell stainless steel knob replacements.
| Knob Type | Common Max Temp | Safe at 450°F? |
|---|---|---|
| Plastic | 350–400°F | No |
| Phenolic resin | 425°F | No |
| Stainless steel | 500°F+ | Yes |
Thermal shock is the other big risk. Never put a cold Dutch oven into a preheated oven. Never place a hot pot onto a cold, damp countertop.
Both scenarios cause the enamel to contract unevenly and crack. Always preheat the pot with the oven. Always set the hot pot on a wooden trivet, dry towel, or silicone mat.
Also, remember that the whole pot gets dangerously hot, not just the sides. Use thick oven mitts or welding gloves. Keep a safe path from the oven to your work surface before you pull the pot out.
A small slip costs you a loaf and potentially a visit to urgent care.
Finally, know how to inspect the enamel before each bake. Check for chips at the rim, especially if you have heavy lids. A chipped interior can expose bare iron and leach a metallic taste into acidic dough.
If the coating is damaged, retire the pot. For instructions specific to your model, look up the official care guidelines from the manufacturer.
FAQs: Temp, Time, and Ceramic-Coated Sourdough Questions
Can I bake at 475°F in a ceramic-coated Dutch oven?
Only if your manufacturer lists 475°F as the maximum. Check the stamp on the bottom of the pot and the official product page. If the rating is 450°F, do not push beyond it.
Baking at 475°F in a 450°F-rated pot risks cracking the enamel.
Why is the bottom of my sourdough loaf burning?
The pot sits too close to the bottom heating element, or your oven runs hot. Place a bare baking sheet on the rack underneath the Dutch oven to diffuse the heat. You can also lower the oven temperature by 25°F and extend the uncovered bake by a few minutes.
How long should I preheat my ceramic Dutch oven?
Preheat for 45 to 60 minutes. A shorter preheat means the cast iron core has not absorbed enough heat, which leads to weak oven spring and a paler crust. Turn the oven on, set the pot inside, and wait until the full hour passes.
Consistency beats speed here.
Do I need to adjust baking time for a smaller boule?
Yes. A 600-gram boule needs about 25 minutes covered and 12 to 15 minutes uncovered. A 1.2-kilo loaf needs the full 30 minutes covered and 20 to 25 uncovered.
Use an instant-read thermometer to decide, not the clock alone.
What is the best way to get a darker crust without burning the bottom?
Brush the top with melted butter or olive oil before the uncovered bake. That promotes browning. Or bake uncovered for an extra 5 minutes at a lower temperature.
You can also put a baking sheet on the rack below the Dutch oven to shield the bottom.
Your Final Decision Guide: Matching Bake Time and Temp to the Dough You're Working With
By now, you have everything you need to make a confident choice. Here is the condensed workflow. Start with your dough's hydration and size, cross-check your pot's max temperature rating, and then pick the row that matches.
If your pot is rated for 450°F and you have a standard 75% hydration 1-kilo boule, you already know the numbers: 30 minutes covered, 15 to 20 uncovered. If your dough is wetter than 80% hydration, add 5 minutes to the covered phase. A wetter dough releases more steam, so it needs a longer steaming window to hold its shape.
| Loaf Weight | Hydration | Covered Bake | Uncovered Bake | Final Temp |
|---|---|---|---|---|
| 600g | 65–75% | 25 min | 12–15 min | 205°F+ |
| 1kg | 75–80% | 30 min | 15–20 min | 205°F+ |
| 1.2kg | 75–80% | 35 min | 20–25 min | 205°F+ |
Use the thermometer as your final judge. If the loaf hits 205°F to 210°F, it is done, even if the color looks lighter than you expected. If it is dark but reads 195°F, the crust is over-baked while the crumb is still gummy.
That loaf will taste doughy and flat.
The last piece of advice is simpler than you think. Focus on your dough temperature, proofing, and preheating routine. The temperature and time numbers are just a starting point.
Once you have baked a few loaves in the same pot and same oven, you will know your setup's personality. Write down your bake times, note the crust color, and adjust from there.

Related posts

Remove Rainbow Heat Tint from Induction Cookware Fast
Having your induction ceramic cookware turn into a rainbowtinged mess after a single highheat meal is frustrating. You…
Pan-Seared Sea Scallops Garlic Butter: Induction Temp & Time
Perfectly seared scallops with a golden crust and a tender, milky center often feel like a restaurantonly trick.…

Sensarte Ceramic Pan: Is This Budget Buy Worth It? Reddit
You're staring at a $25 ceramic pan wondering if it'll actually hold up or if you're just throwing…