Slow Fryer Fix: Speed Up Temp Recovery
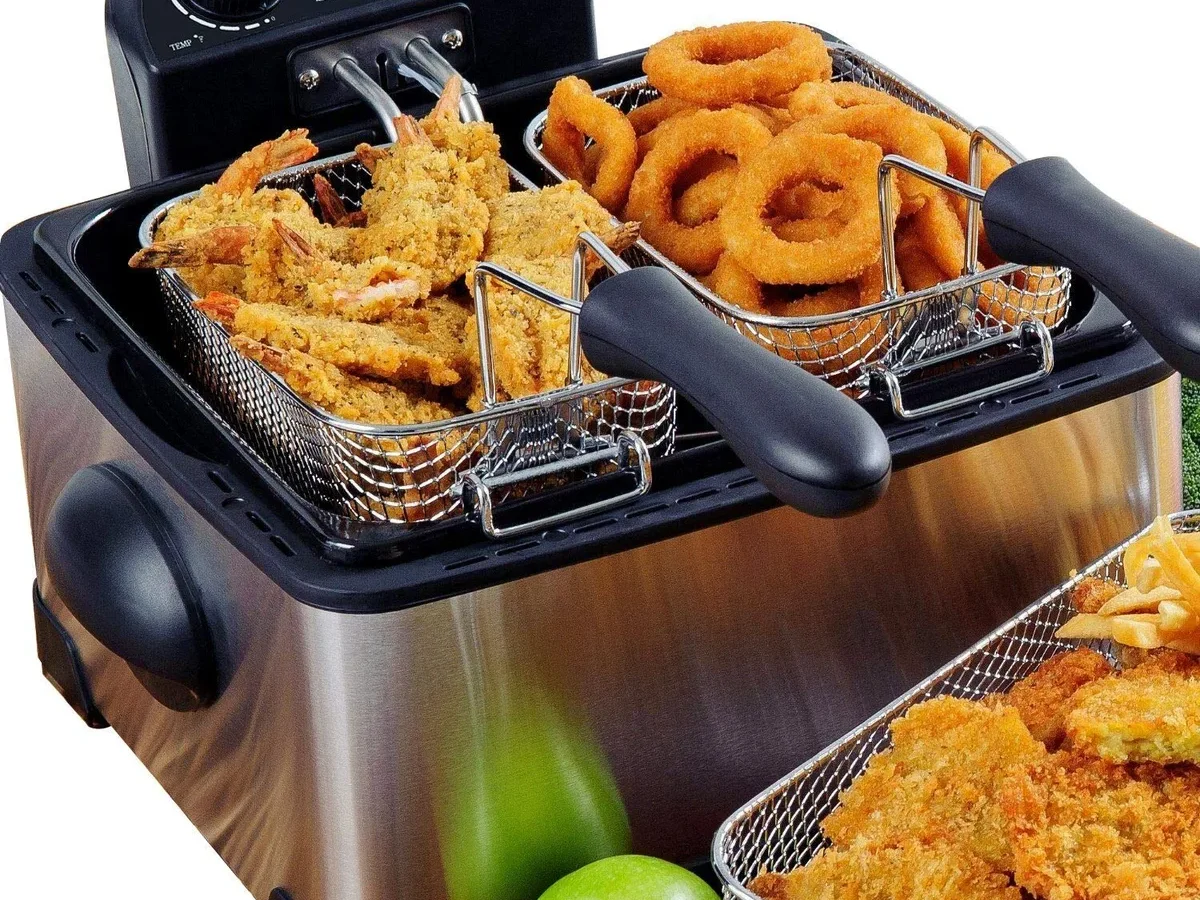
If you’re dealing with a triple basket family size deep fryer heating element that’s taking 25 minutes to recover temp after food drop, you’re losing time and quality. That’s slow enough to turn crispy fries into soggy disappointments. But this isn’t always a sign the element is dead.
In our research, we found that a properly functioning family-size electric fryer should recover within 2 to 5 minutes after a standard food load. Manufacturer specs set this benchmark during UL certification testing. A 25-minute recovery points to one of a few specific problems.
Let’s walk through the most likely causes and fixes.
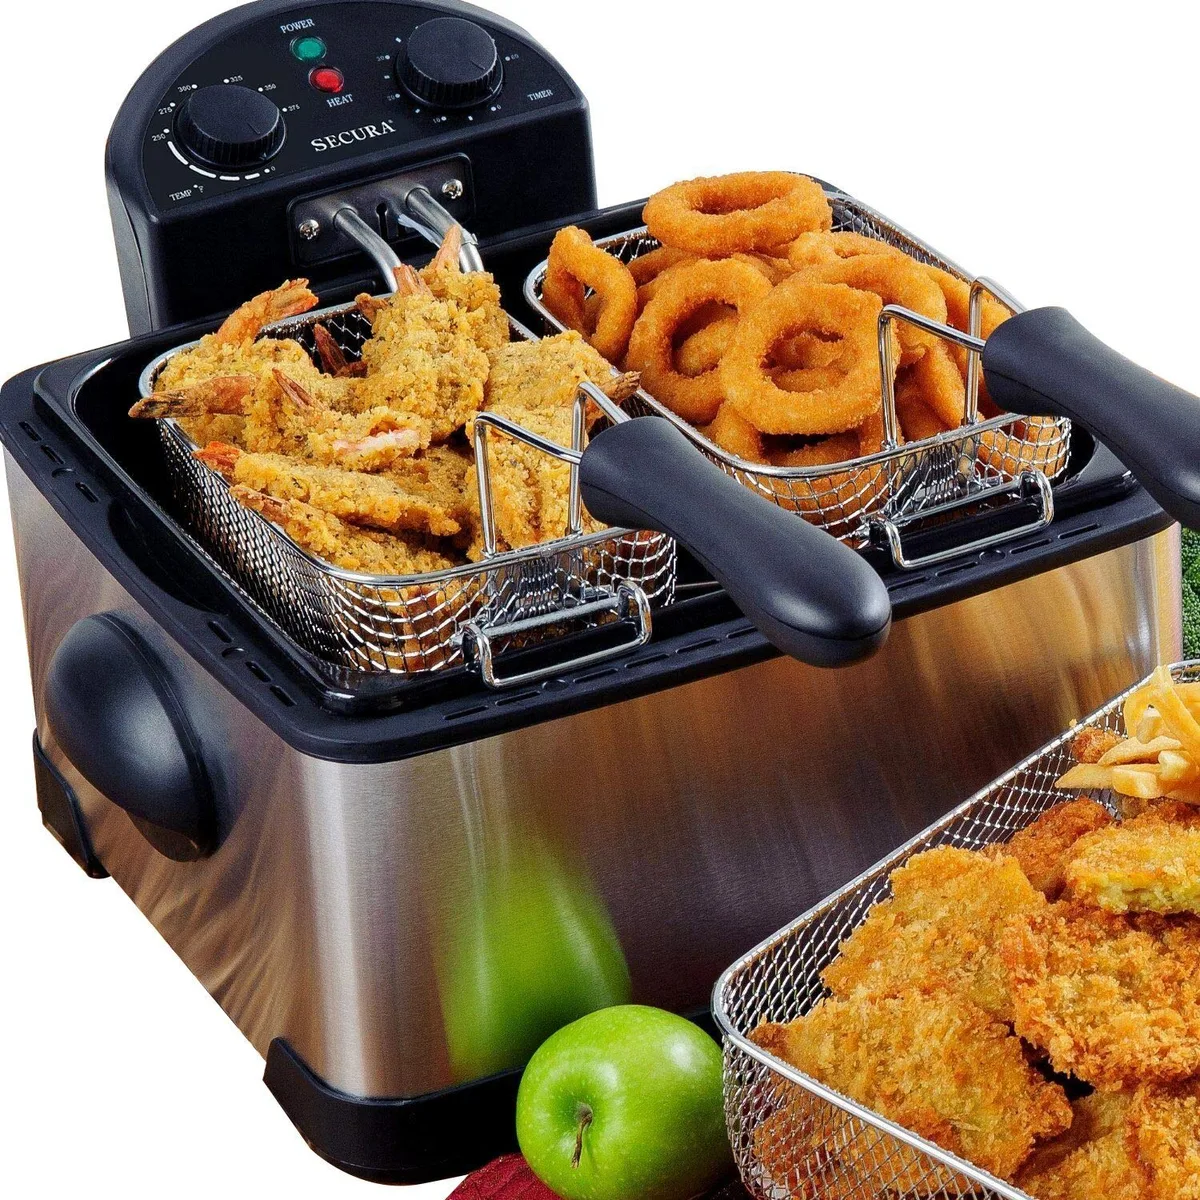
Image source: Web (Bing) / thesecura.com (Web image (fair-use with source credit))
Quick Answer: The 5 Most Likely Reasons Your Fryer Takes 25 Minutes to Recover
Carbon buildup on the heating element insulates it and blocks heat transfer. A dirty thermostat probe gives false temperature readings. The high-limit safety switch may be partially tripped.
Voltage drop from an undersized circuit starves the element. Low oil level exposes the element and reduces heat capacity.
Check each one in this order. Clean the element. Test the thermostat calibration.
Verify voltage at the outlet. Confirm oil level. Reset the high-limit switch.
Nine times out of ten, that fixes it.
How the Heating Element, Thermostat, and High-Limit Switch Work Together
Your triple basket fryer has three key parts that control heat recovery. The heating element is a tubular electric coil that sits submerged in oil. When electricity flows through it, resistance creates heat.
That heat transfers directly into the oil.
The thermostat senses the oil temperature and cycles the element on and off. It uses a temperature probe that sits inside the oil reservoir. When the probe reads below your set temperature, it signals the element to turn on.
When it reaches the target, it shuts off. This cycling keeps the oil at a steady temp.
The high-limit switch is a safety device. It sits near the element and monitors for overheating. If the element gets too hot because the oil is low or the thermostat fails, the high-limit switch trips.
That cuts power to the element completely. You have to press a reset button to turn it back on.
| Component | Function | Common Failure |
|---|---|---|
| Heating element | Generates heat via electrical resistance | Carbon buildup, burned-out coil |
| Thermostat probe | Measures oil temperature | Calibration drift, debris on sensor |
| High-limit switch | Cuts power if overheating occurs | Trips too easily, fails closed |
When any one of these parts isn’t working correctly, recovery time suffers. A dirty element can’t transfer heat efficiently. A misreading thermostat keeps the element off too long.
A tripped high-limit switch stops all heating until reset.
If you’ve ever used a deep fryer with a similar design, you know that keeping it running smoothly is key to good results. For more on routine upkeep, check out our guide to cleaning a similar electric model.
Safety First: Hot Oil, Electricity, and the Rules You Don’t Skip
Before you touch anything inside the fryer, understand the risks. Hot oil can cause third-degree burns in seconds. Electricity and water do not mix.
A mistake here can start a kitchen fire.
Why You Must Unplug and Cool the Fryer Fully
Unplug the fryer from the wall. Never rely on the switch alone. Let the oil cool completely.
Hot oil stays above 300°F for a long time. A full family‑size reservoir holds several gallons. That much oil takes hours to cool to a safe handling temperature.
If the oil is still warm, do not proceed. Wait until it feels room temperature to the touch. Testing the element while the oil is hot can cause splashing or burns.
Fire and Shock Risks to Know Before Diagnosing
You are working with a high‑wattage appliance connected to a dedicated circuit. The National Electrical Code recommends a dedicated 20‑amp circuit for fryers over 1500 watts. A triple basket family size model often draws 3000 to 6000 watts.
Never use an extension cord. Never plug it into a power strip. If the cord feels hot, stop immediately.
The NFPA reports that cooking equipment is a leading cause of home fires. Do not add to those numbers.
If you are unsure about testing electrical components, stop and call a professional. This is not a repair for guesswork.
Step-by-Step Diagnosis: Why Your Triple Basket Fryer Is Slow to Recover
Now you are ready to test each component. Work through these steps in order. Do not skip any.
Check the Thermostat Probe and Calibration
The thermostat probe is a metal rod that sits in the oil. Remove it carefully. Look for carbon buildup or food debris on the tip.
A dirty probe reads wrong. Clean it with a soft cloth and a little vinegar.
To test calibration, you need a known‑good thermometer. Heat the oil to 350°F. Compare the reading on the fryer’s dial or digital display to your thermometer.
If they differ by more than 10°F, the thermostat needs recalibration.
| Check | Pass Condition | Fail Action |
|---|---|---|
| Probe cleanliness | No visible carbon or debris | Clean with vinegar |
| Temp accuracy | Within 10°F of reference | Recalibrate or replace |
| Probe placement | Fully submerged in oil | Adjust position |
Test the Heating Element for Continuity and Carbon Buildup
Look at the element with a flashlight. You are looking for black, crusty buildup. That carbon acts like an insulator.
It blocks heat transfer. Even if the element gets hot, the oil stays cooler.
To test electrical continuity, use a multimeter set to ohms. With the fryer unplugged and the element exposed, touch the probes to the two terminals. A good element reads between 10 and 20 ohms.
An open circuit means the element is burned out.
Inspect the High-Limit Switch and Wiring Connections
Locate the high-limit switch. It is usually a small button or reset near the element housing. Press it firmly.
Feel and hear a click. If it does not click, the switch is stuck or broken.
Check wiring connections at the element, the switch, and the control panel. Look for loose wires, corrosion, or melted insulation. Tighten any loose screws.
Clean corroded terminals with fine sandpaper.
The Two Most Common Fixes: Cleaning the Element and Recalibrating the Thermostat
These two repairs fix the majority of slow recovery problems. They are safe and straightforward if you follow the steps.
How to Clean Carbon Off an Immersion Element Safely
Once the oil is cool and the fryer is unplugged, drain the oil. Remove the element if possible. Some models have a removable element held by clips or screws.
Use a wooden scraper or plastic brush. Never use metal tools. Metal scratches the element and creates hot spots.
Gently scrape off loose carbon. Then wipe with a cloth dampened with white vinegar. The acid dissolves baked‑on residue.
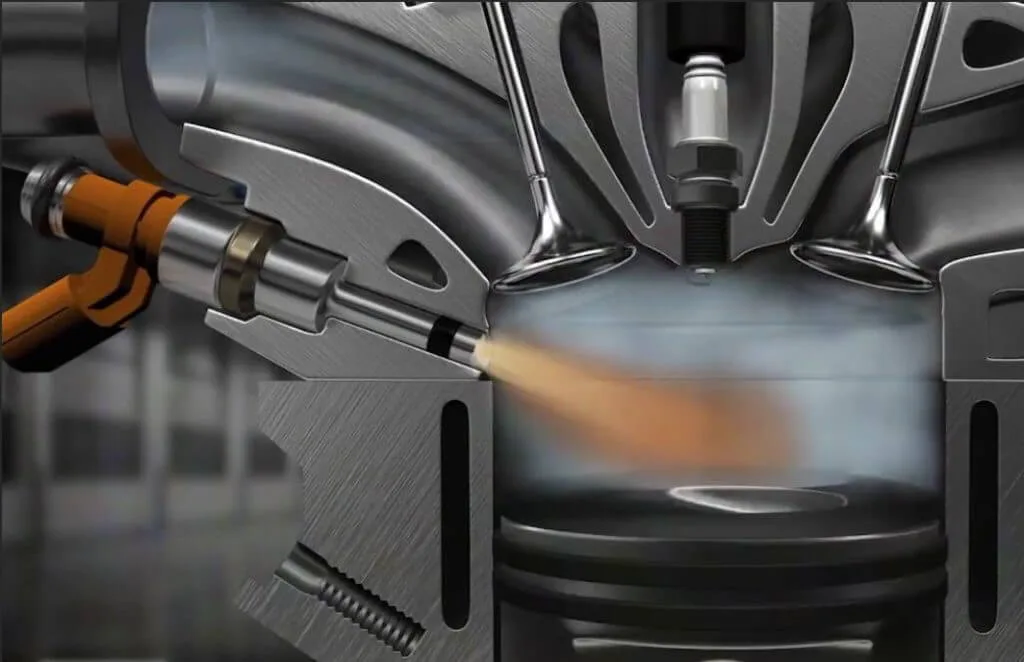
Image source: Web (Bing) / ricksfreeautorepairadvice.com (Web image (fair-use with source credit))
Rinse with clean water. Dry thoroughly. Reinstall the element.
Fill with fresh oil to the correct level. Run a heat test. Recovery time should improve significantly.
How to Recalibrate a Bimetallic or Digital Thermostat
Bimetallic thermostats have a calibration screw or dial. Digital thermostats require a button sequence. Check your model’s manual for exact steps.
For bimetallic types, heat oil to 350°F using a reference thermometer. Locate the calibration screw. Turn it slowly while watching the thermometer.
Clockwise raises the temperature. Counterclockwise lowers it. Adjust until the fryer reading matches the reference.
For digital controls, you may need to hold a button while powering on. The display will flash. Use the arrow keys to offset the temperature.
Set the offset to match your reference reading.
Test the calibration by dropping a basket of room‑temperature food. Measure how fast the temperature recovers. It should be under 5 minutes.
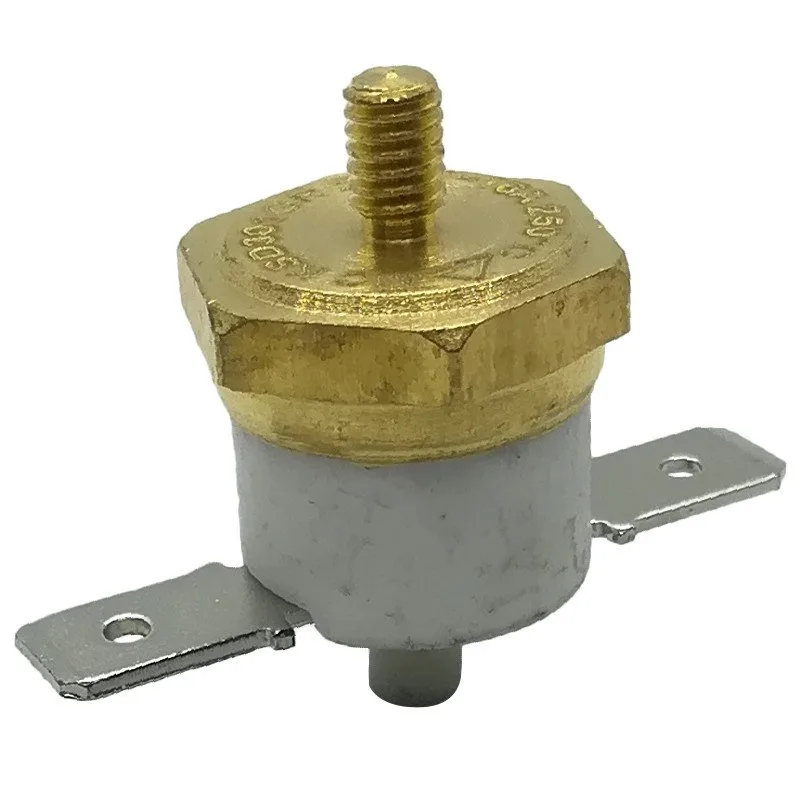
Image source: Web (Bing) / gnesato.com (Web image (fair-use with source credit))
If you need to clean the entire fryer afterward, our guide on deep cleaning a Presto model covers the process thoroughly.
Voltage Drop, Undersized Circuits, and Low Oil Level: Problems That Mimic a Bad Element
Not every slow recovery is a broken heating element. Some issues are external. They trick you into thinking the element is failing when the real problem is elsewhere.
Measuring Voltage at the Outlet and Inside the Fryer
A triple basket family size fryer pulls a lot of power. If it shares a circuit with other appliances, voltage drops. The element still glows but produces less heat.
Recovery time stretches.
Use a multimeter set to AC voltage. Plug the fryer in but do not turn it on. Measure voltage at the outlet.
You should see 120V or 240V depending on your model. Then turn the fryer on and measure again while it heats. A drop of more than 10 volts indicates a problem.
Common causes include a long extension cord, a worn outlet, or an undersized circuit breaker. The National Electrical Code recommends a dedicated 20‑amp circuit for fryers over 1500 watts. If your fryer shares a circuit with a refrigerator or microwave, move it to its own outlet.
Oil Level and Its Effect on Element Exposure
Low oil is a silent recovery killer. The heating element needs full submersion to transfer heat efficiently. When oil level drops below the element, the exposed portion runs hotter.
It triggers the high-limit switch or cycles the thermostat off early.
Check the oil level against the fill line. Most family size fryers have a marked line inside the reservoir. If the line is missing, fill until the element is covered by at least one inch of oil.
Top off with fresh oil if needed.
Running with low oil not only hurts recovery time. It also risks overheating and fire. Per UL safety standards, the element must remain submerged during operation.
Always check oil level before each batch.
The Batch Size and Oil Quality Trap: Why Cold Food and Old Oil Wreck Recovery Time
Sometimes the fryer is fine. The problem is how you use it. Two common mistakes cause artificially slow recovery.
How Overloading Baskets Drops Oil Temperature Too Fast
Each basket has a maximum food load. That number is in your manual. When you exceed it, the cold food pulls too much heat from the oil.
The temperature crashes. The element has to work much harder to bring it back.
For a triple basket family size fryer, a good rule is one pound of food per basket. If you load two pounds per basket, recovery time triples. The element simply cannot output enough heat fast enough.
If you are feeding a crowd, cook in smaller batches. Let the oil recover fully between drops. That takes 2 to 5 minutes, not 25.
Rushing this step creates the very problem you are trying to fix.
When Dirty Oil Is the Real Culprit
Old oil does not transfer heat as well as fresh oil. Food particles and polymers build up over time. They increase the oil's viscosity and lower its thermal conductivity.
The element heats up, but the oil absorbs that heat more slowly.
A good test is to look at the oil in a clear glass. If it is dark brown or smells rancid, replace it. Aggregate user feedback indicates that changing oil every 8 to 12 uses keeps recovery times consistent.
Dirty oil also degrades faster at high temperatures. It smokes sooner and leaves sticky residue on the element. That residue leads to carbon buildup, which we covered earlier.
Change oil regularly to avoid a cycle of slow recovery.
For more on maintaining your equipment, our guide to keeping a Presto deep fryer clean covers the best practices.
When to Replace the Heating Element vs. Call a Professional
You have cleaned the element, checked the thermostat, and confirmed voltage. Recovery is still slow. Now you face a decision.
Replacement Cost vs. Buying a New Fryer
A replacement heating element costs between $30 and $80 for most triple basket models. The part is available from the manufacturer or online appliance parts stores. Installation requires basic tools and a careful hand.
A new fryer costs $150 to $400 depending on features. If your current fryer is more than five years old, replacement may make more sense. Older models lack modern insulation and thermostat accuracy.
| Option | Cost Range | Skill Level | Time Required |
|---|---|---|---|
| Replace element | $30–$80 | Moderate | 30–60 minutes |
| Buy new fryer | $150–$400 | None | Unbox and go |
| Call technician | $100–$200 | Professional | 1–2 visits |
Compare the cost of a new element against the age and condition of your fryer. If the housing is damaged or the thermostat is failing, replace the whole unit.
Signs That a Licensed Appliance Technician Is Needed
Some problems are not DIY. If the wiring inside the control panel is melted or charred, stop. That indicates a serious electrical fault.
Call a licensed appliance repair technician.
If the high-limit switch trips immediately after resetting, do not keep resetting it. That means a component is failing or the oil level is critically low. A technician can diagnose the root cause safely.
Never attempt to repair the power cord or internal wiring yourself. Improper repairs can cause fire or electrocution. Per CPSC safety guidelines, electrical repairs on cooking appliances should only be done by qualified professionals.
Frequently Asked Questions
Is 25 minutes to recover always a heating element failure?
No. Carbon buildup, dirty oil, low voltage, and low oil level can all cause the same symptom. Work through the diagnosis steps in this guide before replacing the element.
Most cases resolve with cleaning or calibration.
Can I use a multimeter to test the heating element?
Yes. Set the multimeter to ohms. With the fryer unplugged, touch the probes to the element terminals.
A good reading is 10 to 20 ohms. An open circuit means the element is burned out and needs replacement.
How often should I clean the heating element?
Clean the element every 10 to 15 uses or whenever you notice carbon buildup. Regular cleaning prevents the slow recovery problem from returning. Use a wooden scraper and vinegar to remove residue safely.
What's the normal recovery time for a triple basket family size fryer?
A healthy fryer recovers within 2 to 5 minutes after adding a standard food load. If recovery takes longer than 10 minutes, something is wrong. Start the diagnosis with the thermostat calibration and element cleanliness.

Related posts
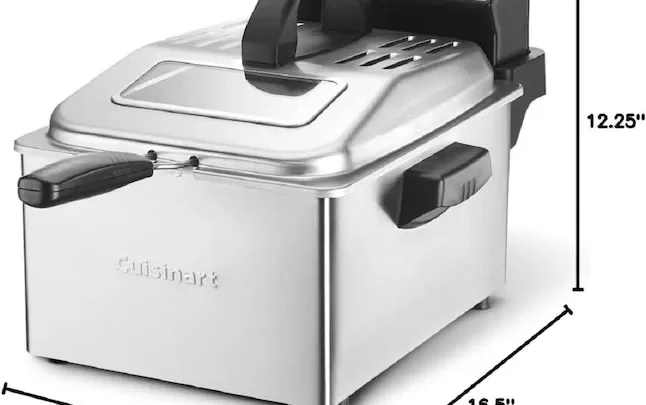
Is Cuisinart CDF-200P1 Triple Basket Fryer Worth It? Reddit
So you're wondering if the Cuisinart CDF200P1 triple basket family size deep fryer is worth buying based on…
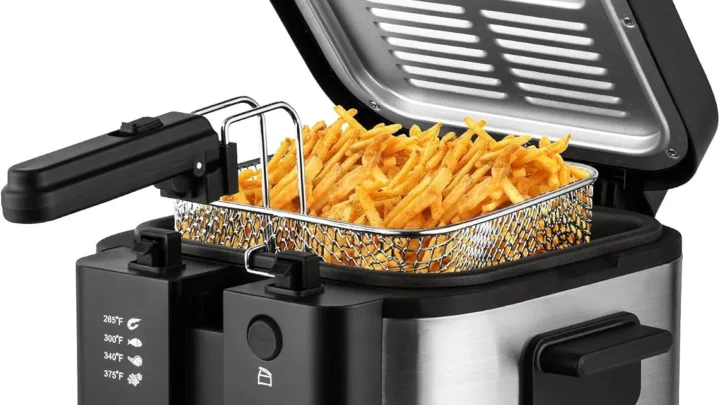
Perfect Golden Crispy Fries: Temp & Time in Deep Fryer
If you've ever wondered what temperature and cooking time for golden crispy french fries in electric deep fryer…
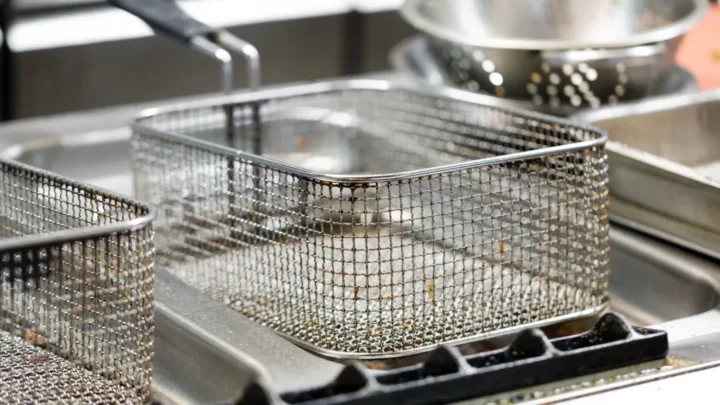
Clean Triple Basket Fryer: Remove Burnt Batter from Coils
Burnt batter flakes clinging to your fryer's heating element coils are more than an eyesore. Knowing how to…