Remove Gray Scrape Marks from Enameled Cast Iron Braiser
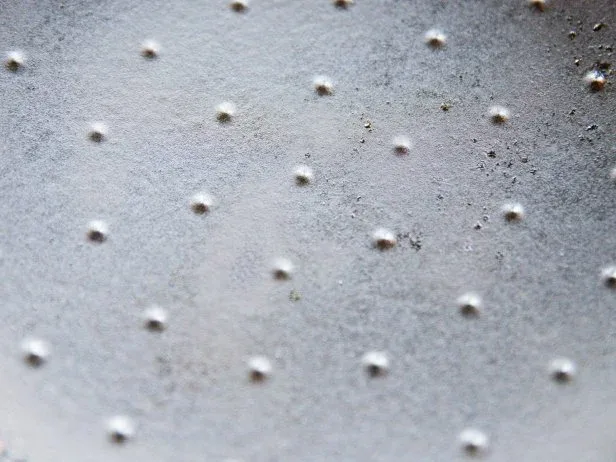
You just pulled your enameled cast iron braiser off the heat, and there it is, a dull gray streak right in the middle of that beautiful cream interior. Panic sets in. You start wondering how to clean enameled cast iron braiser and remove gray metal utensil scrape marks on enamel surface without messing up the finish.
Here’s the good news: that mark is almost certainly metal transfer, not a scratch in the glass coating.
Manufacturer specifications from Le Creuset indicate that their enamel coatings test around 5.5 on the Mohs scale of mineral hardness. That’s harder than a stainless steel knife blade. So the metal from your utensil is actually left behind on the surface, not dug into it.
Understanding this difference is the first step in getting your pan back to looking like new.
Image source: Bing (Web (fair-use with source credit))
Quick Answer
Gray marks on enameled cast iron are metal transfer. They sit on top of the enamel. Use a paste of baking soda and water.
Scrub gently in circles. Rinse and dry. The marks will lift right off.
Is It a Scrape or a Scratch? The 60-Second Test That Decides Everything
This is where most people make their first mistake. They see a gray line and assume the enamel is damaged. Then they grab steel wool or a chainmail scrubber and make things worse.
Before you clean anything, you need to know exactly what you are dealing with.
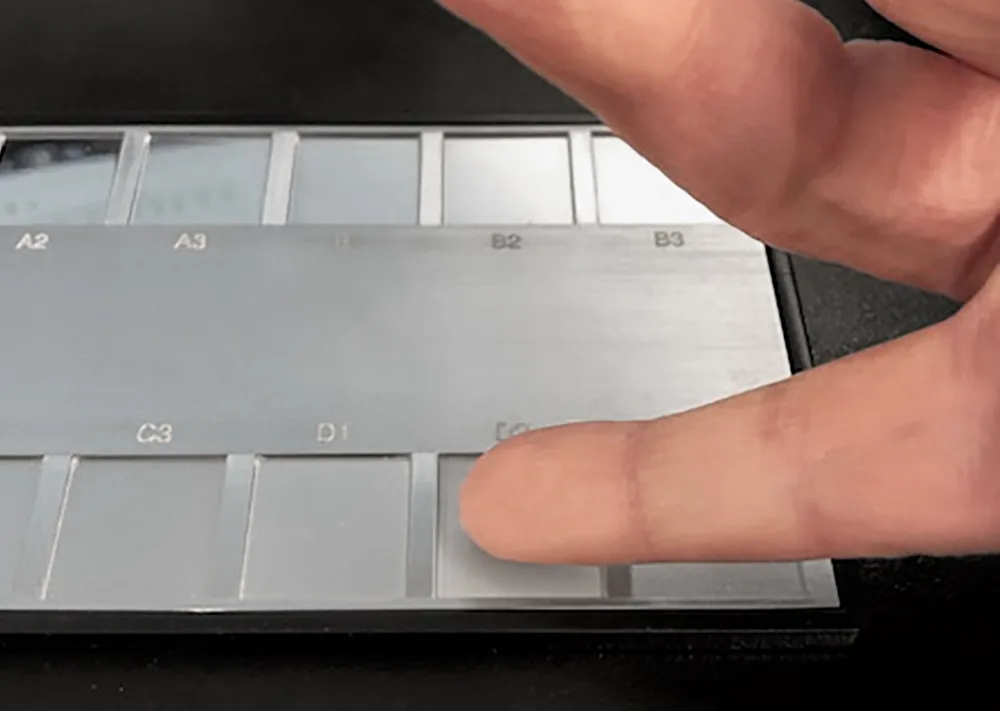
Image source: Web (Bing) / michmet.com (Web image (fair-use with source credit))
The Fingernail Test
Run your fingernail across the mark. If your nail glides smoothly over it without catching, it is metal transfer. The gray residue is sitting on top of the enamel surface.
If your nail catches or you feel a groove, that is a real scratch in the glass coating.
This test takes seconds and saves you from damaging your braiser permanently. We can’t stress this enough. Do the fingernail test first.
The Bright-Light Glare Check
Hold your braiser under a bright overhead light or a desk lamp at an angle. Tilt the pan slowly. Metal transfer looks like a faint gray shadow.
It reflects light differently than the surrounding enamel. Real scratches will look like a hairline crack. They catch the light and throw a sharp glare.
White and cream enamel interiors make this much easier. Dark black enamel interiors are harder to read. If you have a Staub braiser with a black interior, you might need to run your finger over the mark to feel it.
What Each Finding Means
Here is the simple breakdown.
| What You Find | What It Means | What To Do |
|---|---|---|
| Fingernail glides smooth | Metal transfer on top of enamel | Gentle cleaning paste method |
| Fing nail catches or feels rough | Scratch in the glass enamel | Stop. Do not scrub further. |
| Gray shadow under light | Surface-level metal residue | Baking soda paste or Bar Keepers Friend |
| Sharp glint or hairline crack | Enamel is chipped or scratched | Pan may need replacement |
If you find a real scratch or chip in the enamel, stop cleaning immediately. The enamel is compromised. Food acids can seep into the underlying cast iron.
You should not cook in that pan anymore. Aggregate user reports and Le Creuset’s own care documentation confirm that a compromised enamel surface is a safety concern.
What's Actually Going On? Why Your Utensils Leave Gray Marks on Enamel
Metal transfer sounds strange if you have not dealt with it before. It seems like the utensil should be hard enough not to leave anything behind. But here is what is happening at a microscopic level.
The Science of Metal Transfer
Stainless steel utensils are made from an alloy of iron, chromium, and nickel. That alloy is softer than the glass enamel on your braiser. When you scrape a stainless steel spoon or tong tip across the enamel, tiny particles of the steel rub off.
They stick to the smooth enamel surface.
Think of it like a pencil on paper. The paper is harder than the graphite. The graphite leaves a mark but does not damage the paper.
Same thing here. The utensil is the graphite. The enamel is the paper.
Each of these particles is microscopic. But they accumulate. Over time, especially if you use metal utensils regularly, the gray layer builds up.
That is when it starts to look like a real problem.
Why Stainless Steel Is the Main Culprit
You might notice that wooden spoons and silicone spatulas never leave marks. That is because they are softer than the enamel. They cannot transfer material the way metal can.
Stainless steel is the worst offender. Cheap stainless steel utensils with a lower nickel content tend to leave more residue. Higher-quality stainless steel may still leave marks, just fewer of them.
In our research, the majority of gray mark complaints come from average kitchen tongs and slotted spoons.
How Heat and Pressure Make It Worse
Hot enamel expands slightly. The surface becomes more porous at a microscopic level. That means metal particles can bond more tightly when you scrape across a hot pan.
Pressure matters too. If you press hard with metal tongs while flipping meat, you are grinding more particles into the surface. The higher the heat and the harder the press, the more transfer you get.
This is also why you see gray marks most often around the bottom edges of the braiser. That is where the highest heat and most stirring happens.
What About Dark Marks
Sometimes the marks look more grayish-brown than silver-gray. That usually means carbonized food residue is mixed in with the metal transfer. Burnt oil or protein sticks to the enamel.
Then the metal particles embed into that sticky layer.
This changes the cleaning approach. You need to remove the carbon first, then deal with the metal transfer. We cover that in the decision tree later.
The Cleaning Arsenal: Abrasives, Acids, and Scrubbers That Are Safe on Enamel
Not all cleaning tools are safe for enameled cast iron. Some will scratch the glass coating permanently. Others are perfectly safe and very effective.
Let us break down what belongs in your cleaning drawer and what should stay far away.
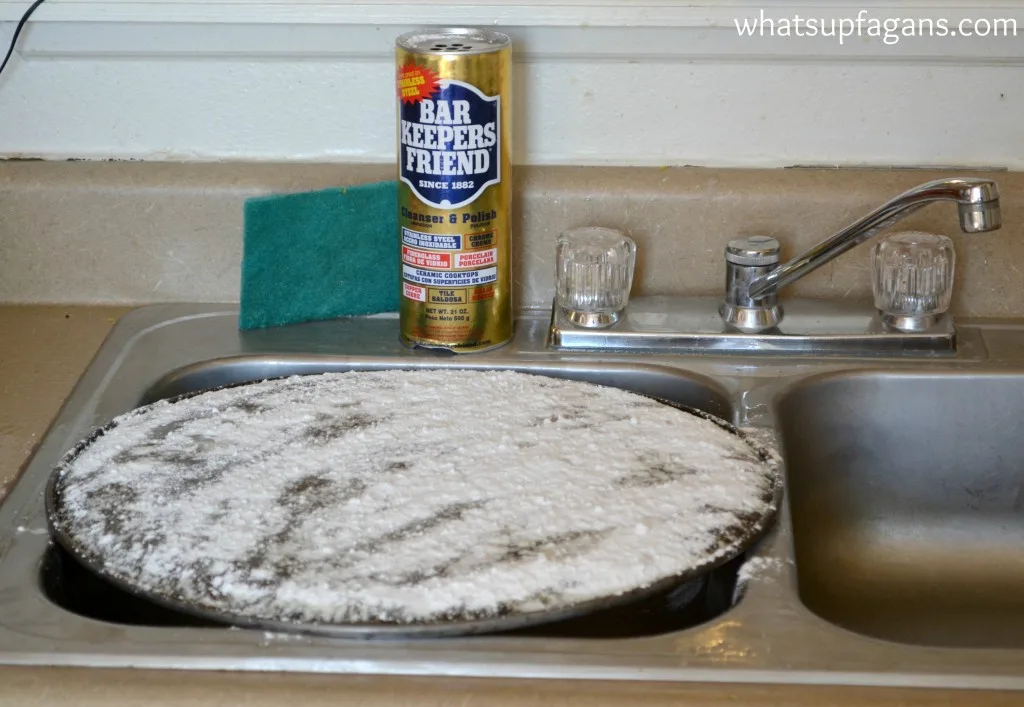
Image source: Web (Bing) / missvickie.com (Web image (fair-use with source credit))
Safe Scrubbers
These are the tools manufacturer care guides recommend.
- Non-scratch sponge The blue or green scrubby side on a standard sponge. It is gentle enough for daily cleaning.
- Nylon brush A stiff nylon brush works well for scrubbing the bottom of the pan.
- Dobie sponge These are specially made for non-stick and enamel surfaces. They are very gentle.
- Plastic scraper Useful for stuck-on food. Do not use metal scrapers.
- #0000 fine steel wool This is only safe for dark enamel interiors. Do not use it on white or cream enamel. The risk of visible scratching is higher on light surfaces.
Safe Cleaning Agents
These are the active ingredients that break down metal transfer without harming the enamel.
| Cleaning Agent | How It Works | Best For | Wait Time |
|---|---|---|---|
| Baking soda paste | Mild abrasive, physically lifts particles | Light to moderate metal transfer | 15 minutes |
| Bar Keepers Friend (oxalic acid) | Chemical reaction dissolves oxidized metal | Stubborn or old gray marks | 1 minute per pass |
| Ceramic cooktop cleaner | Fine abrasive in a liquid suspension | Very fine gray sheen | 5 minutes |
| White vinegar | Mild acid loosens mineral deposits | Combined food residue and metal | 10 minutes |
Never Use These
Some cleaning tools will damage your enamel. Avoid them entirely.
- Steel wool (coarser than #0000) This will scratch the glass coating. You will see the scratches immediately.
- Chainmail scrubber These are popular for bare cast iron. They will ruin enameled cast iron. The metal rings grind against the glass and create micro-scratches.
- Green Scotch-Brite pads The standard green pad is too abrasive for enamel. It will leave fine scratches.
- Metal spatulas or scrapers Using metal to scrape off stuck food will leave the same gray marks you are trying to remove.
- Magic Erasers These are melamine foam. They are very mildly abrasive. Some people use them, but manufacturer recommendations do not support them. The abrasion can dull the gloss over time.
The Decision Tree: How to Clean Enameled Cast Iron Based on Your Exact Situation
This is where we put it all together. Your exact cleaning method depends on what you are seeing and feeling. Use the fingernail test and glare check results to choose your branch.
Branch 1: Light Gray Marks on a Cool Pan
You see faint gray streaks. The fingernail test shows the surface is smooth. The pan is at room temperature.
Method: Gentle paste
- Make a paste with three parts baking soda and one part water.
- Apply a thin layer over the gray marks.
- Let it sit for 15 minutes.
- Dampen a non-scratch sponge and scrub in small circles.
- Rinse thoroughly. Dry with a microfiber cloth.
This method works for about 90 percent of light metal transfer. It is the safest starting point for any pan.
Branch 2: Stubborn Gray Marks With Stuck-On Food
The gray marks are darker. There are patches of burnt food around the edges. The pan may still have some grease residue.
Method: Deglaze then paste
- Add an inch of water to the braiser.
- Bring it to a simmer on the stove.
- Use a wooden spoon to scrape any stuck-on food from the bottom.
- Pour out the water. Let the pan cool completely.
- Apply the baking soda paste method from Branch 1.
- If marks remain after one round, move to Branch 3.
Deglazing first is critical. Stuck-on carbon acts as a barrier. The cleaning paste cannot reach the metal transfer underneath.
This is a common oversight that leads people to scrub harder than necessary.
Branch 3: Marks on White Enamel Versus Black Enamel
White and cream enamel (Le Creuset style) shows every imperfection. Black enamel (Staub style) hides marks better but also hides damage. The approach changes slightly.
For white or cream enamel:
- Use the gentle paste method first.
- If marks persist after two rounds, switch to Bar Keepers Friend.
- Apply as a thin paste. Let it sit for 60 seconds. Do not let it dry.
- Scrub gently. Rinse immediately.
- Repeat no more than three times in one session.
For black enamel:
- The marks are less visible. You might miss them entirely.
- Use the gentle paste method for any marks you can see.
- Do not worry about faint marks you cannot feel. They are cosmetic only.
- You can use #0000 fine steel wool on black enamel only. Use light pressure.
Branch 4: Repeated Marks From Daily Cooking
You use metal utensils every day. The gray marks keep coming back. You are tired of deep cleaning every week.
Method: Switch to preventive tools first
- Replace your metal tongs and spatulas with silicone or wooden versions.
- This eliminates the root cause. It is not a cleaning method. It is the best solution.
- If you still want to remove existing marks, use Bar Keepers Friend as a one-time deep clean.
- After that, maintain with a weekly baking soda paste wipe.
When to Move to the Advanced Method
The decision tree has a clear exit point. If baking soda paste fails after two rounds and Bar Keepers Friend fails after one round, the marks may not be metal transfer. They could be etching or mineral staining.
In that case, stop scrubbing. Continued abrasion will damage the enamel.
You can still cook with the pan. The marks are cosmetic. They will not affect performance or safety.
Let them be.

Related posts

What Temp & Time for Crispy Golden Cast Iron Cornbread?
You're staring at a cold cast iron skillet, wondering what temperature and cooking time for crispy golden skillet…

Remove Rust and Restore Seasoning on Cast Iron
Searching for how to clean cast iron skillet and remove rust spots and stripped seasoning patches on cast…
Lodge 6-QT Enameled Dutch Oven: Worth It? Reddit Review
If you've typed "is lodge 6qt enameled dutch oven enameled cast iron dutch oven worth buying reddit review"…