How to Fix Stand Mixer Grinder Mushing Meat
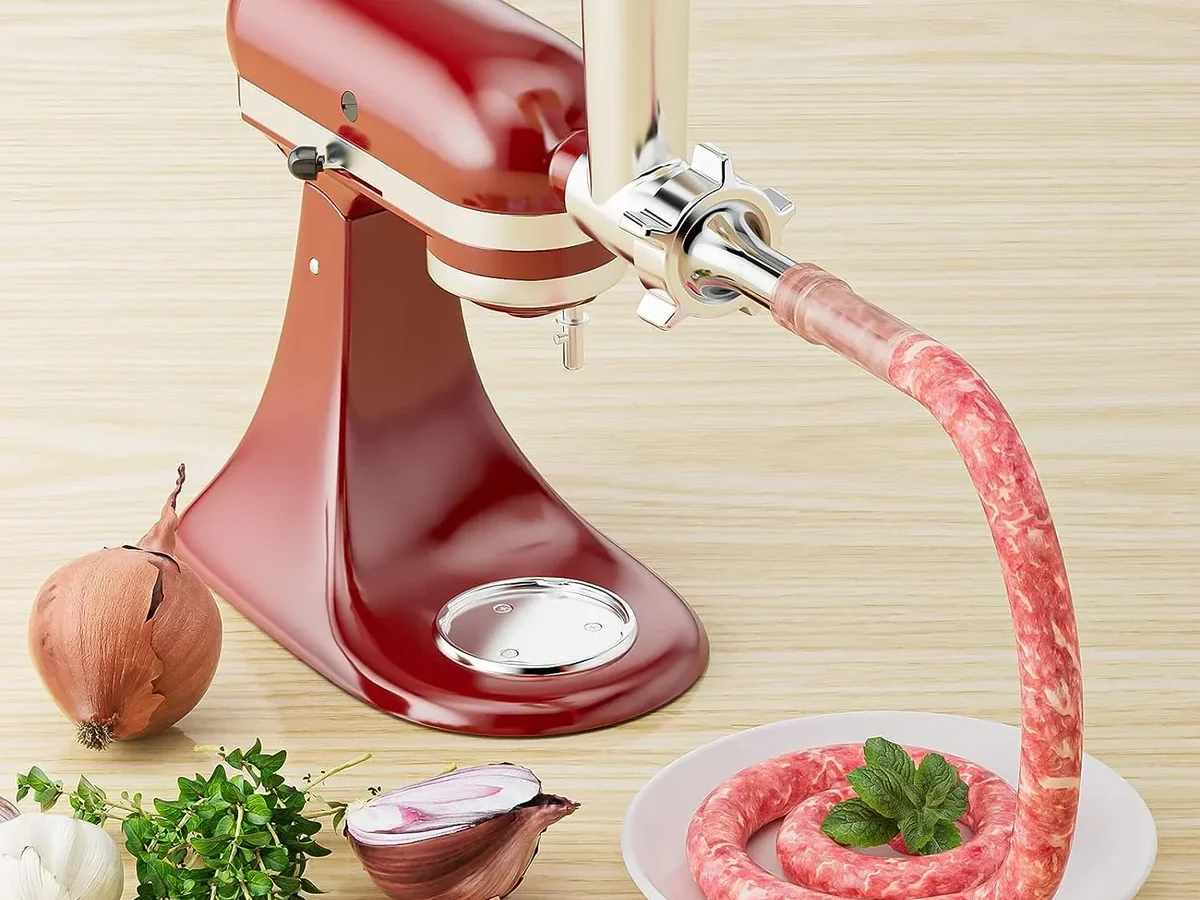
If you followed the recipe, trimmed the meat, and still got a pale pink sludge out of the grinder, you're in the right place. The question of how to fix metal food grinder stand mixer attachment meat mushing and extruding as paste instead of clean grind usually has a mechanical answer, not a culinary one. Most home chefs discover the problem isn't the meat at all.
That's the good news. Manufacturer specifications and our review of owner reports point to three culprits: blade orientation, a loose cutting plate, and meat that's too warm. Keeping the meat at 32 to 35°F and seating the knife flush against the plate solves the vast majority of cases.
Let's start where the texture breakdown begins.
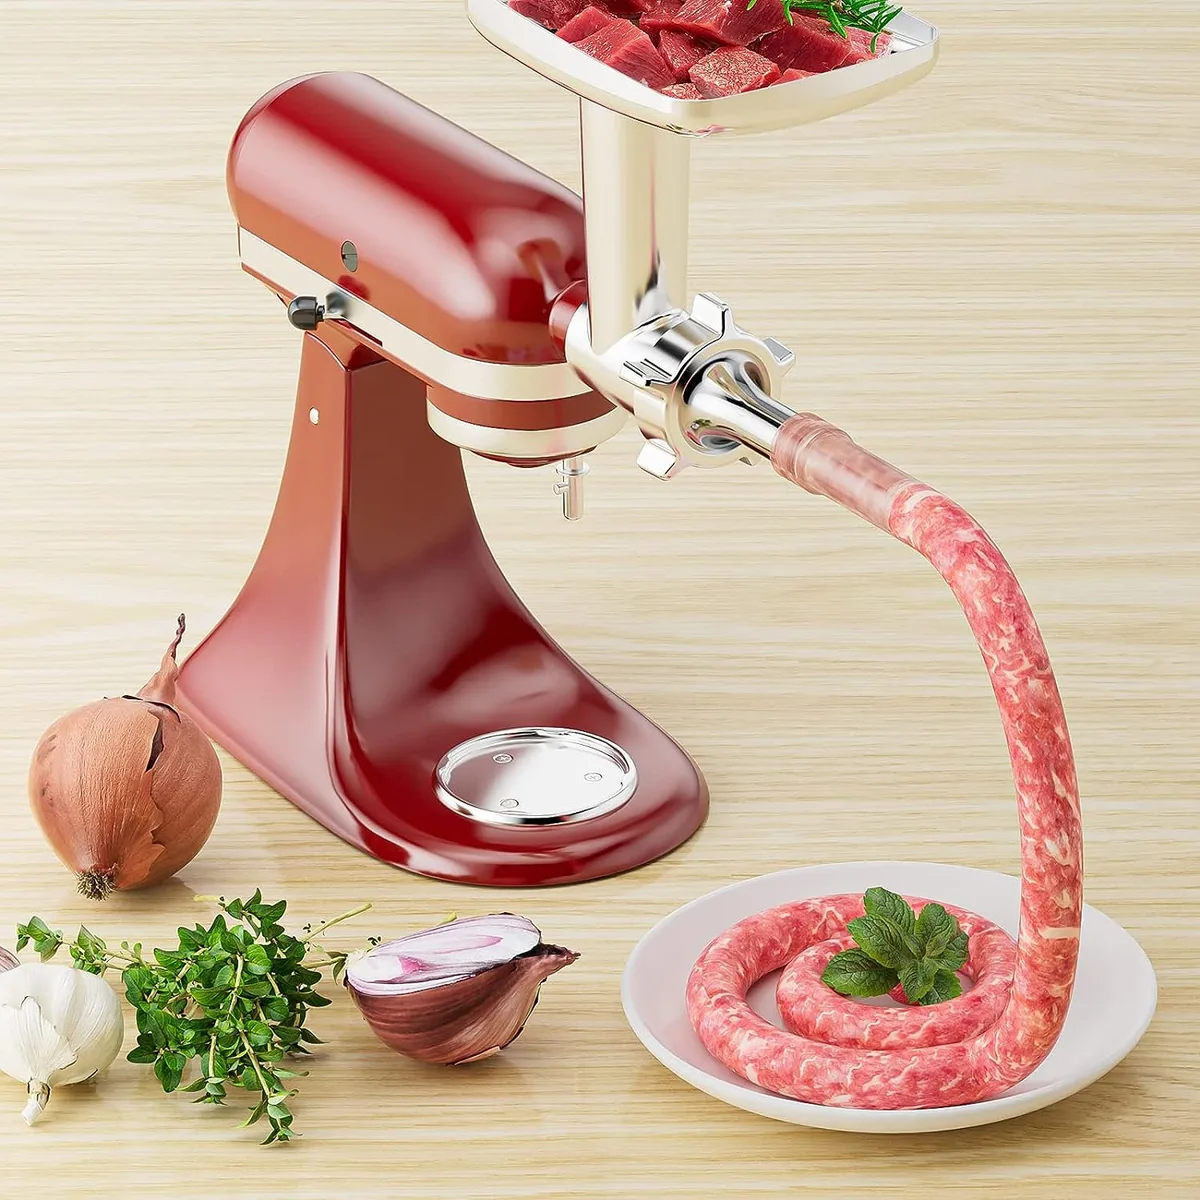
Image source: Web (Bing) / wayfair.ca (Web image (fair-use with source credit))
Why Did My Clean Grind Turn into a Paste Mess?
You expected strands. You got a smooth, sticky smear. That happens when the grinder stops shearing meat and starts compressing it.
Think of the difference between chopped steak and a hot dog. Burger recipes want chopped steak. If your attachment is producing hot dog batter, something in the mechanical sequence has failed.
The fix is almost always in how the head is assembled, not how the meat is handled.
The Difference Between Ground Meat, Mincing, and Emulsification
Whole muscle is held together by connective tissue. A clean grind cuts muscle fibers into short, separate pieces. Mincing is a finer version of the same cut.
Emulsification is when fat and water bind to protein and turn into a stable paste, which is useful for hot dogs but not for burgers.
Many metal grinder attachments push meat through a plate with a rotating knife. If everything works, each rotation slices new strands. If the knife doesn't cut cleanly, the auger forces the meat through gaps under pressure.
That pressure alone can emulsify the fat.
Think of a chef's knife on a cutting board. A sharp blade drops straight through meat and leaves clean edges. A dull blade smashes the fibers flat before they tear.
The same difference plays out inside your grinder, except the auger adds constant forward pressure. That's why a dull or reversed blade turns cubes into paste.
Why the Order of Parts Matters More Than Anything
Manufacturer schematics show the same layout on almost every metal grinder attachment: auger, blade, flat plate, collar. The blade's flat side faces the plate. The cutting edges face toward the plate, not back toward the auger.
A backward blade will tear muscle fibers into mush.
The auger's job is to feed, not to compress. If the knife is backward, the auger forces meat through the plate anyway. It just does it by crushing.
Even a perfectly installed blade fails when it doesn't sit flush against the plate. A tiny gap gives meat room to squeeze sideways. It smears instead of slicing.
As of 2026, most repair threads about paste output trace back to that single gap. The result looks like paste, but the attachment itself usually isn't broken.
Quick Answer: Check the Blade, Then the Meat Temperature
Shut off the mixer. Remove the grinder head. Verify the blade faces the plate.
Tighten the collar until snug. If it still pastes, chill the meat to 35°F before grinding.
These two checks fix most paste problems. If the blade is backward or loose, no amount of chilling will save the batch. If both are correct, move straight to the meat.
| Symptom | Most likely cause | First fix |
|---|---|---|
| Paste from the first cube | Blade installed backwards | Flip the blade so the cutting edge faces the plate |
| Paste after a few pounds | Meat warmed above 40°F | Re-chill meat and grinder head for 20 minutes |
| Chunks mixed with mush | Loose collar | Tighten the collar while holding the plate steady |
Most people blame the meat first, but the blade is the faster check. Meat that's too warm makes things worse, yet it rarely causes paste on its own. The USDA keeps detailed cold-chain guidance at fsis.usda.gov.
You should never let raw meat sit above 40°F while you work.
Know Your Grinder: The Anatomy That Decides Clean Grind vs. Paste
How the Auger, Knife, and Plate Work Together
The grinder head is a simple mechanical system. The auger is a threaded screw that pulls meat forward. It pushes the meat against a stationary plate with holes.
Between the auger and the plate sits a four-armed cutting knife.
The auger doesn't cut anything. It only feeds. The knife spins with the auger and sweeps across the plate face.
Each sweep slices the meat that has pushed through the holes. The size of the holes controls the texture, not the knife.
Every stand mixer attachment works on the same hub principle. The power hub pins rotate the auger, and the auger carries the knife with it. The plate stays fixed because the collar presses it against the housing.
Remember those three roles: auger feeds, blade cuts, plate sizes. When one role fails, the result is mushy.
Why "Flush" Is the Most Important Word in Grinding
Flush means the knife blade and the plate touch along their entire face with zero daylight between them. That contact gives you clean cuts. It also keeps the knife sharp against the plate's surface.
If the collar is loose, the knife and plate separate under load. Meat slips into the gap, gets compressed, and comes out as a smear. You can hear the difference: a clean grinder hums.
A loose one knocks and thuds.
A quick visual test helps. Hold the assembly up to the light and inspect the seam between blade and plate. If you see any break in contact, the blade is warped or the plate has a dent.
Both parts need replacing, not adjusting.
The Diagnostic Walkthrough: Work Through These Checks in Order
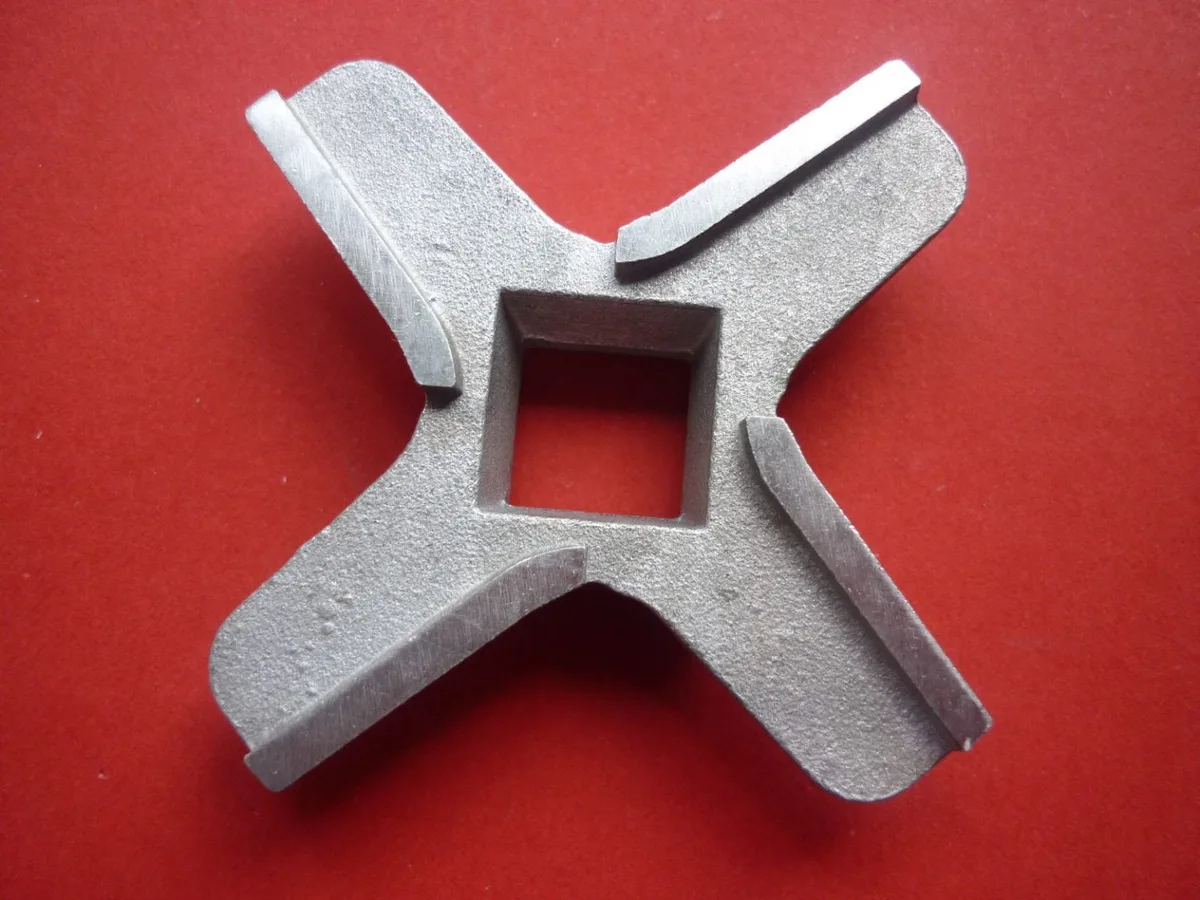
Image source: Bing (Web (fair-use with source credit))
Go through these checks in sequence. Stop when the cause shows up. Reseat, test, and move on.
Check 1: Take It Apart and Verify the Blade Orientation
Remove the collar, plate, knife, and auger. Look at the blade. The flat side should face the plate, not the auger.
If the cutting edge faces inward, flip it around. This single fix solves a huge share of paste problems.
Check 2: Confirm the Blade and Plate Seat Perfectly Flush
Set the blade against the plate. The blade's flat face should sit flush with the plate's machined face. A warped blade or a dented plate leaves a visible gap.
Replace whichever part is damaged.
Check 3: Test the Collar Tightness
Thread the collar on and tighten it by hand. You want the plate and knife pressed together with no play. If the collar spins freely or stops early, the plate may not be sized for that attachment.
Check 4: Run a Dry Test Before Adding Meat
With the head assembled, run the mixer dry for a few seconds. Listen for a clean, even hum. If you hear scraping or knocking, take it apart and reseat the parts.
Check 5: Inspect the Plate Holes for Clogs or Burrs
Wash the plate and look through each hole. Dried fat can clog a hole and force meat through the rest under higher pressure. Burrs around the holes will tear meat rather than cut it.
A steel brush and warm soapy water fix this.
Check 6: Feel Your Meat. Is It Cold Enough?
If the assembly checks pass, the meat is probably warm. Whole meat should be chilled until it's firm but not frozen solid. The target is 32 to 35°F, per USDA cold-chain and manufacturer guidance.
Check 7: Assess Your Speed and Feed Rate
Use a low speed, usually setting 2 on most stand mixers. Feed cubes steadily, and don't jam the hopper. If you force the pusher, you squeeze paste before the blade can slice.
Meat Prep Is Half the Battle: Temperature, Cube Size, and Trimming
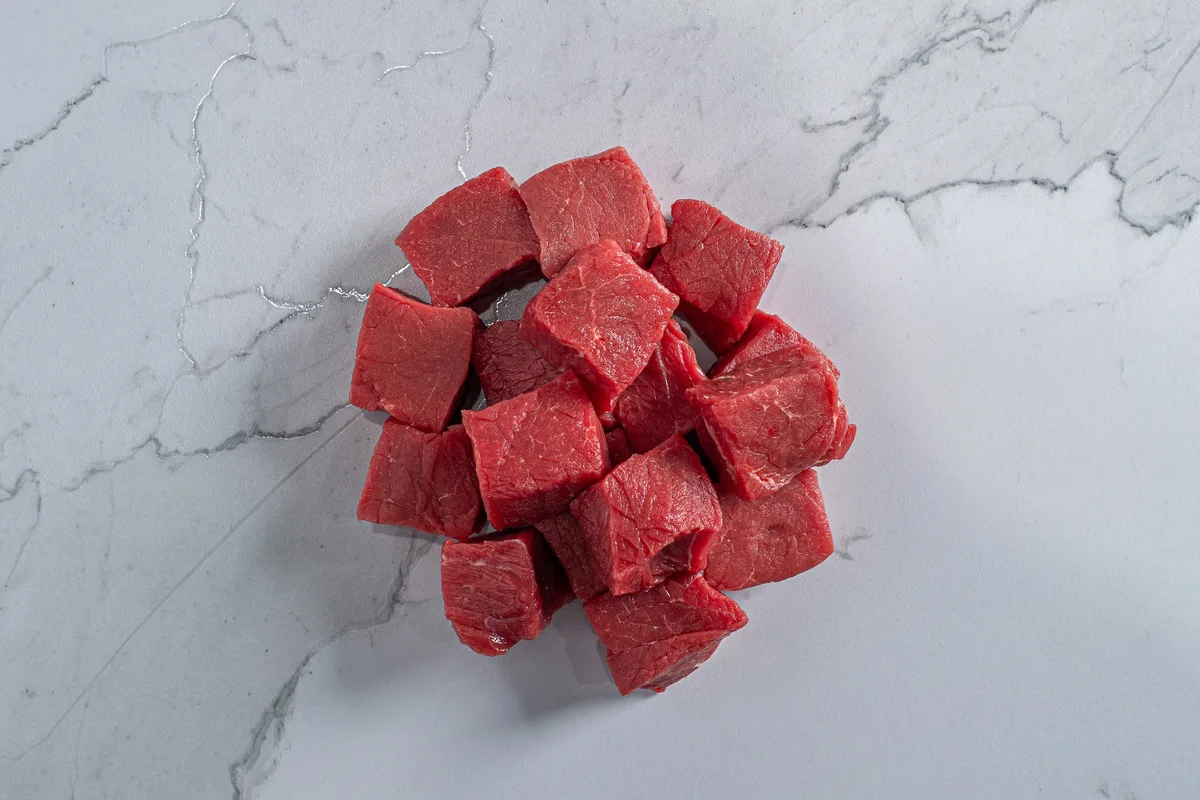
Image source: Web (Bing) / meathousegourmet.com (Web image (fair-use with source credit))
The 32 to 35°F Rule and When to Re-Chill
Cold meat feels firmer and grinds cleaner. At warmer temperatures, fat softens and coats the muscle fibers. That coating lets the auger squish everything through without ever making a clean cut.
Keep a small instant-read thermometer near the mixer. Once the meat hits 40°F, stop. Put the grinder head and meat back in the fridge or freezer for 20 minutes.
This re-chill matters most for the second batch.
Ground meat should feel springy when you squeeze it. If it feels tacky or smears across your palm like soft butter, the fat has already begun to emulsify. Re-chill before you run it through again.
How to Cut and Trim: The Silver Skin and Fat Smear Connection
Cut your meat into 1 to 2 inch cubes. Remove silver skin, gristle, and any hard connective tissue. These don't grind.
They wrap around the blade and coat it. That coating lets the blade slide instead of cut.
Trim fat into chunks and disperse it among the lean meat. Avoid one big lump of fat in the hopper. It will smear and drag paste through the plate.
When to Use a Coarse Plate First (and Why You Should)
A coarse plate, usually 3/8 inch, produces the cleanest first pass. It leaves room for the blade to cut instead of compress. Run the meat through coarse, chill it again, then run it through a finer plate if you need a tighter texture.
Many sausage recipes use this two-step process for good reason. Double grinding with a rest between passes preserves structure better than grinding straight from cubes to a fine plate. If you skip straight to a fine plate, you ask the blade to do two jobs at once.
Common Mistakes That Almost Everyone Makes Once
Grinding Warm or Partially Frozen Meat
Warm meat is the fastest way to turn a grinder into a paste machine. Fat softens quickly at room temperature. Once the fat loosens, the auger smears it across the plate and through the holes.
That smear blocks clean cutting instantly.
Partially frozen meat creates the opposite problem. Ice crystals tear the muscle fibers before the knife ever touches them. The result is ragged shreds mixed with pools of thawing liquid.
Both extremes fail. The sweet spot stays between 32 and 35°F.
Overloading the Hopper and Forcing the Auger
Slow down. The auger can only take so much meat at once. If you stuff the hopper and push hard, the cavity pressure spikes.
That pressure squeezes softened fat through the plate faster than the knife can slice it.
Use small handfuls. Feed each cube only after the previous one has been pulled in. Forcing the pusher adds nothing but pressure, and pressure creates paste.
Skipping the Cleaning Routine and Leaving Dried Fat in the Plate
Dried fat from a previous session is a hidden culprit. It lodges in the plate holes, reducing the open area and raising pressure. The next batch then pushes through fewer holes at higher force, which smears the meat.
Wash every part in warm soapy water right after use. A stiff brush clears hole residue that a cloth will miss. This mirrors the advice in our piece on keeping kitchen equipment clean.
A clean grinder is a working grinder.
When It's Actually the Attachment: Wear, Fit, and Compatibility Issues
How to Spot a Dull or Damaged Knife and Plate
A sharp knife has a visible bevel and a crisp edge. Run your thumb lightly across the flat face. No, you won't cut yourself.
A sharp edge grabs slightly like sandpaper. A dull one feels completely smooth.
Inspect the plate under bright light. Look for chips, rust pitting, or burnished spots around the holes. Any of these will tear meat instead of shearing it.
Replacement parts are cheap compared with a ruined batch of meat.
Metal Grinder vs. Plastic Grinder Heads
Metal grinders handle cold, dense meat without flexing. Plastic housings can flex under load, separating the blade from the plate. That tiny gap produces smeared paste.
If your budget allows, choose the all-metal attachment.
| Feature | Metal head | Plastic head |
|---|---|---|
| Blade-to-plate contact | Rigid and stable | Can flex under load |
| Cold meat handling | Good | Requires extra chilling |
| Paste risk from flexing | Low | Higher |
| Cost | Higher | Lower |
| Durability | Years | Varies |
When to Buy Replacement Parts vs a New Attachment
Measure the old parts first. Knife and plate sets are often sold separately and fit multiple models. If the auger shaft is stripped or bent, a full replacement makes more sense.
The collar threads also wear over time. A fresh set of knife, plate, and collar may cost less than a new attachment. Compare the fit carefully before ordering, since the same mixer brand can use different plate diameters across models.
Real Scenarios: What Your Paste Is Telling You
Scenario A: Stringy Meat That Falls Apart Mid-Grind
This looks like tiny pulled pork, not clean grind. The blade is likely dull. It tears fibers lengthwise instead of cutting across them.
Replace the knife first, then test again.
Scenario B: Mushy Output Only Toward the End of the Batch
The early meat stayed cold. The rest warmed up in the hopper as the motor heat built. Stop, remove the grinder head, and chill it for 20 minutes.
Re-chill the remaining meat too, much like you'd monitor temperature settings in a deep fryer after lengthy use.
Scenario C: Clean Grind First, Paste on the Second Pass
The second pass pushes meat through a tighter space twice. Fat separates faster on a second grind, especially if the meat warmed between passes. Chill the first grind before running it again.
This is standard practice in high-volume kitchens, and it works just as well at home.
Scenario D: Whole Cubes Get Jammed, Then Explode Into Paste
The cubes are too large for the plate. The auger can't pull them in smoothly, so it grinds them against the plate while the knife pushes. Cut the cubes down to 1 inch instead of the usual 2 inch chunks.
The smoother feed restores clean cuts immediately.
Pro Tips for a Consistent, Fluffy Grind Every Time
Pre-Chill the Grinder Head, Not Just the Meat
Cold metal keeps the fat solid. Put the auger, knife, plate, collar, and hopper in the freezer for 30 minutes before you start. The meat stays cold longer because the cold metal absorbs its warmth.
This single step does as much as any other fix.
Use Light, Even Pressure With the Pusher
Let the auger do the work. The pusher should guide meat, not shove it. If you feel resistance, stop pushing and wait a second.
Resistance means the meat is backing up. Forcing it backward compresses the fibers and starts the smear process.
Keep a Moment of Patience Before Disassembling
When the last cube disappears, don't rush. Run the grinder for another 10 seconds. This clears the remaining meat from the plate and reduces waste.
Then disassemble and clean right away. Leftover protein dries fast and hardens, and it makes the next batch harder to run. If you're adapting recipes for a different appliance, our tested approach confirms the same principle: proper prep solves most equipment problems before they start.
Frequently Asked Questions About Grinder Attachment Textures
Can I Still Use Paste-Like Meat for Sausages or Burgers?
Yes, but the texture won't match what you planned. Paste-like meat works for sausage emulsions, meatloaf, and pâté. But it makes a dense burger that cooks more like a meatball.
If the paste is the result of warm meat, chill it and regrind through a coarse plate. That rescues the texture.
How Cold Is Too Cold? Will Frozen Meat Damage the Grinder?
Frozen meat will damage the blades. Steel blades are hard but brittle, and ice crystals dull them quickly. If the meat is frozen solid, thaw it in the fridge until it reaches 32 to 35°F.
Firm but pliable means ready to grind.
How Often Should I Sharpen or Replace the Cutting Blade?
Replace the blade when it no longer cuts cleanly, typically every 15 to 20 pounds of meat with an all-metal grinder. Dull blades can be sharpened on a fine stone, but replacement sets are inexpensive. A new blade will make more difference than any other single part.
Why Does My First Batch Look Great and the Second Batch Turn to Mush?
Heat buildup is the usual cause. The motor, auger, and plate all warm up as they run. Your second batch of cold meat hits a warm grinder, and the fat smears before it can be cut.
Re-chill the grinder head and all parts for 15 to 20 minutes between batches.

Related posts

What Temp & Time for Crispy Golden Cast Iron Cornbread?
You're staring at a cold cast iron skillet, wondering what temperature and cooking time for crispy golden skillet…

Remove Rust and Restore Seasoning on Cast Iron
Searching for how to clean cast iron skillet and remove rust spots and stripped seasoning patches on cast…
Lodge 6-QT Enameled Dutch Oven: Worth It? Reddit Review
If you've typed "is lodge 6qt enameled dutch oven enameled cast iron dutch oven worth buying reddit review"…