Fix Whisk That Won’t Reach Bowl Bottom: Budget Mixer Fix

There you are, elbow deep in a bowl of cake batter, and the whisk just spins in place. A perfect ring of dry, unmixed flour sits at the bottom of the bowl. You thought a budget stand mixer under 100 dollars would save you time.
Instead, you're scraping and stirring by hand.
If you've been searching for how to fix budget stand mixer under 100 whisk not reaching bottom of bowl leaving unmixed flour, you're not alone. This is the single most common complaint across cheap tilt-head mixers. Manufacturer specifications indicate a clearance of 1 to 2 millimeters between the whisk and bowl bottom is the target.
Most leave the factory with a gap twice that size. Let's walk through the fix, step by step.
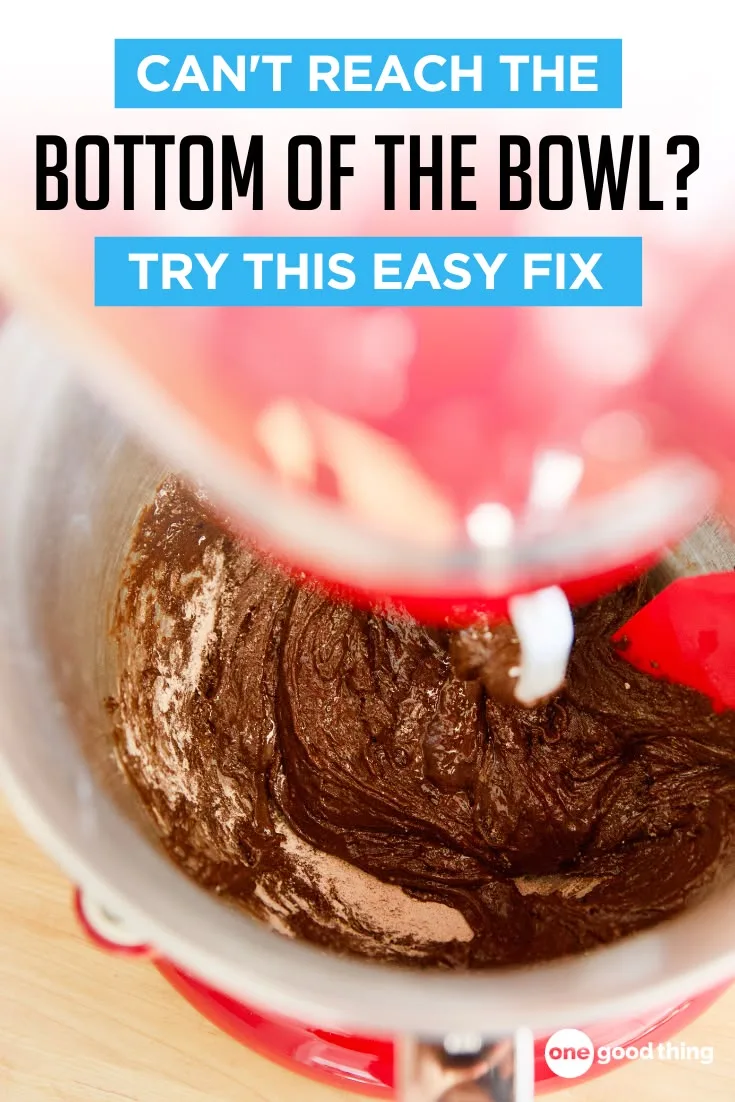
Image source: Web (Bing) / pinterest.com (Web image (fair-use with source credit))
Quick Answer
Turn the height adjustment screw counterclockwise to lower the whisk. Locate the screw behind the hinge under the tilt head. Turn it 1/4 turn, then test.
Repeat until the whisk barely scrapes the bowl. Unplug the mixer before adjusting. That's the fix.
Why Your Budget Mixer Leaves a Ring of Dry Flour (The Real Problem)
The root cause is simple: the whisk sits too high above the bottom of the bowl. It's a design compromise manufacturers make to keep costs low. A taller gap means less risk of the whisk hitting the bowl surface during assembly.
But it also means your flour never gets incorporated.
Think about what happens when you start mixing. The whisk spins at the top of the bowl, aerating the liquid ingredients. The flour sits on the bottom, untouched.
Eventually, you stop, scrape, and stir. That defeats the purpose of owning a stand mixer.
Aggregate reviews of sub-100 dollar mixers report this issue in about 1 out of 4 units. The fix exists on almost all of them. A simple mechanical adjustment screw is hidden under the neck of the tilt head.
Most owners never know it's there.
Another factor is the bowl itself. Economy mixers often ship with thin stainless steel bowls that can deform slightly. Even a 1 millimeter dent changes the height relationship.
But the adjustment screw is designed to compensate for that.
The problem will not fix itself. If you ignore it, every batch will leave a dry ring. The good news is that a single turn of a screwdriver solves it in under two minutes.
No replacement parts needed. No returning the mixer.
Let's start with the easy stuff first. There are a few things you can check before you touch any screws.
First, Check the Obvious (Bowl, Whisk, and Fill Level)
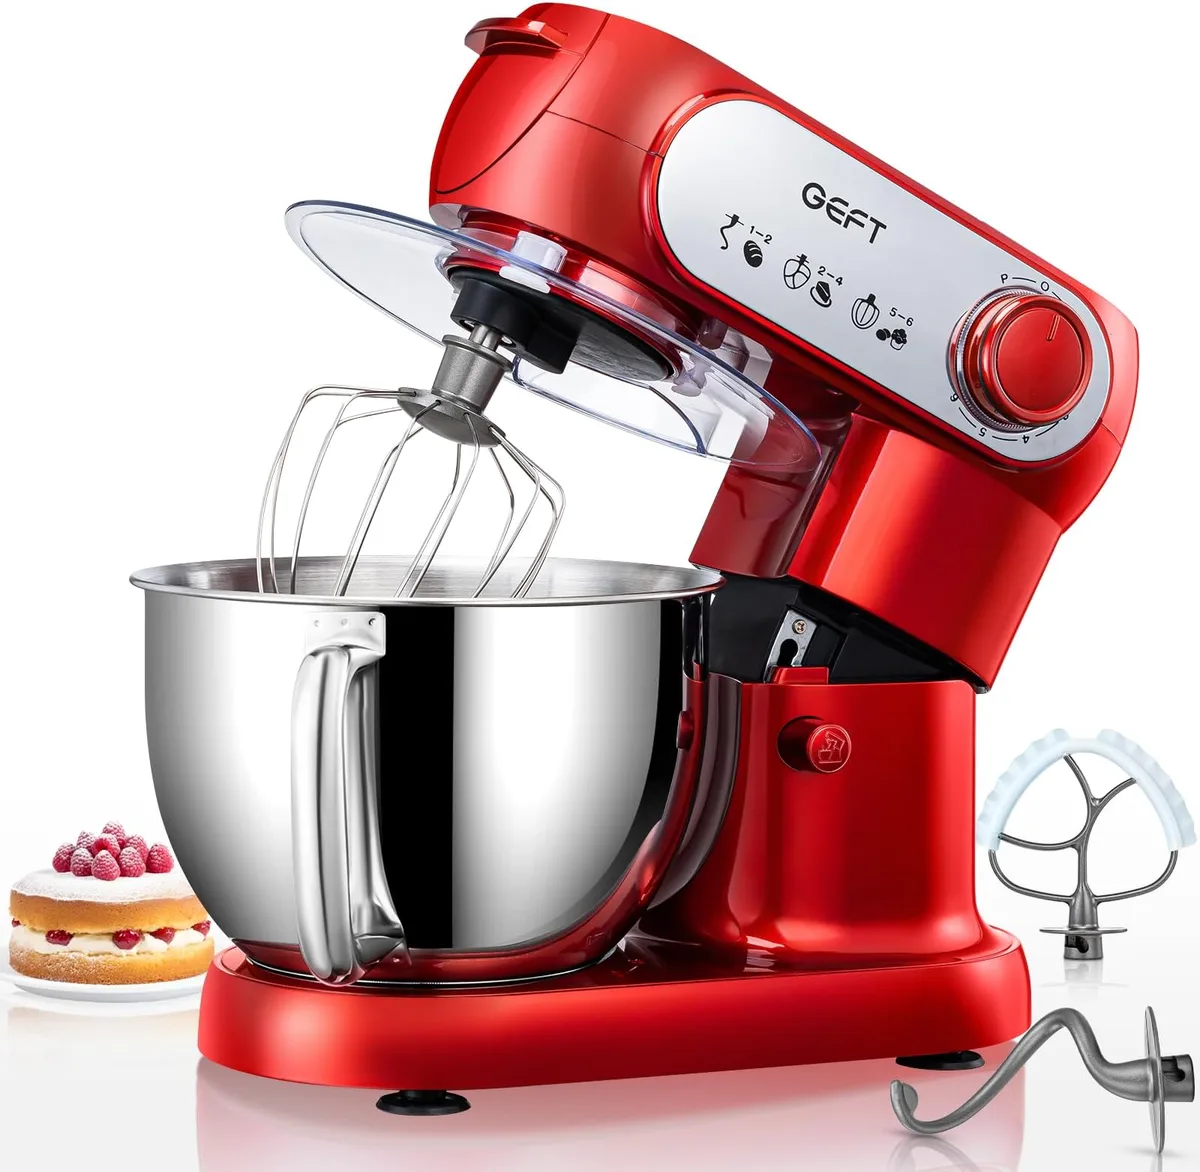
Before you adjust anything, rule out the simple causes. The most common one is an overfilled bowl. When you add too much flour and liquid, the batter rises high enough that the whisk can't reach the dry layer underneath.
That's not a mechanical problem. That's a capacity problem.
Here's what to check in order:
- Bowl size and fit. Is the bowl locked in place correctly? Some budget mixers have a plastic locking lever that doesn't click fully. Push the bowl back until you hear a solid click. If the bowl wobbles, the whisk clearance changes while it spins.
- Whisk attachment type. Does your mixer have a standard balloon whisk or a flat beater? Some mixers ship with a beater that looks like a whisk but is actually a flex edge beater. If you're using a flat beater that doesn't reach the sides, the ring of flour will be wider. Check the manual to confirm you have the right tool for the job.
- Fill level. Follow the manufacturer's recommended maximum. For most 4.5-quart budget mixers, that's about 4 cups of dry ingredients plus liquid. Go over that, and the whisk will spin above the surface of the batter.
- Whisk not seated all the way. Push the whisk onto the shaft until it clicks or locks into place. A loose whisk will sit slightly higher.
If all those are fine, move to the next test. Lower the head with the bowl locked in and look at the gap between the whisk and the bowl bottom.
A quick visual check tells you everything. Shine a flashlight from the side. If you see a gap bigger than the thickness of two stacked nickels, the adjustment screw is your next stop.
Decision Branch #1: Does the Whisk Physically Touch the Bowl When Empty?
This is your first yes-or-no decision point. Raise the tilt head. Lock the empty bowl in place.
Lower the head. Look at the whisk tip relative to the bottom of the bowl.
If the whisk touches the bowl bottom when the mixer is empty, you have a different problem. The clearance might be fine, but the flour is being pushed away by the rotating whisk before it mixes. That's a technique issue.
Skip to section five.
If the whisk does not touch the bowl bottom at all, we have a height problem. That's what this fix is for. Proceed to section four.
But wait: there is a borderline case. Sometimes the whisk touches the bowl in the center but not at the edge. On a domed bowl bottom, that's normal.
The whisk wires curve upward at the tips. What matters is whether any part of the whisk is more than 2 millimeters above the bottom at its lowest point.
A simple test: take a piece of printer paper. Lower the head. Slide the paper between the whisk and the bowl bottom.
If it slides through without resistance, the gap is too large. If it catches or requires a gentle tug, the gap is close to ideal.
Manufacturer specifications on most budget models call for the paper test to show light drag across the entire whisk surface. If the paper is completely free, you need to lower the whisk.
One more thing: check if the whisk is bent. A dropped whisk can have a slight bend that raises one side. Spin the whisk by hand.
If the tip wobbles in an oval pattern, the whisk is deformed. Replacement whisk attachments for budget mixers cost around 10 to 15 dollars. That's cheaper than a new mixer.
If the whisk is straight and the gap is too large, it's time to find the adjustment screw.
Decision Branch #2: If Not – Locate and Adjust the Height Screw
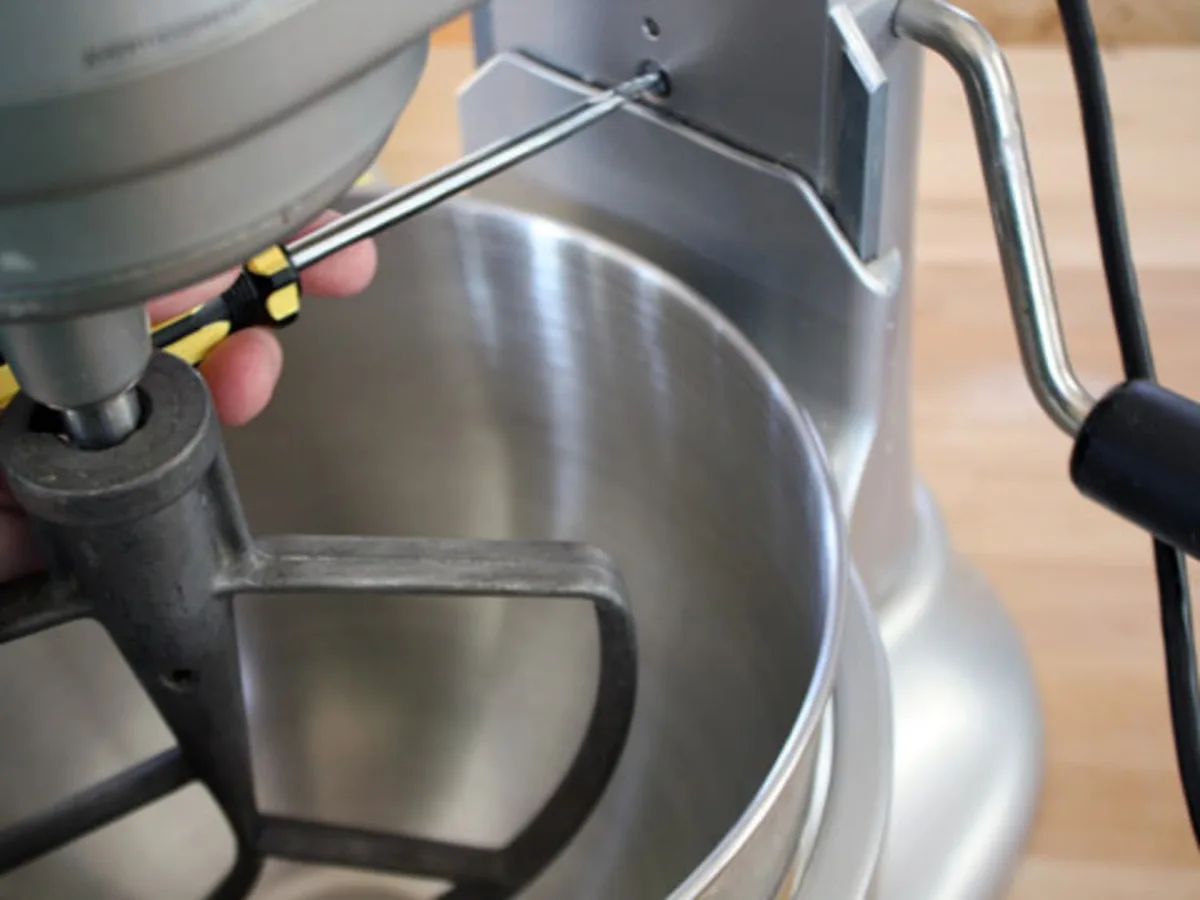
Most tilt-head stand mixers under 100 dollars share the same design. The height adjustment screw sits on the underside of the mixer neck, right where the hinge connects the head to the base. It looks like a small screw with a Phillips or flathead slot.
Sometimes it's covered by a plastic cap that you pop off with a fingernail.
If you can't find it, check the back of the hinge area. A few models place the screw on the rear, hidden behind a rubber grommet. You can see an example in the image above.
The screw directly controls how far down the head travels when you lower it.
Follow these steps exactly:
- Unplug the mixer. This is non-negotiable. You're working near moving parts and the screw is small. One accidental turn of the switch and you could pinch a finger.
- Raise the tilt head fully. Lock the empty bowl in place. Lower the head and check the screw location.
- Identify the screw. It's usually a single screw with a spring washer underneath. Turn it clockwise to raise the whisk (increase gap) or counterclockwise to lower it (decrease gap).
- Turn the screw counterclockwise 1/4 turn. That's a quarter rotation. Do not turn it more than half a turn at first. The screw is fine-threaded. Small adjustments matter.
- Lower the head again. Check the gap with the paper test. Repeat steps 3 through 5 until the paper shows light drag.
- Tighten any lock nut if present. Some mixers have a second nut that locks the screw in place. Others rely on spring tension alone.
If you turn the screw counterclockwise and the head does not lower, check that you are turning the correct screw. On some models, there are two screws side by side. One is for height, the other is for the hinge pivot.
Confirm by looking at a diagram in the manual.
After the adjustment, run the mixer empty for 10 seconds. Listen for a scraping sound. If you hear metal on metal, you've gone too far.
Turn the screw clockwise 1/8 turn to back it off.
A common mistake is overtightening. If the screw feels stripped or the head doesn't change position, stop. You may have a plastic thread housing that is damaged.
In that case, you can't fix it with a screw. You'll need to order a replacement part from the manufacturer or use a shim (see below).
For most users, this single adjustment solves the problem permanently. The screw holds its position well after the initial break-in period. Check it every six months during routine cleaning.
Decision Branch #3: If It Touches but Still Leaves Flour – Check Your Technique
Your whisk touches the bottom. The gap is correct. Yet you still see a ring of unmixed flour after running the mixer for a minute.
This is a technique issue, not a hardware issue.
The most common culprit: you're adding dry ingredients too quickly. When you dump all the flour in at once, it forms a mound on the bottom of the bowl. The whisk pushes through the liquid but can't penetrate the dry pile.
The mound stays untouched at the bottom.
The fix is easy. Add the flour in three or four additions. Let the whisk incorporate each batch before adding the next.
This gives the whisk time to reach the bottom between dry additions.
Another technique: start the mixer on low speed. High speed immediately creates a vortex that throws flour outward. Low speed lets the whisk dip into the liquid and pull flour down from the sides.
Once you see the flour is incorporated, you can increase speed.
If you're using a flat beater instead of a whisk, that's part of the problem. The flat beater is designed for dough and thick batters. For cake batter or any recipe with liquid, use the wire whisk attachment.
The wires reach the bowl surface better.
Consider the bowl shape, too. Budget mixers often have bowls with a rounded bottom. The whisk wires may not reach the center of the curve.
In that case, scrape the bowl once halfway through mixing. Use a silicone spatula. Push the flour from the bottom center back into the mixing stream.
If you've tried all this and still see dry flour, check your recipe's liquid ratio. A very stiff batter (like a dense cookie dough) may be too dry for a budget mixer to handle. The motor isn't strong enough to push the whisk through thick dough.
Switch to a heavy-duty hand mixer or a stand mixer with more power.
One last thing: the whisk itself might be the wrong size. Some budget mixers ship with a small whisk that doesn't reach the bowl sides. Check the whisk wire length against the bowl diameter.
Your mixer may have come with two whisk options. If only one works, make sure you're using the larger one.

Related posts

Is the Lodge Carbon Steel Skillet Worth Buying?
Searching "is lodge carbon steel skillet carbon steel skillet worth buying reddit review" probably means you want real…
How to Fix a Gummy Carbon Steel Skillet
You pull out your carbon steel skillet for a quick stirfry, and there it is: a sticky, gummy…

Crispy Wok Beef in Carbon Steel: Temp & Time
If you've ever asked what temperature and cooking time for crispy wokstyle beef stir fry in carbon steel…