Fix Thin Edge Burning on Budget Stainless Steel Pans
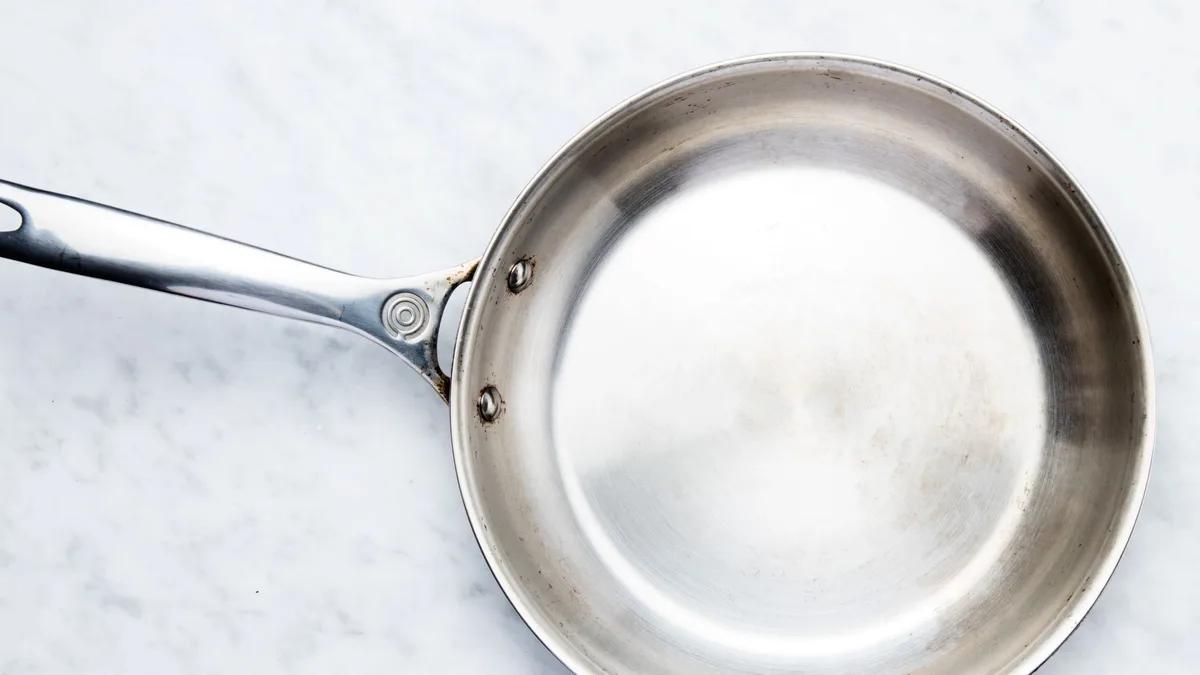
You open your email, frustrated. Dinner plans ruined again by a pan that scorches everything except the center. If you've searched for "how to fix budget stainless steel cookware set food burning quickly on thin exterior edges," you know exactly what I mean.
That burnt ring around the perimeter isn't your cooking skills. It's physics. And fortunately, it's fixable.
The problem comes down to how budget pans are built. Most affordable stainless steel sets sold as of 2026 use a disc‑bottom construction. The aluminum core sits only in the base, leaving the side walls thin as paper.
Per manufacturer specifications, these edges can be less than one millimeter thick. That thin metal overheats fast. Fixing it starts with understanding your stove type and the simple technique adjustments that follow.
Quick Answer
Lower your heat setting to medium‑low and preheat the pan for two full minutes before adding oil. Match your burner size to the pan diameter. For electric coils and glass stoves, a ten‑dollar heat diffuser stops edge burning instantly.
Never crank the burner to high on an empty thin pan. That habit is the number one cause of scorched edges.
The Burning Truth: Why Budget Pans Burn at the Thin Edges
The physics here is simple. Thin metal transfers heat quickly and unevenly. When you turn a burner to high, the exposed sidewalls of a budget pan race past 500°F while the thick disc base is still climbing.
That means the outer inch of your pan gets hotter than the center, and anything sitting there burns fast.
Most budget stainless steel cookware sets use what manufacturers call a "disc‑clad" base. A thick layer of aluminum or copper is bonded only to the bottom surface. The sides are single‑ply stainless steel with no core material.
The contrast is huge.
Take a typical eight‑piece budget set. The base might be 2.5 millimeters thick. The side walls?
Around 0.8 millimeters. That's three times thinner. When heat travels up from the burner, the base spreads it evenly.
But the thin walls have no core to absorb and distribute that energy. They heat up almost instantly.
This explains why your eggs burn at the edge while the center stays runny. It's why your fried rice turns black on the perimeter before the middle gets a sear. The pan itself is working against you, but only because of how it's used.
Contrast this with a fully clad pan where aluminum runs all the way up the sides. Those walls heat at the same rate as the base. You get even temperature from edge to edge.
But you don't need to drop three hundred dollars on a new set. You just need to work with what your pan actually is.
Before You Change Anything Check Your Stove Type
Your stove type determines which fix works best. Different burners deliver heat differently. The wrong approach for your stove can make the problem worse.
Here is how each stove type changes the solution.
Branch 1 – If You Have an Electric Coil or Ceramic Glass Stove
Electric coils and glass‑top stoves are the worst match for thin pans. They deliver intense localized heat directly under the disc base. The coil or glass surface stays hot even after you turn the dial down.
That heat keeps pumping into your pan, roasting the edges.
If this is your stove, your first fix is to use a burner one to two inches smaller than your pan diameter. A ten‑inch pan on an eight‑inch burner gives you a buffer zone. The base gets heat, but the thin walls stay cooler.
Your second fix is preheating on medium, not high. Set the dial to four or five out of ten. Wait three full minutes.
Then add oil and wait another thirty seconds. This gives the heat time to spread from the base up the walls gradually. Rapid heat is what creates the temperature gap.
A heat diffuser is optional here but highly effective. We cover that in detail a few sections down.
Branch 2 – If You Have a Gas Stove
Gas burners give you more control because you can see and adjust the flame. The fix is visual. Set the flame so it touches only the base of the pan, never climbing up the sides.
When the flame wraps around the exterior, it directly heats those thin walls. That is instant burning.
Lower the flame until the blue tips barely touch the pan bottom. You lose a few seconds of boil speed. You gain consistent cooking across the whole surface.
Gas also lets you use a technique called flame spreading. If your burner has multiple rings, turn the outer ring off entirely. Use only the inner ring.
This keeps heat concentrated in the center where the thick base can handle it.
Branch 3 – If You Have Induction (and Why It's Different)
Induction is the safest stove type for thin pans. The magnetic field only activates where the disc base sits. The thin walls receive no direct heat at all.
Edge burning on induction is rare.
If you still get burning on induction, the cause is almost always the pan size versus cooking zone size. Your pan is too small for the induction zone. The outer ring of the cooking surface cycles on and off rapidly, and when it is on, it superheats the pan edge directly.
The fix is simple. Use a cooking zone that matches your pan base. Most induction stoves have marked circles on the glass.
Place your pan so the base fits entirely within the smallest possible zone. Never use a boost function on a thin pan. Boost delivers maximum power continuously, which overwhelms any disc base.
The Step-by-Step Fix That Works on All Stovetops
Here is the universal method that works regardless of your stove type. It takes about four minutes of preheat time. Every second of that preparation prevents burnt edges.
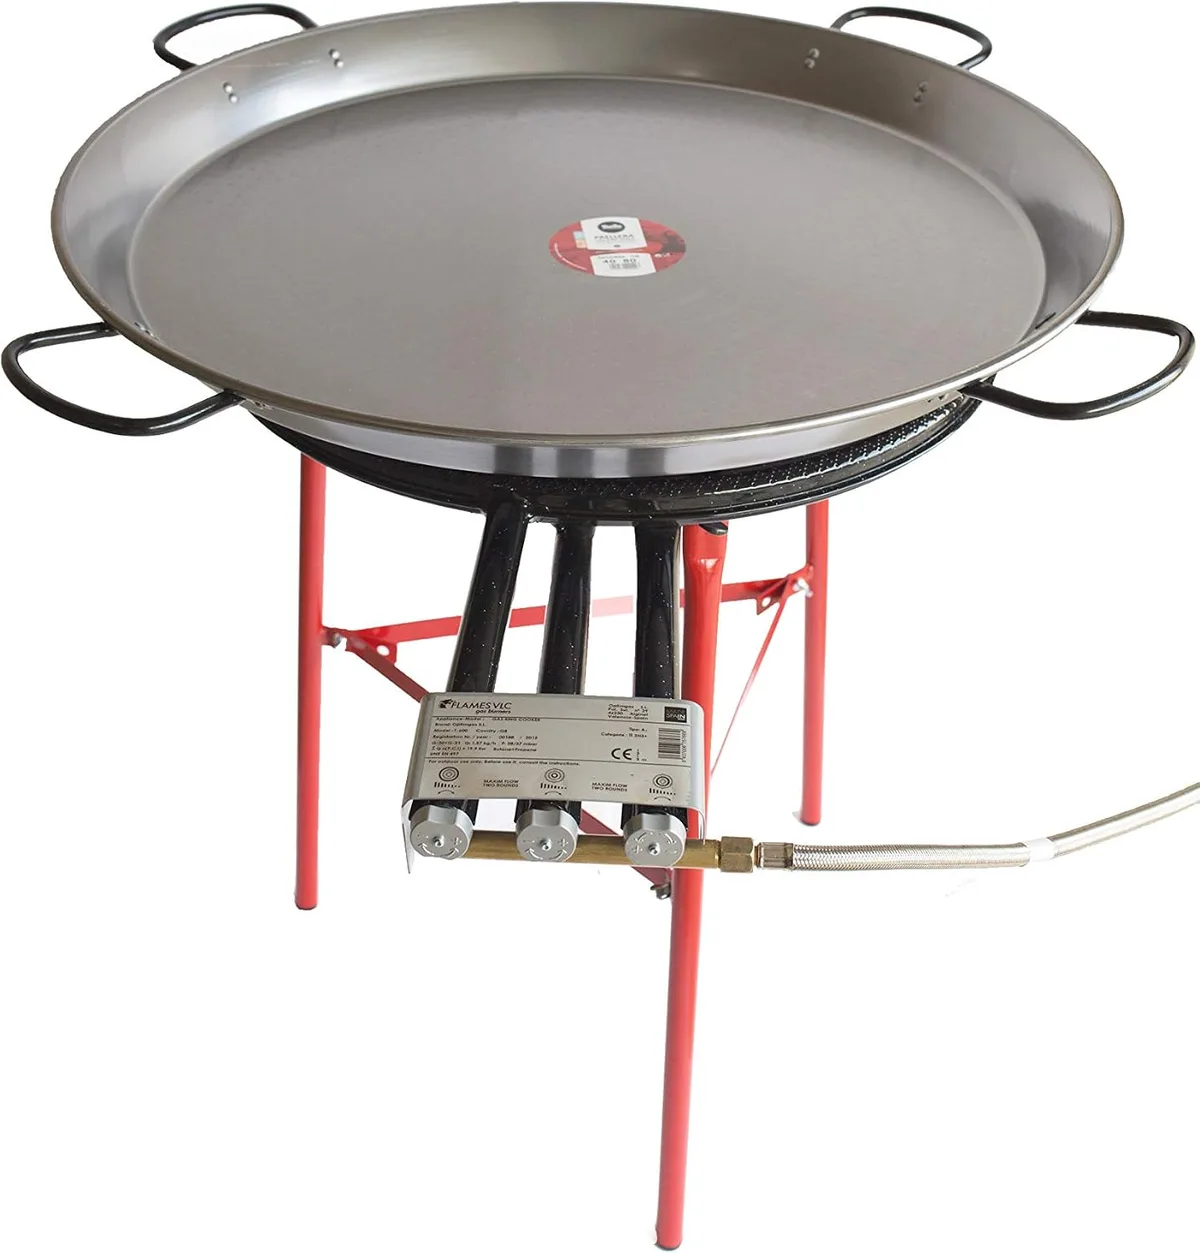
Step 1. Match burner size to pan diameter. This is the most important single adjustment. A pan that is ten inches across should sit on a burner that is eight or nine inches across.
If your pan is smaller than the burner, the thin walls sit directly over the heat source. Move to a smaller burner or offset the pan slightly so the edges extend past the burner.
Step 2. Preheat on medium-low. Set your stove to medium-low, not medium. Wait two minutes.
During this time the heat gradually climbs the walls. If you put an instant-read thermometer on the side wall after two minutes, you should read about 280°F to 300°F. That is safe.
If you had used high, that same wall would read over 450°F in the same time.
Step 3. Use the water droplet test. Flick a few drops of water onto the pan surface. If they skitter and dance like tiny beads, the pan is between 350°F and 400°F.
That is the sweet spot for stainless steel. If they instantly evaporate with a hiss, the pan is too hot. Turn it down and wait thirty seconds.
Step 4. Add oil and swirl. Pour in enough oil to coat the entire bottom, not just the center. Use the pan handle to tilt and swirl the oil so it reaches the thin edges.
That thin layer of oil acts as a thermal buffer. It absorbs the excess heat at the rim and distributes it more evenly.
Step 5. Reduce heat slightly before adding food. The moment you add room‑temperature food, the pan temperature drops. That drop is uneven on thin pans.
The edges cool slower than the base. If you keep the burner at the same setting, the edges stay hotter relative to the center. Drop the heat one notch when the food goes in.
This compensates for the edge‑cooling delay.
Step 6. Cook and monitor. Watch the outer inch of your pan. If you see wisps of smoke at the edge before the center is sizzling, your heat is still too high.
Dial it down two notches. You can always increase heat later. You cannot undo a burnt edge.
When Heat Control Alone Isn't Enough Use a Heat Diffuser
Sometimes technique adjustments still aren't enough. If your stove runs hot even on low, or your pan set is extremely cheap with walls under 0.8 millimeters, you need a hardware solution. A heat diffuser is the simplest and cheapest fix.
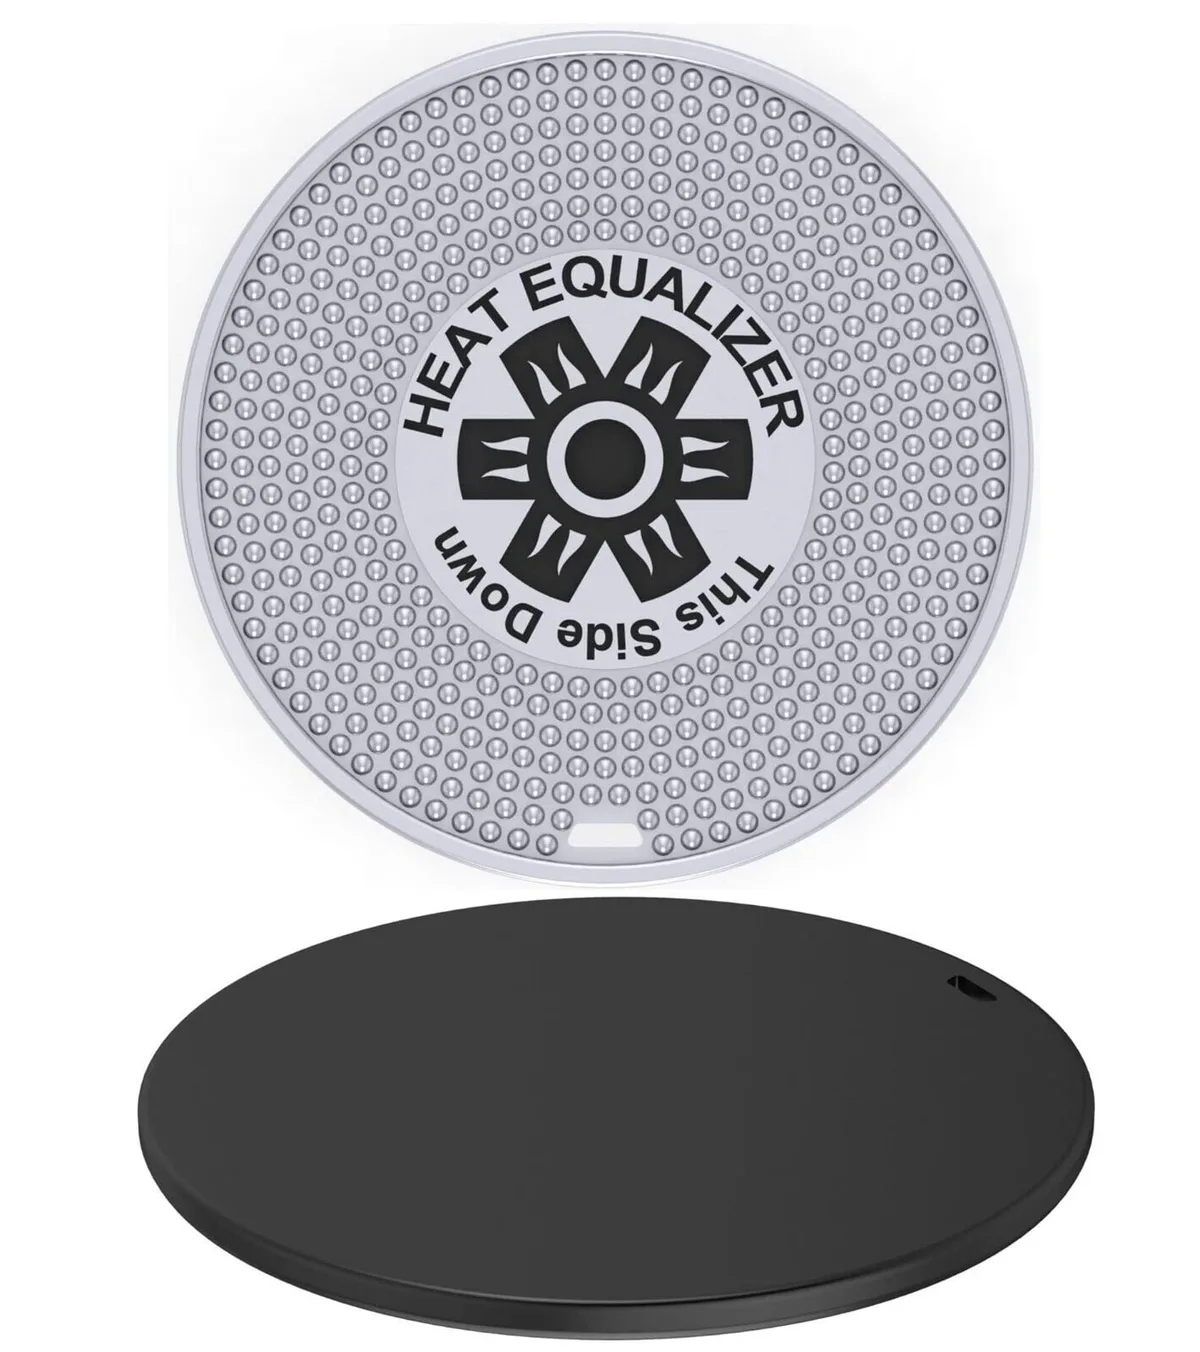
A heat diffuser is a flat metal plate you place between the burner and your pan. It spreads out the heat before it reaches the cookware. This eliminates the concentrated hot zone that burns thin edges.
Diffusers come in two main materials. Aluminum diffusers distribute heat fast and evenly. They cost roughly ten to fifteen dollars as of 2026.
Copper diffusers are more expensive, around twenty to thirty dollars, but they respond faster to heat changes. Steel diffusers are the cheapest at five to eight dollars, but they take longer to heat up and can cause rust over time.
Set up a heat diffuser correctly. Place the diffuser on the burner and turn the heat to medium. Wait two minutes for the diffuser to reach temperature. Then place your pan on top.
The diffuser absorbs the burner's intensity and radiates a gentler, wider heat into the pan base. The thin edges finally get even heat.
Where a diffuser helps the most. Electric coils and glass stoves benefit the most from diffusers. Gas stoves benefit less because you can already control flame height. Induction stoves typically do not need diffusers since induction heat is already confined to the magnetic base.
One warning about diffusers. They slow down boiling times. If you are making pasta or soup, a diffuser adds extra minutes to reach a rolling boil. Switch between diffuser mode for searing and direct heat for boiling.
The diffuser is not meant to stay on the stove permanently. Use it only for tasks where edge burning is a problem.
The Biggest Mistakes That Make Thin Edges Burn Worse
Getting the technique right is half the battle. But there are a few common errors that completely undo all your effort. Avoid these and your thin pans will behave much better.
Mistake 1. Crank the heat to high to speed things up. This is the single most destructive habit for budget stainless steel. The thin walls hit 500°F in under a minute.
The base lags behind. By the time the center is hot enough to cook, the edges are already smoking. Always start low and wait.
Patience is the fix, not power.
Mistake 2. Preheat the pan without any oil. Dry heat on thin walls accelerates the temperature gap. The bare metal radiates heat upward faster than oiled metal.
Add a thin layer of oil after the water droplet test passes. That oil absorbs and redistributes the excess heat at the rim.
Mistake 3. Use a burner that is way larger than the pan. A six‑inch pan on an eight‑inch burner is a disaster for thin edges. The exposed walls sit directly over the flame or coil.
If your burners are all too large, use a heat diffuser. If you do not have one, offset the pan so the burner is under only half the base. Rotate the pan every minute to even out exposure.
Mistake 4. Crowd the pan with cold food. Dropping a full batch of cold chicken or vegetables drops the pan temperature instantly. The base recovers faster because it is thick.
The thin edges stay hotter relative to the center. Food at the perimeter burns while the middle steams. Cook smaller batches.
Give each piece breathing room.
Mistake 5. Use cooking spray instead of oil. Cooking spray burns at lower temperatures than liquid oil. The propellants and additives create sticky residue that scorches onto thin edges fast.
Use a liquid oil with a smoke point above 400°F. Avocado, grapeseed, or refined olive oil work well.
Mistake 6. Ignore the water droplet test. Many cooks guess the preheat time. Two minutes on medium might be perfect for one stove and way too long for another.
The water droplet test removes the guesswork. If you see beads skittering, you are ready. If they evaporate instantly, the pan is too hot.
Mistake 7. Clean the pan with abrasive scrubbers after every use. Thin edges are already fragile in terms of heat. Scratched metal creates more surface area for food to stick and burn.
Use a soft sponge and gentle cleaner. For burnt residue, deglaze the pan with water or broth while it is still warm. This lifts stuck bits without damaging the surface.
| Mistake | Why It Hurts | The Quick Fix |
|---|---|---|
| High heat start | Overheats walls before base | Medium-low preheat only |
| Dry preheat | Widens temperature gap | Oil after preheat |
| Oversized burner | Direct heat on exposed walls | Smaller burner or diffuser |
| Crowded pan | Uneven temperature recovery | Smaller batches |
| Cooking spray | Low smoke point, sticky residue | Liquid oil with high smoke point |
| Skipping water test | Blind preheat timing | Use skittering bead test |
How to Know If It Is Time to Upgrade Just One Pan
Sometimes no amount of technique fixes a truly cheap pan. If your pan has walls under 0.7 millimeters or the disc base is visibly warped, the problem might not be solvable. Here is how to decide when to buy one good pan instead of fighting the whole set.
The decision tree for upgrading. If you have tried diffusers, lower heat, and smaller batches, and the outer inch still burns every time, your pan is too thin. The metal cannot hold enough thermal mass to even out. At this point, buying a single better pan is cheaper and smarter than replacing the whole set.
Which pan to replace first. The most used pan in your set is the one that burns food the fastest. For most people, that is the ten‑inch frying pan. You use it for eggs, searing, stir‑fries, and sauces.
If you replace just that one with a fully clad tri‑ply pan, your most common cooking tasks improve immediately.
What to look for in an upgrade. A fully clad pan has aluminum or copper running from base to rim. The side walls are just as thick as the base. This eliminates the temperature gap entirely.
Look for a pan with side walls at least 2.0 millimeters thick. Brands that offer tri‑ply at a reasonable price include Tramontina, Cuisinart MultiClad Pro, and Made In. These cost about forty to sixty dollars for a ten‑inch frying pan as of 2026.
Keep the rest of the set for low‑heat tasks. Your existing budget pans still work fine for boiling pasta, simmering soup, steaming vegetables, or making stock. None of those tasks engage the thin edges. Reserve your new pan for high‑heat searing and delicate cooking.
This way you get the best of both worlds without spending hundreds.
When upgrading is not worth it. If your stove is electric coil or old gas, even a high‑end pan may not solve all problems. The burner itself runs unevenly. In that case, a diffuser plus technique changes may match the performance of an upgrade.
Test your current setup thoroughly before buying anything.
The math on cost. A good heat diffuser costs ten to fifteen dollars. A replacement ten‑inch fully clad pan costs forty to sixty dollars. If the diffuser solves your problem, you save at least thirty dollars.
If it does not, you still have a useful tool for other tasks. Try the diffuser first, then decide.
When to replace the whole set. Only if every pan in your set is warped, the handles are loose, or the stainless steel has pitted from overuse. Warped pans never sit flat on the burner. That means gaps that cause even worse hot spots.
A warped pan is beyond fixing. Replace that pan immediately.

Related posts
Will Dishwasher Oxidize Aluminum Core in Budget Cookware?
You're pulling a saucepan out of the dishwasher, and the bottom looks like it aged ten years in…
Pan-Roasted Chicken: Herb Butter Temp & Time (Budget SS)
Ask around and you'll get ten different answers for what temperature and cooking time for panroasted chicken breast…
Clean & Shine Budget Stainless Steel with Bar Keepers Friend
You followed the directions. You scrubbed. You rinsed. And now your budget stainless steel pan looks worse than…