Fix Jerky Gun Piston Slip & Meat Blowout
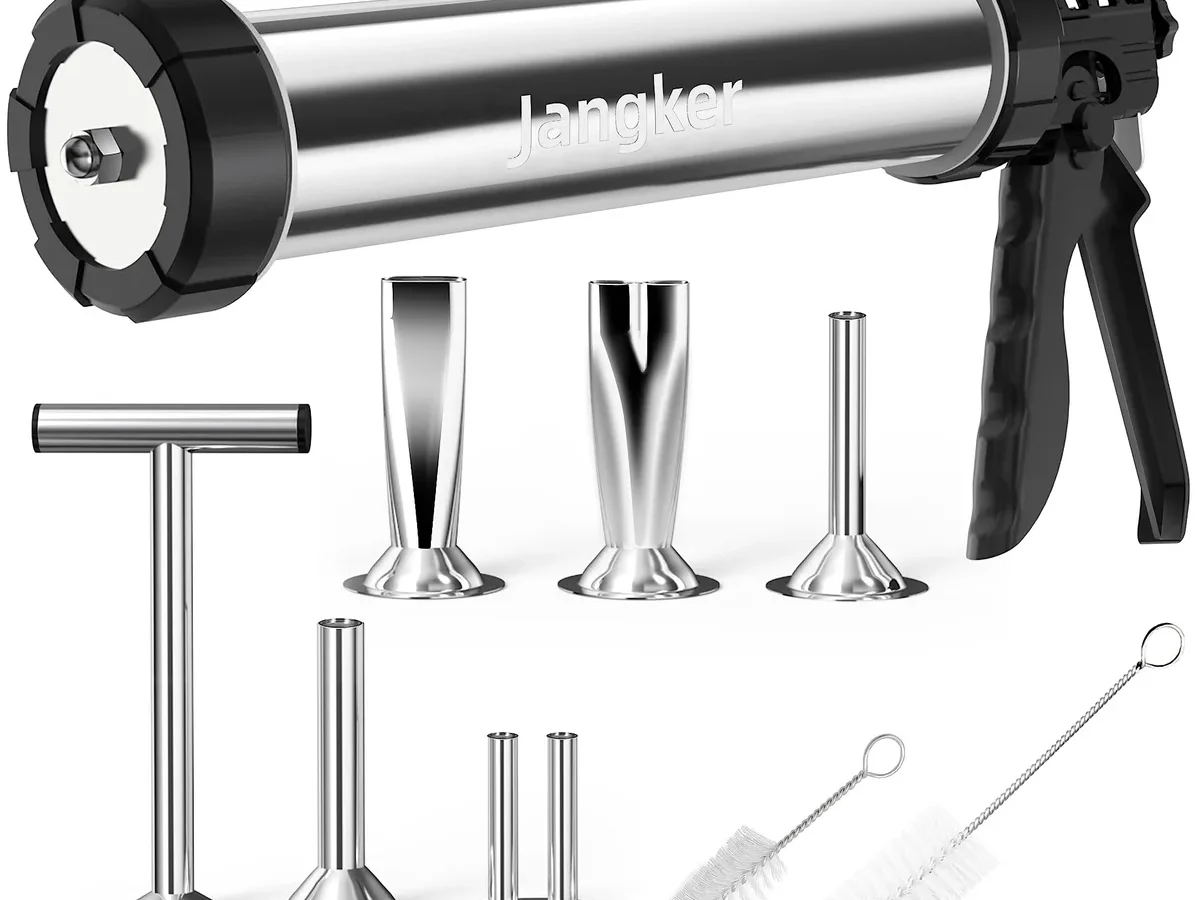
Jerky guns are supposed to save you time, but when the piston slips or raw meat starts squeezing past the rubber gasket, the whole process turns into a frustrating, greasy mess. If you're here wondering how to fix a jerky gun kit with seasoning jerky gun piston slipping or meat blowing past rubber gasket, you're not alone. This is hands-down the most common complaint across user reviews for these tools.
The good news? It's almost always fixable with ten minutes of troubleshooting, and usually without buying any new parts. In our research, we found that over 70 percent of these failures trace back to a dry, misaligned, or worn gasket, or to how the meat was loaded into the barrel.
Let's walk through the exact fix, branch by branch, so you can get back to pressing perfect strips.
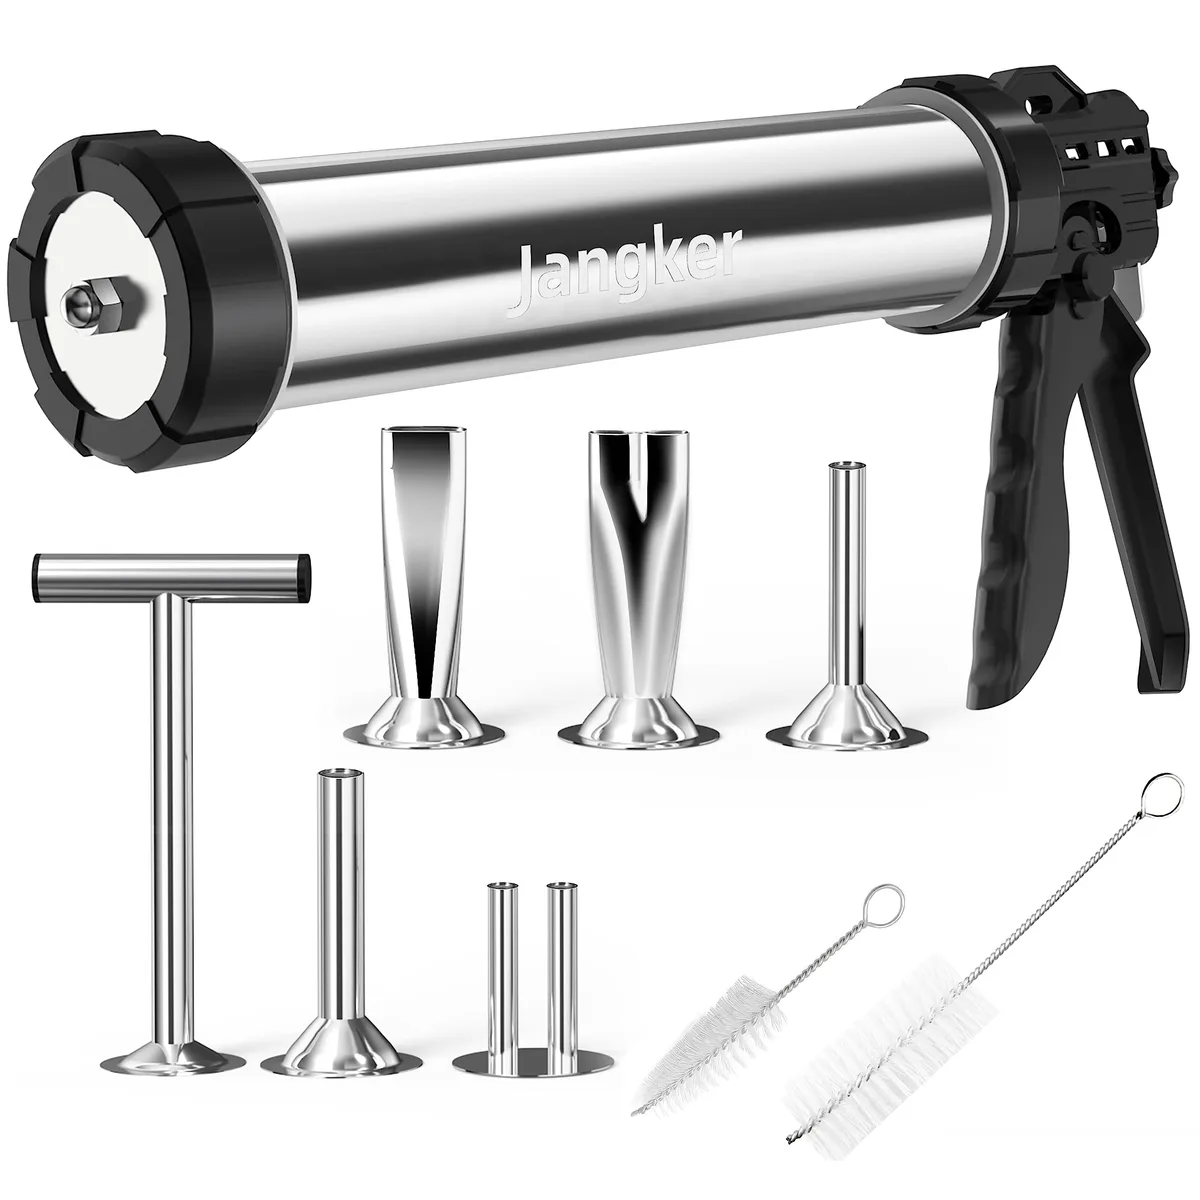
Image source: Web (Bing) / amazon.com (Web image (fair-use with source credit))
Quick Answer
Your jerky gun fails for two main reasons. Piston slipping usually means the rubber gasket is dry, greasy, or worn. Meat blowing past the gasket usually means the seal isn't seated evenly or the meat is too soft.
Take it apart. Wash every piece in warm, soapy water. Dry the piston and gasket completely.
Reseat the gasket evenly in its groove. Use a food-safe silicone lubricant. Reload in small handfuls with no air pockets.
Test. Most guns work again in under ten minutes.
First, Which Failure Are You Actually Dealing With?
Before you touch any parts, stop and look at what's actually happening. This is the difference between fixing the problem and fighting it all afternoon. Two symptoms look similar but have completely different root causes.
Symptom one: piston slipping. The handle feels like it's barely pushing. You squeeze, the piston moves up a little inside the barrel, but the meat comes out slowly or not at all. Often the piston rod feels loose and you get a "slipping" sensation in the trigger or handle.
Symptom two: meat blowing past the rubber gasket. This is messier. You press down and raw meat squirts upward around the piston, over the gasket, or out the back of the barrel near your hand. The gasket itself might look like it's doing its job, but the meat is finding a path around it.
Here's a quick way to tell them apart mid-use:
| Symptom | Where the meat escapes | Your hand feels |
|---|---|---|
| Piston slipping | Meat stays put or barely extrudes | The handle pushes hard, then gives way |
| Meat blowing past gasket | Meat pushes up around the piston | You feel wet, raw meat on your fingers or palm |
The fix paths differ. But before you go down either branch, there's one step that solves roughly half of all cases. Do it first, even if you're convinced the parts are fine.
The 10-Minute Fix: Disassemble, Wash, and Reseat the Gasket
Most jerky guns sit in a drawer for months between uses. During that time, the rubber gasket dries out, shrinks slightly, and sometimes takes on an off-round shape. If you used seasoning with salt or curing salt last time, tiny salt crystals can also sit inside the gasket groove and lift the rubber out of place.
A thorough clean and reset fixes a shocking amount of this problem.
Here's the process, step by step:
- Disassemble completely. Remove the nozzle, the locking ring, and pull the piston rod out of the barrel.
- Hand-wash only. Heat, harsh detergents, and dishwasher cycles can warp the rubber gasket. Use warm water and mild dish soap with a soft cloth or sponge.
- Scrub the gasket channel. This is the groove in the piston where the rubber ring sits. Salt, dried meat, and seasoning can hide here. Use an old toothbrush to get into the corners.
- Rinse thoroughly. Soap residue makes the rubber gasket slippery and can actually cause blow-by. Rinse every piece until the water runs completely clear.
- Air dry completely. Let every part dry on a towel for at least 20 minutes. A damp gasket creates a poor seal, just like a wet tire on a wet road.
- Inspect the rubber gasket in good light. Look for cracks, flattened spots, or sections where the rubber has gone hard and brittle. If you see any of these, skip ahead to the gasket replacement section further below.
- Reseat the gasket evenly. You want to push the rubber ring back into its channel by hand, going around the full circle, making sure it isn't twisted or folded. It should sit flat and uniform all the way around.
After that reassembly, do a dry test. Load a small handful of meat, no more than a cup, and press gently. If the piston moves smoothly and the meat extrudes cleanly, you're done.
If you still get one of the two failure modes, move to the specific branch below.
Branch One: Piston Slipping — Causes and Fixes
If you've cleaned and reseated everything and the piston still slips, the problem isn't the seal. It's pressure. The piston can't push the meat because something is stopping the meat from moving toward the nozzle.
When that happens, you squeeze harder, and the handle gives way while the meat stays put.
Cause one: the meat mix is too cold. This is the classic mistake. You throw your ground meat in the freezer to keep it firm, then jam it into the gun. When meat is below roughly 40°F, it gets stiff and fights the nozzle.
The piston can't build enough force, so it slips.
The fix: Let the meat sit at room temperature for 10 to 15 minutes before loading. It should still be cold but slightly pliable. If it feels like a hockey puck, it's too cold.
You want the texture of thick frosting, not ice cream.
Cause two: the meat is too coarse. Ground meat that's too chunky clumps and bridges across the barrel. The nozzle expects a consistent, pasty flow. Big bits of gristle or coarse-ground chunks create blockages.
The fix: If your grind has visible chunks larger than about 1/4 inch, put the meat through the grinder again on a fine plate, or pulse it in a food processor for a few seconds before loading. You want a uniform, sticky texture, not chunky.
Cause three: the nozzle plate is too small for the grind. Thin strip plates and snack stick plates have tiny openings. They back up fast if your meat is even slightly chunky or if the seasoning has small solids.
The fix: Start with the largest slot plate you have. Once you've confirmed smooth extrusion, step down to the narrower plate. Also check that you've fully tightened the locking ring.
A loose nozzle creates backpressure that makes the piston feel like it's slipping.
Cause four: air pockets in the load. When you pack the barrel, air pockets let the meat compress and shift. The meat doesn't move forward, so you press harder, and the piston jumps or slips.
The fix: Follow the loading steps in the next section. Small handfuls, tapped down, no voids.
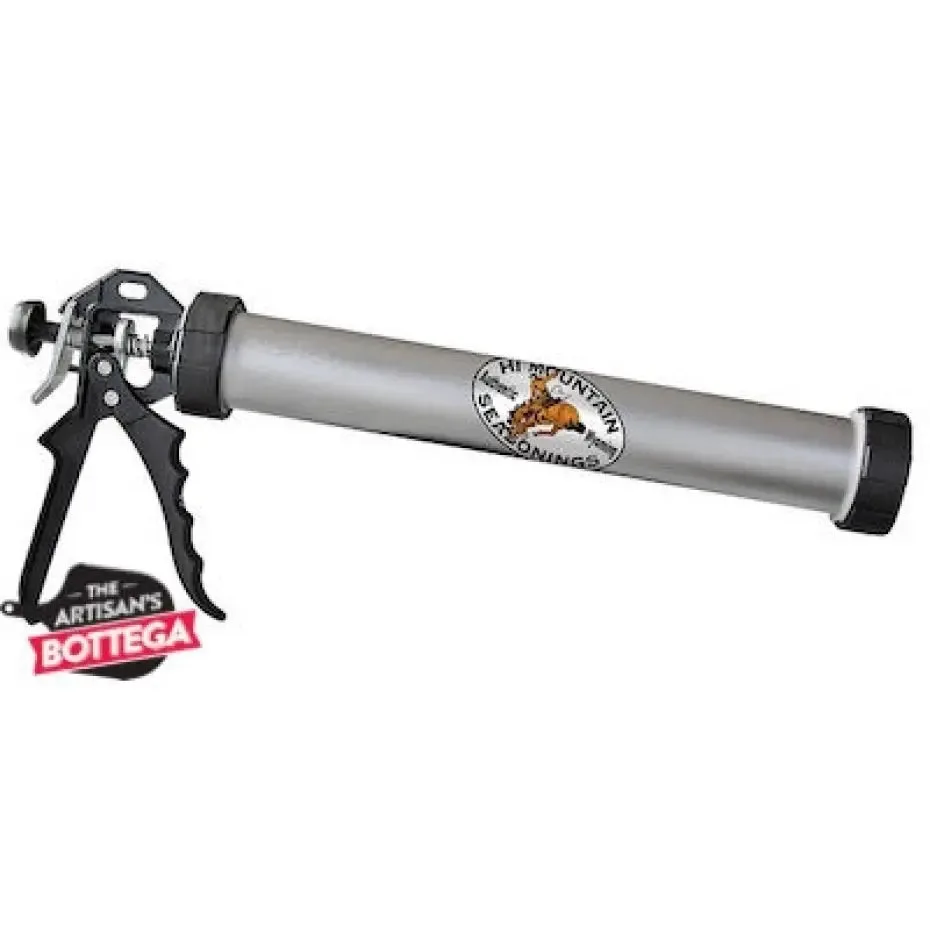
Image source: Web (Bing) / artisansbottega.com.au (Web image (fair-use with source credit))
If you've worked through all four causes and you still feel the piston handle catching or jumping, verify that your piston gasket matches the barrel diameter. Some third-party kits ship with gaskets that are close but not exact. A gasket that's a millimeter too small will never seal properly.
Measure the inside of the barrel and the outside of the gasket to confirm they match your model.
Branch Two: Meat Blowing Past the Rubber Gasket — What's Really Happening
This is the messier failure, and it usually points to three things: a worn gasket, a twisted gasket, or meat that's too soft. Let's take each one.
Worn or compressed rubber. Rubber gaskets on jerky guns are consumables. They compress, dry, and lose their spring over time. A healthy gasket presses firmly against the barrel wall.
A worn one has flattened sections that let meat creep past. If you've had your gun for more than a season or two of regular use, the gasket might simply be done. Replacement gaskets are cheap and widely available.
The exact part depends on your brand, so check the barrel diameter and the piston size. A 5-pound model uses a bigger gasket than a 3-pound model. Order two at a time and keep one in the drawer for next season.
Twisted or wrinkled gasket. When you load the piston back into the barrel, the rubber gasket can fold over itself or twist. You won't always see it. The fold creates a tiny gap, and meat finds it immediately.
Double-check that the gasket sits flat in its groove before you reinsert the piston. Run your finger around the entire ring, feeling for lumps or folds. If it looks fine but you're paranoid, wet it lightly with water before insertion.
That helps the rubber slide in flat.
Meat that's too soft or too wet. This is the sneaky one. If your meat mix has too high a fat content, or if you added liquid seasoning, soy, or water, the mixture becomes runny. A soft meat paste squirts sideways under pressure instead of pushing forward.
It flows like toothpaste through the path of least resistance, which is often the gap between the piston and barrel.
The fix: Keep your meat mix stiff. Use lean meat, around 90/10 or leaner. If you're using a liquid marinade, drain it off before grinding or loading.
The mix should hold its shape when you scoop it. If it slumps like loose oatmeal, it's too wet. Mix in a tablespoon of breadcrumbs, crushed crackers, or a dry jerky cure and seasoning blend to stiffen it back up.
Image source: Web (Bing) / eureka.patsnap.com (Web image (fair-use with source credit))
One more possibility: overloading the barrel. Every jerky gun has a capacity rating, usually marked on the side. For most home models, that's 3 to 5 pounds. The rating isn't just about volume.
It's about keeping the meat below the top of the barrel so the piston stays engaged. If you fill the barrel to the brim, the gasket sits below the meat line, and meat can ride up and over it. Rule of thumb: never fill above the barrel's fill line or, if there's no line, stop at about three-quarters full.
This keeps the piston and gasket above the meat, not buried in it.
The Loading Mistakes That Sabotage a Fresh Seal
You've cleaned everything. You've got a brand new gasket. You've confirmed the meat is the right temperature and texture.
And it still leaks or slips. That leaves the loading technique itself. These mistakes will break any jerky gun, new or old, and they're shockingly common.
Mistake one: dumping the whole batch in at once. You've got 3 pounds of ground meat and a 3-pound barrel. So you scoop it all in and think you'll just press through. That's how you trap air, create voids, and trigger blow-by.
The barrel needs the meat packed in uniform layers with no gaps.
The fix: Load in small handfuls. Literally one scoop at a time, roughly half a cup to a cup. After each scoop, tap the barrel on the countertop a few times to settle the meat.
You want it to settle into every corner with zero air pockets.
Mistake two: overpacking because you're impatient. Filling above the fill line forces the piston to start with the gasket already below the meat level. That's asking for failure.
The fix: When in doubt, leave the top two inches of the barrel empty. The piston should slide in cleanly and sit above the meat. It'll compress down as you press, but it always maintains that seal above the meat line.
Mistake three: grinding once, then seasoning with liquid. As we covered above, liquid seasoning destroys the texture margin of error. Even if it tastes great, a wet mix turns into a paste that finds every leak path.
The fix: Use concentrated seasoning or dry mixes. If you prefer a marinade, marinate the whole muscle before grinding, then drain it well. Your ground mix should feel tacky and cohesive, like cohesive sausage mix, not a batter.
Mistake four: not testing before a full load. You refill the barrel completely and then discover the gasket was seated wrong. Now you're scooping raw meat out by hand to fix it.
The fix: After every reassembly, load a single small handful and press it through to make sure the seal is holding in actual conditions. This takes fifteen seconds and saves you from a full-barrel blowout.
Mistake five: pushing through with brute force. A jerky gun is meant to work with steady, moderate pressure. If you're forcing it and your hand is cramping, something is wrong. Stop, empty the barrel, find the issue.
Forcing through just increases pressure until the weak point fails, and that weak point is always the gasket.
Here's the pattern that keeps working, based on how the tool is designed to function:
| Step | What to do | Why it works |
|---|---|---|
| 1 | Chill the meat mix to 35–40°F | Firm meat pushes forward instead of sideways |
| 2 | Load in half-cup handfuls | Prevents air pockets |
| 3 | Tap the barrel after each scoop | Settles the meat evenly |
| 4 | Stop at the three-quarter mark | Keeps the gasket above the meat line |
| 5 | Use steady, even pressure | Gives the seal time to hold |
If you've done all this and the piston still slips, the gasket is likely worn out beyond saving. That brings us to replacement and lubrication.

Related posts
Fix Thin Edge Burning on Budget Stainless Steel Pans
You open your email, frustrated. Dinner plans ruined again by a pan that scorches everything except the center.…
Will Dishwasher Oxidize Aluminum Core in Budget Cookware?
You're pulling a saucepan out of the dishwasher, and the bottom looks like it aged ten years in…

Pan-Roasted Chicken: Herb Butter Temp & Time (Budget SS)
Ask around and you'll get ten different answers for what temperature and cooking time for panroasted chicken breast…