Compact Double Espresso: Temp & Time for Golden Crema
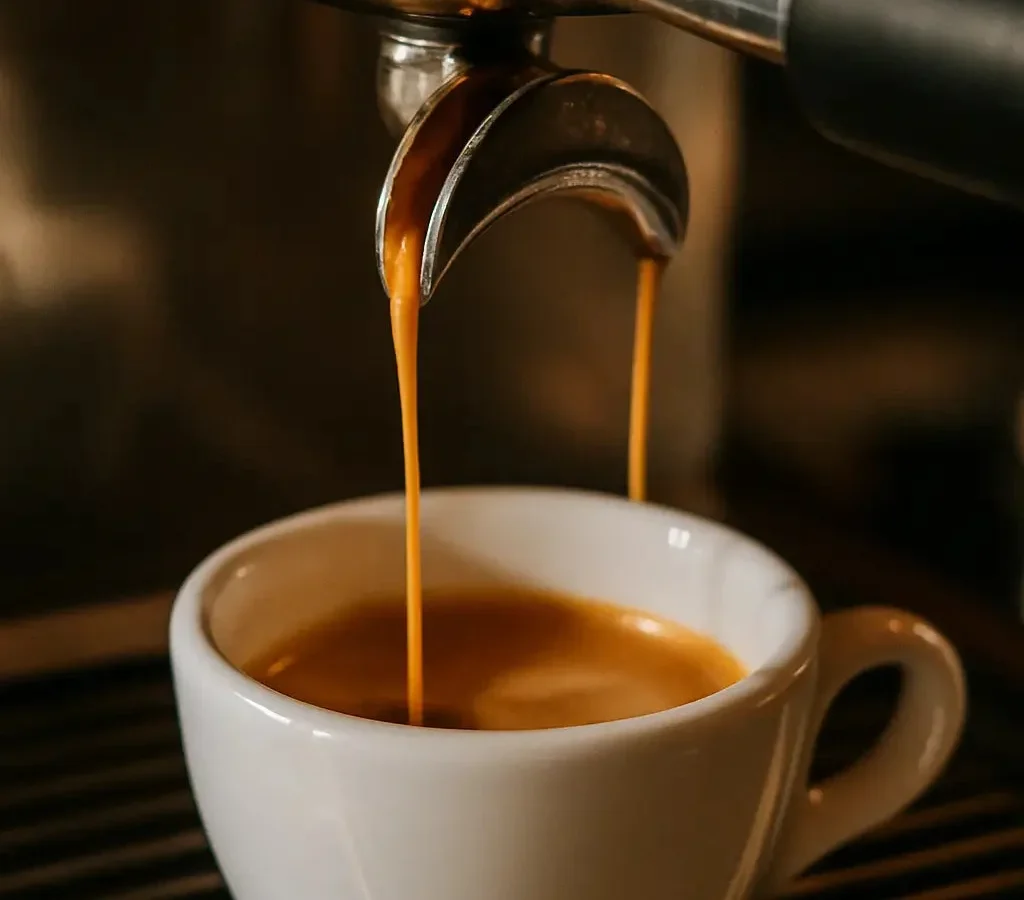
If you're wondering what temperature and cooking time for a double espresso shot with thick golden crema in a compact espresso machine with a steam wand, you're not alone. It's one of the most common questions home baristas ask. The problem is that a single magic number doesn't work for every machine.
Your compact setup has its own quirks that change the rules.
Per Specialty Coffee Association standards, the ideal brew temperature range for espresso is 92.0°C to 96.0°C. But a compact machine with a steam wand often runs hotter or cooler than that. And the brew time you need depends on several variables you can control.
Let's walk through how to find your sweet spot.
Quick Answer
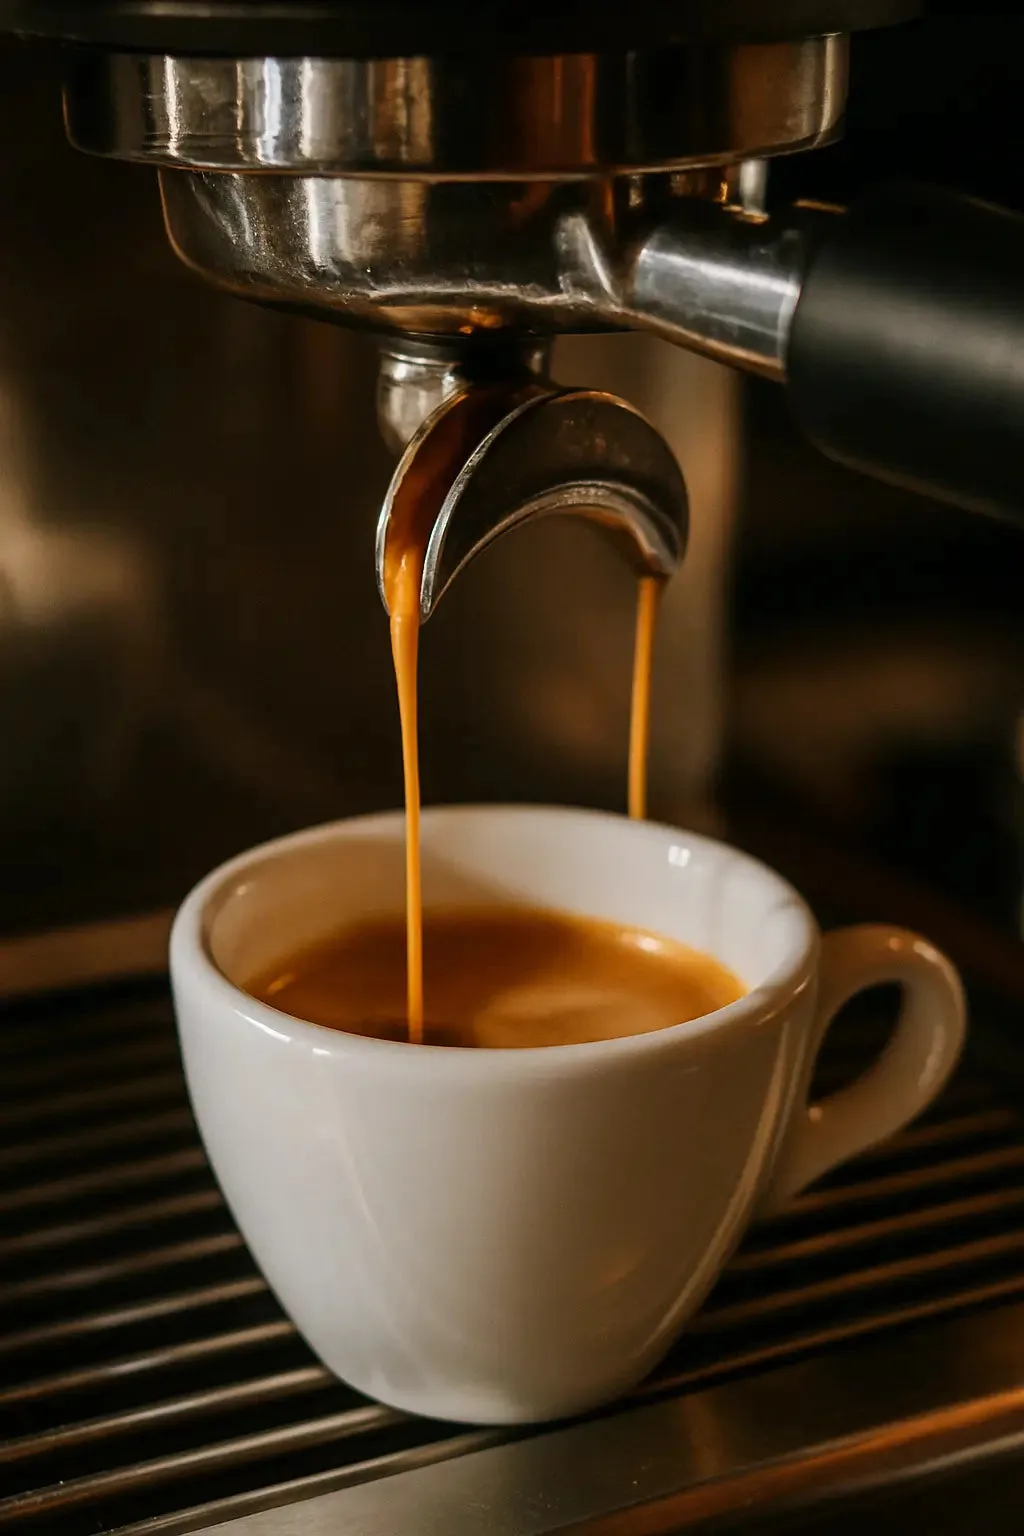
For a double espresso shot with thick golden crema on a compact machine, aim for a brew temperature of 93°C to 95°C. Target a brew time of 25 to 30 seconds from the first drop. Use a 1:2 coffee-to-yield ratio.
Adjust grind size to hit that time. Golden crema requires fresh beans, proper pressure, and correct temperature.
Why Your Compact Machine’s Temperature and Time Are Tricky for Golden Crema
Crema is the golden layer of foam on top of a well-pulled shot. It's made of emulsified coffee oils and trapped CO2. For it to be thick and golden, you need the right temperature and pressure at the puck.
Compact machines make that harder.
Most compact espresso machines use a thermoblock or a single boiler. These systems heat water on demand or store it in a small tank. The problem is thermal stability.
The temperature can drop when water flows through the system, or spike if the element cycles on too late.
The steam wand complicates things further. If you steam milk first, the boiler can hit 140°C or more. You then need to cool it down to the 90°C to 96°C range for brewing.
That process, called temperature surfing, is tricky on a compact machine. Many users skip it and get a sour or bitter shot as a result.
Another factor is brew pressure. Your machine's pump may not deliver a consistent 9 bars at the group head. The Specialty Coffee Association sets the standard for espresso brewing, and pressure is a key part of that.
If your machine runs at 12 bars, which is common for cheaper compact models, the water can channel through the puck. This gives you thin crema and uneven extraction.
So you're not just dialing in temperature and time. You're also managing heat stability, pressure, and your own workflow. The good news is that you can adjust for all of these.
You just need to know what to look for.
Aggregate reviews of compact machines show that users often struggle with the first few shots. The machine needs time to settle. The puck needs proper preparation.
And the temperature needs to be consistent. Once you understand these variables, you can fix them one by one.
What Temperature and Brew Time Actually Do to Your Double Shot
Temperature controls how fast the coffee dissolves. Higher temperature pulls more solubles out of the grounds. Lower temperature pulls fewer.
But it's not linear. Go too hot, and you extract bitter compounds. Go too cold, and you get sour, underdeveloped flavors.
The Specialty Coffee Association recommends a brew temperature between 92.0°C and 96.0°C. For a compact machine, you want to stay in the middle of that range. Here's what different temperatures do to your shot.
| Temperature Range | Effect on the Shot |
|---|---|
| Below 90°C (194°F) | Under-extraction. Sour, thin, little crema. |
| 92°C to 95°C (198°F to 203°F) | Balanced extraction. Thick golden crema. |
| Above 96°C (205°F) | Over-extraction. Bitter, burnt, crema dissipates quickly. |
Brew time is equally important. The standard for a double espresso is 25 to 30 seconds from the first drop. This time measures how long the water stays in contact with the coffee.
If it runs faster, the water never gets a chance to dissolve the good stuff. If it runs slower, the water starts pulling out the harsh flavors.
A 25 second shot that tastes sour needs a finer grind. A 35 second shot that tastes bitter needs a coarser grind. The relationship between grind size and time is your main adjustment tool.
But temperature and time work together. A lower temperature might need a longer brew time to extract properly. A higher temperature might need a shorter time.
Research from the UC Davis Coffee Center confirms that extraction yield directly correlates with brew temperature and contact time. If you want to maximize flavor, you need to balance both.
Golden crema is a sign of proper extraction. It appears when the coffee is fresh, the grind is correct, and the temperature is in the right range. The crema should be thick and hold together for at least a minute.
If it's white or too thin, your temperature or pressure is off.
The Key Variables That Change Your Ideal Recipe
Your double espresso shot's success depends on more than just temperature and time. Several variables shift the ideal numbers. Understanding them helps you adjust your workflow.
- Roast Level: Dark roasts extract more easily. They need a lower temperature, around 90°C to 92°C, to avoid bitterness. Light roasts need higher temperatures, around 94°C to 96°C, to dissolve fully.
- Bean Freshness: Coffee that's less than 7 days off roast has more CO2. That's good for crema. But it also means the water can't penetrate as easily. You may need a slightly longer brew time or a higher temperature.
- Dose Size: A larger dose of coffee requires more thermal energy to heat through. If your machine struggles with temperature stability, a bigger dose can lead to a lower temperature at the puck. Adjust your dose down if you see sour shots.
- Grind Size: This is your primary control. Finer grinds slow the water flow. Coarser grinds speed it up. Your goal is to hit the 25 to 30 second window with a fine enough grind to create proper pressure.
- Pre-Infusion: Some compact machines have a low-pressure pre-infusion cycle. This wets the puck before full pressure hits. It helps with even extraction and crema development. If your machine has it, use it.
- Machine Temperature Stability: A compact machine with a thermoblock may have temperature swings of 3°C to 5°C during a shot. You need to account for this by temperature surfing or by adjusting your brew temperature setting if available.
Each of these variables changes your target temperature and brew time. The decision tree in the next section helps you work through them one at a time.
Your goal is to find a combination that gives you a balanced flavor and a thick golden crema. Start with a baseline, then adjust one variable at a time. Keep notes on what works.
Over a few shots, you'll find your machine's sweet spot.
Your Decision Tree: How to Find Your Machine's Sweet Spot
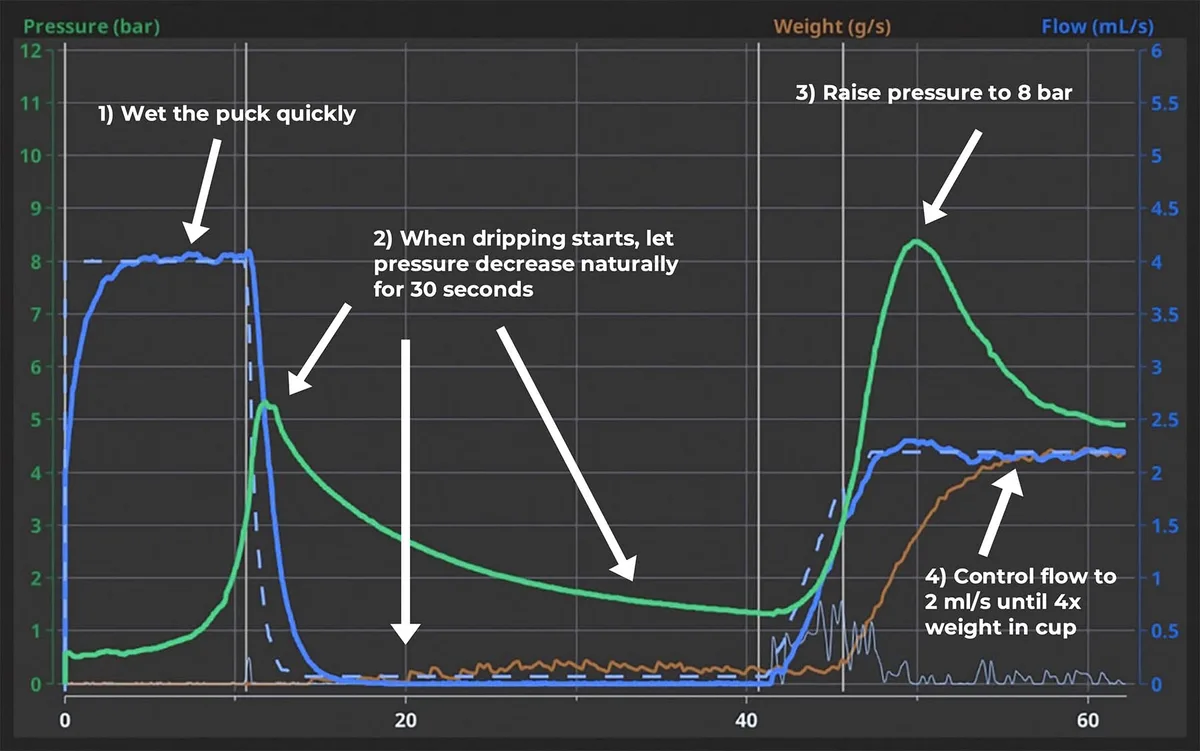
This decision tree walks you through the setup process. Start at the top and follow the path that matches your situation.
Step 1: Are you using fresh, whole beans?
- If yes: Go to Step 2.
- If no: Buy fresh beans. Old beans won't produce thick crema no matter what you do.
Step 2: What is your roast level?
- Light to medium: Target 94°C to 96°C. Start with a 20 second pre-infusion if available.
- Dark: Target 90°C to 92°C. Use a shorter brew time, around 22 to 25 seconds.
Step 3: Are you brewing right after steaming milk?
- If yes: You need to cool the boiler down. Purge water through the group head until the portafilter feels warm, not hot. This takes about 30 seconds of water flow.
- If no: Your machine is at idle temperature. Proceed to Step 4.
Step 4: Set your dose.
- Use 18 grams for a standard double basket. If your basket is smaller, use 15 to 16 grams. Weigh your coffee for accuracy.
Step 5: Are you hitting 25 to 30 seconds?
- If yes: Check the flavor. If it tastes balanced and the crema is golden, you're done.
- If no: Go to Step 6.
Step 6: Adjust your grind size.
- If the shot runs under 20 seconds: Grind finer.
- If the shot runs over 35 seconds: Grind coarser.
- Make one adjustment at a time. Pull another shot and test.
Step 7: Is the crema still thin or white?
- If yes: Increase your brew temperature by 1°C to 2°C. If your machine doesn't have a temperature control, use a longer pre-infusion or a slightly finer grind.
- If no: Your crema looks good. Check the flavor for balance.
This tree works for most compact machines. The key is to change only one variable per shot. That way you know exactly what fixed the problem.
Step-by-Step: Dialing In a Double Shot with Thick Golden Crema
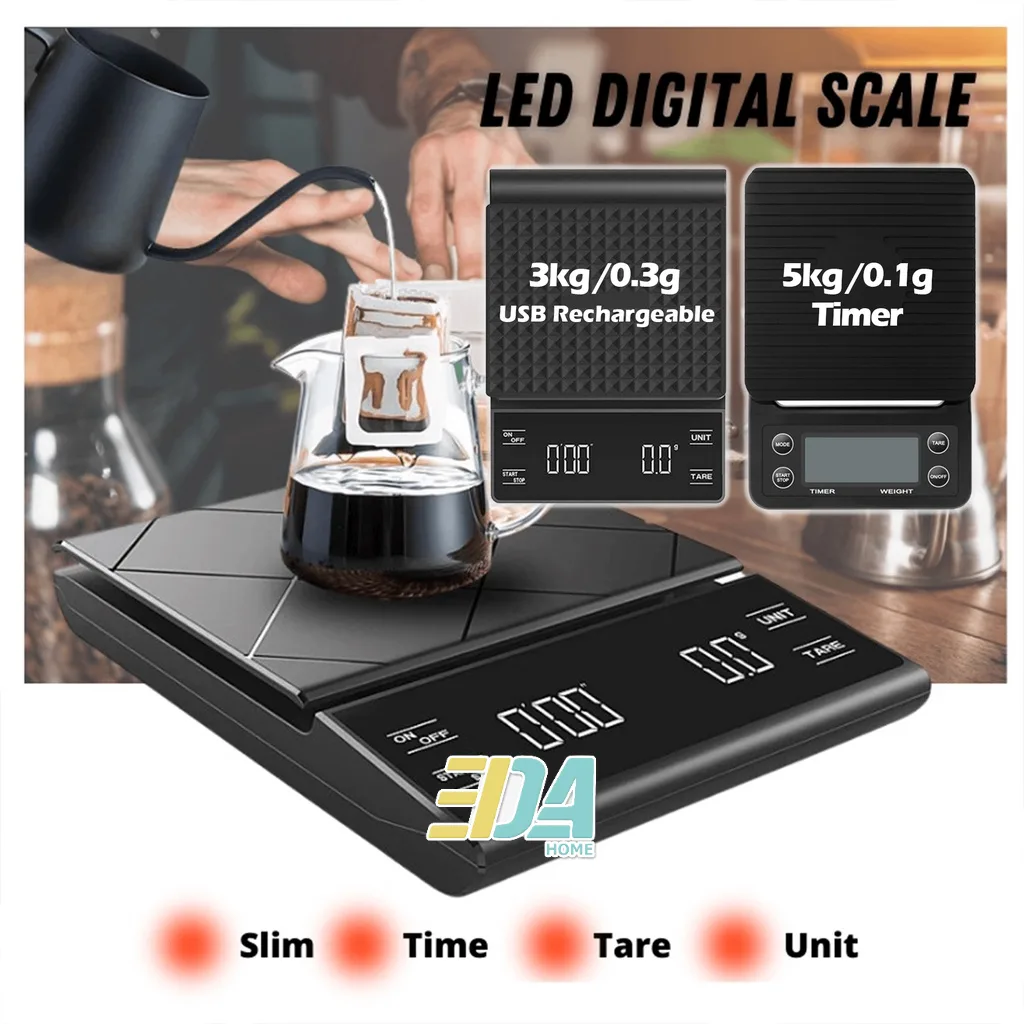
Follow these steps to pull a double shot with the best possible crema. Use a scale and a timer for accuracy.
Preheat your machine. Turn it on and wait for it to reach operating temperature. For a thermoblock, this takes about 30 seconds. For a single boiler, wait until the indicator light shows ready. Then flush some water through the group head to stabilize the temperature.
Warm your portafilter and cup. Place the portafilter in the group head to heat up. Rinse your cup with hot water. Cold metal and ceramic will drop the brew temperature.
Dose your coffee. Weigh out 18 grams of whole beans. Grind them fine, about the consistency of table salt. Use a grind size that has worked for you before, or start with a medium fine setting.
Distribute the grounds. Use a distribution tool or a toothpick to break up any clumps. Make sure the coffee bed is level in the basket.
Tamp evenly. Apply firm, consistent pressure with your tamper. Aim for a level surface. An uneven tamp causes channeling, which ruins crema.
Insert the portafilter and start the shot. Start your timer. You should see the first drops at around 5 to 7 seconds. If they come earlier, your grind is too coarse. If later, your grind is too fine.
Watch the flow. The stream should be thick and steady, like warm honey. It should not be watery or spraying. A good shot will have a single stream that flows straight down.
Stop the shot at 36 to 40 grams of liquid. This is the 1:2 ratio. If you're using 18 grams of coffee, stop at 36 grams of espresso. The time should be between 25 and 30 seconds.
Evaluate the crema. It should be thick, golden, and lasting. If it's white, thin, or disappears quickly, you need to adjust your temperature or grind.
Taste the shot. It should be balanced, not sour or bitter. If it's off, use the decision tree above to adjust.
This process takes a few tries. But once you nail it, you'll get consistent results every time.
Common Mistakes That Kill Crema on Compact Machines
Even with the right temperature and time, small mistakes can ruin your crema. Here are the most common ones we see in aggregate user feedback for compact machines.
Skipping the preheat. A cold portafilter and group head drop the brew temperature by 3°C to 5°C. That's enough to under-extract your shot. Always run water through the group head for 10 seconds before locking in the portafilter.
Warm your cup too.
Using stale beans. Crema is mostly CO2. If your beans are more than 3 weeks off roast, the gas is gone. You'll get a thin, white layer that disappears quickly.
Buy whole beans with a roast date on the bag. Use them within 7 to 14 days for the best crema.
Tamping unevenly. A tilted puck creates channeling. Water flows through the thin side and bypasses the thick side. The result is a sour, splashing shot with patchy crema.
Use a level tamper or a self-leveling tamper for consistency.
Grinding too coarse. Coarse grinds let water rush through too fast. You get a watery shot with no body and minimal crema. The brew time drops below 20 seconds.
Grind finer until you hit the 25 to 30 second window.
Ignoring the steam wand impact. If you steam milk first, the boiler is too hot for brewing. The temperature at the puck can exceed 100°C. This burns the coffee and creates a bitter, dark crema that fades fast.
Flush water through the group head for 20 to 30 seconds after steaming.
Overfilling the basket. Too much coffee pushes the puck against the shower screen. This creates a hard, compacted cake that water can't penetrate. The shot stalls or runs very slowly.
Stick to the basket's rated dose, usually 18 grams for a double.
Not using a scale. Volume measurements are inconsistent. Crema is mostly gas, so the same volume can have different amounts of liquid. Weigh your output.
Aim for 36 to 40 grams of liquid espresso from 18 grams of coffee.
Using a pressurized basket incorrectly. Many compact machines come with a pressurized basket. It creates crema with a single wall and a small hole. It works with pre-ground coffee, but it hides grind errors.
If you want real crema, switch to a non-pressurized basket once you have a good grinder.
Neglecting to purge the steam wand. Milk residue in the wand can clog the tip. This reduces steam pressure and affects the machine's overall performance. Purge the wand after each use.
Clean it with a damp cloth right away.
Expert Tips for Compact Machines with a Steam Wand
Compact machines have limitations. But you can work around them with some smart techniques. Here are expert tips that make a real difference.
Temperature surf your single boiler. If your machine lacks a PID, you need to temperature surf. The process is simple. Turn on the machine and wait for the ready light.
Run water through the group head for 10 seconds. Wait 15 seconds for the temperature to stabilize. Then lock in the portafilter and pull your shot.
This gives you a more consistent brew temperature.
Use the steam wand to cool the boiler. After steaming milk, the boiler is at steam temperature, around 140°C. To bring it down to brew temperature, open the steam wand for 5 seconds. This releases excess pressure and heat.
Then flush the group head until the water stops sizzling. Your machine is now ready to brew.
Preheat your cup on the warming tray. Most compact machines have a cup warmer on top. Use it. A cold cup saps heat from your espresso as it pours.
The result is a cooler shot with thinner crema. Let your cup warm up for at least 5 minutes before brewing.
Grind fresh for every shot. Pre-ground coffee loses volatile compounds within minutes. Grind only what you need for each shot. If you're using a hand grinder, this takes about 30 seconds.
The improvement in flavor and crema is worth it.
Check your water hardness. Hard water accelerates scale buildup inside your machine. Scale insulates the heating element and causes temperature swings. Use filtered water or a descaling solution every 3 months.
This keeps your brew temperature stable.
Don't skip the distribution step. Even tamping starts with even distribution. Use a toothpick or a WDT tool to break up clumps. Level the bed before tamping.
This prevents channeling and gives you a more even extraction.
Adjust your dose for the basket. Not all compact machine baskets are the same. A 51mm basket holds less coffee than a 58mm one. Use a scale to find the right dose for your specific basket.
Overfilling or underfilling messes with the pressure and the crema.
Let the machine warm up fully. A cold machine pulls bad shots. Let it warm up for 10 to 15 minutes. This stabilizes the internal temperature.
If you're in a hurry, run a blank shot through the group head to speed things up.
Keep a shot diary. Write down your dose, grind setting, temperature, and brew time for each shot. Note the flavor and crema quality. Over time, you'll see patterns.
This helps you replicate your best shots and fix your worst ones.
Frequently Asked Questions
What's the ideal brew temperature for a double espresso on a compact machine?
The ideal range is 93°C to 95°C (199°F to 203°F). For dark roasts, use the lower end. For light roasts, use the higher end.
If your machine lacks a temperature control, use temperature surfing to get close.
How long should a double espresso shot take?
A double shot should take 25 to 30 seconds from the first drop. This includes the time for the water to flow through the puck. If it runs faster, grind finer.
If it runs slower, grind coarser.
What causes thin or white crema on my compact machine?
Thin or white crema usually means the temperature is too low, the beans are stale, or the pressure is wrong. Check your brew temperature first. Then check your bean freshness.
Finally, check if your machine is delivering enough pressure.
Can I use a pressurized basket to get better crema?
A pressurized basket can create crema with pre-ground coffee. But it's not real crema. It's a forced foam made by the small hole in the basket.
For thick, golden crema, use a non-pressurized basket with fresh grounds and a proper grind.
Should I steam milk before or after brewing the espresso?
Always brew the espresso first, then steam the milk. This keeps the boiler at the right brew temperature. If you steam first, you need to cool the boiler down.
The espresso is also more stable when it sits for a moment before adding milk.
How often should I descale my compact espresso machine?
Descale every 3 months if you use tap water. If you use filtered water, every 6 months is fine. Scale buildup affects the heating element and causes temperature swings.
This directly impacts your crema quality.
What grind size gives the best crema for a compact machine?
A fine grind, similar to table salt, works best. But the exact setting depends on your machine and grinder. Start with a medium fine setting and adjust until you hit the 25 to 30 second brew time.
The crema will tell you if you're close.
Your Quick-Reference Decision Guide for Any Compact Machine
This guide summarizes everything into a simple checklist. Use it when you're setting up your machine for the first time or troubleshooting a bad shot.
| Condition | Action | Expected Result |
|---|---|---|
| Shot runs under 20 seconds | Grind finer | 25 to 30 second brew time |
| Shot runs over 35 seconds | Grind coarser | 25 to 30 second brew time |
| Crema is thin or white | Increase brew temperature by 1°C to 2°C | Thick golden crema |
| Crema is dark and bitter | Decrease brew temperature by 1°C to 2°C | Balanced flavor |
| Shot tastes sour | Increase brew temperature or grind finer | Balanced extraction |
| Shot tastes bitter | Decrease brew temperature or grind coarser | Balanced extraction |
| Stale beans | Buy fresh beans with a roast date | Thick crema and better flavor |
| Machine after steaming | Flush group head for 20 to 30 seconds | Correct brew temperature |
Start here. Set your machine to 93°C if you can. Use 18 grams of fresh coffee. Grind fine enough to hit 25 to 30 seconds.
Pull the shot and check the crema and flavor.
If the crema looks good but the taste is off. Adjust the temperature by 1°C at a time. Higher for sour. Lower for bitter.
If the crema is thin. Check your bean freshness first. Then check your grind size. Finally, check your temperature.
If you're switching between roasts. Reset your grind setting. Dark roasts need a coarser grind. Light roasts need a finer grind.
Pull a test shot and adjust.
If you're in a hurry. Use the pre-infusion if your machine has it. It helps with even extraction even with a rushed puck prep. And always preheat your cup.
This guide works for any compact machine with a steam wand. The variables are the same. The tools are the same.
The only difference is how your specific machine handles heat and pressure. Learn those quirks and you'll consistently pull shots with thick golden crema.

Related posts
Fix Barista Express Pressure Gauge Stuck During Extraction
You load your portafilter, lock it in, pull the shot. The pump whirs. Coffee drips. But the pressure…
Can You Safely Run Water Through an Empty Bean Hopper?
You're asking a question that seems simple on the surface. Can you put running water through an empty…
Is Breville Barista Express Worth It? Reddit Weighs In
You're scrolling through Reddit, trying to figure out if the Breville Barista Express espresso machine with built in…