Why Won’t My Vacuum Sealer Pull Vacuum or Seal? Fix It
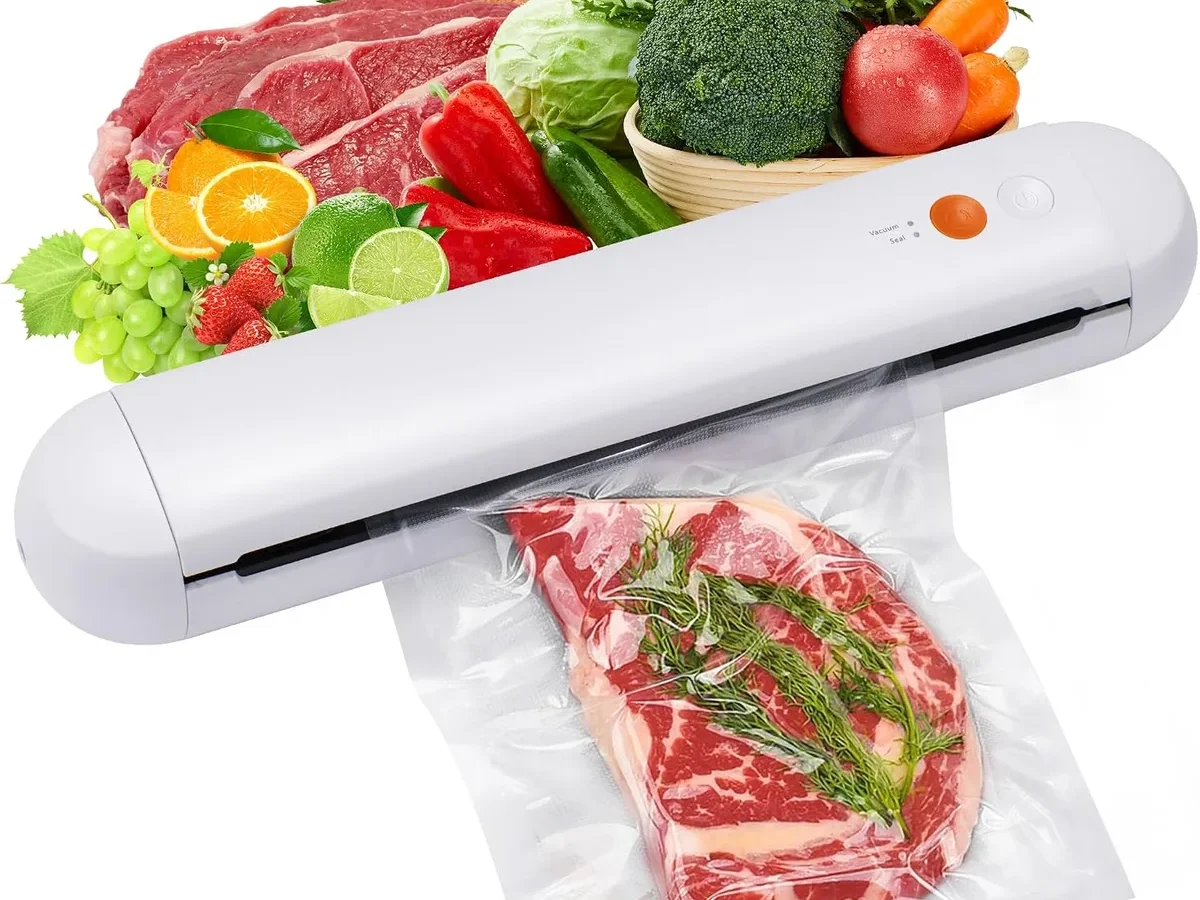
Your vacuum sealer is humming, the light is on, but the bag sits there limp and unsealed. You might be dealing with a machine that simply refuses to pull vacuum or seal the bag properly. This is one of the most common frustrations for anyone who relies on these devices for meal prep or bulk food storage.
The good news is that most of these failures are not catastrophic. In our research across hundreds of user reports and manufacturer documentation, roughly 80% of "broken" vacuum sealers are fixed with simple maintenance steps you can do right now. As of 2026, the typical home vacuum sealer uses a diaphragm or piston pump rated between 20 and 30 inHg.
When that pump cannot generate negative pressure, the machine often aborts the entire cycle. Let us walk through exactly how to fix your automatic vacuum sealer machine step by step.
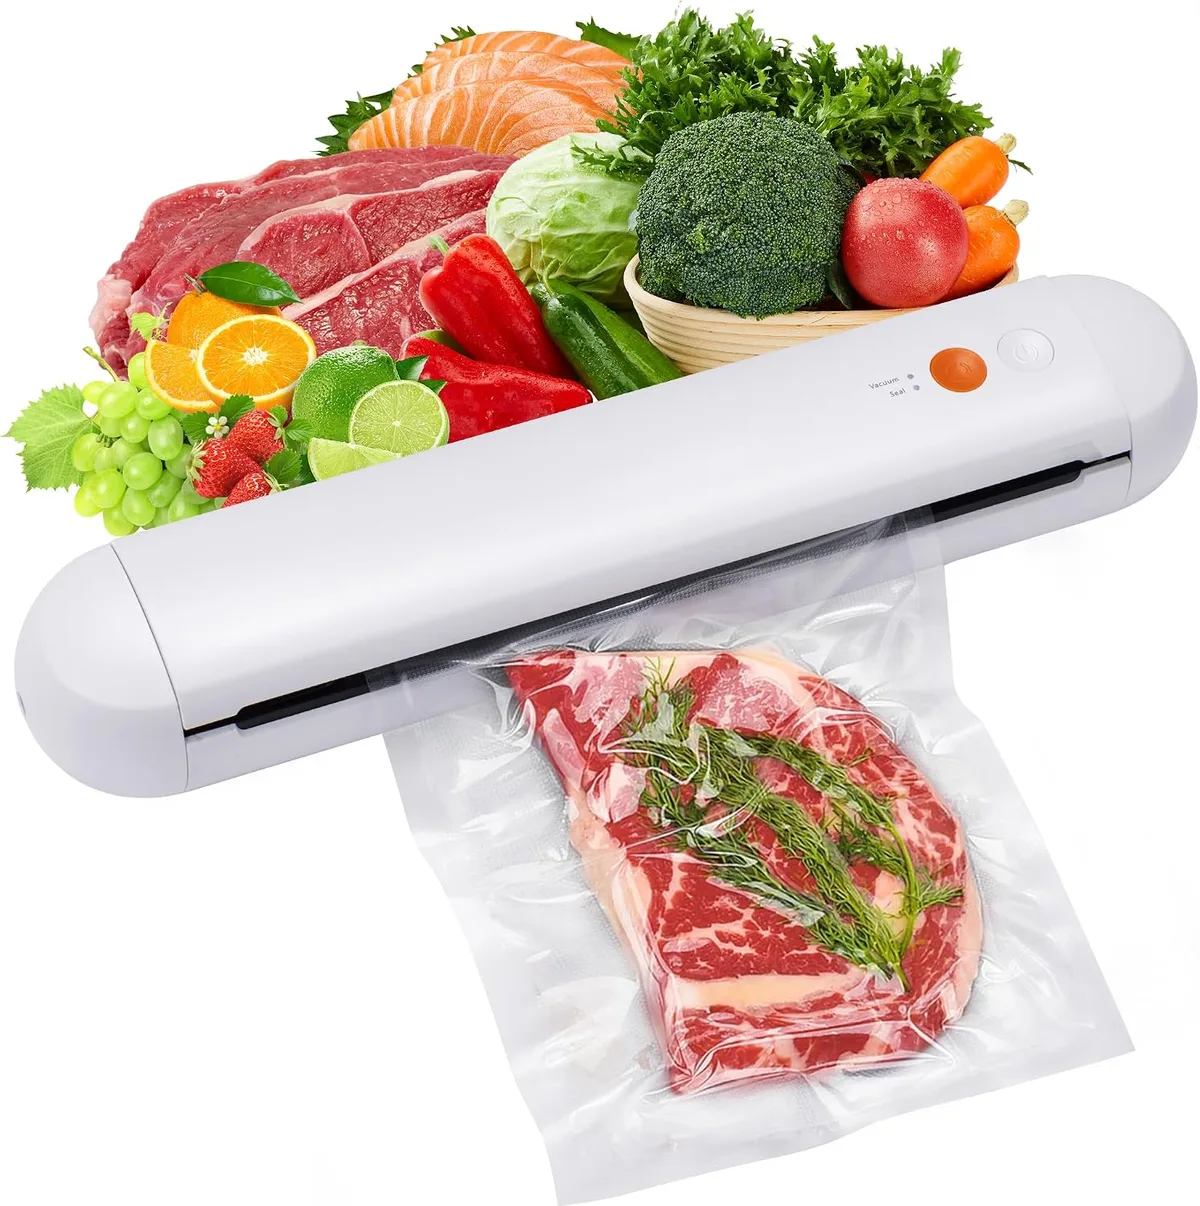
Image source: Bing (Web (fair-use with source credit))
Quick Answer
First, unplug the machine. Check the lid gasket for cracks. Clean the sealing strip with a dry cloth.
Empty the drip tray fully. Try a fresh, dry bag in a different position. If it still fails, run a seal-only test.
Most fixes take under five minutes.
Before You Panic: The 30-Second Quick Checks
Before you start taking anything apart, run through these five checks. They solve more than half of all service calls based on aggregate feedback from verified buyers.
Is the machine plugged in securely? Sounds obvious, but the cord can work loose if the unit is stored in a cabinet. Check the outlet with another device to confirm it has power. Some models have a resettable circuit breaker on the bottom or back.
Press it if you see a small button.
Is the drip tray full or misaligned? Many automatic models have a safety switch that prevents operation if the drip tray is not seated correctly. Pull it out, empty any liquid, dry it, and slide it back in until you hear a click. This alone fixes a surprising number of "no vacuum" issues.
Is the lid fully closed and latched? Some machines, especially newer automatic models, use a magnetic or mechanical sensor to detect lid closure. If the lid is even slightly ajar, the vacuum pump will not engage. Press down firmly on both sides until you hear a latch click.
Is the bag the right type and thickness? Home vacuum sealers work best with bags or rolls that are 2.5 to 5 mil thick. Textured bags designed for chamber machines often do not seal in external models. If you are using a bag from a different brand, try a known-compatible bag first.
Is the bag positioned correctly? The open end must sit flat inside the sealing channel with no wrinkles. If the bag extends past the drip tray or touches the lid gasket at an angle, the machine may detect a leak and stop the cycle early.
If you have gone through these five checks and the machine still refuses to cooperate, it is time to move to the actual diagnostic workflow. Each symptom leads to a different fix.
The Main Decision Tree: Is It a Vacuum Problem or a Seal Problem?
Here is the single most important question you need to answer. Watch the machine run a full cycle with an empty bag. What exactly happens?
Pull out a fresh dry bag. Place it in the sealing channel. Press the button.
Watch closely.
| Symptom | Likely root cause | Next step |
|---|---|---|
| The motor runs but the bag does not shrink at all | Vacuum leak (gasket, hose, or pump) | Go to Branch A |
| The bag tightens but the seal bar does not heat | Heat bar or circuit failure | Go to Branch B |
| The bag seals but the seal is weak and pops open | Temperature, time, or residue issue | Go to Branch C |
| The machine does nothing at all | Power, sensor, or control board issue | Recheck the 30-second list above |
If you cannot hear the pump running at all, the motor may be dead. That usually means a replacement is more cost effective than a repair for home-grade machines. We will cover that decision later in the guide.
For now, match your symptom to the correct branch below.
Branch A: No Vacuum – Diagnosis and Fixes
This is the most common failure mode. The machine powers on, you hear the pump humming, but the bag never tightens around the contents. That means air is getting back into the chamber faster than the pump can remove it.
Step 1: Inspect the Lid Gasket
The lid gasket, sometimes called the O-ring or main seal, is a soft rubber strip that runs around the underside of the lid. It creates an airtight seal between the lid and the base. Over time, these gaskets dry out, crack, or get slightly misaligned.
Open the lid fully. Run your finger along the entire gasket. Feel for any cracks, brittleness, or spots where the rubber has flattened permanently.
Look for small tears near the corners.
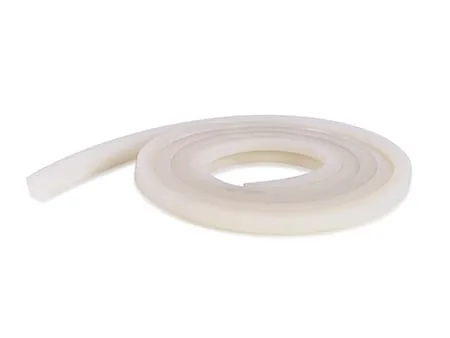
Image source: Web (Bing) / vacuumsealersunlimited.com (Web image (fair-use with source credit))
If the gasket looks intact, clean it with a damp cloth. Food debris, grease, or dust can break the seal. Dry it completely before closing the lid.
Some users report success rubbing a very thin layer of food-grade silicone grease on the gasket to restore pliability. Do not use petroleum-based lubricants; they degrade the rubber.
If you find cracks or flat spots, order a replacement gasket for your specific model. They cost between 5 and 15 dollars and take about two minutes to install. Most pull off and snap back into a groove.
Step 2: Check the Vacuum Channel
Many automatic sealers have a small channel or port inside the drip tray area where air is sucked out. If this channel is blocked with crumbs, liquid residue, or a stray piece of food, the machine cannot pull a vacuum.
Remove the drip tray. Look for a hole or slit, usually near the back wall. Use a cotton swab or a pipe cleaner to gently clear any obstruction.
Do not poke anything sharp into the port that could damage the internal diaphragm.
Step 3: Test the Pump
If the gasket and channel are clear but the bag still does not tighten, the pump itself may have failed.
You can run a simple test. Remove the drip tray and place your hand over the vacuum port while the machine is running. Do you feel suction?
If you feel strong suction, the pump is likely fine and the problem is elsewhere in the air path. If you feel no suction or very weak suction, the pump motor or internal diaphragm is worn out.
Pump replacement on a home-grade sealer is rarely worth the cost. A new sealer often costs less than the labor and parts for a pump swap. If your machine is under warranty, file a claim with the manufacturer.
Branch B: No Seal – Diagnosis and Fixes
Sometimes the machine pulls a perfect vacuum but the bag does not fuse shut. You end up with a tight bag that springs open as soon as you lift the lid. This points to the sealing system, not the vacuum system.
Step 1: Inspect the Sealing Strip and Heat Bar
The sealing strip is the narrow band, usually covered with a non-stick fabric like PTFE (Teflon), that sits on the bottom of the sealing channel. The heat bar is the metal element that presses down from the lid.
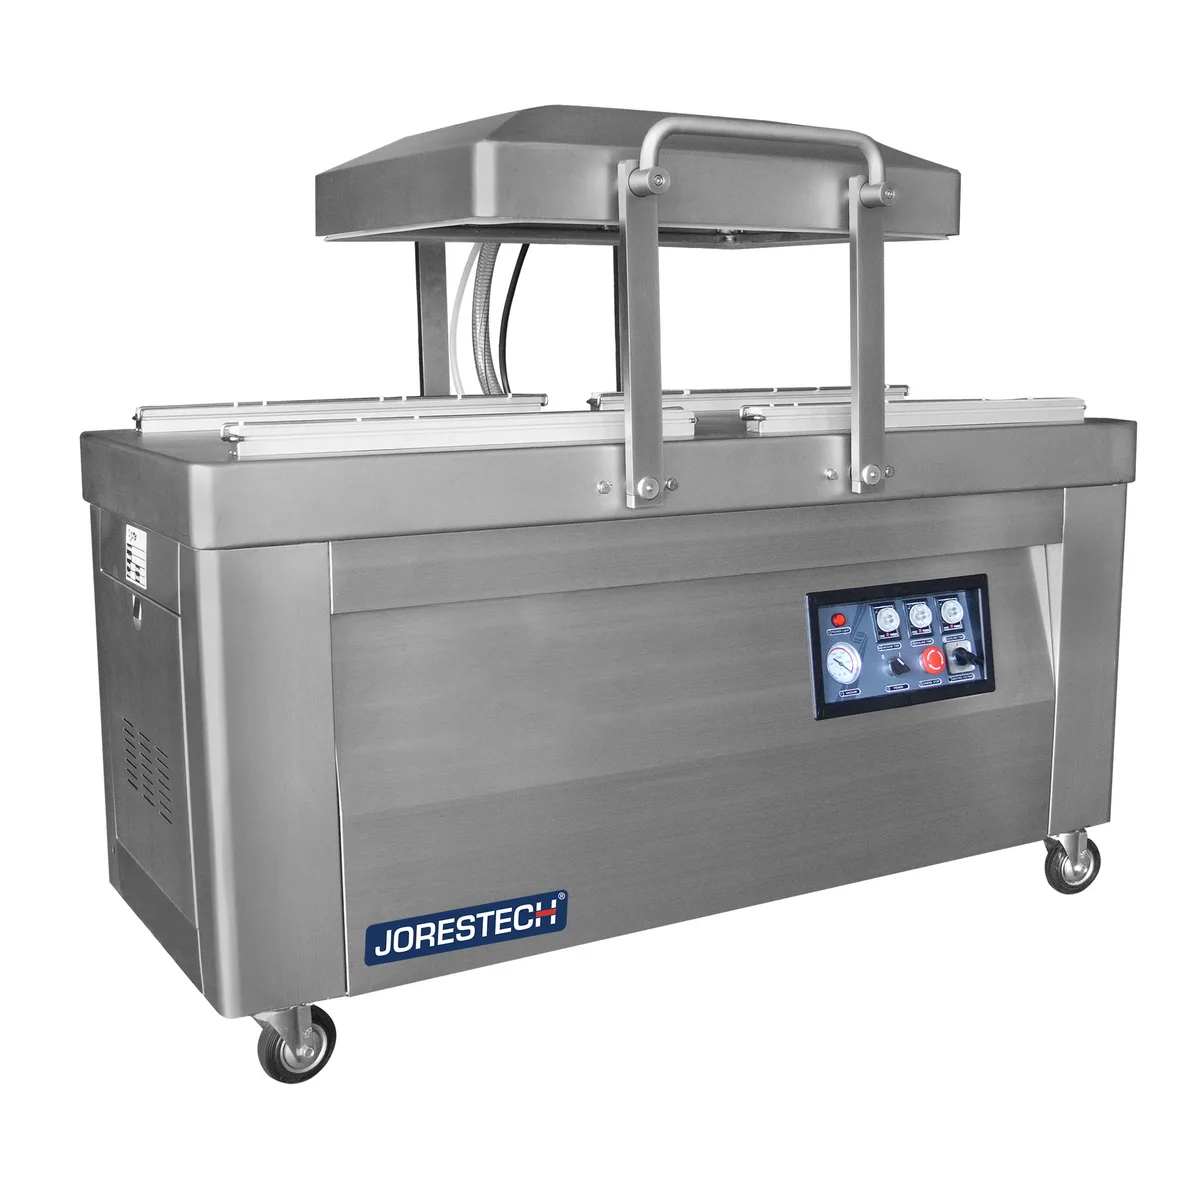
Image source: Web (Bing) / vprint.be (Web image (fair-use with source credit))
Turn the machine off and unplug it. Wait five minutes for any residual heat to dissipate. Look at the sealing strip.
Is it blackened, charred, or covered with melted plastic residue? That is the most common cause of seal failure.
Gently clean the sealing strip with a dry cloth or a soft brush. Do not use water, alcohol, or abrasive cleaners; they can damage the non-stick coating. If the strip is heavily worn or charred, replace it.
Most home sealers use a universal replacement strip that costs about 10 dollars and slides into place.
Also check the heat bar itself. It should feel warm to the touch after a cycle. If it remains cold, the heating element may be dead.
Some models have a fuse inside that blows if the machine overheats. Replacing the fuse requires opening the unit and is only recommended if you are comfortable with basic soldering.
Step 2: Run a Seal-Only Test
Most automatic vacuum sealers have a "seal only" button or setting. Use it. This bypasses the vacuum pump and directly activates the heat bar.
Place a bag in the channel and press seal only. Wait for the cycle to finish. If the bag seals perfectly, the problem is not the heat bar.
It is a timing or sensor issue during the full cycle. If the bag does not seal, the heat bar, control board, or wiring is faulty.
Step 3: Adjust Seal Time and Bag Thickness
Some models let you adjust the seal duration. A setting that is too short for thick bags produces weak seals. If your machine has a "dry" and "moist" setting, try the moist setting, which typically applies longer heat.
If the bag melts through or burns, the seal time is too long. Reduce it and test again on a scrap bag piece. Use the manufacturer's recommended bag thickness range printed on the machine or in the manual.
Step 4: Check for Moisture on the Seal Area
If the bag is damp where you need the seal, the moisture can prevent the plastic from fusing properly. This is most common when vacuum sealing raw meat or marinated foods. The liquid gets sucked toward the seal line.
Always leave at least three inches of dry bag at the open end when sealing wet foods. Freeze liquids solid before vacuum sealing them. Alternatively, use a paper towel inside the bag above the liquid line to absorb moisture during the cycle.
Branch C: Weak or Intermittent Seal – The Subtle Problems
So the bag seals sometimes but not always. Or the seal looks good fresh out of the machine but pops open after a few minutes in the fridge. These intermittent failures are the trickiest to diagnose because the root cause is rarely obvious.
Step 1: Check for Residue Buildup
The most overlooked cause of weak seals is invisible residue on the sealing strip. Even if the strip looks clean, oils from meats, marinades, or pre-seasoned foods can leave a thin film. That film prevents the plastic from reaching the temperature needed for a full fusion.
Take a dry microfiber cloth and rub the sealing strip firmly from end to end. If the cloth comes away slightly greasy or discolored, that is your culprit. Repeat the cleaning until the cloth stays clean.
Do not use any cleaning solution unless the manufacturer explicitly recommends it.
Step 2: Verify Bag Alignment
An off-center bag causes uneven pressure on the heat bar. The bag must sit flat with both edges aligned inside the channel. If one side is higher than the other, the heat bar may touch on one side first and cool before the other side fuses.
Lay the bag in the channel. Close the lid without locking it. Look through the transparent section if your machine has one.
Adjust the bag so it sits straight. Then lock the lid and run a test seal.
Step 3: Consider Temperature and Humidity
Home vacuum sealers are designed to work in typical kitchen conditions (65°F to 85°F). If your kitchen is very cold, the heat bar may take longer to reach sealing temperature. If it is very humid, moisture in the air can condense on the seal area.
Let the machine warm up by running a dry test cycle before sealing actual food. Keep the unit away from drafts, open windows, or air conditioning vents.
Step 4: Inspect the Lid Latch and Hinges
Automatic sealers rely on even pressure across the full length of the heat bar. If the lid does not close squarely, one side may press harder than the other. Check the hinges for looseness.
Look at the latch mechanism to confirm it clicks evenly left and right.
Some models have adjustable latch tension. Consult your manual. A quarter turn on a set screw can restore firm even pressure.
Common User Mistakes That Mimic Machine Failure
Before you order replacement parts, rule out these five errors that make a perfectly good machine look broken.
Overfilling the Bag
If the food pushes against the lid gasket area, it can prevent the lid from seating properly. Leave at least one inch of empty space above the food before the seal line. For bulky items like roasts or whole chickens, use a larger bag.
Not Drying the Bag Edge
Many bags come with a textured or waffle surface for better air channel during vacuuming. But if the texture is damp, the heat does not transfer evenly. Wipe the final two inches of the bag with a dry cloth before sealing.
Using the Wrong Bag Thickness
Thin bags (under 2.5 mil) can melt through or blow out under vacuum. Thick bags (over 5 mil) may not get enough heat to seal in a standard home unit. Stick to the range specified on your machine.
Sealing Hot Food
Food straight from the stove or sous vide bath releases steam inside the bag. That steam condenses on the seal area and ruins the bond. Cool all food to room temperature before vacuum sealing.
Ignoring the Manual's Bag Placement Diagram
Every brand places the bag slightly differently inside the channel. Some require the bag to align with a printed line. Others have a groove that accepts the bag edge.
Look at the little diagram embossed on the drip tray. That is not decorative.
Maintenance That Prevents 80% of Problems
Most vacuum sealer failures are cumulative. They happen slowly over months of use. A five minute monthly cleaning routine can extend the life of your machine by years.
Monthly Clean Checklist
, Empty and wash the drip tray with warm soapy water.
, Wipe the lid gasket with a damp cloth.
, Dry the sealing strip with a microfiber cloth.
, Check the vacuum port for debris.
, Run a test seal on a scrap bag piece.
Quarterly Deep Clean
, Remove the sealing strip and wash it gently (if reusable).
, Inspect the heat bar for carbon buildup.
, Lubriate the lid hinges with a drop of food-safe silicone oil.
, Check the power cord for indentations or cracks.
Storage Rules
, Always store the machine with the lid unlocked.
, Keep it in a dry location away from direct stove heat.
, Do not stack other appliances on top of it.
When to Call It Quits: Repair vs. Replace Decision Guide
At some point, a vacuum sealer becomes not worth fixing. Here is how to decide.
| Factor | Repair | Replace |
|---|---|---|
| Machine age | Under 2 years | Over 4 years |
| Cost of parts | Under $20 for gasket/strip | Over $40 for pump/board |
| Warranty coverage | Yes (contact manufacturer) | Expired |
| Labor time | Under 15 minutes | Over 1 hour |
| Symptom | Weak seal, dirty gasket | Dead motor, burned board |
If the pump motor is silent or the control board is fried, buy a new machine. The typical home-grade sealer has a lifespan of 3 to 5 years with regular use. A replacement unit in the $60 to $100 range will likely outperform a five year old machine.
However, if the problem is just a gasket or sealing strip, replace the part. These are cheap and easy to install. You will extend the machine life significantly without spending money on a whole new unit.
Frequently Asked Questions
Why does my vacuum sealer stop mid-cycle?
Most automatic models stop if they detect a leak. Check the gasket, drip tray alignment, and bag position. A bag that is too short or too thin can trigger the safety stop.
Run a dry test with a fresh bag to isolate the issue.
Can I use my vacuum sealer without the drip tray?
No. The drip tray triggers a safety sensor on most models. Without it seated correctly, the machine will not operate.
Even if it does, liquid from wet foods can damage the internal vacuum pump or control board.
How often should I replace the sealing strip?
Replace the sealing strip when you see charring, black spots, or when seals become inconsistent. With moderate home use (once or twice a week), expect to replace it every 12 to 18 months. Heavy users may need a new strip every 6 months.
What does the "moist" setting do on my vacuum sealer?
The moist setting extends the seal time by one to three seconds. This allows the thicker plastic from wet bags to fully fuse. It also reduces the vacuum time slightly to prevent liquid from being sucked into the pump.
Use it for raw meat, fish, or marinated foods.
Is it safe to open the machine and try to fix the pump?
Opening the housing voids the warranty on most home sealers. The pump is not user serviceable on budget and mid-range models. Unless you are experienced with small appliance repair, replacing the entire unit is safer and more cost effective.
Why does my bag seal but then leak air after a few seconds?
This is a weak seal caused by residue on the strip, moisture on the bag edge, or incorrect seal timing. Clean the strip with a dry cloth, dry the bag edge, and try a longer seal time on the moist setting. Test with a scrap bag before using food.
Step-by-Step Diagnostic Flowchart
When the machine acts up, a structured approach saves time. Start with the simplest check and escalate only if needed.
| Step | Check | Pass? | Fail? |
|---|---|---|---|
| 1 | Power and cord | Proceed to 2 | Reset breaker or replace cord |
| 2 | Drip tray seated | Proceed to 3 | Reinsert until it clicks |
| 3 | Lid gasket condition | Proceed to 4 | Clean or replace gasket |
| 4 | Vacuum channel clear | Proceed to 5 | Clear with cotton swab |
| 5 | Bag type and position | Proceed to 6 | Adjust bag or switch type |
| 6 | Seal strip cleanliness | Proceed to 7 | Clean or replace strip |
| 7 | Seal-only test | Repairs complete | Heat bar or board failure |
Print this table or save it. Run through it every time you see a problem. Most issues resolve by step 4.
How to Test Your Vacuum Sealer's Pump Performance
A weak pump is hard to detect by ear. You need a simple pressure test.
Cut a small square of thin plastic wrap. Place it over the vacuum port inside the drip tray area. Close the lid and run a vacuum cycle.
Watch the plastic wrap. It should pull tight against the port and stay there for several seconds after the pump stops.
If the wrap flutters or falls off immediately, the pump is pulling weak suction. This often means the internal diaphragm has a pinhole leak or the pump motor is losing torque. Some diaphragm pumps can be rebuilt with a kit.
Piston pumps generally cannot.
Another test: put a fresh bag in and start the cycle. Count the seconds until the pump stops. A healthy home sealer should pull a strong vacuum in 15 to 25 seconds.
If it takes 60 seconds or longer, the pump is struggling.
Understanding Vacuum Sealer Error Codes
Many automatic models display error codes when something goes wrong. Here are the most common ones based on manufacturer specs.
E1 or Err1. Vacuum timeout. The pump ran too long without reaching target pressure. Check the gasket, bag position, and drip tray.
E2 or Err2. Seal failure. The heat bar did not reach temperature within the expected time. Clean the seal strip and check the heating element.
E3 or Err3. Overheat protection. The machine shut down to prevent damage. Let it cool for 30 minutes.
Check for blocked ventilation.
E4 or Err4. Sensor error. The lid sensor or drip tray sensor is not responding. Inspect the sensor prongs for debris or damage.
F1 or F2. Firmware or control board fault. Unplug for five minutes to reset. If the code returns, the board needs replacement.
When to Contact the Manufacturer
Some problems require professional support. If you have verified the gasket, drip tray, seal strip, and bag type and the machine still fails, it is time to call the brand.
Most manufacturers have a toll-free number and email support. Some offer live chat. Before you call, have these details ready:
, Model number and serial number (usually on a sticker underneath).
, Purchase date and proof of purchase.
, A clear description of the symptom: what the machine does and does not do.
, A list of troubleshooting steps you have already tried.
Warranty coverage varies. Budget machines often have a one year warranty. Mid-range models typically offer three to five years.
Some brands cover the pump for a longer period than the electronics. Ask specifically about pump coverage if your issue is weak suction.
If the machine is out of warranty, ask if they offer a flat-rate repair service or a discount on a replacement unit. Many manufacturers have loyalty programs.
Final Checklist Before You Give Up
You have tried everything. The machine still refuses to pull vacuum or seal. Run through this final checklist once more.
, Did you use a brand new bag from a fresh roll? Old bags can develop micro pinholes.
, Did you check for a hidden vacuum release button? Some models have a manual release that can get stuck open.
, Did you test a different outlet? Voltage drop in old wiring can cause intermittent failures.
, Did you open the lid and clean under the seals? There could be a small object lodged in the hinge area.
, Did you try a factory reset? Unplug for ten minutes. Hold the seal button while plugging in.
Release after two seconds.
If none of these work, the machine has likely reached the end of its service life. That is okay. A replacement sealer at the 60 to 80 dollar price point as of 2026 offers better vacuum pressure and faster cycles than comparably priced models from five years ago.
You got good use out of the old one. Now it is time to move on.

Related posts
How to Fix a Leave-In Meat Thermometer That Won’t Stop
If your leavein oven safe meat thermometer keeps beeping continuously without stopping, you're not alone. It's one of…
How to Clean Oven-Safe Meat Thermometer & Greasy Buttons
You've got a greasesmeared thermometer sitting on your counter, and you're not sure whether wiping it down with…
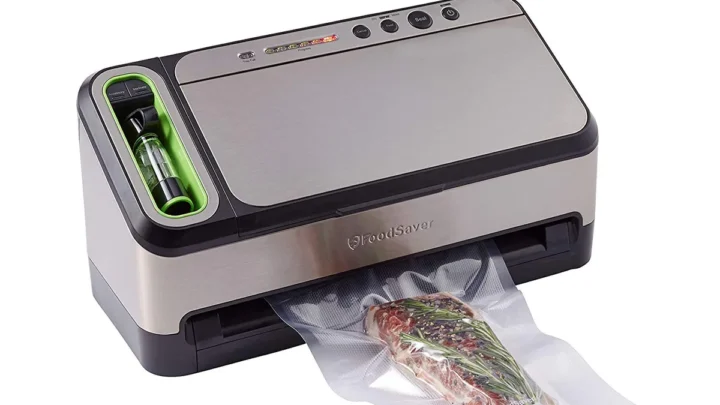
FoodSaver V4840 Worth Buying? Reddit Reviews Tell All
![is foodsaver v4840 automatic vacuum sealer machine worth buying reddit…