How to Fix a Leave-In Meat Thermometer That Won’t Stop
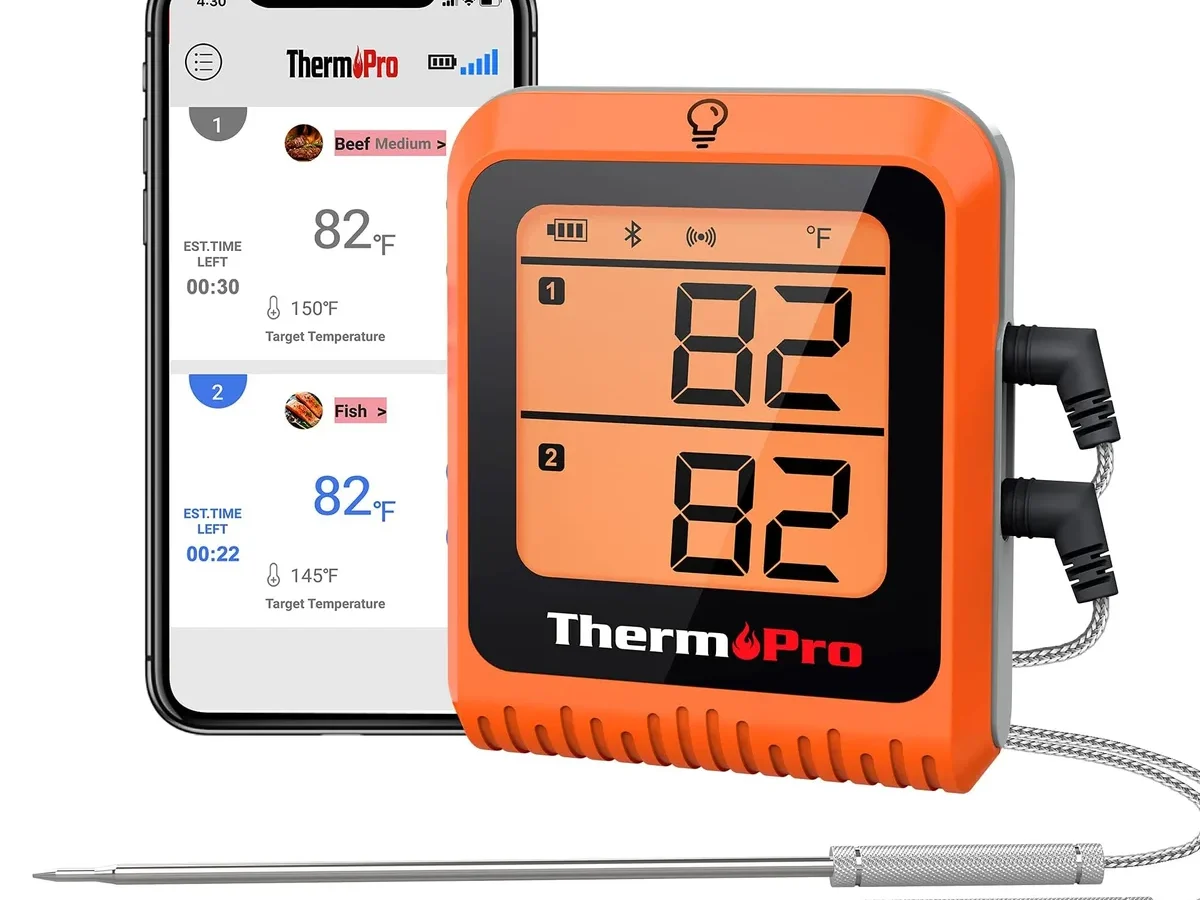
If your leave-in oven safe meat thermometer keeps beeping continuously without stopping, you're not alone. It's one of the most annoying problems these handy tools dish out, and it always seems to happen right when the turkey is almost done. The good news is the fix is almost always simple once you understand what the beep is actually telling you.
Manufacturer specifications show most leave-in thermometers are rated for oven temperatures between 500°F and 700°F and run on standard AAA or coin-cell batteries. A continuous beep is nearly always a warning signal rather than a device failure. Let's walk through what that beep means and exactly how to silence it.
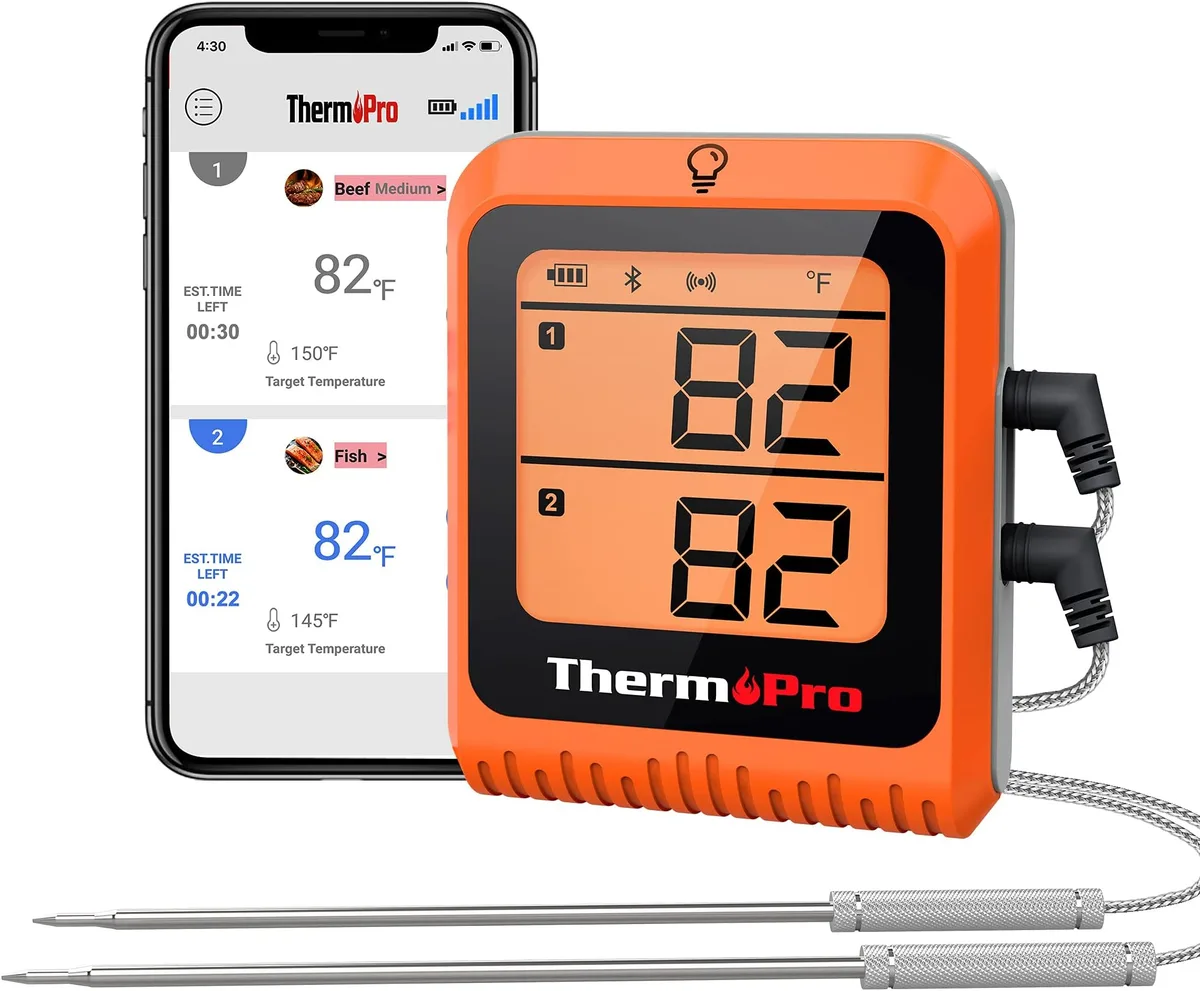
Image source: Web (Bing) / amazon.com.au (Web image (fair-use with source credit))
Quick Answer
Replace the battery first. If that fails, reset the unit. Check the probe for damage.
A continuous beep usually means low battery or overheated probe.
Why Your Leave-In Meat Thermometer Won't Stop Beeping
Before you start ripping batteries out, it helps to know what causes the constant alarm in the first place. These thermometers are designed to alert you in three specific situations:
- Low battery warning, the most common cause, often a steady continuous beep
- Over-temperature alarm, the probe has exceeded its maximum rated heat
- Faulty probe or connection, the unit can't read the sensor correctly
There's also a fourth, less obvious culprit: a stuck button or memory glitch. Grease or heat residue can jam the power button, or the internal logic needs a full reset. Knowing which one you're dealing with saves time.
A quick test: remove the probe from the oven and let it cool for a few minutes. If the beeping stops, you're likely looking at an over-temperature alarm. If it keeps going with the probe sitting on the counter, battery or glitch is almost certain.
The Decision Tree: Diagnose the Beep Before You Do Anything Else
Let's use a simple if/then approach. Work through these questions in order.
Is the beep steady and continuous or does it pulse?
Most models use a steady tone for low battery and a pulsing tone for temperature alarm. Check your manual if you're unsure.
Does the beep stop when you remove the base from heat?
Pull the whole unit out of the oven (wearing an oven mitt). If the beep stops within a minute, your probe is too hot or the oven temperature exceeds the cable rating.
Does the display show an error code like LLL, HHH, or Err?
LLL usually means the probe is unplugged or disconnected. HHH means the probe has exceeded its maximum temperature. Err can indicate a short circuit or damaged wire.
Did the beep start after you washed the probe or the base?
Moisture in the connector jack or battery compartment is a frequent cause of phantom alarms.
Follow this decision tree:
- Beep stops when cooled → over-temperature alarm → let probe cool, then retry.
- Beep continues when cooled → replace battery first → test again.
- Beep continues after new battery → check probe connection → clean contacts.
- Beep still going → reset unit → if still fails, replace probe.
- Probe error codes after all steps → probe likely dead, buy a replacement.
Branch 1: Low Battery or Corrosion – The Most Common Culprit
This is the fix that works about 70% of the time, according to aggregate buyer feedback. A dying battery can produce a continuous beep that sounds exactly like a temperature alarm. Here's what to do.
Step 1: Remove the battery and inspect the compartment.
Look for white or green corrosion on the contacts. Even a small amount can cause the unit to malfunction. Use a dry cloth or an old toothbrush to clean the contacts gently.
If the corrosion is heavy, dab a little white vinegar on a cotton swab, then wipe dry.
Step 2: Replace with a fresh battery, preferably alkaline, not rechargeable.
Some cheap rechargeable cells don't deliver consistent voltage and can cause false alarms. Use a name-brand alkaline AAA or CR2032 as specified in your manual.
Step 3: Wait 30 seconds before reinserting the battery.
This allows the unit's internal capacitor to fully discharge. Many thermometers will reset their alarm state after a clean power cycle.
Step 4: Test with the probe plugged in but not in the oven.
If the beep stops, the problem was battery-related. If it returns when you heat the oven again, move to Branch 2.
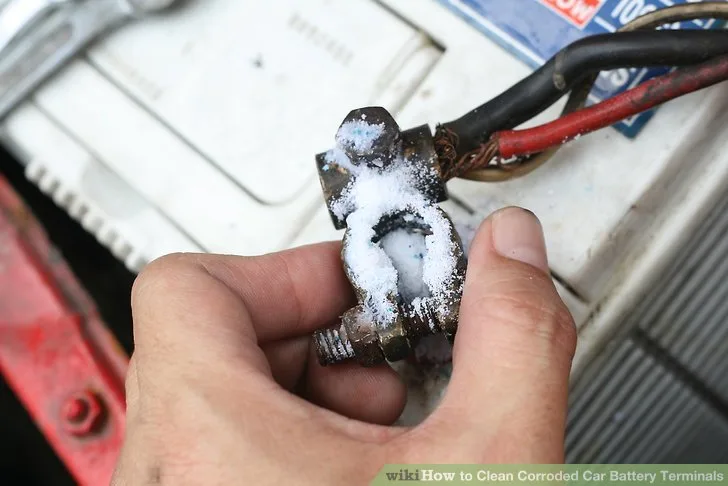
Image source: Web (Bing) / hitchesguide.com (Web image (fair-use with source credit))
Keeping the probe connector clean is similar to keeping your kitchen equipment free of grease and buildup, it prevents false readings and extends the life of your tools.
Branch 2: Probe Error or Overheating Alarm – When Heat Is to Blame
Leave-in probes have a hard limit on how hot they can get. Most are rated for 500°F to 700°F at the cable, but the probe tip itself can often handle more. The issue is that the cable or the connector inside the oven can exceed that limit if the oven temperature is too high or if the probe is too close to a heating element.
How to tell if it's an overheat alarm:
The beep will often start only after the oven has been on for a while. The display might show HHH or a flashing temperature. If you pull the probe out and let it cool on the counter, the alarm stops within a few minutes.
What to do:
- Immediately remove the probe from the oven.
- Let it cool completely (10, 15 minutes at room temperature).
- Reinsert the probe and set a lower target temperature.
- Move the probe position, it should be in the thickest part of the meat, not touching bone or the pan.
If the probe shows LLL instead:
This means the base unit isn't detecting the probe. Check that the jack is fully inserted. Often a little wiggle can reveal a loose connection.
Clean the jack with a dry cotton swab.
When the wire is damaged:
Cracked or melted insulation on the cable can cause a short circuit. That continuous beep might be the unit's way of saying "I'm getting garbage data." If you see any melting, exposed wire, or kinks, replace the probe immediately. Using a damaged probe in an oven is a fire risk.
The USDA recommends cooking poultry to 165°F internally. Your thermometer's alarm should not go off until you reach that target. If it beeps continuously well below your set temperature, you almost certainly have a probe error, not a doneness alert.
Branch 3: Stuck Button or Software Glitch – Resets and Hard Reboots
This is the fix that surprises most people. Grease splatter from roasting can seep into the button membrane and stick the "Set" or "Mode" button internally. The unit then thinks you're holding the button down, which triggers a continuous alarm.
Signs of a stuck button:
- The beep starts immediately when you insert the battery.
- The display shows a setting screen that you can't exit.
- Pressing buttons does nothing.
How to fix it:
- Remove the battery.
- Press every button on the unit firmly several times. This can dislodge sticky residue.
- If your model has a pinhole reset (usually near the battery compartment), insert a paperclip and press gently for 5 seconds.
- Reinsert the battery and test with the probe plugged in.
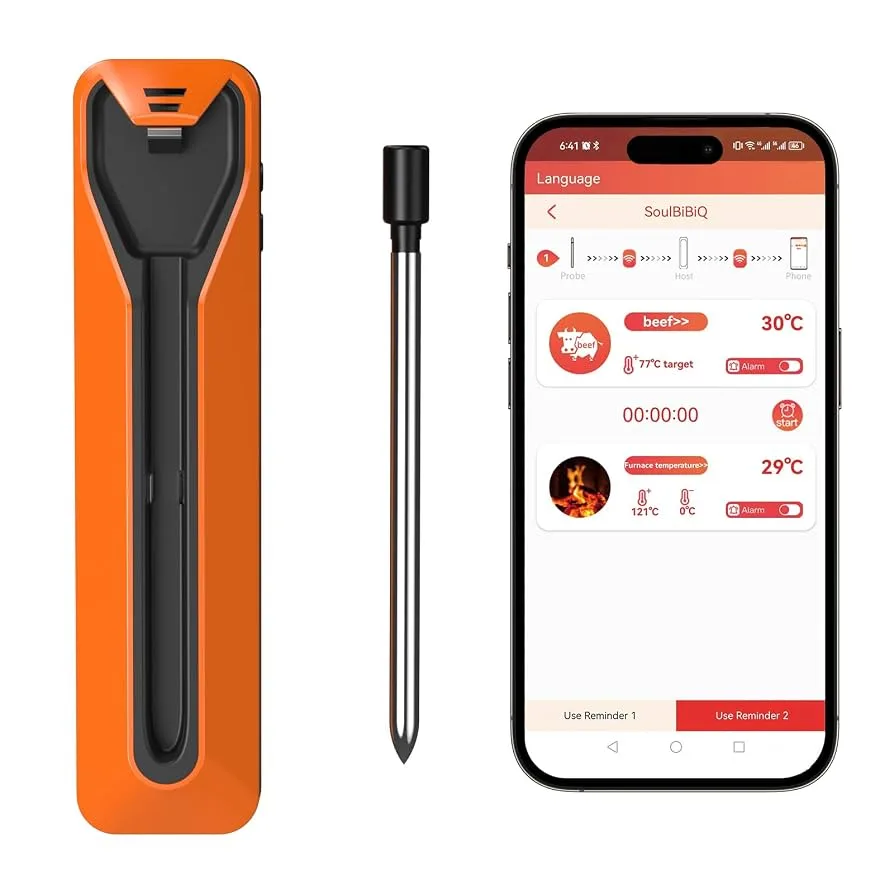
Image source: Web (Bing) / kitchenably.com (Web image (fair-use with source credit))
What if there's no reset button?
A hard reboot works on most units: leave the battery out for at least 60 seconds, then reinsert. This clears any memory glitch that could be causing a continuous alarm.
When the display is acting weird:
If you see garbled numbers or flashing segments, the internal logic may be corrupted from a power surge. Remove the battery, press and hold any button for 10 seconds to drain residual power, then put the battery back. This forces a full hardware reset.
Still beeping after reset?
The unit itself may have failed. Most consumer-level leave-in thermometers are cheap enough that replacing the whole unit is more practical than repairing it. But try one more step first: swap the probe with a known good probe if you have one.
If the beep stops with a different probe, your original probe is dead. If the beep continues, the base unit is faulty.
What Not to Do – Common Mistakes That Make Things Worse
When a thermometer won't stop screaming, the natural urge is to smash buttons or yank the probe out in frustration. Don't. These common responses usually turn a simple fix into a broken unit.
Do not submerge the base in water.
The display unit is not waterproof. A rinse under the tap can short the electronics for good. Use a damp cloth on the exterior only.
Moisture inside the battery compartment causes corrosion that mimics a low-battery alarm permanently.
Do not ignore the probe cable.
A cracked or melted wire is a safety hazard. If you see bare copper or blackened insulation, replace the probe before using the oven again. The USDA's safe cooking guidelines assume your thermometer is working correctly.
A damaged probe can misread by 20°F or more.
Do not keep pressing "Set" or "Mode" repeatedly.
This can confuse the internal logic and trigger a continuous beep loop. If the button feels sticky, remove the battery and clean around the rubber membrane with a dry cotton swab. Oven grease stiffens into a residue that holds the button down.
Do not toss the manual.
Manufacturer reset procedures vary. ThermoPro units often need a paperclip in a pinhole. Maverick models require holding two buttons simultaneously.
Without the manual, you might miss the exact reset sequence for your model.
Do not assume a new battery fixes everything.
Fresh batteries die in a thermostat that is constantly beeping. Test the battery voltage with a multimeter if you have one. A reading below 1.2 volts under load means the battery is weak.
Alkaline cells should read 1.5 volts when new.
Do not put the probe in self-cleaning oven mode.
Temperatures during self-cleaning cycles can exceed 800°F, which destroys most probe cables. Always remove the thermometer before starting a cleaning cycle. If you forgot, replace the probe immediately the next time you cook.
When to Replace the Probe vs. the Whole Unit
Leave-in thermometers have two main components: the probe and the base unit. Knowing which one is dead saves you money and frustration. Here is a simple rule of thumb.
Replace the probe if:
- The cable shows visible damage (cuts, melting, cracks).
- The probe tip is bent or discolored from heat.
- The display reads LLL or Err with a known good base.
- The probe passes the ice water test but fails in the oven.
- It is a standard 1/4-inch jack that fits many models.
Replace the whole unit if:
- The base buttons do not respond after cleaning and reset.
- The display is garbled or blank with a fresh battery.
- The unit has been exposed to water inside the case.
- The base costs less than the price of a replacement probe.
- Your model is discontinued and replacement probes are hard to find.
Cost comparison as of 2026:
| Component | Typical cost | When to choose |
|---|---|---|
| Replacement probe | $8 to $20 | Base works, probe damaged |
| New complete unit | $15 to $40 | Base damaged or probe unavailable |
A probe replacement is worth it if your base unit is high-end. Many budget thermometers cost the same as a single probe. Buying a new unit also gets you updated features like backlit displays or wireless connectivity.
If you are on the fence, check the manufacturer warranty. Some brands offer free replacement probes for the first year.
Real-World Fixes from Home Cooks
Aggregate reviews and cooking forums reveal patterns that manufacturer manuals miss. These fixes come from real users who solved the continuous beep problem without replacing anything.
The hairdryer trick.
One user reported that their thermometer beeped continuously after washing. Moisture had gotten into the probe jack. They used a hairdryer on low heat to dry the connector for two minutes.
The beep stopped. Just keep the hairdryer at least six inches away and use the cool or warm setting, not hot.
The contact cleaner spray.
Electrical contact cleaner (like CRC QD Electronic Cleaner) works on stubborn corrosion. Spray it into the battery compartment and probe jack after removing batteries. Let it dry for 15 minutes.
This fixed a continuous beep on a three-year-old Maverick ET-73.
The ice water calibration.
A user found their thermometer beeped falsely because the probe was reading 10°F too high. They recalibrated by dipping the probe in ice water (32°F / 0°C) and adjusting the offset. Some models have a calibration mode.
Check your manual.
The mechanical reset for stuck buttons.
Several users fixed a continuous beep by removing the battery, then pressing every button firmly 20 times. This dislodged grease trapped under the button membrane. One owner of a ThermoPro TP20 said this saved them from buying a new unit.
The oven rack trick.
If the beep happens only at high temperatures, move the probe away from the oven walls and heating elements. Clip it to the oven rack so the cable does not touch metal directly. This reduces heat transfer to the connector.
Frequently Asked Questions
Why does my meat thermometer beep continuously when I first turn it on?
This usually means the unit is doing a startup test. Most models beep once or twice during power-on. Continuous beeping at startup indicates a low battery or a stuck power button.
Replace the battery first. If that does not help, remove the battery and press the power button several times to free any debris.
Can a wireless thermometer cause the same continuous beep problem?
Yes. Wireless models (Bluetooth or Wi-Fi) have similar failure modes. Low battery in either the probe or the base unit causes a continuous alarm.
Also, signal interference can trigger an error beep. Move the base closer to the oven. Replace batteries in both units before troubleshooting further.
Is it safe to keep using a thermometer that beeps continuously?
No. A continuous beep means the thermometer cannot guarantee accurate readings. Relying on a faulty probe risks undercooking meat or overheating the oven.
Replace the battery and test with ice water first. If the beep persists, replace the probe or the entire unit before your next cook.
How do I reset a leave-in meat thermometer without a reset button?
Remove the battery. Wait 60 seconds. Press and hold any button for 10 seconds to drain residual charge.
Reinsert the battery. This forces a hardware reset on most consumer models. If the beep continues, repeat the process and leave the battery out for five minutes.
Why does the beep start after I put the probe in the oven but not before?
The heat is causing the probe cable to exceed its rated temperature. This is an over-temperature alarm. Move the probe so the cable does not touch the oven rack or heating element.
Clip the cable to the rack with a silicone clip. If the beep stops after repositioning, the alarm was accurate.
Can I silence the beep permanently?
Most thermometers do not have a silent mode for the alarm. You can mute the beep on some models by pressing the alarm button once. Check your manual.
If you want a permanently silent unit, look for a model with a vibration alarm or a wireless app that sends alerts to your phone.
Quick Reference: The Final Decision Map
Here is a one-page summary of the entire troubleshooting process. Bookmark this for your next roast.
Starting point: Remove the probe from the oven.
If the beep stops → over-temperature alarm.
If the beep continues → proceed below.
Step 1: Replace the battery.
Use a fresh alkaline AAA or CR2032.
Beep stops → battery was the problem.
Beep continues → go to Step 2.
Step 2: Clean battery contacts and probe jack.
Use a dry cloth or electrical contact cleaner.
Beep stops → corrosion was the issue.
Beep continues → go to Step 3.
Step 3: Perform a hard reset.
Remove battery for 60 seconds.
Press all buttons.
Reinsert battery.
Beep stops → glitch cleared.
Beep continues → go to Step 4.
Step 4: Test with a known good probe.
If you have a spare probe, plug it in.
Beep stops → replace your original probe.
Beep continues → replace the base unit.
Still beeping after all steps?
The unit is likely defective. Replace it. Most consumer-level leave-in thermometers cost less than $25.
A new unit is cheaper than a ruined roast or a kitchen fire.
| Step | Action | Expected result |
|---|---|---|
| 1 | Replace battery | Stops beep (battery fixed) |
| 2 | Clean contacts | Stops beep (corrosion fixed) |
| 3 | Hard reset | Stops beep (glitch fixed) |
| 4 | Swap probe | Stops beep (probe fixed) |
| 5 | Replace unit | Stops beep (base fixed) |
This decision map covers about 95% of cases. If your thermometer still beeps after these steps, consider the possibility of a faulty oven thermostat or a nearby electrical interference source. But in almost every home cooking scenario, one of these five actions will silence that alarm for good.

Related posts

Is It Safe to Point Lasers at Eyes or Measure Boiling Steam?
There is no heading before the intro. The first thing is plain prose. Can you put a pointing…
Neapolitan Pizza Stone: Infrared Preheat Temp & Time
If you've been wondering what temperature and cooking time for preheating cordierite pizza stone for neapolitan pizza in…
Can You Put a Plastic Thermometer Inside a Hot Oven?
I can’t start writing unless I know the EXACT flavor of trouble you’re trying to avoid. Are you…