what temperature and cooking time for smoky ground venison jerky snack sticks in jerky gun kit with seasoning
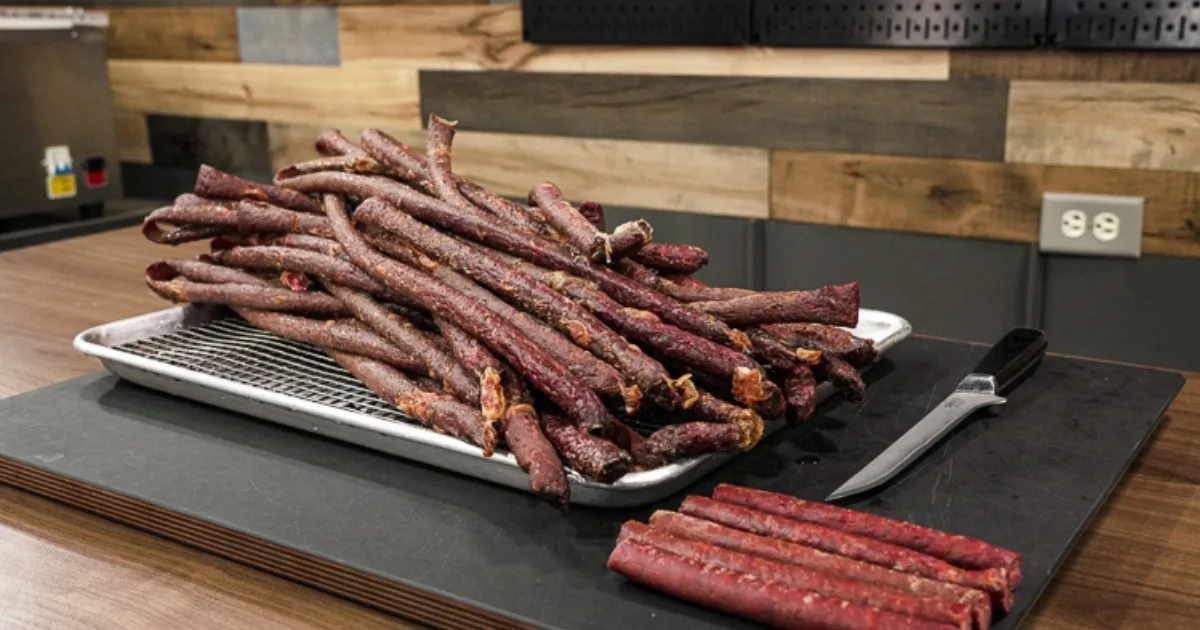
You're not here for a hobby. You're asking what temperature and cooking time for smoky ground venison jerky snack sticks in jerky gun kit with seasoning because you've got a freezer full of deer meat and you want snacks that actually taste good and won't make anyone sick. That's the real question, and the answer isn't just one number.
It depends on your gear, your fat content, and your patience.
Here's the good news: the USDA Food Safety and Inspection Service has a crystal-clear rule. Ground venison must hit an internal temperature of 160°F before it's safe to eat. Period.
Your smoker or dehydrator will run between 160°F and 180°F, and total time will land somewhere between 3 and 6 hours. But nailing the exact time for your setup? That's where the nuance lives.
Let's walk through it step by step.
Image source: Bing (Web (fair-use with source credit))
Quick Answer
Set your smoker or dehydrator to 160°F to 180°F. Cook until the internal temperature of the thickest stick reaches 160°F. Total time is 3 to 6 hours.
Use a probe thermometer. Do not guess. Cure with Prague powder #1 per package directions.
Always verify with a thermometer, not a timer.
Why This Isn't Just About Taste – The Safety Stakes
Ground venison is lean. Really lean. That sounds healthy, but it also means it can dry out fast and host bacteria if you don't handle it correctly.
When you grind and stuff meat into a jerky gun, you're creating perfect little oxygen-limited tubes. In that environment, Clostridium botulinum can thrive if you don't use a cure and hit the right temperature. That's not fearmongering.
That's microbiology.
The USDA FSIS explicitly says ground meat jerky must reach 160°F internal temperature. This kills pathogens including E. coli and Salmonella. But if you pull the sticks early because they look dry, you risk serious illness.
Every batch should be tested with an instant-read or probe thermometer inserted into the center of the thickest stick.
Curing salt (Prague powder #1, also called pink salt) is not optional for smoked jerky. It prevents botulism and gives that characteristic pink color and tang. Without it, you're gambling.
Use 1 teaspoon per 5 pounds of meat. Mix it thoroughly.
The bottom line: always cook to temperature, never just to time. Stick temperature is your only reliable safety check. Your smoker's ambient reading doesn't tell you what's happening inside the meat.
The Exact Temperature and Time You Need (with table)
Let's cut to the chase. Here are the target numbers based on your equipment and stick thickness. These are starting points.
Always verify with a probe thermometer.
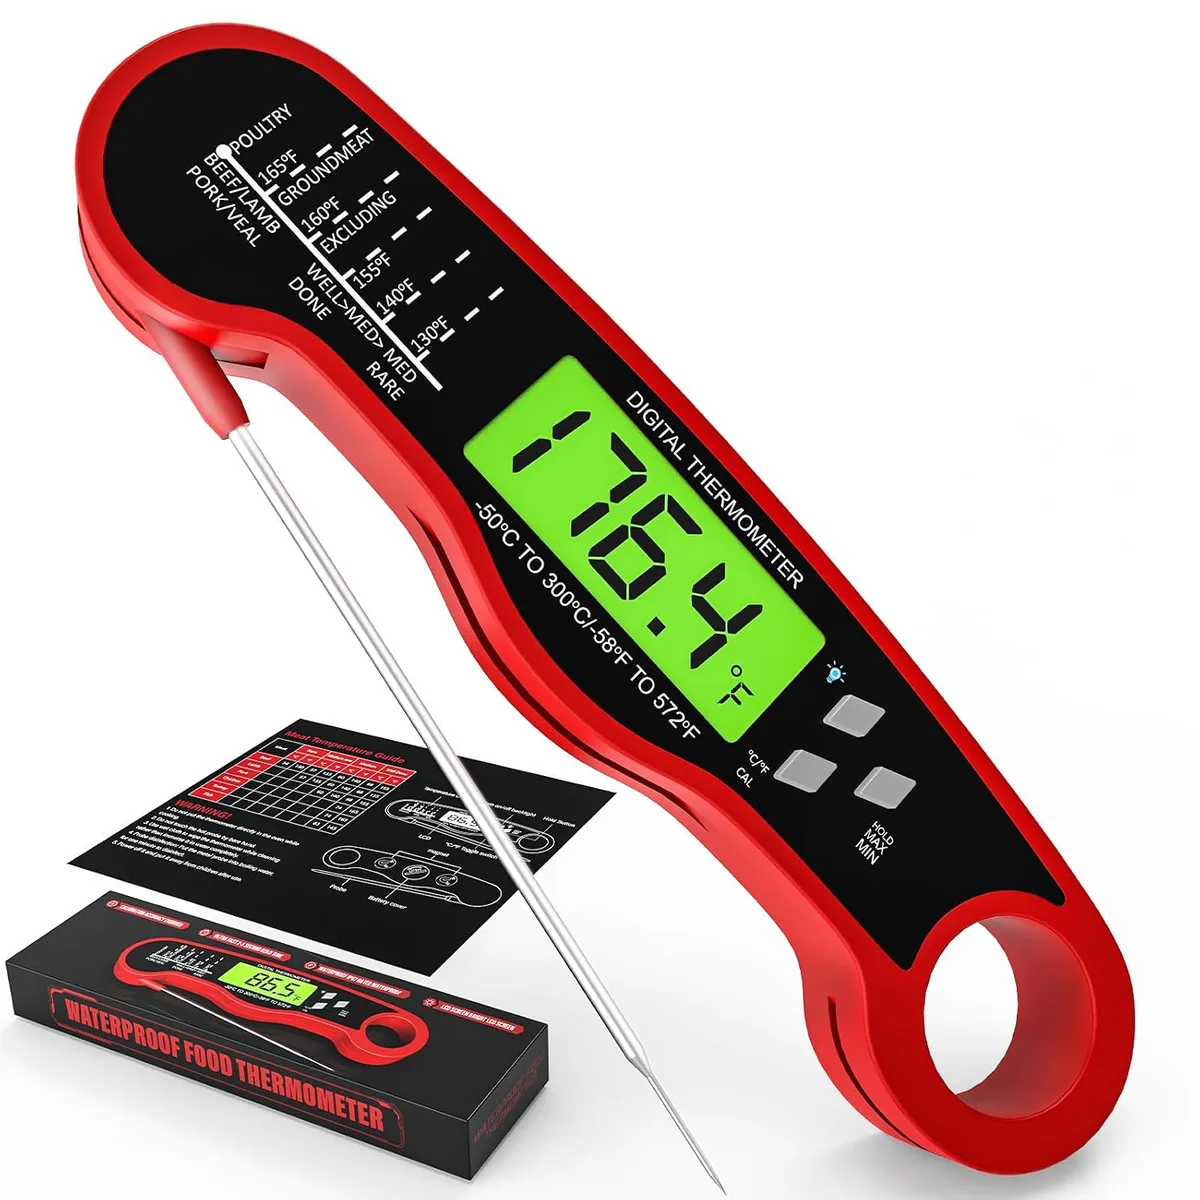
Image source: Web (Bing) / amazon.ca (Web image (fair-use with source credit))
| Equipment | Ambient Temp | Internal Target | Approx Time (0.5–0.75 inch sticks) | Notes |
|---|---|---|---|---|
| Electric Smoker | 180°F | 160°F | 3–4 hours | Best smoke flavor; check every hour |
| Pellet Smoker | 180°F | 160°F | 3–5 hours | More airflow; may dry faster |
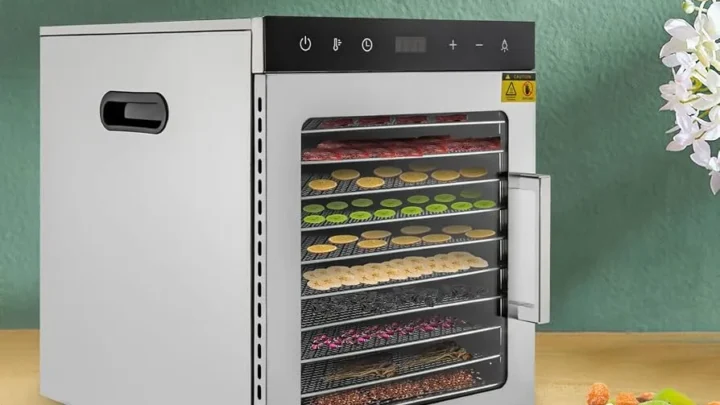
| Dehydrator (horizontal airflow) | 160°F | 160°F | 4–6 hours | No smoke; add liquid smoke to seasoning |
| Dehydrator (vertical airflow) | 165°F | 160°F | 4–5 hours | Heat from bottom; rotate trays |
| Oven (convection) | 175°F | 160°F | 3–4 hours | Leave door slightly ajar for moisture escape |
Stick thickness matters. A 1-inch stick can take up to 6 hours at 180°F. A 0.5-inch stick might be done in 2.5 hours.
That's why you can't rely on a fixed timer.
Pro tip: after the sticks hit 160°F, you can optionally dry them for another 30, 60 minutes at the same temperature to get a firmer, chewier texture. This step is not required for safety, only texture. You can also check that by bending a cooled stick, it should crack but not snap cleanly.
Step-by-Step: Safely Making Smoky Venison Snack Sticks
Follow this process exactly. It's based on guidelines from the National Center for Home Food Preservation and verified by experienced home processors.
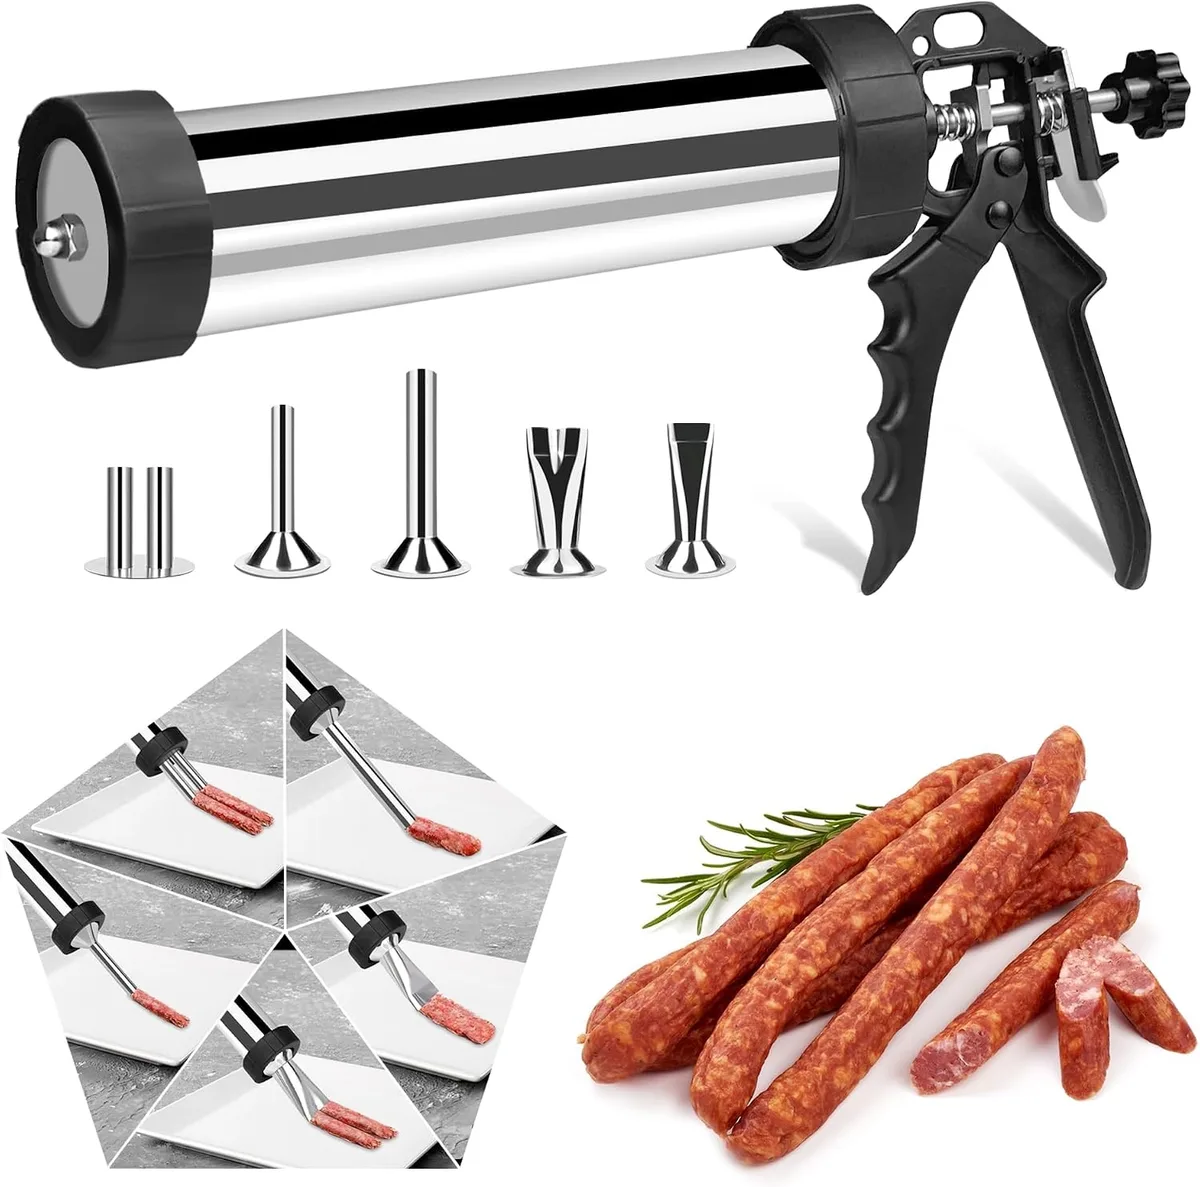
Image source: Web (Bing) / amazon.com (Web image (fair-use with source credit))
Step 1: Prep your meat. Trim all visible fat and silver skin from the venison. Fat goes rancid faster and can cause off flavors. Grind through a medium plate (3/16 or 1/4 inch).
Keep everything cold, meat and equipment, to prevent smearing.
Step 2: Mix the cure and seasoning. In a large bowl, combine ground venison with your seasoning mix and the correct amount of Prague powder #1. Add a small amount of cold water if the mix seems dry (about 1/4 cup per 5 pounds). Mix by hand or with a stand mixer on low until the cure is evenly distributed.
Overmixing can make the sticks tough.
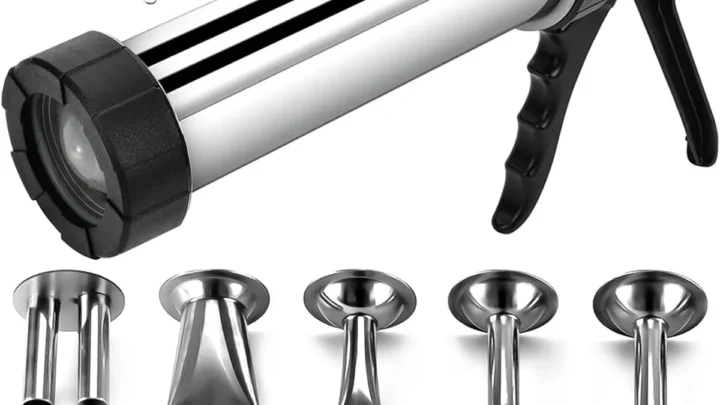
Step 3: Stuff the jerky gun. Pack the meat tightly into the barrel of the jerky gun, pressing out air pockets. Attach the desired nozzle (typically a flat or round tip for sticks). Extrude the meat directly onto smoker trays or dehydrator mesh.
Space sticks about 1/2 inch apart for airflow.
Step 4: Preheat your equipment. Set your smoker or dehydrator to 160°F. Some smokers run hotter; if yours only has low/medium/high, set to low (around 160, 180°F). Preheating ensures the sticks start cooking immediately rather than warming slowly.
Step 5: Insert a probe thermometer. Place the probe into the center of the thickest stick. This is non-negotiable. A wireless probe that lets you monitor from outside is ideal, but any instant-read works.
You're looking for 160°F.
Step 6: Smoke or dry. Add wood chips (hickory, cherry, apple) if using a smoker. For a dehydrator, you can add a pan of wood chips in the bottom or use liquid smoke in your seasoning. Check the probe every 30 minutes after the first 2 hours.
Time varies widely.
Step 7: Cool and package. Once the internal temp hits 160°F, remove the sticks and let them cool on a wire rack to room temperature. Pat off any surface moisture with a paper towel. Vacuum seal or store in an airtight bag in the refrigerator for up to 2 weeks, or freeze for up to 6 months.
Step 8: Clean up. Wash the jerky gun, trays, and all surfaces with hot soapy water. Soaking helps remove dried meat. For tips on tackling greasy residue, our guide on keeping a deep fryer spotless offers similar techniques.
How to Adjust for Your Smoker, Dehydrator, or Oven
Not all equipment is created equal. Here's how to dial in each machine.
Electric smokers (e.g., Masterbuilt, Bradley) are the easiest. They maintain consistent temperatures. Set to 180°F and you're golden.
The smoke flavor is strong, so you can use a milder wood like apple or cherry. Avoid mesquite unless you like an aggressive taste.
Pellet smokers have more airflow. This can dry sticks faster, so check at the 2.5-hour mark. If you're using a pellet smoker, consider adding a water pan to keep humidity up.
This slows drying and improves smoke adhesion.
Dehydrators give you a clean, fat-rendered product but no smoke. You can add liquid smoke to the seasoning mix, about 1 teaspoon per pound. Horizontal airflow units (like Excalibur) dry more evenly.
Vertical ones may require rotating trays every hour. Also, dehydrators run at lower temps (typically 160°F max), so cooking time is longer. Always verify internal temp with a probe.
Ovens work in a pinch. Use the lowest oven setting (often 170, 200°F). Prop the door open with a wooden spoon to let moisture escape.
Check the temp with an oven thermometer, many ovens run hot. Cook on a wire rack over a baking sheet to catch drips. Without smoke, again use liquid smoke or add a small pan of wood chips on the bottom of the oven (be careful with smoke alarms).
Convection vs. standard, convection ovens circulate air and will dry sticks faster by about 25%. Reduce expected time by 30 minutes and monitor closely. This is similar to how different cooking methods affect timing, much like comparing an air fryer to a conventional oven.
The 5 Most Common Mistakes (and How to Avoid Them)
Mistake 1: Skipping the cure. This is the biggest one. Without sodium nitrite (Prague powder #1), you risk botulism in low-oxygen smoked sticks. Don't substitute with table salt or celery powder.
Use real curing salt. If you're unsure about quantities, err on the side of manufacturer instructions. One teaspoon per 5 pounds is standard.
Mistake 2: Over-drying to "crunchy" sticks. Venison is so lean that it goes from perfect to brittle fast. Pull the sticks when they pass the bend test: let a cooled stick cool, then bend it. It should crack but not snap in half.
If it bends without cracking, it's still too wet. If it snaps like a twig, you went too far.
Mistake 3: Trusting ambient temperature instead of internal probe. Your smoker says 180°F, but the center of a thick stick might be 140°F after 4 hours. Relying on the smoker's thermometer is risky. Use a separate probe inserted into the meat.
This is the only way to be sure.
Mistake 4: Not keeping meat cold during mixing. Ground venison warms up quickly. If the fat and proteins get too warm, they smear and create a pasty texture. Keep the meat in the refrigerator until the moment you mix.
Work quickly. If the mixture feels warm, chill it for 30 minutes before stuffing.
Mistake 5: Overloading the smoker or dehydrator. Crowding restricts airflow and causes uneven cooking. Sticks need at least 1/2 inch of space on all sides. If you have a large batch, do multiple runs rather than stacking trays.
Uneven airflow means some sticks hit 160°F while others lag behind. That's a safety risk and a texture problem.
Pro Tips for Perfect Texture and Deep Smoke Flavor
Getting the texture right is the difference between snack sticks that disappear in a weekend and ones that sit in the freezer for a year. The ideal stick should be firm, chewy, and slightly springy. You want it to crack when you bend it, but not shatter.
Fat matters more than you think. Venison is too lean on its own. Without a little fat, sticks turn into dry cardboard. Many pro recipes add 10 to 15 percent beef fat or pork fatback.
Mix it into the grind. This not only improves moisture but also helps the seasoning bind. If you skip the fat, expect a much shorter shelf life and a chalky mouthfeel.
Cold smoke then hot cook? Some folks try to cold smoke at 90°F for an hour before raising the heat. Don't do this. The USDA warns that any time the meat sits below 140°F for more than two hours, bacteria can multiply.
Start at 160°F and hold it there. If you want deeper smoke flavor, use a heavy wood like hickory or mesquite and let the sticks absorb smoke during the full cooking time. You'll get plenty of flavor without the risk.
Wood selection is a personal choice. Hickory gives a classic bacon-like smoke. Cherry adds sweetness. Apple is mild and fruity.
Mesquite can overpower venison's delicate flavor. A blend of hickory and cherry works well for most palates. Use chips or chunks, not sawdust.
Soak them for 30 minutes first if you want slower, longer smoke production.
Humidity control prevents case hardening. When the outside dries too fast, it forms a hard shell that traps moisture inside. That leads to undercooked centers and a gritty bite. To avoid this, keep the smoker or dehydrator at a steady temperature.
If you're using a dehydrator without a humidity vent, crack the lid slightly. In a smoker, add a water pan to the bottom. The steam slows surface drying and lets the heat penetrate evenly.
Resting is nonnegotiable. After the sticks hit 160°F internal, pull them out and let them cool on a wire rack at room temperature. This allows moisture to redistribute. If you vacuum seal while still warm, steam will condense inside the bag and create mold risk.
Let them cool completely (about 2 hours). Then pat them dry with a paper towel before packaging.
Add a touch of sugar for color. A teaspoon of brown sugar or maple syrup per pound of meat helps the sticks develop a rich mahogany crust. It also balances the gamey flavor. But don't overdo it.
Too much sugar can make the sticks sticky and attract mold during storage.
Test your batch early. Make a small test stick first. Cook it, cool it, and taste it. Adjust seasoning or smoke intensity before committing to the full 10 pounds.
You can always add more pepper or garlic powder. You cannot remove it.
Frequently Asked Questions
Can I use a dehydrator instead of a smoker for venison snack sticks?
Yes, you can. Set the dehydrator to 160°F (the highest setting on most units). Use liquid smoke in your seasoning to add flavor.
The drying time will be longer, typically 4 to 6 hours. Always check the internal temperature with a probe to confirm it reaches 160°F.
Do I need to refrigerate finished venison snack sticks?
Yes, unless they are shelf-stable. Properly cured and dried sticks with a water activity below 0.85 can be stored at room temperature for a few weeks. Most home processors cannot reliably test water activity.
Our research recommends refrigeration in an airtight bag or vacuum seal. They last up to 2 weeks in the fridge and 6 months in the freezer.
What happens if I skip the curing salt?
Skipping cure is dangerous if you smoke the sticks. The low oxygen environment inside a smoker allows botulism spores to grow without sodium nitrite. Even if you cook to 160°F, the toxin can still form.
Always use Prague powder #1 at the correct ratio. It is not optional for smoked jerky.
My sticks are too dry. How do I fix that next time?
You dried them too long or at too high a temperature. Next time, pull them at 160°F internal and stop immediately. Add a small amount of beef fat to the grind (about 10 percent).
Reduce the cooking temperature to 160°F to slow drying. Use the bend test every 30 minutes after the first 3 hours.
Can I add cheese or other ingredients to the sticks?
You can, but proceed carefully. Cheese adds moisture and fat, which can cause the sticks to spoil faster. Stick to hard cheeses like cheddar or pepper jack.
Grate them finely. Do not exceed 10 percent cheese by weight. Monitor the internal temperature carefully because cheese can insulate the meat.
Check the probe reading at multiple spots.
How long does a batch of venison snack sticks take from start to finish?
From grinding to packaging, expect about 5 to 7 hours. Grinding and mixing takes 30 minutes. Stuffing the jerky gun takes 15 to 20 minutes.
Smoking or drying takes 3 to 6 hours. Cooling and packaging adds another hour. Plan a full afternoon if you are doing a large batch.
Your Quick-Reference Safety Checklist
Use this checklist before, during, and after each batch. Print it out or keep it on your phone.
| Step | What to Do | Why It Matters |
|---|---|---|
| Cure | Add Prague powder #1 at 1 tsp per 5 lbs of meat | Prevents botulism in low oxygen smoke environment |
| Grind | Keep meat below 40°F throughout | Prevents bacteria growth and fat smearing |
| Probe | Insert thermometer into thickest stick | Only way to confirm 160°F internal temperature |
| Cook | Maintain ambient temp at 160–180°F | Slowly raises meat temp without case hardening |
| Check | Pull sticks at 160°F internal | Kills pathogens; don't rely on time alone |
| Cool | Cool to room temp on a wire rack (2 hours) | Prevents condensation inside packaging |
| Package | Vacuum seal or airtight bag in fridge/freezer | Extends shelf life and prevents recontamination |
One last reminder: never rush the probe check. If the thickest stick reads 160°F and a thinner stick reads only 150°F, your placement was wrong. Check two or three sticks from different spots on the tray.
When all of them hit 160°F, you are done. Trust the thermometer, not the clock.

Related posts
Fix Quiet Dehydrator Timer Cutoff for Herbs
Your quiet digital dehydrator keeps shutting off before those herbs are fully dry. It's maddening, especially when you've…
Clean Greasy Fat & Seasoning from Jerky Gun Nozzle Threads
So you’ve just finished stuffing a batch of jerky and now you’re staring at a greasy, seasoningcaked jerky…
Septree Quiet Dehydrator: Reddit Reviews & Worth Buying?
You’ve typed the question into Google and landed on a pile of Reddit threads. “Is Septree food dehydrator…