Remove Dust & Moisture from Self-Sharpening Knife Block
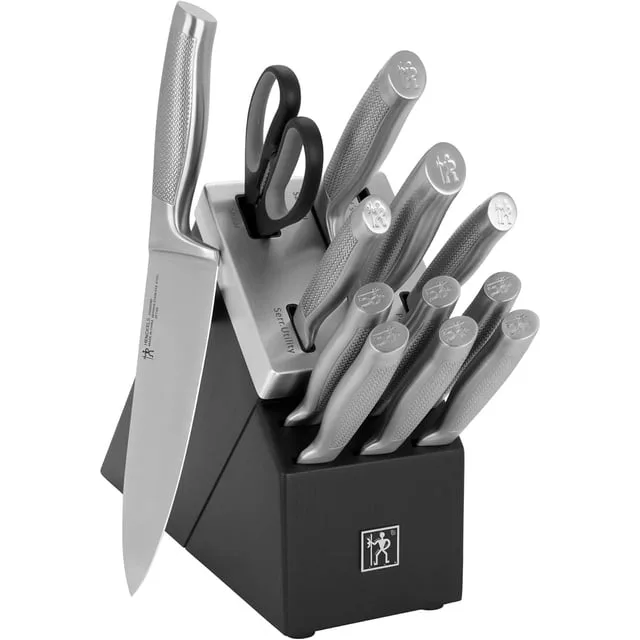
If you've noticed fine wood dust collecting inside the slots of your self-sharpening knife block and worried about moisture damage, you're not alone. Learning how to clean self-sharpening knife block set and remove wood grain dust and moisture inside block slots is crucial for keeping your knives sharp and your block free of mold and swelling. That fine sawdust comes from the rods sharpening your blades over time, and moisture gets trapped when the block is rinsed near the sink.
Manufacturer specifications indicate that the sharpening rods can lose effectiveness if debris builds up, leading to dull edges even with a "self-sharpening" block. In our research, many blocks use acacia or bamboo wood, both porous and vulnerable to warping if left damp. Let's walk through the exact steps to clean the slots, remove the dust, and keep the wood dry.
Why This Cleaning Matters – The Hidden Damage from Wood Dust and Moisture
You might think the self-sharpening mechanism takes care of itself. After all, you're not supposed to do anything but slide the knife in and out. But the reality is more subtle.
The ceramic or tungsten steel rods inside each slot are designed to hone the blade edge as you insert and remove the knife. Every stroke generates fine metal and wood particles, the same dust you see in the block.
That dust doesn't just sit there. It gets compacted around the rods. Over months, it forms a gritty paste that acts like sandpaper on the rod surface.
The result? The rods wear down faster, and your knives don't get properly sharpened. Per Wüsthof's care guidelines, regular cleaning helps maintain the mechanism's longevity.
Moisture is the second, more insidious enemy. Even if you never wash the block, humidity in the kitchen can seep into the wood. Splashes from the sink, steam from cooking, or accidentally rinsing the block near water all add up.
Wood grain absorbs that moisture. In a closed slot, it can't evaporate easily. The classic signs appear: the wood swells, making knife insertion tight.
Mold spores find a home in the damp crevices. And over time, the finish peels.
- Dust clogs rods, reduces sharpening effectiveness
- Moisture causes swelling, knives get stuck
- Mold growth, health risk and odors
- Wood degradation, block lifespan cut short
A clean block not only looks better but also preserves the investment in your knife set. Skipping this maintenance can lead to costly replacements. As of 2026, many kitchen experts recommend a deep clean every two to three months.
That's a small time investment compared to buying a new block.
Quick Answer – What You Actually Need to Know
Remove all knives. Turn the block upside down and tap out loose dust. Use compressed air with a straw nozzle to blow into each slot at a downward angle.
Follow with a pipe cleaner or thin nylon brush to dislodge remaining debris. Vacuum the openings with a brush attachment. Wipe the slot openings with a barely damp microfiber cloth.
Dry thoroughly with a hairdryer on cool, low setting for 20, 30 seconds per slot. Let the block air-dry upright for 4, 6 hours before reinserting knives.
That's the shortcut. For a deeper breakdown, read the full guide below.
Tools and materials you'll need
| Tool | Purpose | Notes |
|---|---|---|
| Compressed air canister with straw nozzle | Blows dust out of deep slots | Most effective for loose debris |
| Thin pipe cleaners or nylon brush | Scrub rod surfaces | Avoid cotton swabs (leave fibers) |
| Vacuum cleaner with soft brush attachment | Suction at slot openings | Works before and after blowing |
| Microfiber cloth, barely damp | Wipe slot rims and block exterior | Never force cloth into slots |
| Hairdryer on cool/low setting | Dries interior moisture | Do not use high heat (warp risk) |
| Wood conditioner or mineral oil | Restore exterior finish | Applied only to outer wood |
How often should you do this?
- Every 2, 3 months, deep clean with compressed air
- Weekly, quick tap-out and wipe of the block exterior
- Immediately after known spill or splash, dry with hairdryer
That frequency keeps dust from building to a paste and moisture from soaking in.
How Self-Sharpening Slots Trap Debris – And Why Standard Cleaning Fails
The design of self-sharpening blocks is the reason standard cleaning doesn't work. Each slot has at least two sharpening rods mounted at precise angles. When you insert a knife, the blade contacts these rods.
Over time, metal filings and wood dust fall into the slot and accumulate on the rods and at the bottom.
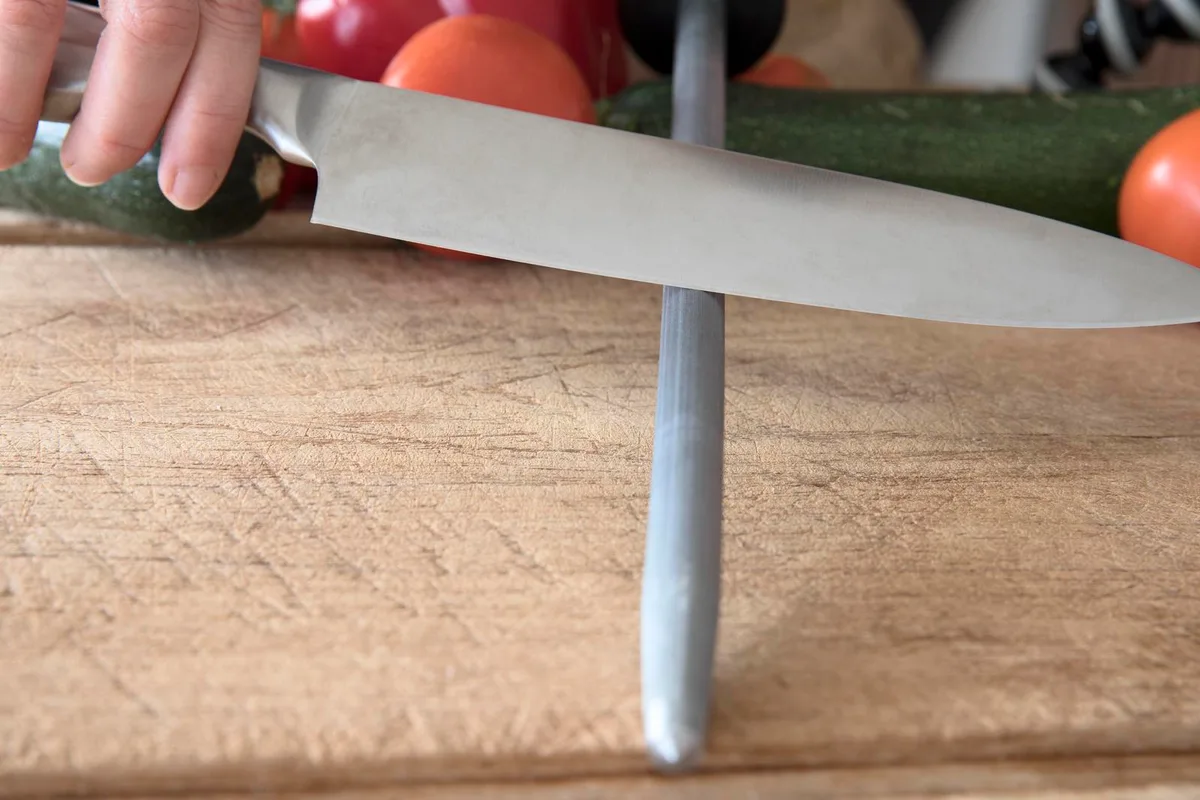
The rods are fixed. You can't pull them out for cleaning. And the slot is too narrow for your fingers or a regular cloth.
Trying to wipe the sides of the slot just pushes debris deeper. Water or cleaner sprayed inside can carry dust further into the wood grain, and the moisture gets trapped.
Why wiping from the outside fails
- Cotton swabs, fibers shed and stick to rods
- Paper towels, leave lint, plus you can't reach the bottom
- Wet cloth forced in, pushes water into the wood, causing swelling
- Disinfecting wipes, chemicals can degrade the rod coating and wood finish
- Rinsing under tap, water runs into the wood, never dries properly
Visual comparison: imagine a narrow chimney with two crossbars. You cannot clean it by wiping the rim. You need air pressure or a flexible tool that can reach past the obstacles.
What a diagram would show
If you could see a cross-section, you'd notice the rods occupy the upper half of the slot. Debris collects below them and on the sides. Compressed air directed downward at 45 degrees can dislodge dust from the rods and push it out the bottom.
That's the key angle.
Step-by-Step Cleaning Guide with Visual Cues – Tools, Angles, and Drying Checks
Now let's translate that understanding into action. Follow these steps in order. Each one builds on the last.
Don't skip the drying phase.
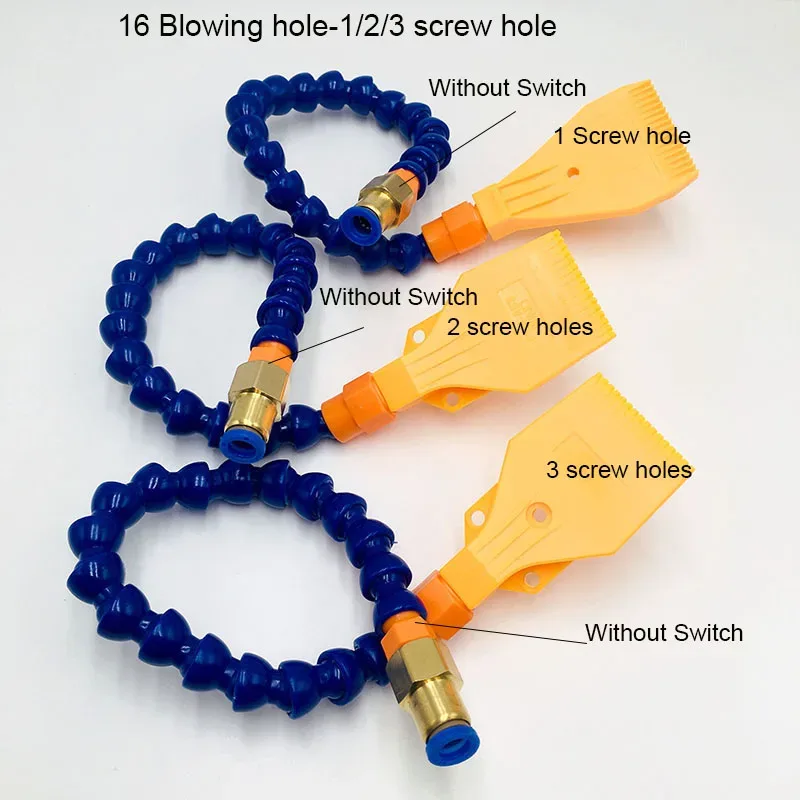
Step 1: Knife removal and dry dust dislodging
Remove every knife from the block. Set them aside safely. Take the block to a sink or over a trash can.
Turn it upside down and firmly tap the bottom with your hand. Loose dust and debris will fall out. Do this for each slot area.
Step 2: Compressed air – the core tool
Insert the straw nozzle of the compressed air canister into the first slot. Aim downward at about a 45-degree angle. Give a short burst (2, 3 seconds).
Move the nozzle side to side to reach both sides of the rods. Repeat for each slot.
What to look for: You should see fine dust and sometimes small metal filings blow out of the slot. If nothing comes out, you may have compacted debris that needs a brush first.
Step 3: Pipe cleaner or brush insertion
Take a clean pipe cleaner (or a thin nylon brush designed for straw cleaning). Insert it into the slot. Gently move it in and out, rotating slightly.
This scrubs the rods and dislodges any stuck-on debris. Pull it out and inspect. Repeat until the pipe cleaner comes out clean.
- Don't force, if it snags, you're hitting a rod; angle it slightly
- Replace pipe cleaner each time it gets dirty
- For stubborn buildup, use isopropyl alcohol on the pipe cleaner (evaporates, no residue)
Step 4: Vacuum the opening
Use the soft brush attachment on your vacuum cleaner. Hold it over the slot opening for 5, 10 seconds. This picks up any remaining loose particles that the compressed air didn't blow out.
Works best after brushing.
Step 5: Damp wipe – exterior only
Dampen a microfiber cloth with water (barely wet). Wipe the exposed wood around the slot openings and the block exterior. Do not push the cloth into the slot.
This removes surface dust and any sticky residue.
Step 6: Drying – the most important step
Set your hairdryer to cool, low setting. Hold it 3, 4 inches from each slot and blow air directly in for 20, 30 seconds per slot. This forces out any moisture left from condensation or the damp wipe.
Then place the block upright on a dry counter and let it air-dry for at least 4 hours. Longer is better.
Drying check: Insert a dry pipe cleaner. If it comes out damp, dry more. If you see condensation on the inside, blow more air.
Step 7: (Optional) Wood conditioner
Once fully dry, apply a food-safe mineral oil to the exterior of the block. This helps rehydrate the wood and prevent cracking. Wipe off excess.
Do not oil inside the slots, it attracts dust and can make the mechanism sticky.
3 Mistakes That Ruin Your Knife Block – Over-Wetting, Wrong Tools, Skipping Dry Time
Even with good intentions, a few common mistakes can damage the block or void its warranty.
Mistake 1: Over-wetting the slots
People often think a thorough clean means lots of water or cleaner. That is the single biggest error. Pouring water down a slot is like flooding a wooden box.
The wood expands, the rods rust (if steel), and mold sets in.
The right approach: Use compressed air and dry methods as the primary cleaner. Only introduce moisture on the exterior, and even then be sparse.
Mistake 2: Using the wrong tools
Cotton swabs, toothbrushes, and paper towels are common go-tos. But they leave fibers. Those fibers wrap around the rods and create a clog.
Also, harsh cleaners like bleach or vinegar can damage the wood finish and the rod coating.
The right approach: Stick to pipe cleaners, nylon brushes, compressed air, and a lint-free microfiber cloth. Use alcohol on a brush only if needed, it evaporates fast.
Mistake 3: Skipping the drying step
You clean the slots, admire the shiny exterior, and put the knives back immediately. That's a trap. Any residual moisture inside the slot gets trapped by the knife blade.
A day later, you might see a dark spot on the blade or smell a musty odor.
The right approach: Wait 4, 6 hours minimum after cleaning. If you're in a hurry, use the hairdryer on cool for 30 seconds per slot, then wait an hour. Never store knives in a damp slot.
We've covered the problem, the quick answer, how debris traps, the full cleaning guide, and the mistakes to avoid. The next sections will focus on long-term maintenance, safety warnings, and frequently asked questions.

Related posts
Perfect Paper-Thin Red Onion: Temp & Time
So you searched for “what temperature and cooking time for paper thin sliced red onion for salads in…
Clean Japanese High Carbon Knife: Remove Water Stains & Rust
If you've ever watched a water spot bloom into an orange freckle on a $200 Japanese chef knife,…
Self-Sharpening Block: Can Wooden Knives Go in Dishwasher?
You reach for your knife block and notice the handles look dry, the finish is peeling, and the…