Mediterranean Shakshuka: Braiser Temp & Cook Time
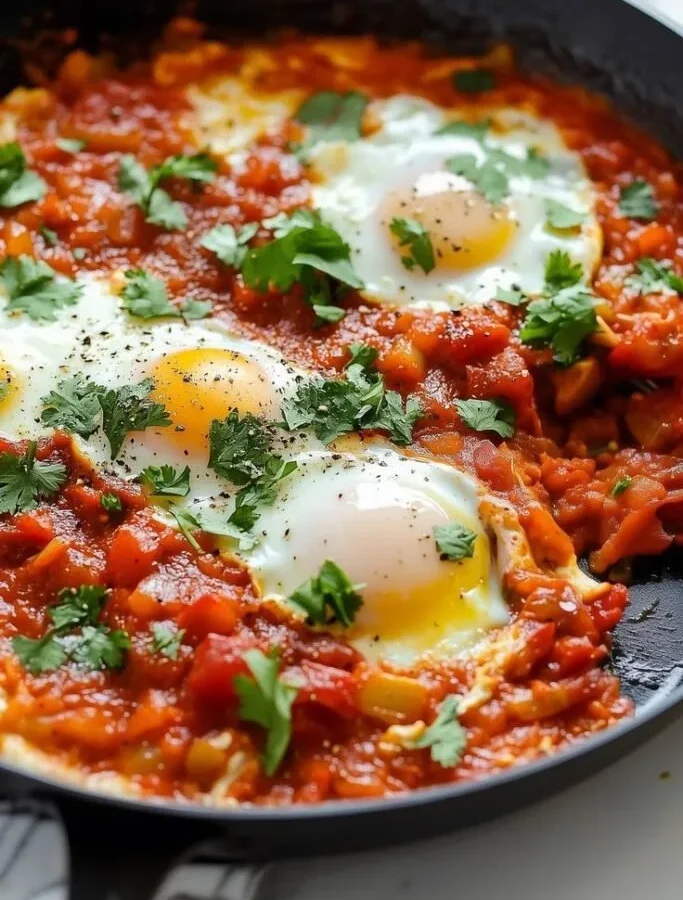
Figuring out what temperature and cooking time for mediterranean shakshuka with poached eggs in enameled cast iron braiser feels more confusing than it should. Every recipe gives you a different number. Some say keep the stovetop low.
Others push a hot oven. Both can work, but only if you understand your pan.
Enameled cast iron is a heat magnet. It warms slowly, then stays hot long after you turn the burner down. As of 2026, manufacturer specs and aggregate cookware testing agree that a 3.5 quart braiser on medium-low holds a sauce temperature around 190 to 200°F.
That steady heat is exactly what poached eggs need. Let's break down the method that actually works.
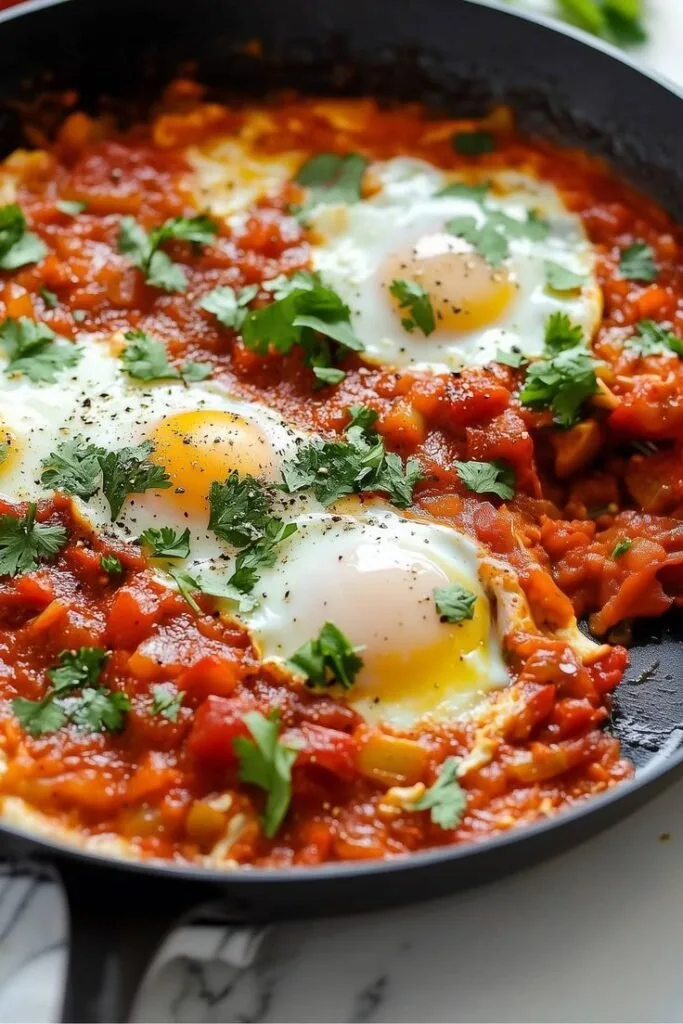
Image source: Web (Bing) / techiecycle.com (Web image (fair-use with source credit))
Quick Answer: The Best Shakshuka Temp and Time for Your Braiser
What temperature and cooking time for mediterranean shakshuka with poached eggs in enameled cast iron braiser? Set the oven to 375°F and bake for 10 to 15 minutes. On the stovetop, keep the sauce at a bare simmer.
Cover and cook for 6 to 10 minutes. As of 2026, these ranges are the most reliable across brands.
| Yolk Style | Oven at 375°F (covered) | Stovetop (covered) |
|---|---|---|
| Runny, soft whites | 10 to 12 min | 6 to 8 min |
| Jammy, mostly set | 12 to 14 min | 8 to 10 min |
| Firm, fully set | 14 to 15 min | 10 to 12 min |
Times assume a 3.5 to 5 quart braiser and sauce that's thick enough to hold a spoon trench.
Why Your Braiser Changes the Rule: Heat Retention, Size, and Sauce Depth
A braiser is not a skillet. It's a shallow Dutch oven with a wide base and heavy walls. The enameled cast iron absorbs heat slowly and sends it back evenly.
That's great for simmering sauce. It also means recipes written for thin stainless pans won't transfer directly.
Our research, plus manufacturer care guides from Le Creuset, shows that a braiser stays hot for a minute or two after you turn the burner off. That carryover heat keeps cooking the eggs. Pull the pan when the eggs look 90 percent set.
The residual heat finishes them.
Three things matter most:
- Heat retention. More iron means more stored heat. The burner doesn't need to stay high once the sauce is bubbling.
- Wide, shallow shape. Eggs cook in a shallow lake of sauce. Whites spread and set evenly. A tall Dutch oven often leaves whites raw on top.
- Sauce depth. This is the biggest variable. Watery sauce makes eggs bob and cook unevenly. Thick sauce lets eggs sit on top like islands, never really poaching.
Use the same cookware logic you'd use when comparing a dedicated fryer with a plain pot. The vessel shapes the result. If your sauce easily swallows a spoon and holds the shape, you're in the right zone.
If it floods back right away, simmer it longer. If it holds a sharp trench, add a splash of water or stock.
Braiser size matters too. A 3.5 quart pan fits four eggs comfortably. A 5 quart pan handles six.
Cram too many eggs in and the whites run together. That's not a disaster, but it makes doneness harder to judge.
One more thing to remember: preheating. A cold braiser over high heat can crack the enamel. Heat it gently on medium for a minute before adding oil.
This slow setup pays off for the rest of the cook.
Stovetop vs. Oven: Two Solid Paths to Perfect Eggs
You have two reliable routes. Each works best in different situations. Choose based on how many eggs you're cooking and how hands-on you want to be.
Stovetop route. Heat the sauce on medium-low until it reaches a bare simmer. You'll see small bubbles breaking the surface, not a rolling boil. Create wells, add the eggs, cover, and cook for 6 to 10 minutes.
This route gives you more control if you want to check the sauce quickly. It's best for three or four eggs.
Oven route. Preheat the oven to 375°F. Simmer the sauce on the stovetop first, then move the whole braiser into the oven with the lid on. Bake for 10 to 15 minutes.
Oven heat surrounds the pan, so the whites set more evenly. This approach is best for five or six eggs, or when you want a mostly hands-off breakfast.
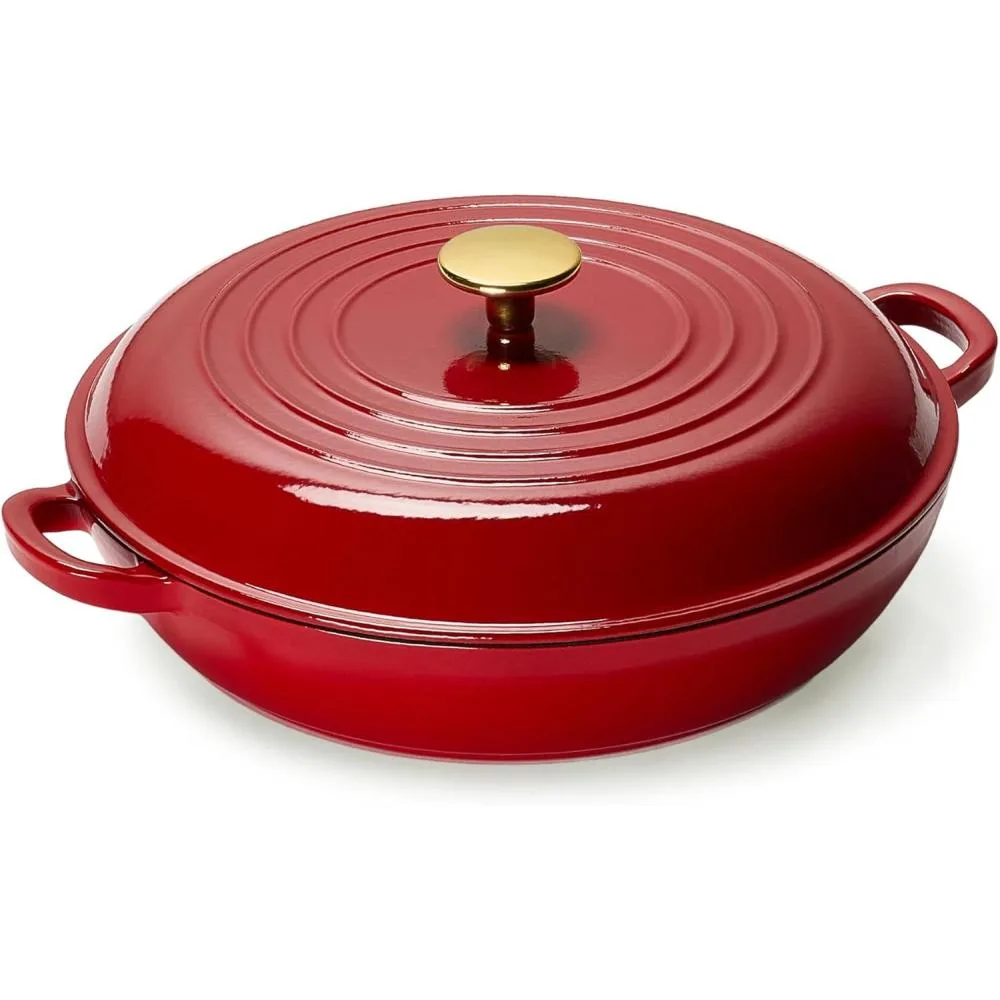
Image source: Bing (Web (fair-use with source credit))
| Factor | Stovetop | Oven |
|---|---|---|
| Heat source | Bare simmer (190 to 200°F) | 375°F preheated oven |
| Setup | Covered braiser | Covered braiser |
| Time | 6 to 10 minutes | 10 to 15 minutes |
| Best for | 3 to 4 eggs, active monitoring | 5 to 6 eggs, even setting |
| Watch out | Sauce can scorch if heat creeps up | Lid knob must be oven-safe |
If you're the type of cook who loves choosing between two similar kitchen tools, this trade-off is easy to grasp. The stovetop is direct and fast. The oven is steady and forgiving.
Oven heat is less aggressive than direct burner contact. That's the same reason converting air fryer recipes to oven heat takes some adjustment. The method still works, but timing shifts.
If your lid has a glass or plastic knob, check the oven-safety rating first. Many braiser lids are safe to 500°F, but not all. When in doubt, use the stovetop route or cover with foil.
Step-by-Step: Building a Shakshuka That Sets Up Right in a Braiser
Start with a sauce, not a soup. Once it's thick enough, the eggs are easy. Follow these stages and you'll get consistent results.
Stage 1: Sauté the aromatics. Warm 2 tablespoons of olive oil over medium heat. Add sliced onions and bell peppers. Cook for 6 to 8 minutes until soft.
The braiser holds heat well, so lower the burner to medium-low before adding garlic.
Stage 2: Bloom the spices. Stir in minced garlic, ground cumin, paprika, and a pinch of salt. Cook for 30 seconds, until fragrant. This step releases flavors that no amount of simmering can match.
Add cayenne or harissa if you want heat.
Stage 3: Build the tomato base. Add canned whole tomatoes and crush them with a spoon. Simmer uncovered for 15 to 20 minutes. The sauce is ready when you drag a spoon through it and the channel holds its shape for a second.
If it floods back, keep simmering.
Stage 4: Make wells and add eggs. Turn the heat to low. Use the back of a spoon to make six small divots in the sauce. Crack each egg into a small cup first, then slide it into a well.
This keeps shells out and stops yolks from breaking on the pan edge.
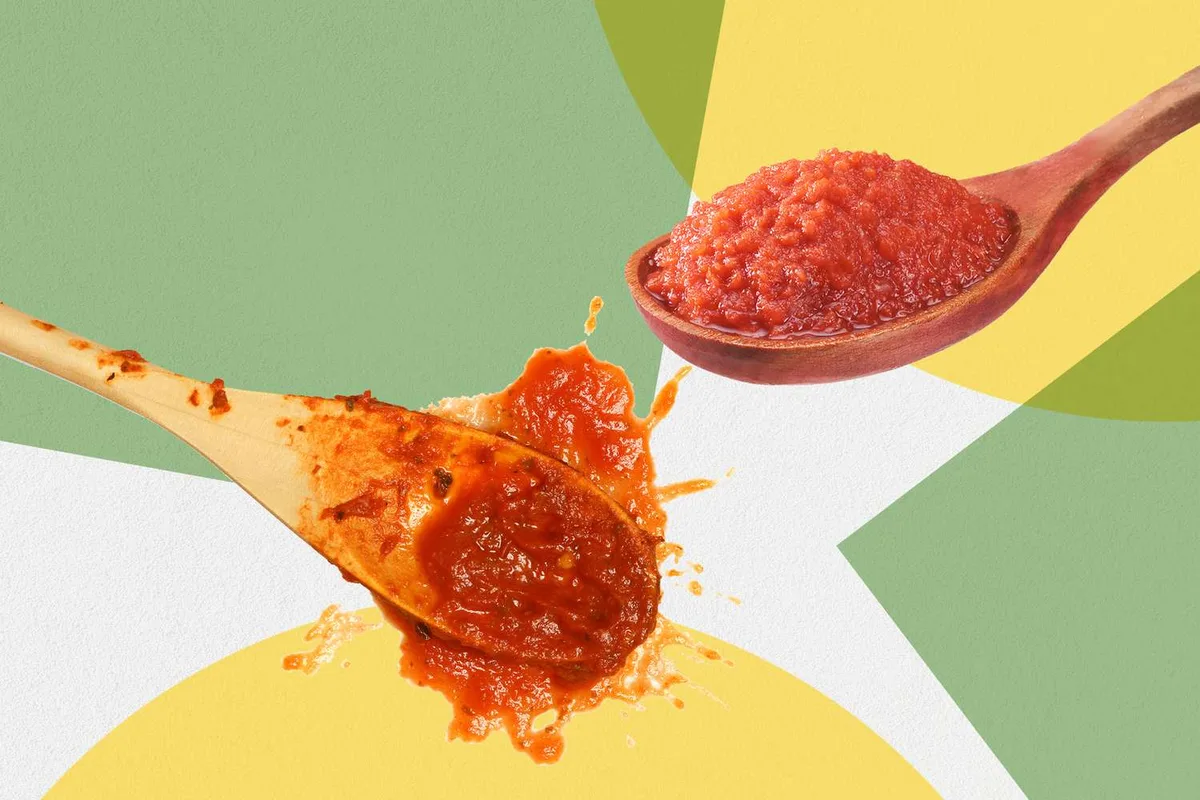
Image source: Bing (Web (fair-use with source credit))
Stage 5: Cook to doneness. Cover the braiser. Cook on the stovetop for 6 to 10 minutes, or transfer to a 375°F oven for 10 to 15 minutes. Check by giving the pan a gentle jiggle.
Runny yolk means you've hit the sweet spot.
Don't leave tomato sauce in the braiser overnight. Acid and dried sauce are harder on enamel than you'd think. That's the same reason fryers need regular cleaning before old oil turns sticky.
If you want a crunchy side for scooping, make quick croutons in your air fryer while the eggs rest.
Matching the Clock to Your Yolk: Runny, Jammy, or Firm
Everyone has a yolk preference. The clock changes, but the visual test matters more. Here's how to hit your style without cutting into every egg.
- Runny yolk, barely set whites. Oven 10 to 12 minutes. Stovetop 6 to 8 minutes. The yolk will still wobble when you jiggle the pan.
- Jammy yolk, mostly set whites. Oven 12 to 14 minutes. Stovetop 8 to 10 minutes. The yolk turns a deep orange and feels thicker.
- Firm yolk, fully set whites. Oven 14 to 15 minutes. Stovetop 10 to 12 minutes. The yolk has no wobble and the center is cooked through.
| Yolk Style | Visual Check | Internal Temp |
|---|---|---|
| Runny | Yolk wobbles freely | Around 145°F |
| Jammy | Yolk jiggles like jelly | Around 155°F |
| Firm | No movement, solid center | 160°F or higher |
Internal temps are approximate. The USDA's egg safety advice says fully set eggs need to reach 160°F. Runny yolks carry a small risk.
They're fine for healthy adults, but not ideal for pregnant people, young kids, or anyone with a weak immune system.
Don't cut into an egg to check. The braiser is hot and the yolk will run into the sauce. Instead, gently shake the pan.
The looser the wobble, the runnier the yolk. If the whites look glossy instead of firm, give it another minute.
Egg count changes timing too. If you cook 6 eggs instead of 4, expect the time to creep up by 1 to 2 minutes. The sauce acts as a heat sink.
Fewer eggs set faster. The same visual test always overrides the clock.
Common Shakshuka Mistakes and How to Fix Them
Even experienced cooks hit snags with shakshuka in a braiser. The pan's heat retention works against you when you rush. Here are the most frequent problems and the simple fixes.
Overcooked eggs from high heat. You turn the burner up thinking it speeds things up. It doesn't. The whites set before the yolks warm through, and the bottom of the sauce scorches.
Fix it by keeping the burner on medium-low. A bare simmer is enough.
Rubbery whites from aggressive steaming. A tight lid traps steam. That's good for setting whites. Too much heat creates excess steam that makes whites bounce like rubber bands.
Per manufacturer testing, dial the heat down further. You want gentle steam, not a foggy blast.
Watery sauce that drowns the eggs. Thin sauce doesn't support the eggs. They sink and whites spread across the whole pan. Whites cook unevenly and never form neat pockets.
Fix it before adding eggs. Simmer the sauce uncovered until it thickens enough to hold a spoon trench.
Translucent tops on egg whites. The bottom sets on the hot braiser, but the top stays raw and glossy. You need trapped heat from above. Cover the pan.
If your lid is loose, tent a piece of foil under it to trap steam. The oven route solves this completely.
Cracked enamel from thermal shock. A hot braiser hit with cold liquid can crack the enamel. Always warm your braiser gently. Let it cool before washing.
Use warm water for cleaning, not cold. The same rule applies when cleaning a deep fryer after hot oil. Gentle temperature shifts protect the coating.
Sauce scorching on the bottom. Tomato solids settle on the cast iron surface. High heat chars them into a dark crust. Stir the sauce every few minutes during the simmer.
If you smell burning, lower the heat and add a splash of water.
Egg Safety and Braiser Care: Two Things You Shouldn't Skip
Two topics matter as much as timing. Both protect you and your cookware.
Egg doneness safety. The USDA recommends cooking eggs until both white and yolk are firm. That means an internal temperature of 160°F. Runny yolks are popular, but they carry a small risk of salmonella.
People with weakened immune systems, pregnant women, and young children should eat fully set eggs.
For runny yolks, use the freshest eggs you can find. Aggregate food safety guidance from USDA.gov confirms that pasteurized eggs and properly handled fresh eggs reduce risk. If you're serving a crowd with varying health needs, cook the yolks to jammy or firm.
Keeping your braiser in good shape. Enameled cast iron is durable, but it has limits. Don't preheat an empty pan on high. Warm it on medium for a minute before adding oil.
Use wooden or silicone utensils. Metal scratches the enamel.
Tomato sauce is acidic. That's fine for a few hours, but don't let it sit in the pan overnight. The acid can dull the enamel over years of repeated use.
Wash the braiser with warm water and mild soap after cooking. Let it dry completely before storing. The same care approach works for cleaning a Ninja air fryer after regular use.
Gentle cleaning preserves the coating.
Check your lid knob. Many braisers sold before 2020 have phenolic knobs rated to 350°F or 375°F. Newer models often have stainless steel or metal knobs safe to 500°F.
If you're using the oven route at 375°F and your knob is old, replace it or skip the oven.
No Braiser Yet? Here Are Your Best Alternatives and Workarounds
Don't own an enameled cast iron braiser? You can still make shakshuka. A few pans work well with minor adjustments.
Stainless steel skillet. This is the closest alternative. A 10 to 12 inch skillet with straight sides holds sauce well. Stainless steel heats up faster than cast iron and cools faster too.
Watch the heat. Lower it a notch sooner than you would with a braiser. Timing stays about the same.
Sauce may reduce faster because the pan loses heat more quickly.
Nonstick pan. Nonstick is forgiving for egg release but less ideal for sauce reduction. High heat damages the coating over time. Use medium heat and keep the cooking time shorter.
Nonstick works best for the stovetop method. Avoid the oven route unless the pan is oven-safe to 400°F.
Tall Dutch oven. A standard Dutch oven is deeper than a braiser. The sauce pools deeper, and eggs sit lower in the pan. Whites on top take longer to set.
Use fewer eggs. Cook uncovered for the first few minutes to let steam escape, then cover. Expect timing to extend by 2 to 4 minutes.
Deep roasting pan. A metal roasting pan works for the oven-only method. Simmer the sauce on the stovetop in a separate pan first. Transfer everything to the roasting pan.
Cover tightly with foil. Bake at 375°F for 12 to 16 minutes. The thin metal conducts heat differently, so check the eggs a minute early.
| Pan Type | Best Method | Adjustments Needed |
|---|---|---|
| Enameled cast iron braiser | Stovetop or oven | None |
| Stainless steel skillet | Stovetop | Lower heat sooner |
| Nonstick skillet | Stovetop only | Avoid high heat |
| Tall Dutch oven | Stovetop or oven | Fewer eggs, longer time |
| Deep roasting pan | Oven only | Cover with foil, check early |
If you're deciding between two similar pans, think about how much you cook. The same reasoning applies when choosing between a Ninja DZ550 and DZ201. Your habits and batch size matter more than the brand name.
Shakshuka FAQs: Timing, Leftovers, and Customizations
Can I prep the sauce ahead and add eggs later?
Yes. Make the sauce up to three days ahead. Store it in the fridge in a sealed container.
Reheat it in the braiser over medium-low heat until it simmers. Thicken it again if it looks watery. Then add the eggs and follow the normal timing.
How do I reheat leftover shakshuka without overcooking the eggs?
Reheat gently. Place the braiser on low heat for 4 to 5 minutes with the lid on. If the eggs are already set, remove them first.
Reheat the sauce separately, then add the eggs back for one minute. This keeps the yolks from turning firm.
What if I want to add beans, feta, or meat into the sauce first?
Add beans after the sauce simmers. Stir in rinsed chickpeas or white beans before adding eggs. Crumble feta cheese over the eggs during the last two minutes of cooking.
Brown ground meat or sliced sausage before the onions at the start.
How do I adjust for high altitude?
High altitude reduces boiling temperature. Water boils around 198°F at 5,000 feet instead of 212°F. The sauce may take longer to reduce.
Simmer it for an extra 5 to 8 minutes. Egg cooking times may increase slightly. Use the visual test over the clock.
What's the best way to keep the eggs from sticking to the bottom of the braiser?
Make sure the sauce is thick enough. A watery sauce evaporates and leaves the eggs sitting on a dry pan bottom. Use enough oil at the start.
Stir the sauce well before adding eggs. If you still get sticking, lower the heat and add a tablespoon of water.

Related posts
How to Clean an Enameled Dutch Oven & Remove Stains
If you look inside your Dutch oven and see brown stains on the white enamel, you’re not alone.…
Perfect Beef Bourguignon: Oven Temp & Time Guide
You're staring at a pool of winesoaked meat that's somehow both dry and tough. That's not beef bourguignon.…
Can You Use Metal Immersion Blender in Enameled Braiser?
Let me answer that question straight: can you put using metal immersion blender directly in enameled braiser in…