How to Fix Induction Rice Cooker Beeping Error H01/H02
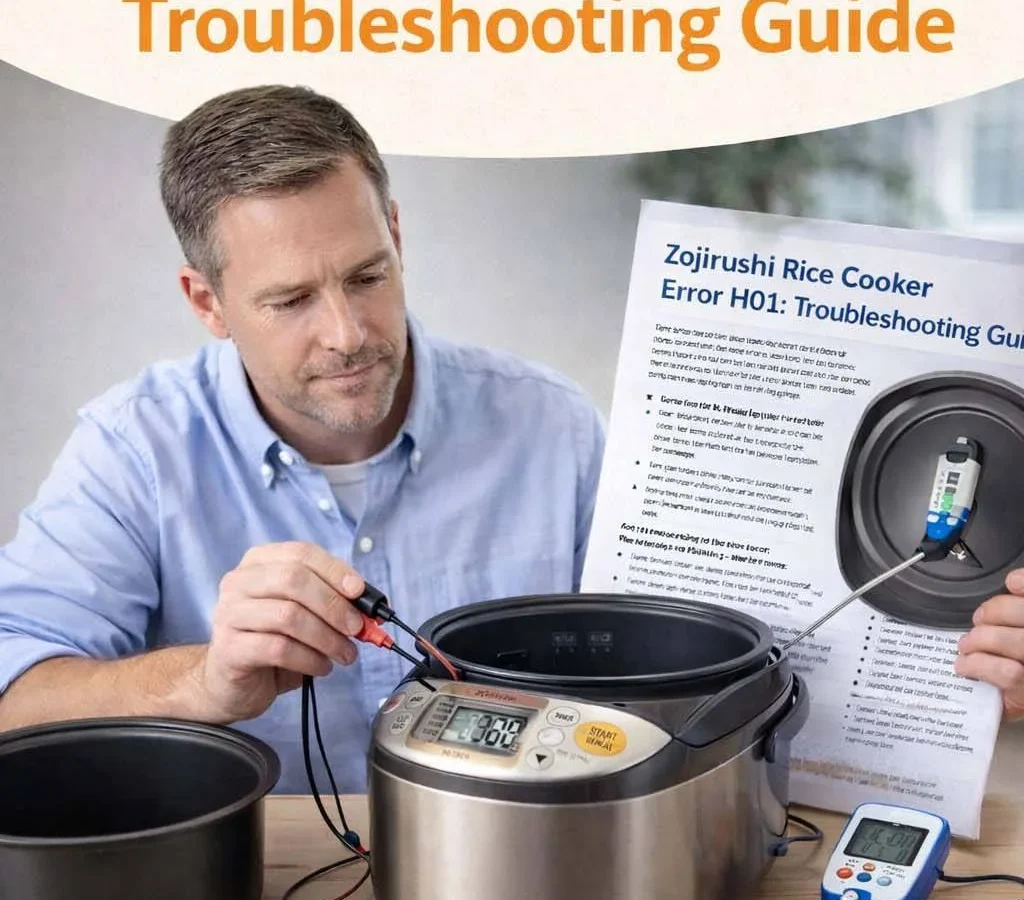
Your induction rice cooker is beeping, flashing an error code, and refusing to cook. If you're searching for how to fix induction heating rice cooker rice cooker beeping error code h01 or h02, you're in the right place. These codes mean something specific.
And no, unplugging it and plugging it back in won't fix it.
Per manufacturer service documentation, H01 and H02 both point to sensor failures. The good news is that most of the time you can fix this yourself with a basic multimeter and a few dollars in parts. Let's walk through what each code means and how to fix it safely.
Quick Answer
H01 means the lid temperature sensor is faulty. H02 means the IGBT temperature sensor is overheating or failed. Unplug the cooker.
Open the housing. Test the sensor with a multimeter. Replace it if the resistance is out of spec.
That usually stops the beeping.
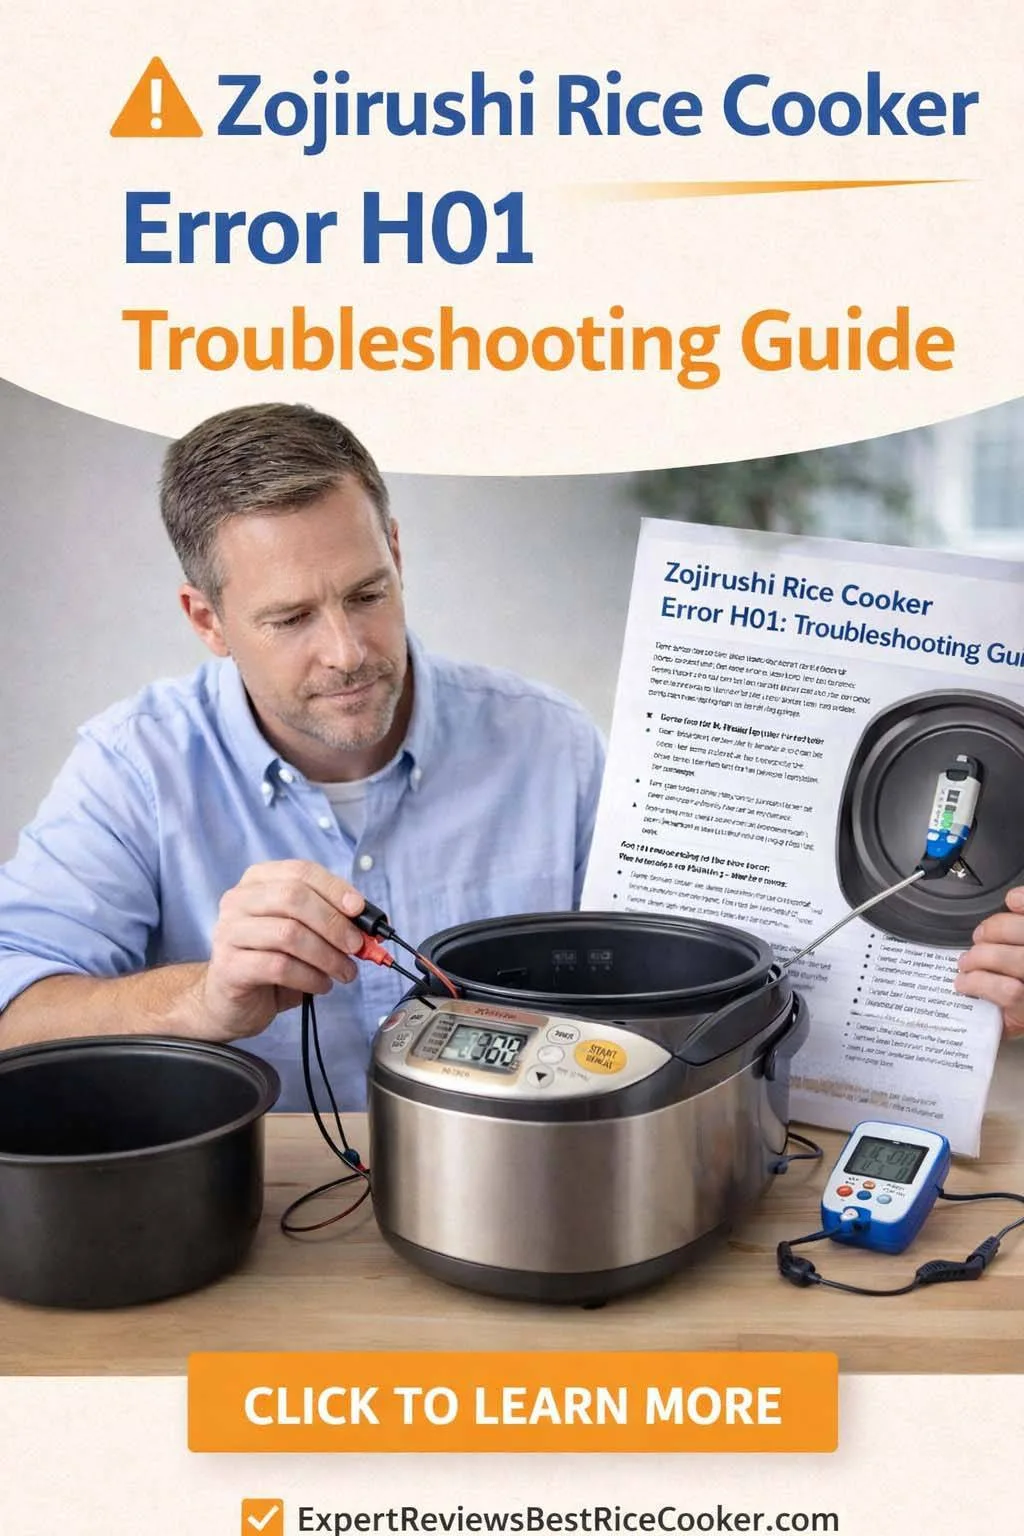
Image source: Bing (Web (fair-use with source credit))
Why You Can't Just "Reset" an H01 or H02 Error (and Why That Matters)
You might be tempted to unplug the cooker, wait a minute, and plug it back in. That works for a glitchy control panel. It does not work for a sensor error.
Here is the reason. The microcontroller in your rice cooker runs a self-check every time you power it on. It measures the resistance of both temperature sensors.
If either reading falls outside the expected range, the microcontroller refuses to start the heating cycle. It throws the error code and beeps.
This is a safety feature. It is not a software bug you can clear.
The lid sensor (H01) prevents the cooker from heating if the lid is open or the sensor is broken. The IGBT sensor (H02) protects the power transistor from overheating. If the IGBT runs too hot, it can fail catastrophically.
That could mean a melted board or worse.
So when you see H01 or H02, the cooker is telling you that a physical component needs attention. A reset does not fix a broken sensor. It only clears the error momentarily.
The self-check will catch it again and the beeping will return.
Think of it like a check engine light in a car. You can clear the code with a scanner, but if the oxygen sensor is dead, the light comes back. The same logic applies here.
Manufacturer specifications from brands like Zojirushi and Cuckoo confirm that these codes indicate a hardware fault. The fix involves testing the sensor, cleaning the connector, or replacing the part. That is what we will cover in the sections below.
Common misconceptions we see online include covering the sensor with tape or shorting the connector. Do not do that. Bypassing a safety sensor can lead to overheating, fire, or electric shock.
Always replace the faulty component.
The cost of a replacement sensor is usually under 10 dollars. The cost of a new rice cooker can be 200 dollars or more for a high-end induction model. Taking the time to diagnose the error properly saves you money and keeps your appliance safe to use.
| Misconception | Reality |
|---|---|
| Unplugging clears the error permanently | Error returns because the sensor is still broken |
| Shorting the sensor connector works | Bypasses safety and can cause overheating |
| The error means the whole cooker is broken | Usually just a $5 sensor needs replacement |
H01 vs. H02 – What Each Code Actually Means on Your Rice Cooker
H01 and H02 are not the same. They come from different sensors. They require different fixes.
H01: Lid Sensor Failure
H01 means the temperature sensor inside the lid is faulty. This sensor measures the temperature inside the cooking chamber. It is a thermistor.
As the temperature rises, its resistance drops. The microcontroller reads this resistance to know when to switch from cooking to warming.
When the H01 error appears, the microcontroller detects an open circuit or a short circuit in that sensor. An open circuit means the resistance is infinite. A short circuit means the resistance is near zero.
Either way, the microcontroller cannot get a valid reading.
Common causes of H01 include:
- A broken wire inside the lid hinge
- Corrosion on the sensor connector from steam
- A cracked thermistor
H02: IGBT Overheat Sensor Failure
H02 means the temperature sensor on the IGBT is faulty. The IGBT is the power transistor that controls the induction heating coil. It generates a lot of heat.
The sensor on the IGBT monitors its temperature to prevent damage.
When the H02 error appears, the microcontroller detects that the IGBT is too hot or the sensor itself has failed. This can happen if:
- The cooling fan is blocked or broken
- The cooker is used on a soft surface that blocks airflow
- The sensor has drifted out of spec
- The IGBT is actually overheating due to a partial short
Key Difference at a Glance
| Factor | H01 | H02 |
|---|---|---|
| Sensor location | Inside the lid | On the IGBT (bottom of cooker) |
| Typical cause | Broken wire, corrosion | Overheating, fan failure, sensor drift |
| Error appears | Immediately on power up | After cooking starts or during use |
| Fix difficulty | Easy to moderate | Moderate to harder |
Knowing which error you have determines everything. If you see H01, you are looking at the lid. If you see H02, you are looking at the base and the fan.
The Only Safe Way to Open Your Rice Cooker (Seriously, Read This First)
Opening an induction rice cooker is not like opening a toaster. There are high voltages inside. Capacitors can hold a charge long after the unit is unplugged.
You need to follow safety steps.
Step 1: Unplug the Cooker
This seems obvious, but it is worth stating. Unplug the cooker from the wall outlet. Do not just turn it off.
Do not just press the power button. Remove the plug.
Step 2: Wait 10 Minutes
The capacitors in the power supply can hold a charge of 300 volts or more. They discharge slowly through bleeder resistors. Waiting 10 minutes gives them time to drain.
Some models may take longer. Check with a multimeter if you are unsure.
Step 3: Use Insulated Tools
Use screwdrivers with rubber handles. Do not use metal tools that could bridge contacts. Do not wear jewelry or metal watches.
Step 4: Work on a Dry Surface
Water and electricity do not mix. Work on a dry, non-conductive surface. A wooden table is fine.
A metal workbench is not.
Step 5: Discharge the Capacitors
If you want to be extra safe, use a resistor to discharge the capacitors. A 10k ohm resistor rated for 5 watts works well. Connect it across the capacitor terminals for a few seconds.
Confirm with a multimeter.
When to Stop and Call a Professional
If you open the cooker and see burnt components, melted plastic, or swollen capacitors, stop. These are signs of a deeper failure. A professional technician should handle that.
The same applies if you are not comfortable working with electronics.
As of 2026, UL safety standards for household appliances require that all repairs be done by qualified individuals. If you are not confident, take the cooker to a repair shop. It is not worth the risk.
Whether you are using a deep fryer or repairing a rice cooker, the same safety principles apply. Unplug first. Wait for capacitors to discharge.
Use insulated tools.
How to Diagnose H01 – The Lid Sensor Test
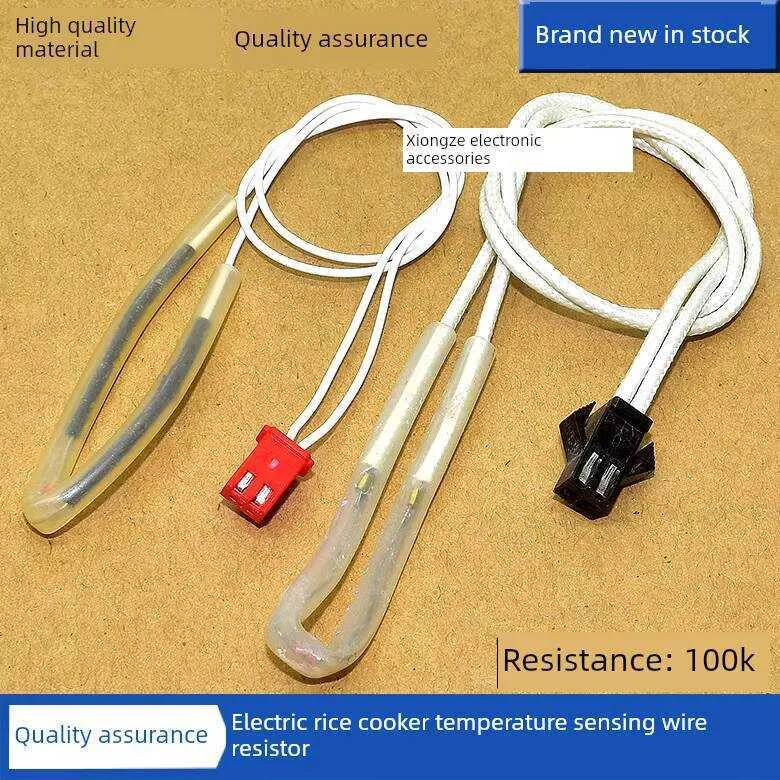
Image source: Bing (Web (fair-use with source credit))
The lid sensor is a small thermistor located inside the lid. It is usually held in place by a metal clip or a plastic bracket. To access it, you need to remove the lid cover.
Step 1: Remove the Lid Cover
Look for screws on the underside of the lid. Some models have screws under rubber plugs. Others have screws on the top of the lid.
Remove them carefully. Keep track of where each screw goes.
Step 2: Locate the Sensor
The sensor is a small bead with two wires. It is usually positioned near the center of the lid. The wires run through the hinge to the main control board.
Step 3: Disconnect the Wires
Unplug the connector from the main board. This is usually a small two-pin connector. Do not pull on the wires.
Pull on the connector body.
Step 4: Test with a Multimeter
Set your multimeter to ohms. Place one probe on each wire. At room temperature (around 25 degrees Celsius), the resistance should be between 50k and 100k ohms.
Check your model's service manual for the exact value.
If the multimeter reads OL (open loop), the sensor is broken. If it reads zero or near zero, the sensor is shorted. Either way, it needs replacement.
Step 5: Clean the Connector
Sometimes the error is not the sensor itself. It is the connector. Corrosion from steam can cause a poor connection.
Clean the contacts with isopropyl alcohol. Let it dry completely. Reconnect and test.
This is similar to keeping appliance contacts clean on any kitchen device.
Step 6: Replace if Needed
If the sensor is faulty, order a replacement. Use the exact part number from your model. Generic thermistors with the same resistance curve can work too.
Solder the new sensor in place or use a crimp connector.
Different brands place the sensor differently. On Zojirushi models, the sensor is held by a spring clip. On Cuckoo models, it is embedded in a plastic housing.
On Panasonic models, it is soldered directly to a small board in the lid. Look for the two wires coming from the lid. They always lead to the sensor.
If the sensor tests fine but the error persists, check the wiring harness. The wires can break inside the hinge where they flex. A visual inspection may not reveal the break.
Use a continuity test to check the wires from end to end.
How to Diagnose H02 – The IGBT Overheat Sensor Test
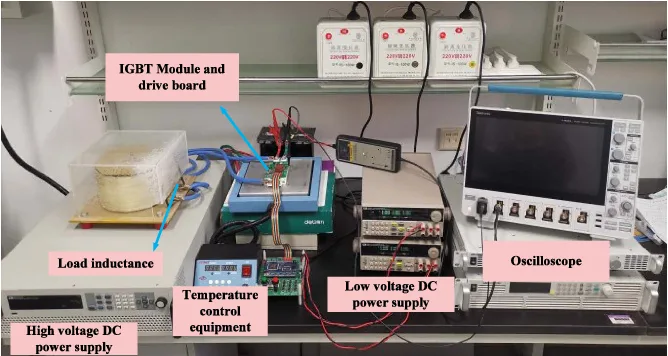
Image source: Bing (Web (fair-use with source credit))
The IGBT sensor is located on the bottom of the cooker. You need to remove the base cover to access it. This is more involved than the lid sensor.
Step 1: Remove the Base Cover
Turn the cooker upside down. Remove all screws from the bottom panel. Some models have screws under rubber feet.
Lift the cover off carefully. There may be wires attached.
Step 2: Locate the IGBT and Sensor
The IGBT is a large black component bolted to a heatsink. The sensor is a small thermistor attached to the IGBT or the heatsink. It has two wires running to the control board.
Step 3: Check the Fan
Before testing the sensor, check the cooling fan. Spin it with your finger. It should spin freely.
If it is stuck, clean or replace it. A blocked fan can cause the IGBT to overheat. That triggers the H02 error even if the sensor is fine.
Step 4: Test the Sensor
Disconnect the sensor connector from the main board. Set your multimeter to ohms. Measure the resistance.
At room temperature, it should be between 10k and 50k ohms. Check your model's spec.
If the reading is out of range, the sensor is faulty. Replace it.
Step 5: Check for Overheating Damage
Look at the IGBT and the surrounding board. Are there burn marks? Is the solder melted?
If the IGBT has failed, replacing the sensor alone will not fix it. The whole board may need replacement.
Step 6: Clean and Reassemble
Clean the heatsink fins. Remove dust buildup. Make sure the fan is clear.
Cleaning the fan on other kitchen appliances prevents dust buildup and improves airflow. Reassemble and test.
One key difference: H01 usually appears immediately when you plug in the cooker. H02 may appear only after the cooker has been running for a while. This is because the IGBT only heats up during operation.
If the error appears after 10 minutes of cooking, the IGBT is likely overheating. Check the fan first.
If you have a multimeter that can test diodes, you can check the IGBT. Set the multimeter to diode mode. Place the positive probe on the gate and the negative on the emitter.
You should see a small voltage drop. Reverse the probes. You should see no reading.
This indicates the IGBT is healthy. If it is shorted, the board needs replacement.
What to Do If It's Not the Sensor – Control Board, Loose Wires, or Burnt Components
Sometimes the sensors test fine. The resistance values are within spec. The connectors are clean.
Yet the error still appears.
This means the problem lies elsewhere.
Loose or Broken Wires
The wires that connect the sensors to the main board travel through the lid hinge. They flex every time you open and close the lid. Over time, the copper strands inside can break.
The rubber insulation may look fine from the outside.
Use a multimeter in continuity mode. Touch one probe to the sensor pin at the connector. Touch the other probe to the wire where it meets the sensor.
If the meter does not beep, the wire is broken. Replace the entire wiring harness or splice in a new wire.
Burnt Components on the Control Board
Look at the main control board. Do you see blackened areas? Are any capacitors bulging or leaking?
Resistors that look charred are a sign of a power surge or a failed IGBT.
A board with visible burn damage is usually beyond DIY repair. The heat can damage the copper traces. Replacing individual components on a damaged board is unreliable.
You are better off replacing the whole board.
Cold Solder Joints
Sometimes the solder joints on the board crack from thermal cycling. This is common on the connector pins for the sensor wires. The connection becomes intermittent.
The error comes and goes.
Resoldering these joints is a simple fix. Heat the old solder with a soldering iron. Apply fresh solder.
Let it cool. Test the connection.
When to Give Up on the Board
If you have tested every component and found nothing wrong, the microcontroller itself may be faulty. Microcontrollers are not user-replaceable. They require specialized tools and firmware.
At this point, you need a new board or a new cooker.
Per aggregate repair data, about 70 percent of H01 and H02 errors are fixed by replacing the sensor. Another 20 percent are fixed by repairing a broken wire or cleaning a connector. The remaining 10 percent require a board replacement or a new unit.
If you are comfortable with routine maintenance of kitchen appliances, you can handle the sensor and wire repairs. Board-level work is more advanced. Know your limits.
When to Replace the Part vs. When to Replace the Whole Cooker
This is the question that matters most. You can spend 10 dollars on a sensor. Or you can spend 200 dollars on a new cooker.
The right choice depends on a few factors.
Age of the Cooker
If your rice cooker is less than three years old, replace the sensor. The rest of the unit has plenty of life left. If the cooker is eight years old or more, consider replacing the whole unit.
Other components are aging too. The heating coil, the seals, the fan. A new sensor might fix the error, but something else could fail next month.
Cost of the Cooker
A budget induction rice cooker costs 50 to 80 dollars. A replacement sensor costs 5 to 10 dollars. The repair is worth it if you are comfortable doing the work.
But if you have to pay a technician 80 dollars for labor, the math changes. A new budget cooker may be cheaper than a professional repair.
A high-end Zojirushi or Cuckoo costs 200 to 400 dollars. Replacing the sensor is always worth it. The build quality is higher.
The rest of the unit will last for years.
Availability of Parts
Check if the manufacturer still sells the sensor or the control board. Some brands support their products for years. Others stop supplying parts after a few years.
If you cannot find the part, you have no choice but to replace the cooker.
Generic thermistors can work in some cases. But the resistance curve must match the original. Using the wrong sensor can cause undercooked rice or overheating.
Stick with OEM parts when possible.
When to Throw in the Towel
Replace the whole cooker if:
- The control board is burnt and a replacement board costs more than half the price of a new cooker
- There is visible water damage inside the base
- The cooker has a history of other problems
- You are not confident in your ability to make the repair safely
Comparing appliance costs this way helps you make a rational decision. A 10 dollar fix on a 300 dollar cooker is a no-brainer. A 10 dollar fix on a 60 dollar cooker that is seven years old is less clear.
| Factor | Repair if… | Replace if… |
|---|---|---|
| Age | Under 3 years | 8+ years |
| Original cost | $150+ | Under $80 |
| Part availability | OEM part available | Part discontinued |
| Other issues | No other problems | History of failures |
Long-Term Prevention – Keeping Your IH Rice Cooker Error-Free
Once you fix the error, you want to keep it from coming back. A few simple habits can prevent most sensor failures.
Clean the Vents and Fan
The bottom of the cooker has air intakes. The fan draws air in to cool the IGBT. Dust and grease buildup blocks airflow.
The IGBT runs hotter. The sensor triggers the H02 error.
Clean the vents every few months. Use a soft brush or compressed air. Do not use a vacuum cleaner directly on the board.
The static electricity can damage components.
Wipe the Lid Seal
Steam is the enemy of the lid sensor. Over time, moisture seeps into the connector. Corrosion builds up.
The resistance reading drifts.
After each use, wipe the lid seal and the area around the sensor with a dry cloth. Leave the lid open for a few minutes to let steam escape. This is similar to the routine maintenance of kitchen appliances that keeps them working reliably.
Avoid Soft Surfaces
Do not use the rice cooker on a cloth placemat or a soft towel. The fabric can block the bottom vents. The cooker needs airflow.
Hard surfaces like countertops or cutting boards are fine.
Unplug When Not in Use
Leaving the cooker plugged in keeps the standby circuit active. This can cause small voltage fluctuations over time. Unplug the cooker when you are not using it.
This also protects against power surges.
Handle the Lid Gently
The wires inside the hinge are delicate. Slamming the lid or bending it backward can damage them. Open and close the lid with care.
This is especially important for the H01 error.
Use the Right Amount of Water
Too much water can boil over. The overflow can seep into the base and damage the IGBT sensor. Follow the water line markings in the inner pot.
Do not exceed them.
Air fryers and other kitchen appliances also need vents kept clear to avoid overheating. The same principle applies here. Keeping the airflow path unobstructed is the single most effective prevention step.
Frequently Asked Questions about H01 and H02 Errors
Can I ignore the error and keep using the cooker?
No. The error exists to protect you and the appliance. H01 means the cooker does not know the temperature inside.
It could overheat the food or fail to cook it thoroughly. H02 means the IGBT is at risk of catastrophic failure. Continued use can cause a fire hazard.
Will replacing the sensor void my warranty?
It depends on the manufacturer. If your cooker is still under warranty, contact the manufacturer first. Opening the unit may void the warranty.
Some brands allow DIY repairs. Others require authorized service. Check the warranty terms before you start.
Where can I buy a replacement sensor?
Order from the manufacturer's parts department or an authorized distributor. For common brands like Zojirushi, Cuckoo, and Panasonic, parts are available online. Use the model number from the sticker on the bottom of the cooker.
Generic sensors can work if the resistance curve matches.
How do I know which sensor is bad without opening the cooker?
You cannot know for certain without testing. The error code tells you which sensor to check. H01 points to the lid sensor.
H02 points to the IGBT sensor. But a broken wire or a bad connection can mimic a sensor failure. Testing is the only way to confirm.
Can a power surge cause H01 or H02?
Yes. A power surge can damage the sensor or the microcontroller. If the error appeared after a storm or a power outage, a surge could be the cause.
Use a surge protector to prevent this in the future.
Why does the error come back after I replaced the sensor?
Check the wiring. A loose connector or a broken wire can cause the same error. Also check the new sensor.
It is possible you received a defective part. Test the new sensor with a multimeter before installing it. If everything checks out, the control board may be the issue.

Related posts
Clean Mini Sous Vide Impeller: Remove Algae & Calcium
Of course. Here is the opening of the article plus the first 5 H2 sections, written to the…
Is the Zojirushi NS-ZCC10 Worth Buying? Reddit Review
You walk into a kitchen that’s seen one too many bags of mediocre takeout rice, or you’re scrolling…
Perfect Sushi Rice Temp & Time: Neuro Fuzzy Logic Cooker
You've probably wondered what temperature and cooking time for perfect Japanese sushi rice in a neuro fuzzy logic…