How to Clean Dutch Oven Combo Cooker & Remove Black Flakes
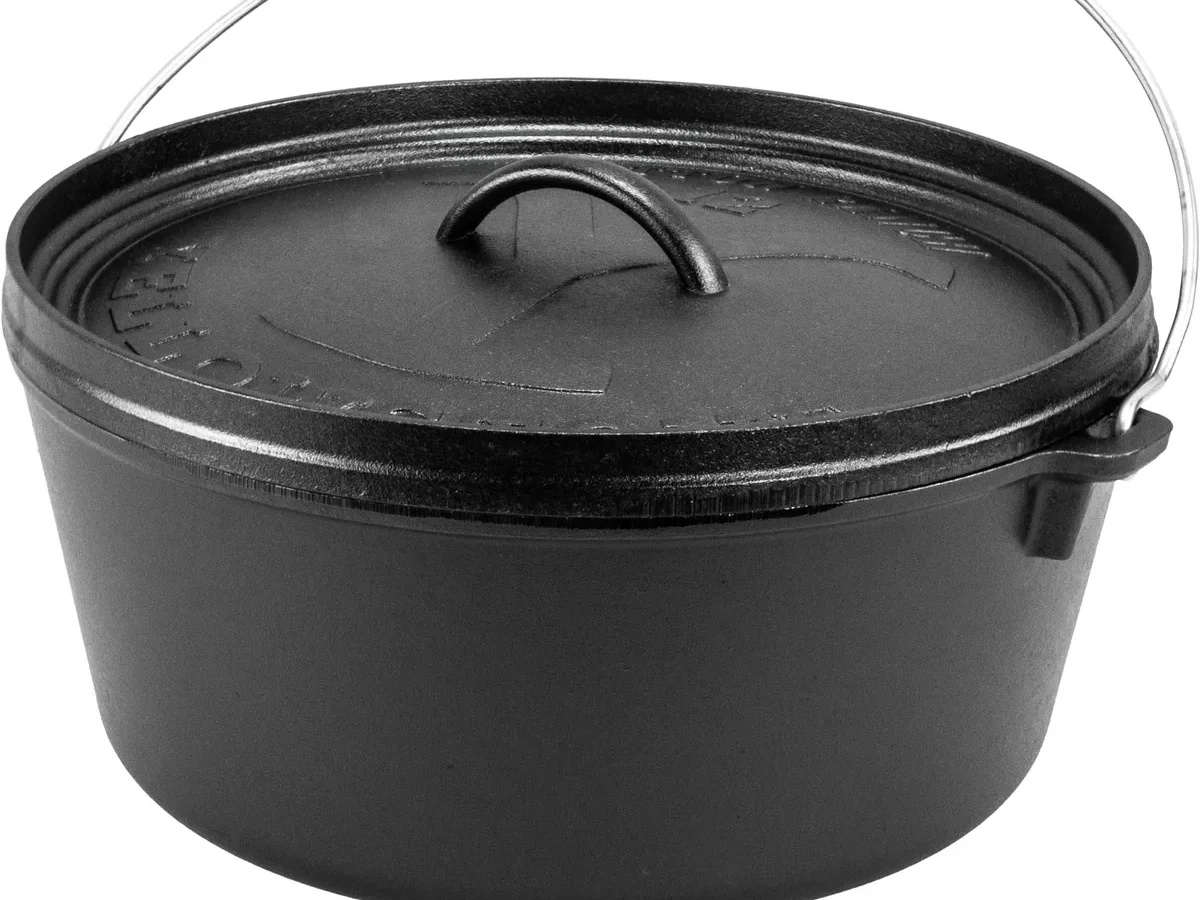
If you've noticed sticky black oil flakes peeling off your Dutch oven lid, you're probably wondering how to clean double dutch oven combo cooker and remove sticky black oil flakes peeling off dutch oven lid without making things worse. Here's the thing: those flakes might not even be what you think. Before you grab steel wool or toss it in the oven on self-clean, you need to know whether you're dealing with burnt-on seasoning or damaged enamel.
The wrong move can turn a fixable problem into a ruined piece of cookware.
Manufacturer specifications indicate that most double Dutch oven combo cookers come in two interior finishes: bare cast iron (rough, matte black) or enameled cast iron (smooth, glass-like, often cream or beige). As of 2026, major brands like Lodge sell both versions, and the care instructions are completely different. The visual difference between seasoning buildup and chipped enamel is subtle but critical.
Let's walk through what you're actually seeing.
Quick Answer
First, identify the flake type. A magnet sticks to bare cast iron but not to enamel. Use a lye-based oven cleaner for bare iron.
Use baking soda paste for enameled surfaces. Re-season bare iron after cleaning. Discard enameled cookware if chips reveal metal underneath.
Why You Need to Look at the Flakes Before You Pick Up a Scrubber
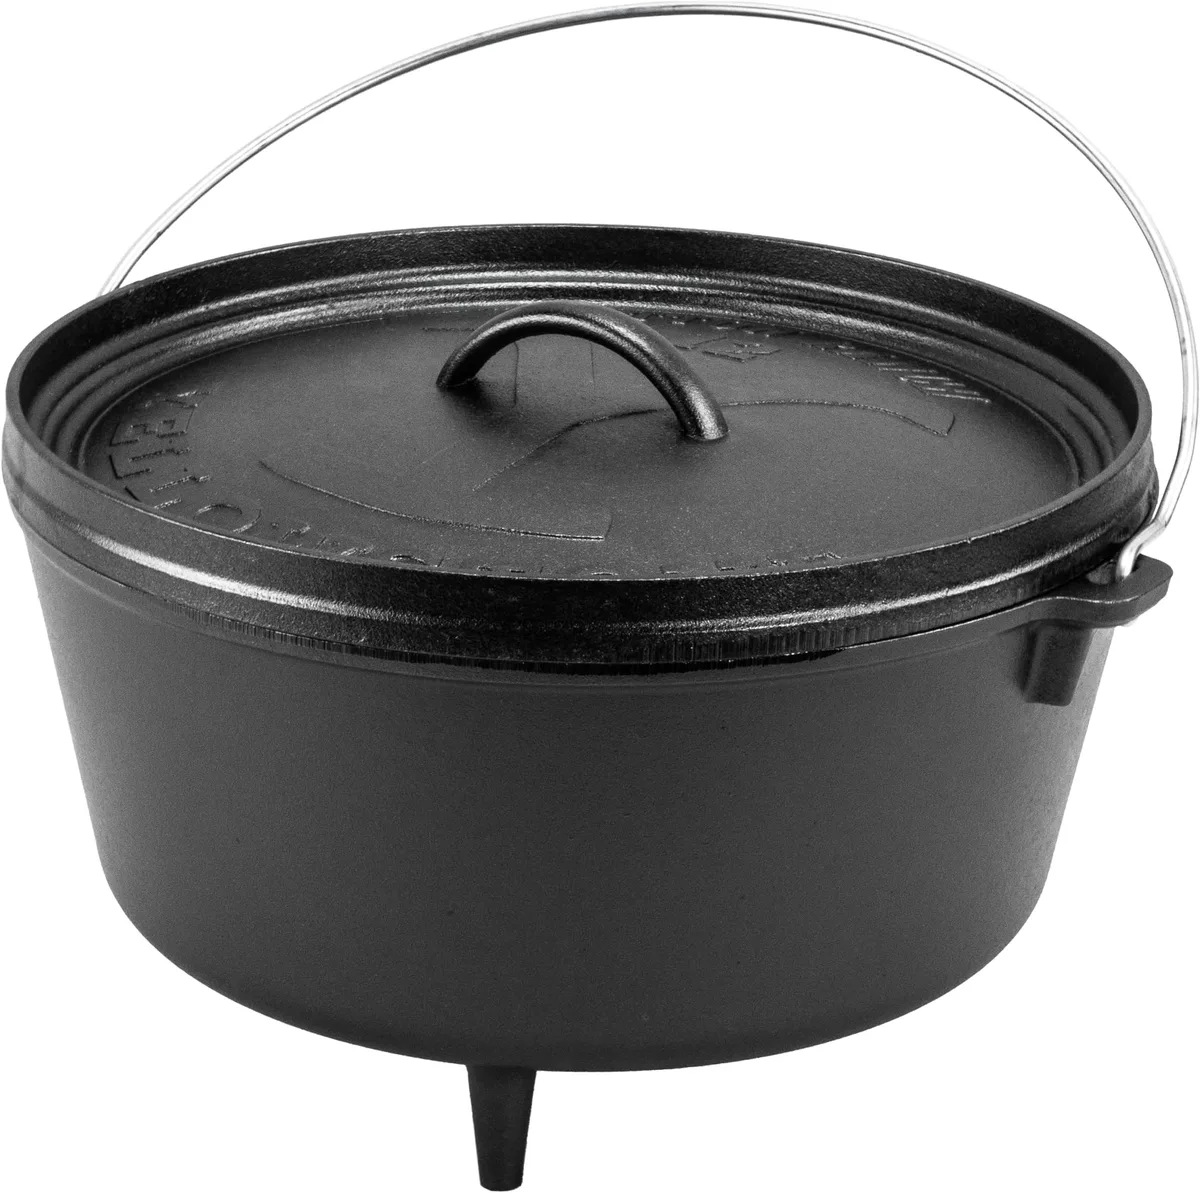
Image source: Web (Bing) / amazon.com (Web image (fair-use with source credit))
That black, sticky residue on your combo cooker lid could be one of two things, and each requires a completely different approach. The first is excess polymerized oil. This is the same stuff that makes up the seasoning layer on cast iron.
It builds up in thick patches, especially on the lid, because the lid runs hotter than the pot during use. Over time, that oil layer becomes brittle and starts peeling away in sticky black flakes. That's annoying, but it's not dangerous.
You can remove it and start fresh.
The second possibility is chipped enamel coating. Many combo cooker lids have a light-colored enamel interior that is smooth and glass-like. When that enamel chips, it flakes off in hard, sharp pieces.
This is not just a cosmetic issue. Chipped enamel can leach glass-like shards into your food, and that is a safety concern. You cannot repair enamel once it's chipped.
The cookware needs replacement.
So which one are you looking at? Here's a quick comparison to help you decide.
| Characteristic | Seasoning Buildup (Bare Iron) | Chipped Enamel (Enameled Cookware) |
|---|---|---|
| Surface feel | Slightly sticky, gummy, or tacky | Smooth, hard, sharp-edged flakes |
| Flake flexibility | Flexible, bends slightly | Brittle, snaps or crumbles |
| Color | Black to dark brown, uniform | Black or dark gray, often uneven edges |
| Magnet test | Magnet sticks strongly | Magnet does not stick |
| Pattern | Peeling in large, continuous sheets | Flaking in small, scattered pieces |
If you're still unsure, move to the next section. The 30-second test is definitive.
The 30-Second Test That Tells You Whether It's Seasoning or Enamel
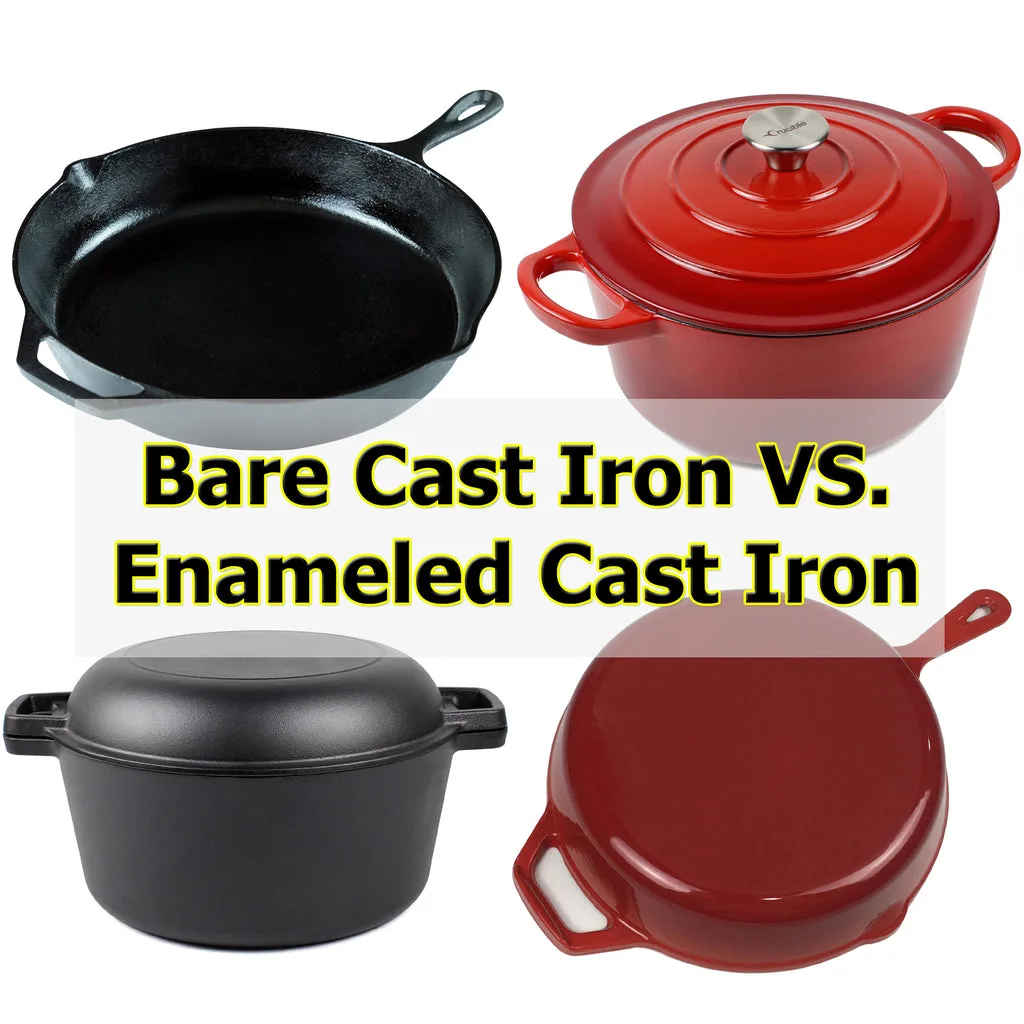
Image source: Web (Bing) / cruciblecookware.com (Web image (fair-use with source credit))
You don't need a lab to figure this out. A simple magnet will tell you everything. Grab a standard refrigerator magnet and hold it against the inside of the lid.
If the magnet sticks firmly, the lid is bare cast iron. The black flakes are seasoning. If the magnet slides right off or barely clings, the lid has an enamel coating.
The flakes are likely chipped enamel.
Why does this work? Enamel is a glass-like ceramic coating that is non-magnetic. Bare cast iron is ferrous and magnetic.
Many combo cookers have a bare iron lid that doubles as a skillet, and an enameled pot body. If your lid is the skillet half, it's almost certainly bare iron. If the lid is part of an enameled set and has a light or colored interior, it's enameled.
Here's the second part of the test. Look at the edge of a flake under good light. Seasoning flakes have a slightly translucent, amber-black tint when held up to light.
They feel greasy or waxy to the touch. Enamel flakes are opaque, dark, and feel like broken glass. They are rigid and sharp.
If you press one between your fingers, a seasoning flake will crumble or smear. An enamel flake will not.
If the magnet test says enamel and the flakes feel sharp, stop cleaning immediately. Do not use the lid for cooking. This is a safety issue.
Move to the section on enameled cookware below for the proper steps.
What You'll Need to Clean a Combo Cooker Lid Without Causing More Damage
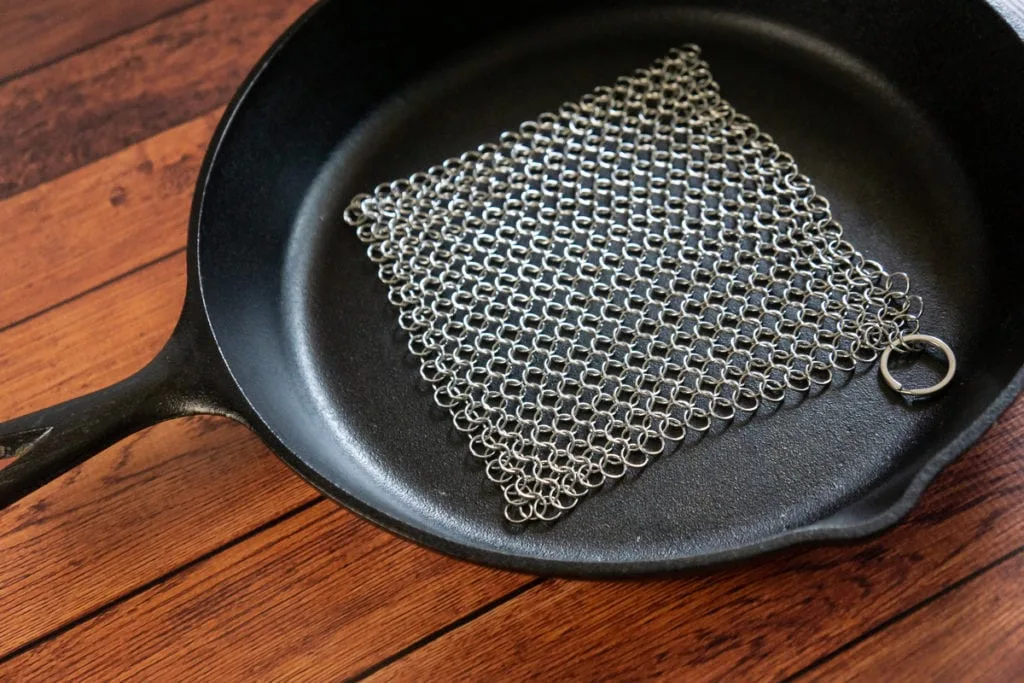
Image source: Bing (Web (fair-use with source credit))
Once you know your lid's material, gather the right tools. Using the wrong tool is the number one mistake people make. Abrasive scrub brushes can scratch enamel, while chemical strippers on bare iron require safety gear.
Here's what you need for each scenario.
For bare cast iron lids (stripping and re-seasoning):
- Lye-based oven cleaner (look for the yellow cap with sodium hydroxide)
- Heavy-duty trash bag or large zip-top bag
- Rubber gloves and safety glasses
- Non-scratch scrubbing pad (blue Scotch-Brite or similar)
- Chainmail scrubber (good for stuck-on residue without scratching)
- Mild dish soap
- Paper towels or clean cloths
- High-smoke-point oil (grapeseed, flaxseed, or canola)
- Oven safe for 400-450°F
For enameled lids (gentle residue removal only):
- Baking soda
- White vinegar
- Non-abrasive sponge or soft cloth
- Plastic scraper (like a spatula or credit card)
- Mild dish soap
- Long-handled brush for stuck-on corners
Avoid steel wool, metal scrapers, and abrasive powders on any enameled surface. They will scratch the coating. For bare iron, you can use steel wool if you plan to strip and reseason completely, but chainmail is gentler and more effective for spot cleaning.
How to Strip and Re-Season a Bare Cast Iron Lid (Step-by-Step)
If the magnet test confirmed bare cast iron, your plan is straightforward: strip the old seasoning and buildup completely, then apply a fresh layer. This is the standard restoration method used by cast iron enthusiasts. It takes one to two days, but the results are like new.
Step 1: Apply the oven cleaner. Take your lid outside or to a well-ventilated area. Put on gloves and glasses. Spray a generous, even coat of lye-based oven cleaner over the entire surface, paying special attention to the sticky black patches.
Place the lid inside a heavy-duty trash bag, seal it, and let it sit for 8 to 12 hours or overnight. The lye softens the polymerized oil so it lifts off easily.
Step 2: Scrub off the residue. After the soak, remove the lid from the bag. The black flakes should be softened and loose. Rinse with warm water and scrub with a non-scratch pad.
For stubborn spots, use the chainmail scrubber. Do not use soap yet. Rinse thoroughly and repeat the spray-and-bag process if any patches remain.
Step 3: Wash and dry. Once the lid is bare metal (looks grey or silver, no black patches), wash it with mild dish soap and warm water. This is the only time you use soap on cast iron, because you're removing all the old oil. Dry it immediately with a towel, then place it in a 200°F oven for 10 minutes to drive off any remaining moisture.
Step 4: Apply the first seasoning coat. Rub a thin layer of high-smoke-point oil over the entire lid, inside and out. Use a paper towel to wipe away any excess. The coating should be so thin it looks almost dry.
Too much oil will cause sticky spots later.
Step 5: Bake the lid. Place the lid upside down on the oven rack with a baking sheet or foil on the lower rack to catch drips. Bake at 450°F for one hour. Turn off the oven and let the lid cool inside.
Repeat this oil-and-bake process three to five times for a durable, nonstick seasoning.
A well-seasoned lid is dark, semi-glossy, and smooth to the touch. It should not feel sticky. If it does, the oil layer was too thick or the bake temperature was too low.
Wipe off the sticky spots with a paper towel and bake again at 450°F for an hour.
How to Clean Sticky Oil Residue Off an Enameled Lid (Without Chipping It)
If the magnet test said enamel, you're dealing with a different problem. That lid has a glass-like coating that can't be stripped or re-seasoned. You can only remove surface residue without damaging the enamel.
And if the flakes are sharp and the chips reveal the underlying metal, the lid is compromised. You need to replace it. Do not risk cooking with chipped enamel.
But if the flakes are soft, sticky, and the enamel surface is smooth and intact underneath, you have burnt-on oil buildup. Here's how to remove it safely.
Method 1: Baking soda paste. Mix three parts baking soda with one part water to form a thick paste. Apply the paste to the sticky black areas. Let it sit for 15 to 30 minutes.
Scrub gently with a non-abrasive sponge or soft brush. The baking soda acts as a mild abrasive that lifts oil without scratching the glass. Rinse thoroughly with warm water.
Repeat if needed.
Method 2: Boiling water soak. Fill your combo cooker pot (or any large pot) with water and bring it to a simmer. Submerge the enameled lid in the water, face down. Let it boil for 10 to 15 minutes.
The hot water softens the oil residue. Remove the lid, let it cool slightly, then scrub gently with a non-abrasive pad. This method works well for large patches of sticky buildup.
Method 3: Vinegar and baking soda fizz. If the residue is particularly stubborn, add a quarter cup of white vinegar to the boiling water. The acid helps break down polymerized oil. After the soak, apply a baking soda paste as described above.
The fizzing action lifts residue from the surface.
Never use a chainmail scrubber or steel wool on enameled cookware. Never use a self-cleaning oven cycle on an enameled lid. Both of these will scratch or craze the glass coating, turning a cleanable problem into a permanent one.
If you've cleaned the lid using these gentle methods and the black flakes reappear after a single use, you may be dealing with chipped enamel rather than residue. Inspect the surface carefully in bright light. Look for tiny craters or rough patches where the coating has worn away.
At that point, the cookware is no longer safe for contact with food.
The Self-Cleaning Oven Method: When It's Safe, When It's a Bad Idea
The self-cleaning cycle is the fastest way to strip a bare cast iron lid. It is also the easiest way to ruin an enameled one. The first rule is simple.
Only use it if your magnet test showed bare iron.
The cycle runs at 500 to 550°F for several hours. That heat turns all the polymerized oil into ash. When the cycle finishes and the oven cools, you're left with gray powder and bare metal.
It's drastic. It's effective. You also need to prepare for a lot of smoke.
Manufacturer specifications for enameled cast iron explicitly warn against the self-cleaning cycle. The heat causes crazing, which is a network of tiny hairline cracks. Over time, those cracks become chips.
The same applies to Staub and Le Creuset cookware. The enamel is glass. Glass does not survive that kind of thermal shock.
If you own an air fryer and have fought with the same kind of baked-on oil, you already know the drill. The approach is similar. Don't just heat old oil and hope it burns off.
Follow a proper air fryer care routine if your lid is getting the same treatment.
| Aspect | Bare Cast Iron | Enameled Cast Iron |
|---|---|---|
| Safe to self-clean | Yes, with caution | No, never |
| Result | Burns off seasoning, leaves ash | Crazes glass, leads to chips |
| Smoke | Significant, open windows | Heavy, may release fumes |
| Warranty | Usually intact | Void |
The fire risk is real. If the lid has a thick layer of oil, it can ignite inside the oven. Always wipe off excess oil with a paper towel before the cycle.
Don't run the self-clean while you're sleeping or leaving the house. Stay nearby and keep a fire extinguisher within reach.
The procedure for bare iron is straightforward. Put the clean, dry lid upside down on the oven rack. Run a full self-clean cycle.
Let the oven cool completely. Open the door and wipe out the ash with a damp cloth. Then wash with warm, soapy water, dry it, and re-season using the steps from earlier.
Five Visual Mistakes That Ruin Dutch Ovens (and How to Avoid Them)
Most damaged Dutch ovens aren't ruined by normal cooking. They're ruined by a well-meaning person using the wrong method once. Here are the five mistakes we see most often when readers send us photos.
Mistake 1: Confusing enamel chips with seasoning. This is the exact situation from the first section. People see black flakes and assume it's old oil. They scrub the lid with steel wool, which scratches the enamel.
If the chip has exposed bare metal underneath, you're looking at a safety issue, not a cleaning problem. The magnet test will always set you straight.
Mistake 2: Using a chainmail scrubber on enameled cookware. Chainmail is designed for bare cast iron. On an enameled surface, it acts like sandpaper. It leaves fine scratches that grow into bigger flakes.
Once the chainmail has touched the surface, check for dull patches. If you see them, you've worn down the glaze.
Mistake 3: Running the self-clean cycle on an enameled lid. We covered this above, but it's worth repeating. The heat makes enamel craze. That hairline crack pattern will collect oil and food debris, and it won't come off.
You can't polish it away. Some people have thrown away cookware that looked stripped, thinking they just needed to reseason. It was actually enamel, and it was permanently damaged.
Mistake 4: Applying too much oil when you season. A thick coat looks helpful. It isn't. Oil pools and polymerizes unevenly.
The result is a sticky layer that flakes off later. The correct coat is barely visible. Wipe the oil on, then wipe it off like you made a mistake.
That's the right amount. The same chemistry applies to any hot surface that gets coated in oil. Check our summary of air fryer toxicity risks for more.
Mistake 5: Shocking the lid with cold water. Hot cast iron can crack or warp when hit with cool liquid. Even enamel can chip at the rim. Always let the lid cool to room temperature before washing.
If you need to remove stuck food, heat a little water in the pot and loosen it gradually.
The common thread is that visual inspections matter. Look before you scrub. Touch the edge of a flake.
Run a magnet across the surface. That one minute of checking can save you a $100 cookware replacement.
Keeping the Combo Cooker Clean: Daily Habits That Stop the Sticky Black Mess
The best way to clean a combo cooker is to not have to deep-clean it in the first place. Sticky black flakes don't appear overnight. They build from a thin layer of oil that stays on the lid and gets heated again and again.
You can stop that cycle with five minutes of care after each meal.
Wipe the lid while it's still warm. Right after cooking, take a paper towel and gently wipe the inside surface of the lid. The warmth keeps the oil liquid. It comes right off.
Let the lid cool, then wipe again with a tiny drop of oil to keep a thin protective coat.
Don't let oil sit between uses. If you leave a greasy lid on the counter for days, that oil picks up dust and bits of food. The next time you heat it, you're baking all of that on. That's how the sticky mess starts.
Use a mild soap on bare iron when needed. Old-school advice says never use soap on cast iron. That's outdated. A drop of gentle dish soap is fine for a bare iron lid as long as you dry it thoroughly and reapply a thin oil.
For an enameled lid, soap is always fine.
Dry over low heat. Air-drying cast iron leaves water spots and invites rust. Place the lid on a burner on low heat for a few minutes until every drop has evaporated. Then rub in a very light layer of oil.
If you have a deep fryer, you already know how much oil residue can build up in hidden spaces. Keeping your combo cooker clean follows the same idea. Our article on cleaning Presto deep fryers lays out the same principle: warm wiping, gentle scrubbing, and a thorough dry.
Inspect regularly for chips. Once a month, run your finger over the cooking surface. Feel for rough spots or tiny pits. If you find one, decide whether it's on bare metal or enamel.
If it's enamel and the underlying iron is exposed, stop using the piece.
Store with the lid ajar. Combo cookware lids sit tightly. That traps moisture and can cause rust. Set the lid upside down on the pot, or place a paper towel between the lid and pot to keep air moving.
Anyone who owns an air fryer knows the routine catches buildup fast. If you're still figuring out the right daily rhythm, our Hamilton Beach air fryer maintenance guide covers the same ground. And if you're ever wondering whether you even need a dedicated fryer, the deep fryer versus pot comparison is worth reading.
FAQs: Black Flakes, Sticky Lids, and Combo Cooker Care
How can I tell if the flakes are seasoning or enamel?
Run a magnet on the surface. If it sticks, you have bare iron and the flakes are seasoning. If it doesn't, you have enamel.
Then compare the flakes. Seasoning is soft and greasy. Enamel is hard, sharp, and glassy.
Why does my lid keep getting sticky after cleaning?
You're probably adding too much oil while seasoning. The oil pools and polymerizes into a sticky layer instead of a hard coating. Wipe off all excess oil until the surface feels dry before baking.
Use a high-smoke-point oil like grapeseed or flaxseed.
Is it safe to cook with chipped enamel?
No. Chipped enamel can break into small shards that end up in food. Those shards can cut your mouth or throat.
If the chip exposes bare metal, the coating will continue to flake. Replace the piece.
Can I use Easy-Off oven cleaner on my Dutch oven?
On bare cast iron, yes. The yellow-cap version with sodium hydroxide strips food and seasoning safely. On enameled cookware, avoid it.
The harsh lye can etch the glass-like finish over time.
How long does the stripping and re-seasoning process take?
Plan for about two days. The lye soak takes 8 to 12 hours. Then add an hour for scrubbing and drying.
Each seasoning coat adds another hour. Four coats means about four hours of oven time, plus cooling.
Should I use the self-cleaning oven to strip my combo cooker?
Only for bare cast iron. Never for enameled pieces. If you aren't sure, use the magnet test first.
And always wipe down excess oil before starting the cycle to reduce the fire risk.

Related posts

Perfect Sourdough: Dutch Oven Temp & Time
If you're staring at a proofed, highhydration boule and wondering when to slide it into a screaminghot combo…
Why Your Carbon Steel Skillet Seasoning Peels (Fix It)
You just finished simmering a tomato sauce in your carbon steel skillet. Now you're staring at patchy, flaking…
Is the Lodge Carbon Steel Skillet Worth Buying?
Searching "is lodge carbon steel skillet carbon steel skillet worth buying reddit review" probably means you want real…