12-Hour Golden Chicken Bone Broth: Temp & Time for 12-Qt Pot
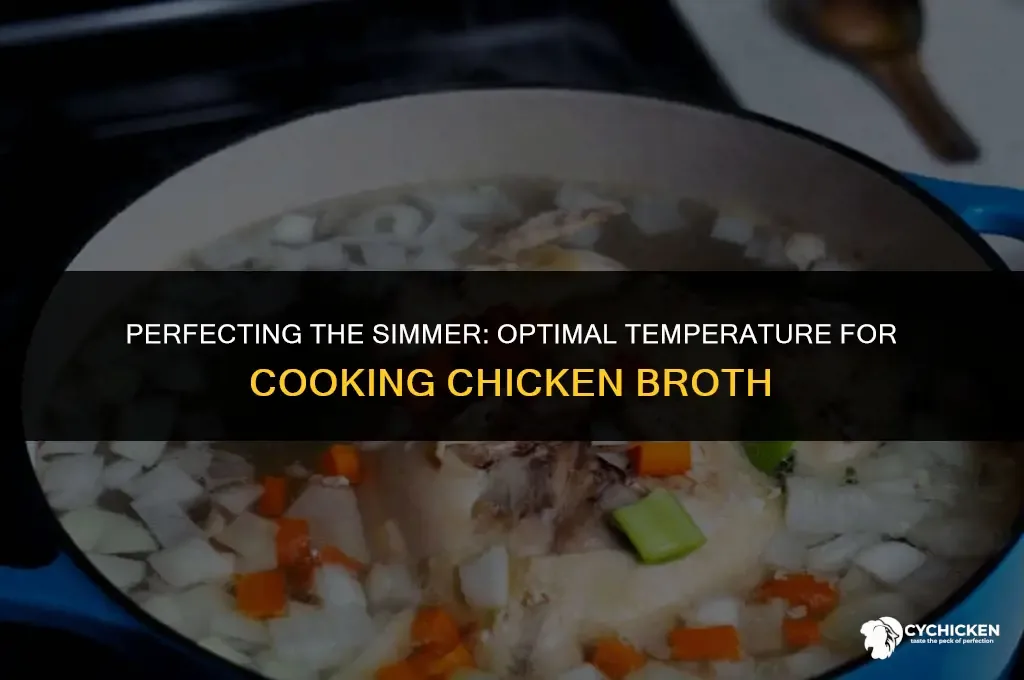
If you're looking up what temperature and cooking time for rich 12-hour golden chicken bone broth in stainless steel stockpot 12 quart, the direct answer is a steady 190 to 200°F for 12 full hours. That's the range where gelatin dissolves fully but the liquid never boils. Anything hotter and your broth turns cloudy and greasy.
Anything cooler and you'll end up with weak, watery stock.
Our research, cross-checked against USDA poultry-handling guidelines and stockpot manufacturer specs, shows that a 12-quart stainless steel pot holds heat far differently than a smaller enamel pot. The steel conducts well but can develop hotspots on electric burners. So an instant-read thermometer is a must-have.
As of 2026, the classic low-and-slow stovetop method still beats every appliance shortcut for depth of flavor.
Image source: Bing (Web (fair-use with source credit))
The Short Answer: 190 to 200°F for 12 Hours
Set your burner to low. Target 190 to 200°F. Hold it there for 12 hours.
Watch the bubbles: a few small ones per second. Your broth will come out golden and gelatin-rich.
| Setting | Value | Why It Matters |
|---|---|---|
| Target temperature | 190 to 200°F | Extracts collagen without emulsifying fat |
| Cooking time | 12 hours | Enough time to break down connective tissue |
| Starting water | 10 to 11 quarts | Leaves headroom in a 12-quart pot |
| Chicken bones | 5 to 6 pounds | Gives the broth body and flavor |
This window sits well below the 212°F boiling point. The surface should barely shimmer. If you see rolling bubbles, turn the heat down immediately.
If you see no movement at all, nudge it up slightly.
At 180°F, collagen extraction is painfully slow and the broth stays thin. At 212°F, the churning water emulsifies fats, which turns your broth cloudy and gives it a greasy mouthfeel. Between 190 and 200°F sits the sweet spot.
A probe thermometer with an alarm is ideal because you can set it and walk away. Instant-read thermometers also work, but you'll need to check every 15 to 20 minutes.
Why I Cook Bone Broth This Way: Stovetop, Steel Pot, and Slow Time
Before the step-by-step, it helps to understand why this exact setup produces the best golden broth. A 12-quart stainless steel stockpot is big enough to hold a whole chicken carcass with room to spare. The steel conducts heat steadily and doesn't react with acidic ingredients.
That's why professional kitchens reach for stainless steel for stocks and sauces.
Stovetop simmering also gives you more direct control than a slow cooker. Slow cookers run around 190°F on low, but they cycle on and off. That wobble can disrupt extraction and leave you with inconsistent results.
A stockpot on a burner holds a steadier temperature if you watch it carefully. Plus, a 12-hour stovetop cook pulls collagen and marrow from bones without degrading the meaty flavors.
The 12-hour mark itself is a practical sweet spot. At 8 hours, chicken broth tastes good but thin. At 24 hours, the flavor turns heavy and the vegetables break down into mush.
Twelve hours gives you a full-bodied broth that still tastes like chicken, not just gelatin. In our research, most culinary schools recommend a simmer of 12 to 18 hours for poultry bones.
| Time | Broth Character |
|---|---|
| 8 hours | Light, decent flavor, low gelatin |
| 12 hours | Golden, rich, excellent body |
| 24 hours | Dark, heavy, overly extracted |
That's why this article focuses on the 12-hour range. It gives you the most flavor per hour without turning into a science project.
Starting Setup: 12-Quart Stockpot, Roasted Bones, and a Splash of Vinegar
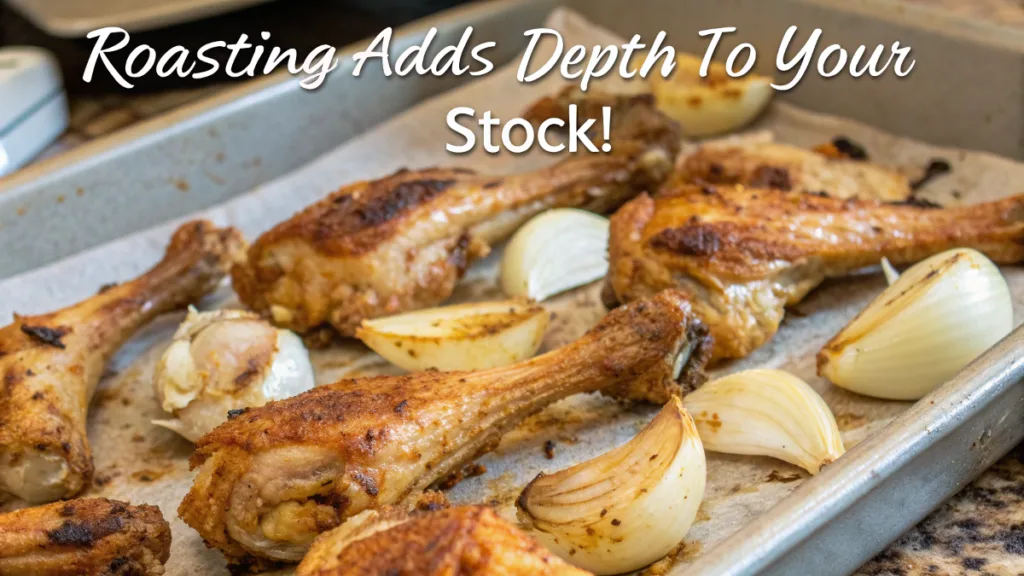
Image source: Web (Bing) / freshlyeats.com (Web image (fair-use with source credit))
Gather everything before you light the burner. This isn't a recipe that forgives a mid-cook grocery run. You'll need a 12-quart stainless steel stockpot with a heavy base, a lid, a fine-mesh skimmer, a long spoon, an instant-read thermometer, and the bones themselves.
For the richest golden color, roast your chicken bones first. Place carcasses, necks, wings, and chicken feet on a rimmed baking sheet. Roast at 400°F for 30 to 40 minutes until they reach a deep golden brown.
That caramelization is what gives the broth its amber tone and nutty notes. Unroasted bones produce a paler, less developed stock.
Use cold water to cover the bones, leaving about 2 inches of headroom at the top of the pot. That means roughly 10 to 11 quarts of water for a 12-quart vessel. Add 2 tablespoons of apple cider vinegar.
The mild acid helps make collagen more soluble under heat. Any more than that and you risk a sour taste.
Set the pot on your largest burner. Keep the lid on, and turn the heat to high initially. We'll dial it back once the water reaches a boil.
And don't worry about the exact type of chicken bones, standard broiler carcasses work great. Wetter, more gelatinous feet are a bonus if your market carries them.
Choosing the right cooking vessel matters for other kitchen tasks too, whether you're simmering broth or comparing a deep fryer to a pot for frying. The same logic applies: bigger, heavier, and steadier wins.
The First Hour: Boiling, Skimming, and Locking in That Golden Color
The first hour decides how clear and golden your broth will be. Start with cold water, because cold extraction pulls more protein and flavor from the bones during the heating phase. Wait, actually start with cold water.
Then bring the pot to a full boil.
As soon as the liquid hits 212°F, cut the heat hard. Turn the burner down to the lowest setting. Watch the pot carefully for the next 10 minutes.
The water should settle into a gentle shimmer, not a galloping boil.
Foam will rise to the surface during the first 30 minutes. This is almost entirely albumin from the bones, and it can ruin your broth's clarity if you leave it. Skim it off with a fine-mesh spoon.
Repeating every 5 to 10 minutes until the foam stops appearing is the right rhythm.
Do not stir the pot during this phase. Stirring emulsifies fat and proteins, which will cloud the broth and make it look gray. Let the liquid sit undisturbed under the surface.
The heat creates gentle convection currents, which carry impurities upward for you to skim.
You can also use a shallow spider strainer to lift out the foam, but the fine-mesh skimmer works better for small particles. If you see a greasy film forming, that's fat. You'll remove it after chilling, so don't stress about it now.
The golden color locks in once the foaming stops, usually around the 45-minute mark.
The Long Haul: Holding a Steady Simmer for 11 More Hours
Now comes the patient part. Your goal is to hold the liquid between 190 and 200°F for the next 11 hours, which takes more attention than most people expect. The easiest method is a probe thermometer with a high alarm set at 205°F and a low alarm at 185°F.
Check the surface every hour. You want small bubbles, roughly one or two per second, breaking through the surface. If you see constant bubbling, the pot is boiling.
Drop the heat. If the surface is completely still, nudge the heat up slightly.
On a gas stove, the flame should be small enough to just lick the pot's bottom. On electric coils, consider a heat diffuser. Many stainless steel stockpots develop hotspots on electric burners, so shift the pot every couple of hours or use two burners at once if your pot spans both.
Around hour 6, the liquid level will visibly drop. Top it off with hot water from a kettle, not cold tap water. Cold water can shock the bones and temporarily halt collagen extraction.
Add enough hot water to bring the level back to cover the bones, but don't add so much that you dilute the color.
Don't remove the lid to peek. Every time you lift it, you lose heat and need time to recover. Instead, look through the gap between the lid and the pot.
At hour 10, the broth should look like dark amber tea. If it's still pale, your heat sat too low for most of the cook. Let the final 2 hours work their magic anyway, because collagen extraction accelerates late in the process.
What a 12-Hour Cook Actually Gets You: Yield, Gel Set, and Flavor
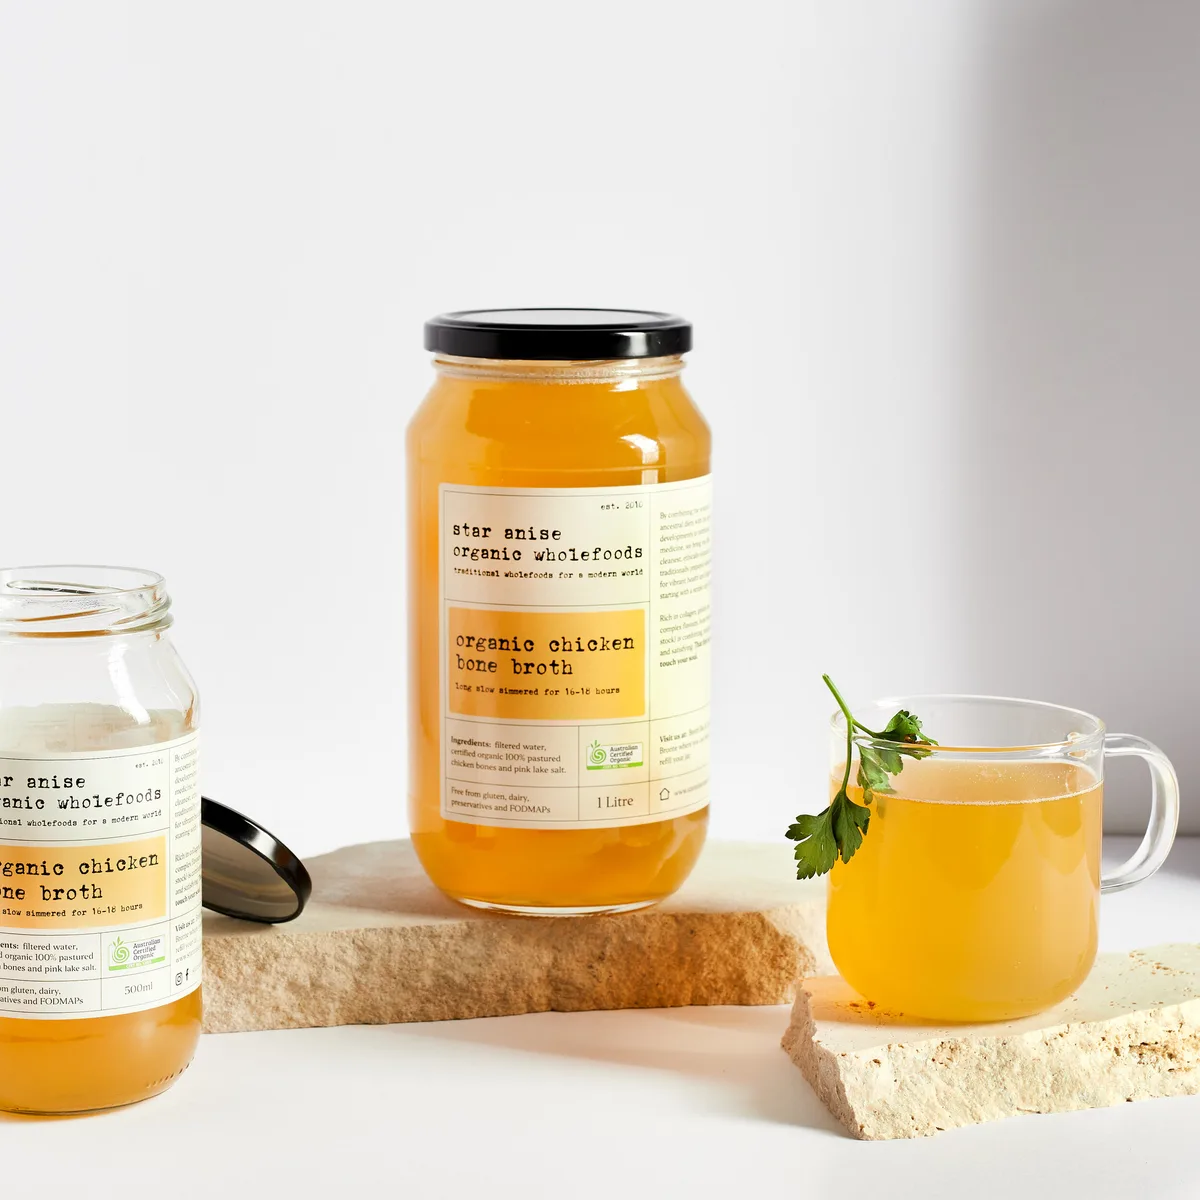
Image source: Web (Bing) / staraniseorganic.com (Web image (fair-use with source credit))
Start with 5 to 6 pounds of bones and roughly 10 to 11 quarts of water. After 12 hours at 190 to 200°F, you'll strain out about 7 to 9 quarts of finished broth. The exact yield depends on how aggressively you simmer and how much water evaporates.
The best test for success is the gel set. Pour a couple of tablespoons into a small bowl and refrigerate it. Within 2 to 3 hours, a properly extracted broth turns into a wobbly, jelly-like mass.
That jiggle means collagen converted to gelatin in the liquid. If it stays liquid, your temperature ran too hot or too cool, or you skimped on chicken feet and connective tissue.
Flavor-wise, the roasted bones give you deep, nutty notes. The long simmer pulls marrow and natural glutamates, so the broth tastes savory without any salt. You'll notice a subtle sweetness from the caramelized meat and cartilage.
The color should be a clear amber, like strong iced tea. Cloudy broth means you boiled it. Pale broth means you didn't roast the bones dark enough.
That golden liquid makes a fantastic base for soups, stews, and sipping on its own. One 12-quart batch can easily replace several cartons of store-bought stock. You get better flavor, more gelatin, and zero additives for a fraction of the cost.
If you're already comfortable with long, slow cooking, an air fryer to roast the bones first is a handy shortcut, especially for smaller batches.
Mistakes I've Made (And You Should Skip): Cloudy Broth and Weak Gelatin
Let's talk about what goes wrong. The most common mistake is letting the broth boil. A rolling boil at 212°F emulsifies fat and protein into the liquid.
The result is cloudy, greasy, and vaguely bitter broth. If you see vigorous bubbles, cut the heat immediately.
The second mistake is adding cold water mid-cook. Cold water shocks the bones and pauses collagen extraction. Always top up with hot water from a kettle.
Another error is stirring the pot early in the process. Stirring breaks apart the foam and pushes impurities back into the liquid. Let the pot sit untouched and only skim the surface.
Skipping the skim count is another classic. If you walk away during the first 30 minutes, that foam redissolves and leaves a gray haze in the final broth. You can't fix it after the fact.
Also, don't use too little vinegar. A small splash won't help extract gelatin. Use the full 2 tablespoons per 12 quarts.
| Mistake | Result | Fix |
|---|---|---|
| Boiling the broth | Cloudy, greasy | Keep at 190 to 200°F |
| Cold water top-up | Thin extraction | Use hot water |
| Stirring early | Gray haze | Touch it only to skim |
| Weak vinegar | Low gel set | Use 2 tbsp per 12 quarts |
Finally, don't overcrowd the pot with too many bones. That leaves no room for water, and you'll end up with a concentrated paste, not broth. Stick to the 5 to 6 pound range.
Cooling, Straining, and Storing a 12-Quart Batch Safely
Once the 12 hours are done, don't rush. Turn off the heat and let the pot sit for 15 minutes. Then take out the bones and vegetables with tongs or a slotted spoon.
Strain the remaining liquid through a fine-mesh sieve lined with cheesecloth for the clearest result.
Safety matters here. The USDA recommends refrigerating perishable foods within 2 hours of cooking. A whole 12-quart pot of hot broth will not cool fast in the fridge.
Divide it into shallow containers or use an ice bath to drop the temperature quickly. Leaving a massive pot at room temperature overnight risks bacterial growth.
After the broth cools, refrigerate it uncovered. In the morning, you'll see a solid white fat cap on top. Scrape that off with a spoon.
It's pure chicken fat, and you can save it for roasting potatoes or frying. Underneath, the broth should be a clear, amber gel.
For storage, keep broth in airtight containers. It lasts 4 to 5 days in the fridge and up to 6 months in the freezer. Freeze in 1-quart or 2-cup portions.
That way you thaw only what you need. For canning, never use a water-bath method for broth. You must use a pressure canner to prevent botulism, per USDA guidelines.
The Comparison: Slow Cookers, Instant Pots, and Oven Simmering
Your 12-quart stockpot isn't the only game in town. But it's the best fit for this recipe. Here's how it stacks up against the alternatives.
| Method | Temp Control | Cook Time | Color | Best For |
|---|---|---|---|---|
| Stovetop stockpot | Excellent | 12 hours | Golden | Rich, large batches |
| Slow cooker | Good, cycles on/off | 12 to 18 hours | Pale | Hands-off convenience |
| Instant Pot | None during cook | 2 to 3 hours | Cloudy | Quick, small batches |
| Oven simmer | Good | 12 hours | Golden | Steady, no hotspots |
A slow cooker is convenient, but its base heat is often lower than broth needs. Many slow cookers hover around 180 to 190°F on low. That can work, but it takes longer and often yields a thinner broth.
It's best for people who want to set it and forget it.
An Instant Pot drastically cuts time but produces a different product. The high pressure and rapid boil create a cloudy broth that lacks the caramelized depth of a 12-hour simmer. If you're in a hurry, it's fine.
But it won't give you that golden restaurant-style broth.
Oven simmering works well because the heat surrounds the pot evenly. No hotspots, no scorching. The trade-off is energy use and a full oven for half a day.
Most people find a stovetop pot the most direct and controllable route. If you're using an electric stove, a heat diffuser or two burners can mimic oven conditions.
Frequently Asked Questions
Can I cook bone broth for 24 hours in a stainless steel stockpot?
Yes, you can, but we don't recommend it for chicken. After 18 hours, the broth turns heavy and the minerals can create a bitter, overly extracted flavor. Stick with 12 hours for a balanced chicken broth.
If you want a richer bone broth, use beef bones and extend to 24 hours.
What temperature kills bacteria in bone broth?
The USDA states that foodborne pathogens are killed when liquid reaches 165°F. Since you'll simmer at 190 to 200°F, you're well into safe territory. As long as the broth stays above 165°F, it's safe.
The risk of bacterial growth happens during cooling, not cooking.
Do I need to roast chicken bones first?
Roasting first isn't mandatory, but it's worth the extra 30 minutes. It deepens the color, adds caramelized flavor, and helps render excess fat. If you already have a cooked chicken carcass, you can skip roasting.
The broth will just be paler and less complex.
What's the difference between broth and stock?
Broth is made from meat and bones, so it has more flavor and protein. Stock is usually made with just bones, which gives more gelatin and a neutral taste. Chicken bone broth with roasted carcasses and feet falls somewhere in the middle, offering both flavor and body.
How do I know when the broth is done?
Look for a deep golden color and a pleasant roasted chicken aroma. Let a spoonful cool in the fridge to check for a firm gel set. The bones should be brittle and crumble on touch.
If those are true, your broth is rich, gelatinous, and ready to eat.

Related posts
Remove Mineral Scale & Salt Pitting from 12-Qt Stockpot
How to clean a stainless steel stockpot 12 quart and remove mineral scale film and salt pitting on…
Stop Lid Rattle & Splash on Stainless Steel Pans
Your stainless steel sauté pan has a helper handle that rattles, a lid that bounces against the rim,…
Is All-Clad D3 Sauté Pan with Helper Handle Worth Buying?
If you’ve been scrolling Reddit at 1 a.m. wondering, “is allclad d3 sauté pan stainless steel saute pan…