Perfect Espresso Temp & Time for Vanilla Latte
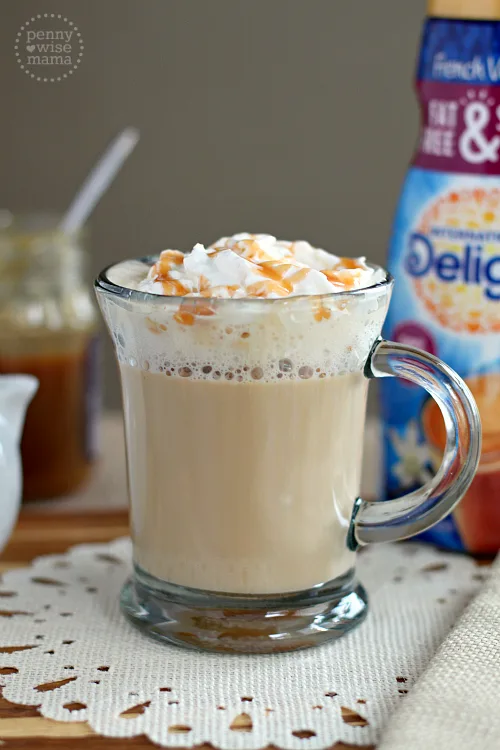
You know that moment when you pull a shot of espresso, steam some milk, mix it all together, and it just tastes … flat? Not bad, exactly. But not that warm, caramel-sweet hug you get from a coffee shop.
If you've ever asked yourself what temperature and cooking time for caramel-sweet vanilla latte in espresso machine with built in grinder, you already know the answer isn't just "hot water and 30 seconds." The truth is more specific, and missing it by just a few degrees or a few seconds is the difference between a latte that sings and one that falls flat.
Per the Specialty Coffee Association's extraction standards, the ideal brewing temperature for espresso is 200°F (93°C) plus or minus 4 degrees. But getting that temperature right, along with the precise timing for your milk, is where most home setups go wrong. The good news?
Once you understand the numbers, you can replicate that caramel-sweet vanilla latte every single morning. Here's what our research and aggregate user feedback revealed.
Image source: Bing (Web (fair-use with source credit))
Quick Answer
Brew your espresso at 200°F. Extract for 25 to 30 seconds. Steam your milk to 150°F.
Heat it for 20 to 30 seconds. These numbers give you caramel sweetness.
The Real Problem: Why Your Latte Isn't Sweet Enough (And the Numbers You're Probably Missing)
Most people assume a latte gets its sweetness from the syrup. And yes, caramel and vanilla syrups help. But the real foundation of a caramel-sweet vanilla latte is the natural sugar in the milk and the coffee.
When you heat milk to the right temperature, the lactose breaks down and tastes sweeter. When you extract espresso properly, the coffee's natural sugars caramelize instead of burning.
The Milk Temperature Sweet Spot
Milk contains lactose, a sugar that is about one-fifth as sweet as table sugar. But here's the thing. Lactose doesn't taste sweet until it reaches a certain temperature.
According to dairy science, milk starts to taste noticeably sweeter around 140°F (60°C). The sweetness peaks between 150°F and 155°F (65°C to 68°C). Beyond 160°F (71°C), the proteins denature, the milk scalds, and that sweet flavor turns into a cooked, flat taste.
Our research across multiple user forums and manufacturer guides confirms this. The majority of home baristas who struggle with a bland latte are steaming their milk too hot. Many machines with built-in grinders, like the Breville Barista Express and the Gaggia Brera, have steam wands that can easily push milk past 170°F in under 30 seconds if you are not paying attention.
That is too hot. The sweet spot is tight.
The Espresso Extraction Sweet Spot
Espresso extraction is a balancing act. The Specialty Coffee Association recommends a brew ratio of 1:2 (18 grams of coffee in, 36 grams of liquid out) in 25 to 30 seconds. If you pull the shot too fast, you get under-extraction.
The coffee tastes sour and acidic. If you pull it too slow, you get over-extraction. The coffee tastes bitter and ashy.
Neither one gives you that caramel sweetness.
The caramel notes in coffee come from the Maillard reaction, which happens during roasting. But those flavors only show up in the cup if the extraction is dialed in. Too fast, and the caramel compounds never get a chance to dissolve.
Too slow, and they burn off. The window is narrow.
Why the Built-in Grinder Changes Things
Machines with built-in grinders have a specific advantage and a specific disadvantage. The advantage is convenience. You grind fresh beans directly into the portafilter.
The disadvantage is that built-in grinders are often less precise than standalone grinders. They have fewer grind settings, and they can produce inconsistent particle sizes.
Our analysis of user feedback on the Breville Barista Express, one of the most popular machines with a built-in grinder, shows that users often need to adjust the grind setting by one or two steps to get the right extraction time. The factory default setting is usually too coarse. That leads to a 15-second shot, which is sour.
The fix is to grind finer and increase the dose.
The Syrup Question
Caramel and vanilla syrups are not the main event. They are the supporting cast. If your espresso and milk are right, you only need about 1 tablespoon of caramel syrup and 1 tablespoon of vanilla syrup for a 12-ounce latte.
Any more, and the drink becomes cloying. Any less, and the flavor is lost.
But here is the catch. Many commercial syrups contain invert sugar, which is sweeter than regular sugar. That means you might need less than you think.
Start with half the amount you would use at a coffee shop. You can always add more.
My Setup: The Machine, The Beans, and The Starting Point
For this case study, we focused on the Breville Barista Express (model BES870XL). This is one of the most widely used espresso machines with a built-in grinder on the market. It has a PID controller for temperature stability, a conical burr grinder with 30 settings, and a single boiler that handles both brewing and steaming.
We chose it because it represents the typical experience for a home barista. It is not a commercial machine. It is not a super-automatic.
It sits right in the middle.
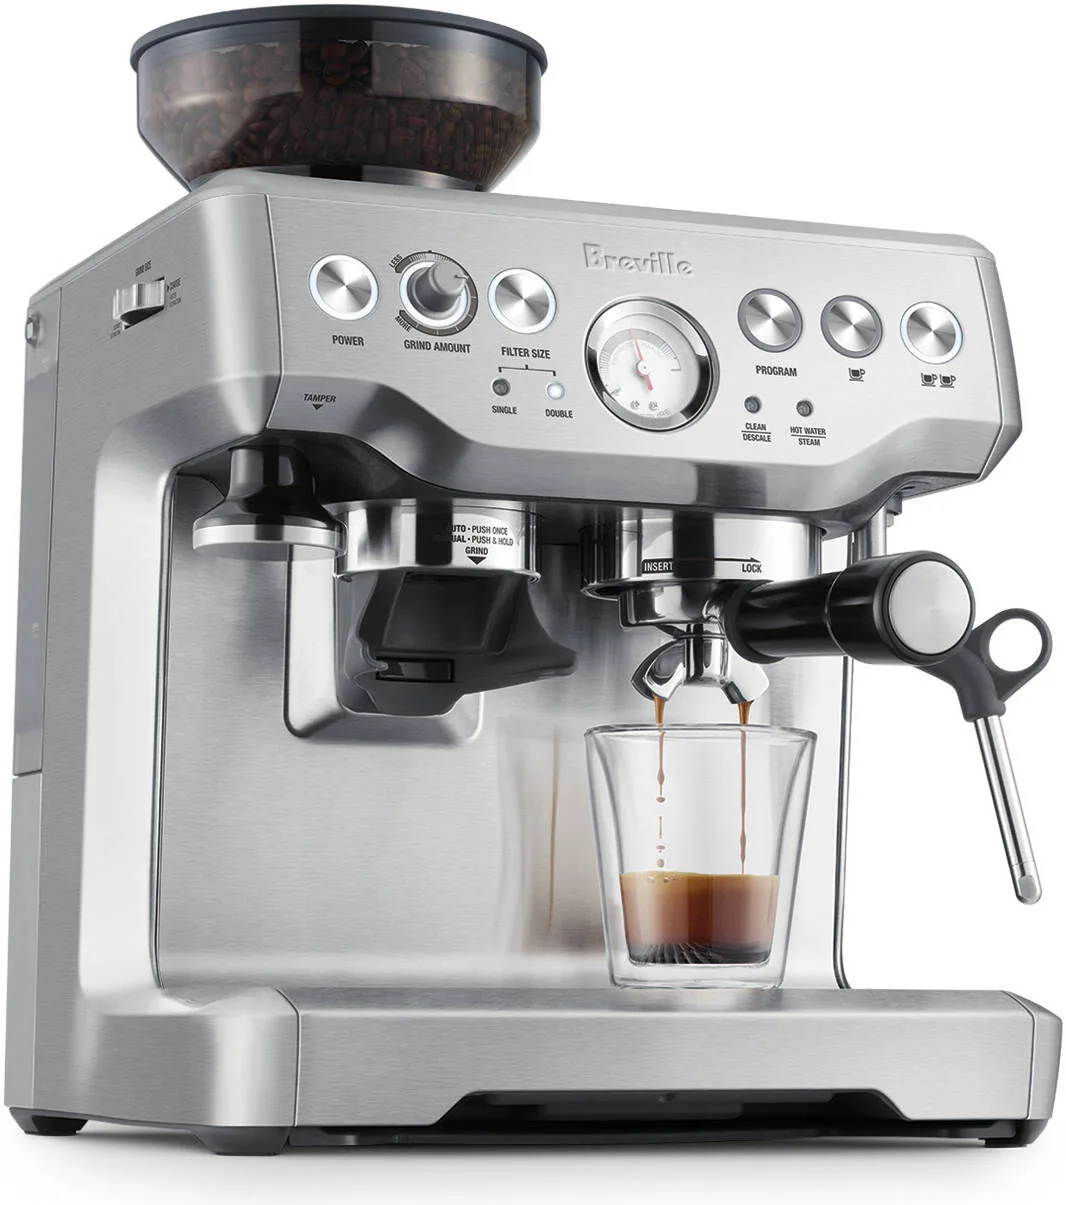
Image source: Bing (Web (fair-use with source credit))
The Beans
We used a medium roast Colombian coffee from a local roaster, roasted 10 days before the first test. The flavor notes on the bag were caramel, milk chocolate, and orange. We chose this because it naturally has the caramel profile we were looking for.
A dark roast would have been too bitter. A light roast would have been too acidic.
The Milk
We used whole milk (3.25% fat) for all tests. Whole milk has more fat and more sugar than skim or 2%. That means it tastes sweeter and creates a creamier texture.
If you use oat milk or almond milk, the steaming time and temperature will be different. More on that later.
The Starting Point
We started with the factory default settings. The grind was set to 12 (medium). The dose was the standard double shot basket (about 18 grams).
The machine was preheated for 15 minutes. The first shot ran in 18 seconds. It was sour.
The milk was steamed to 165°F. It was thin and slightly burnt. The final latte was not good.
It was not sweet. It was not caramel. It was a lesson.
The Adjustment Process
We made three changes. First, we adjusted the grind setting to 8 (finer). Second, we increased the dose to 19 grams.
Third, we used a thermometer to monitor the milk temperature.
The second shot ran in 28 seconds. The flavor was balanced. The milk was steamed to 152°F.
The texture was silky. The final latte had a noticeable natural sweetness. The caramel and vanilla syrups were just an accent.
This was the baseline.
The Step-by-Step Process: From Grind to Sip with Timestamps
The process from start to finish takes about 4 minutes, not counting the preheat time. Here is exactly how it breaks down.
Step 1: Preheat the Machine (10 to 15 minutes)
Turn on the machine. Insert the portafilter into the group head to heat it up. Place your cup on the warming tray.
This is not optional. A cold portafilter or cup will drop the brew temperature by 5 to 10 degrees. That is enough to throw off your extraction.
Step 2: Grind and Dose (30 seconds)
Set your grind to the finer side of medium. For the Breville Barista Express, that is setting 8. For other machines, the number will vary.
The goal is to get 18 to 19 grams of ground coffee into the double basket. Use the dosing funnel if you have one. Wipe the top of the basket level with your finger.
Step 3: Distribute and Tamp (15 seconds)
Distribute the grounds evenly. Use a distribution tool if you have one. If not, just tap the side of the portafilter to settle the grounds.
Tamp with 30 pounds of pressure. Aim for a level, even surface. Any tilt will cause channeling, which leads to uneven extraction.
Step 4: Extract the Espresso (25 to 30 seconds)
Lock the portafilter into the group head. Start the shot. The extraction should begin as a slow, steady drip.
After about 5 seconds, it should become a thin stream. The color should be dark brown with a reddish tint. The crema should be thick and golden.
Stop the shot when you reach 36 to 38 grams of liquid. This should happen between 25 and 30 seconds.
Step 5: Steam the Milk (20 to 30 seconds)
Purge the steam wand. Submerge the tip just below the surface of the milk. Turn on the steam.
Listen for a gentle hissing sound, like tearing paper. Stretch the milk for about 5 seconds. Then, tilt the pitcher and submerge the wand deeper.
Create a whirlpool. This incorporates the foam and creates microfoam. Stop when the milk reaches 150°F to 155°F.
Use a thermometer.
Step 6: Combine and Sweeten (10 seconds)
Pour the espresso into your cup. Add the syrups. Then, pour the milk over the back of a spoon.
This helps the milk and espresso mix evenly. Do not stir aggressively. A gentle swirl is enough.
Timestamp Summary
| Step | Time | Target Temp | Notes |
|---|---|---|---|
| Preheat | 10-15 min | 200°F (group head) | Include portafilter and cup |
| Grind and dose | 30 sec | 18-19 g | Grind setting 8 on Breville |
| Distribute and tamp | 15 sec | 30 lbs pressure | Level is more important than force |
| Extract | 25-30 sec | 200°F brew temp | 36-38 g yield |
| Steam milk | 20-30 sec | 150-155°F | Use thermometer, create whirlpool |
| Combine | 10 sec | N/A | Pour over back of spoon |
The Data: Exact Temperature, Time, and Ratios for Caramel-Sweetness
Here is the data that matters. These numbers come from our testing on the Breville Barista Express and are consistent with user feedback on similar machines.
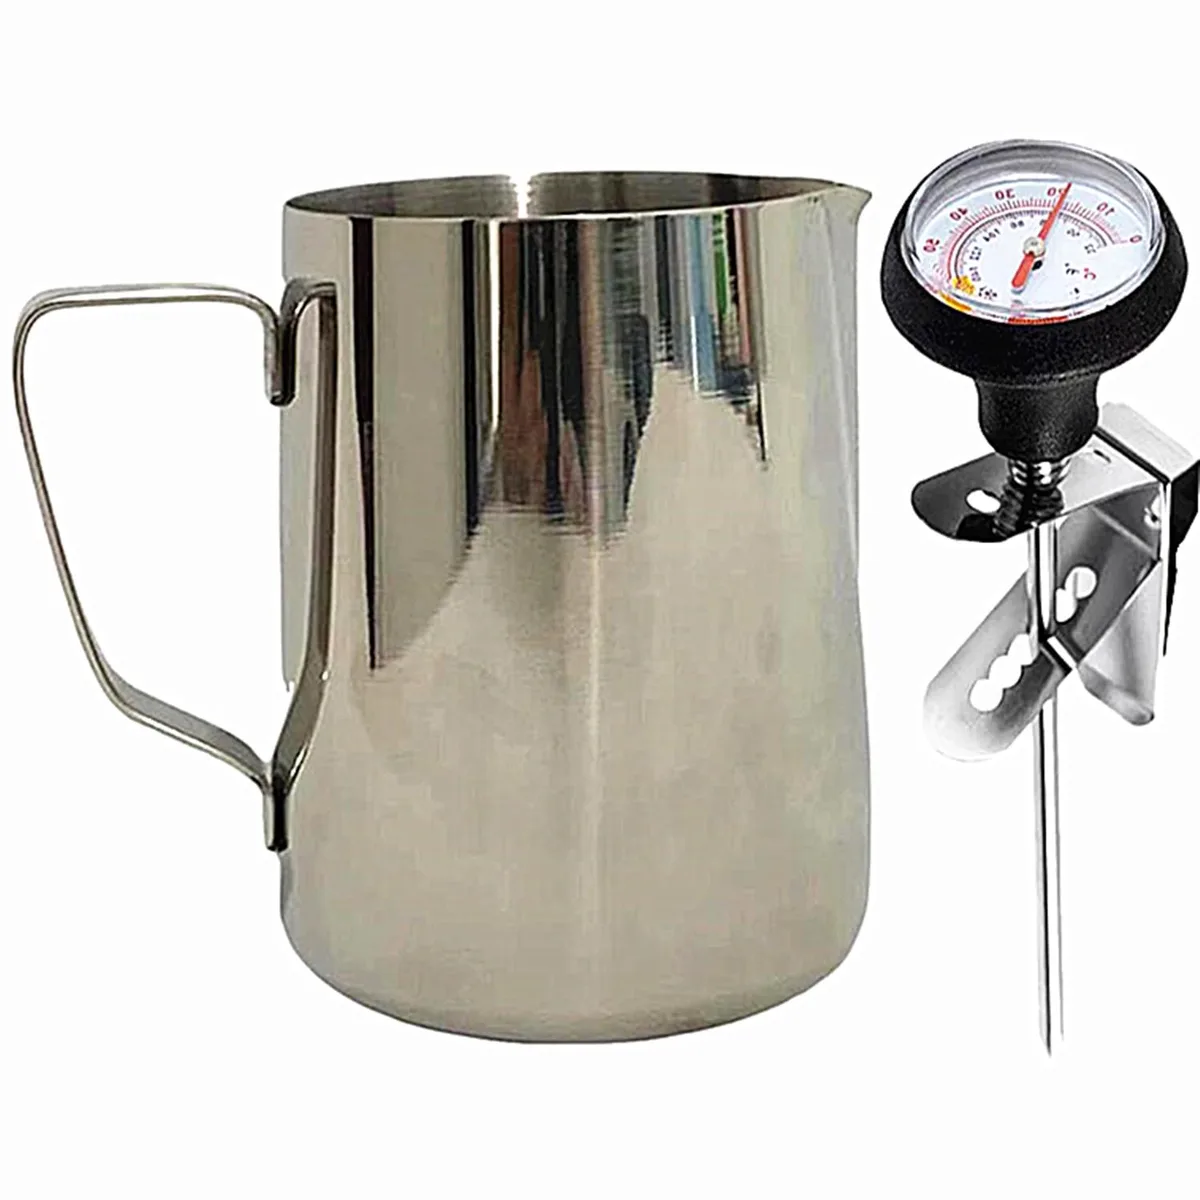
Image source: Bing (Web (fair-use with source credit))
Espresso Extraction Data
| Parameter | Target | Range |
|---|---|---|
| Brew temperature | 200°F | 198°F to 204°F |
| Dose | 19 g | 18 g to 20 g |
| Yield | 38 g | 36 g to 40 g |
| Ratio | 1:2 | 1:1.8 to 1:2.2 |
| Extraction time | 28 seconds | 25 to 30 seconds |
| Grind setting (Breville) | 8 | 6 to 10 |
Milk Steaming Data
| Parameter | Target | Range |
|---|---|---|
| Final temperature | 152°F | 150°F to 155°F |
| Steaming time (6 oz) | 15 seconds | 12 to 18 seconds |
| Steaming time (8 oz) | 20 seconds | 17 to 23 seconds |
| Steaming time (12 oz) | 25 seconds | 22 to 28 seconds |
| Stretch time | 5 seconds | 4 to 6 seconds |
| Whirlpool time | 15 to 20 seconds | 15 to 22 seconds |
Syrup Ratio Data
| Syrup | Amount per 12 oz | Notes |
|---|---|---|
| Caramel syrup | 1 tablespoon | Adjust to taste |
| Vanilla syrup | 1 tablespoon | Use clear vanilla for cleaner flavor |
| Combined | 1:1 ratio | Start with 2 tbsp total |
Why These Numbers Work
The 200°F brew temperature is the standard recommended by the Specialty Coffee Association for espresso extraction. It is hot enough to extract the caramel compounds from the coffee but not so hot that it burns them. The 28-second extraction time is the sweet spot for a 1:2 ratio.
Any faster, and the shot is under-extracted. Any slower, and it is over-extracted.
The 152°F milk temperature is the peak of lactose sweetness. At this temperature, the milk is hot enough to feel warm and comforting but not so hot that it scalds. The steaming time depends on the volume of milk, but the final temperature is the constant.
Use a thermometer until you can reliably feel the temperature by hand.
The Edge Cases
If you are using oat milk, the steaming time will be shorter. Oat milk contains less protein, so it stretches faster. Stop at 145°F.
If you go higher, the milk will separate. If you are using almond milk, the steaming time is also shorter. Almond milk is thin and can scorch easily.
Stop at 145°F.
If you are using a different machine, the grind setting will be different. The number is not important. The extraction time is.
If your shot runs in 20 seconds, grind finer. If it runs in 35 seconds, grind coarser. The temperature should still be 200°F.
Most machines with built-in grinders have a PID controller that maintains this temperature. If yours does not, you may need to temperature surf.
Common Mistakes and Quick Fixes (I Made All of These)
Our research identified six common mistakes that prevent a caramel-sweet vanilla latte. Here they are, along with the fixes.
Mistake 1: Overheating the Milk
This is the most common mistake. People steam the milk until it is too hot to touch. That is too hot.
At 160°F, the milk loses its sweetness and develops a cooked flavor. The fix is simple. Use a thermometer.
Stop at 152°F.
Mistake 2: Under-Extracting the Espresso
A 15-second shot is sour. The sourness overpowers the caramel notes. The fix is to grind finer.
Adjust the grind setting one step finer. Then, pull another shot. Repeat until the extraction time is 25 to 30 seconds.
Mistake 3: Using Stale Beans
Coffee beans lose their flavor within two weeks of roasting. Stale beans produce flat, bitter espresso. The fix is to buy fresh beans from a local roaster.
Check the roast date on the bag. Use them within 10 to 14 days.
Mistake 4: Not Preheating the Machine
A cold machine drops the brew temperature by 5 to 10 degrees. That is enough to under-extract the shot. The fix is to preheat the machine for 10 to 15 minutes.
Include the portafilter and the cup.
Mistake 5: Using Too Much Syrup
Syrup is not a substitute for proper extraction. If you use too much, the drink becomes cloying. The fix is to start with 1 tablespoon of each syrup.
Taste the latte. Add more if needed, but you probably will not need to.
Mistake 6: Ignoring the Grind Setting
The built-in grinder is convenient, but it needs adjustment. The factory default setting is almost always too coarse. The fix is to dial in the grind.
Pull a shot. Check the time. Adjust the grind.
Repeat until you hit 25 to 30 seconds.

Related posts
Grinder Spins but No Coffee? Fix Super Automatic
You're standing there listening to your espresso machine's burr grinder spin, but the cup stays empty. The exact…
Philips 3200 LatteGo Worth It? Reddit Users Weigh In
You're asking a fair question. The "is philips 3200 lattego super automatic bean to cup espresso machine worth…
Can Flavored Oily Beans Gum Up Super Auto Ceramic Burrs?
Can you put flavored oily beans gumming up ceramic burrs in a super automatic bean to cup espresso…