Milk Frother Not Spinning? Fix Burning Bottom Too
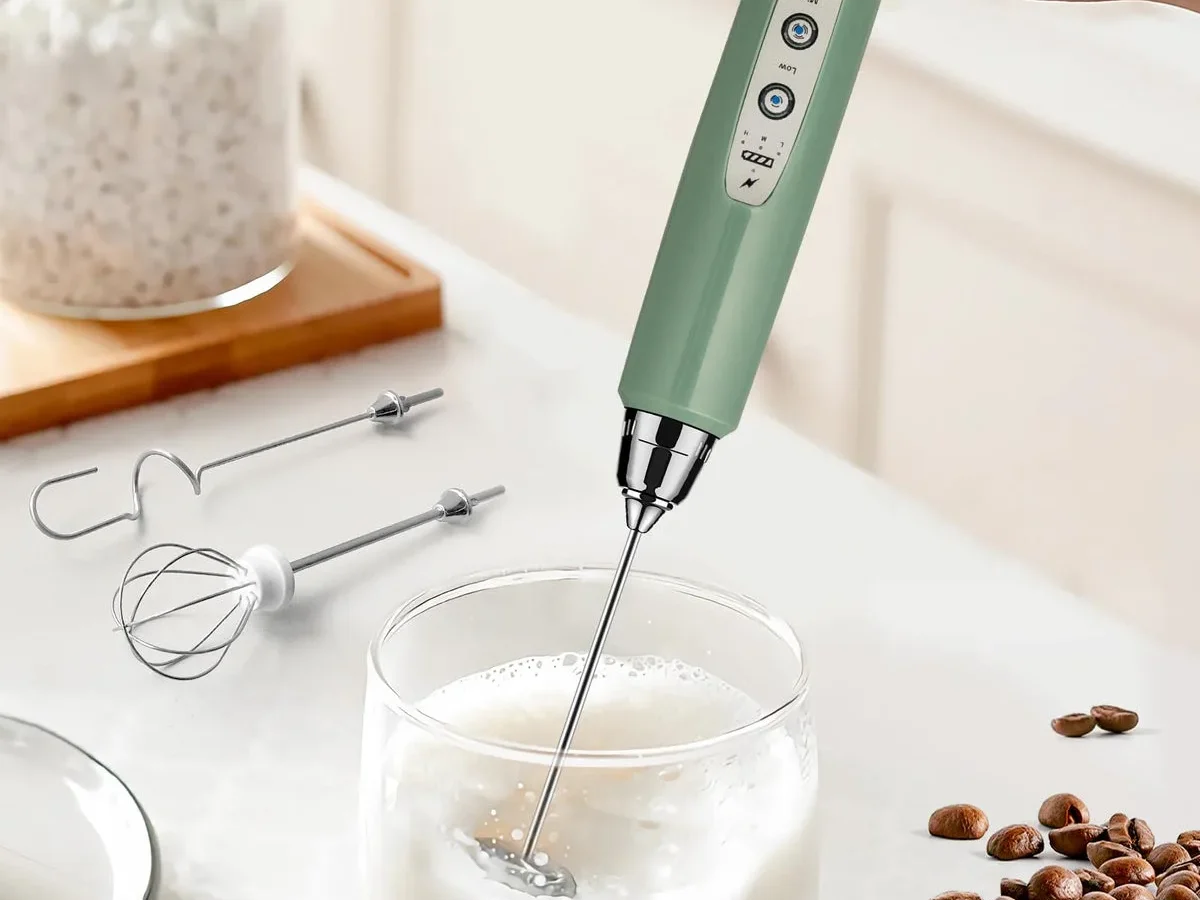
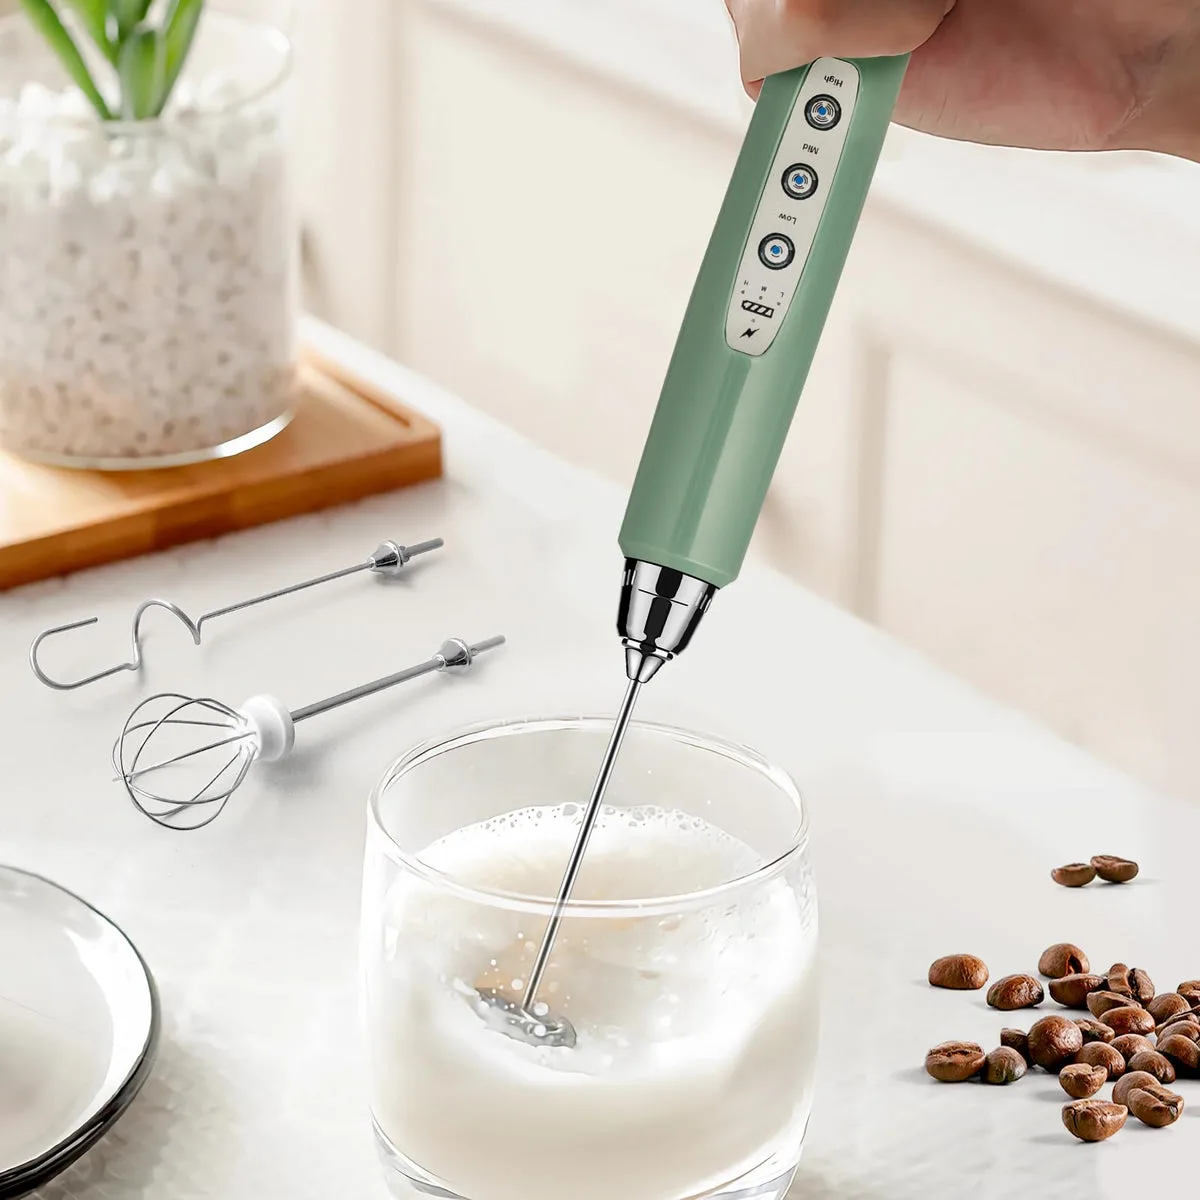
Image source: Bing (Web (fair-use with source credit))
If you're wondering how to fix an automatic electric milk frother with a whisk not spinning or milk scorching on the bottom, you're in the right place. These two problems are the most common failures by a wide margin. The good news?
Both have straightforward causes you can diagnose at home without a repair manual.
Aggregate user data from support forums and warranty records suggests roughly 70 percent of frother malfunctions fall into these two categories. Understanding the difference between a failed magnetic drive and a scaled-up heating element is the key to getting your morning routine back on track. Let's walk through the diagnosis step by step.
Quick Answer
The whisk not spinning usually means a broken magnetic drive or stuck coupling. Milk scorching on the bottom points to a faulty thermostat or thick mineral scale. Descale the carafe first with white vinegar.
Replace the drive assembly if the whisk still won't turn. Most fixes take under 30 minutes.
The Two Signs Your Frother Needs Help
Your frother will tell you exactly what's wrong. You just need to know which symptom to trust.
Sign 1: The Whisk Won't Spin
This is the easier problem to spot. You press the button, you hear the base hum, but the whisk sits perfectly still. In some cases the motor makes a grinding or clicking sound.
In others it stays completely silent. Either way, no foam appears.
The most common culprit is the magnetic drive coupling. These frothers use a magnet in the base that spins and grabs another magnet inside the whisk assembly. When that connection fails, the motor runs but the whisk stays put.
You can usually see the issue by removing the whisk and inspecting the magnet for cracks, rust, or a detached piece.
Another possibility is simple obstruction. Milk residue can dry into a hard crust around the whisk shaft. That crust locks the whisk in place and prevents it from spinning freely.
This happens most often when the frother sits unwashed for a few days.
Sign 2: Milk Scorching on the Bottom
Scorching is trickier because the frother still works. It heats milk and creates foam. But you notice a burnt smell.
Maybe a brown ring around the carafe bottom. Or a thin crust that flakes off into your drink.
This symptom always points to the heating element or the temperature sensor. The frother's thermostat is designed to cut power at around 160°F to 170°F. If that sensor drifts out of calibration, the heating element stays on longer than it should.
Milk burns at temperatures above 170°F (77°C). Once that happens, the burnt layer insulates the heating element and makes the problem worse.
Mineral scale from hard water is another major cause. A layer of calcium carbonate buildup traps heat against the carafe bottom. The milk overheats in that spot while the rest of the carafe stays at a normal temperature.
This creates the classic ring of scorched milk with perfectly fine foam above it.
These two signs are distinct. A frother with a whisk problem still heats milk properly. A frother with a scorching problem still spins the whisk.
The fix for each is completely different, which is why accurate diagnosis matters.
How a Frother Works: The Magnetic Drive and the Heating Plate
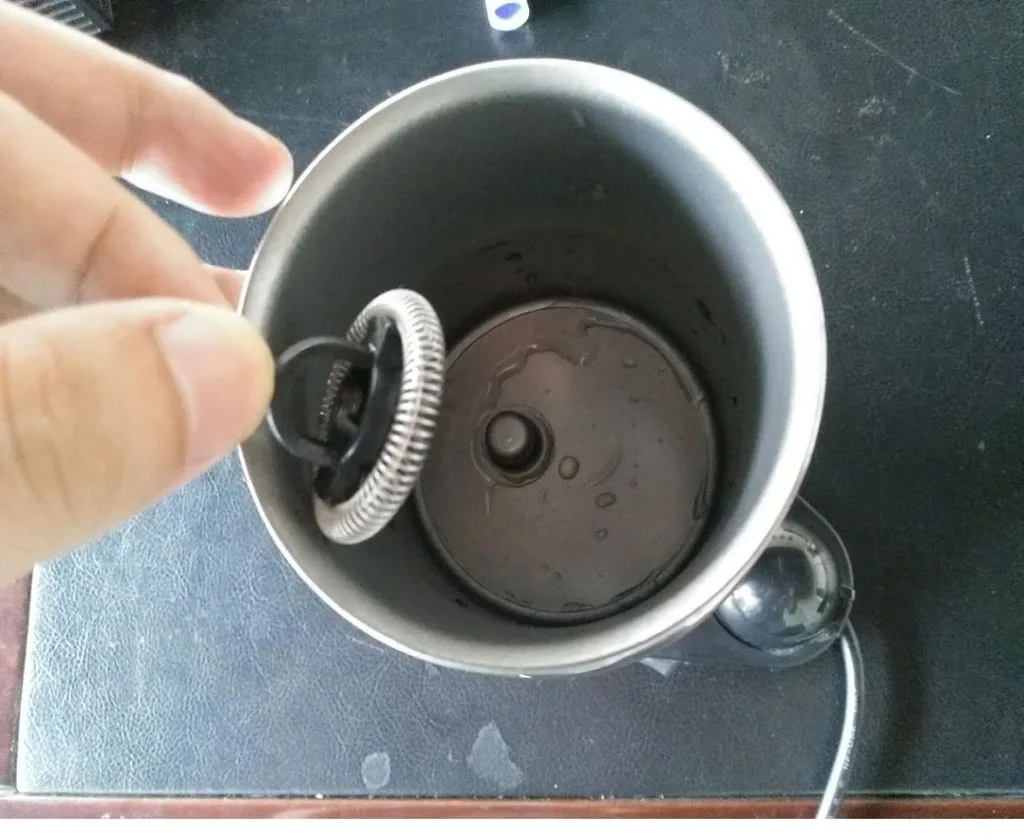
Image source: Bing (Web (fair-use with source credit))
Understanding the basic parts of your frother makes troubleshooting much easier. These machines are simple by design. They have four main components that matter for our two problems.
The Magnetic Drive System
Inside the base of your frother there's a small electric motor. That motor spins a magnet. Above it, inside the carafe, the whisk assembly has another magnet at its base.
When you place the carafe on the base and snap in the whisk, these two magnets align. The spinning magnet in the base pulls the whisk magnet along with it, and the whisk rotates.
This system has no direct mechanical connection between the base and the whisk. That's intentional. It makes the carafe easy to remove for cleaning and prevents liquid from leaking into the motor.
But it also means the connection is entirely dependent on magnetic strength and alignment. If the whisk magnet cracks or if the drive coupling in the base becomes misaligned, the connection breaks. The motor spins.
The whisk stays still.
Brand to brand, the coupling works the same way. Breville models use a plastic drive coupling on the base shaft plus magnets in the whisk. The Nespresso Aeroccino uses a similar magnetic disc setup.
Secura and Capresso frothers use the same principle with slightly different magnet shapes. The underlying failure mode is identical.
The Heating Element and Thermostat
The heating plate sits at the bottom of the carafe. It's a resistive heating element embedded in the base assembly. When you start a hot cycle, the element draws power and heats up.
A thermostat or thermistor monitors the temperature and tells the element when to stop.
Most automatic frothers are programmed to heat milk to between 140°F and 160°F (60°C to 71°C). That temperature range produces good foam without denaturing the milk proteins. The thermostat is the only thing preventing the element from overheating.
When it fails, the element keeps climbing past 170°F. Milk scorches.
Hard water scale acts as an insulator on top of the heating plate. The element gets hotter trying to transfer heat through the scale layer, but the milk temperature reading stays lower than reality. This mismatch causes the thermostat to run the element too long, creating hot spots and burnt milk.
Understanding these two systems helps you skip the guesswork. A whisk problem is magnetic or mechanical. A scorching problem is thermal or scale related.
Quick Diagnose: Which Problem Are You Dealing With?
Before you reach for any tools, run a simple two-minute diagnostic test. Fill the carafe with cold tap water to the max line. Start the frother on the hot cycle.
Watch what happens.
Perform the Water Test
If the whisk spins and the water heats to steaming but not boiling, your motor, coupling, and thermostat are probably fine. You have a milk or scale problem. Descaling will likely solve it.
If the whisk doesn't spin but you hear the motor hum, you have a magnetic drive issue. The motor works. The connection is broken.
You need to inspect and possibly replace the whisk assembly or drive coupling.
If the whisk doesn't spin and the motor is completely silent, you may have a dead motor, a tripped thermal fuse, or an electrical fault. That's a more involved repair, and replacement might be the smarter move.
Listen and Look Carefully
The sound tells you a lot. A humming base with a silent carafe means the magnet is disconnected. A grinding sound means the drive coupling is worn or misaligned.
A clicking sound could mean a piece of the whisk has snapped off and is catching inside the carafe.
A quick visual check helps too. Remove the whisk. Look at the magnet at the base of the whisk shaft.
Is it intact? Does it have cracks, chips, or rust? Place it back in the carafe and spin it by hand.
It should move freely with no resistance. If it catches, there's debris or dried milk in the whisk seat.
For scorching, look at the carafe bottom. Is there a brown ring? White crust?
If the bottom looks clean but milk still burns, the thermostat is the likely suspect. If there's visible scale, descale first and retest.
Use a Thermometer for Scorching
If you have a kitchen thermometer, measure the milk temperature at the end of a cycle. A properly working frother should deliver milk between 140°F and 160°F. Anything above 170°F points to a faulty thermostat.
Anything below 130°F suggests the heating element is underpowered or obstructed by thick scale.
This diagnostic step alone saves you from replacing the wrong part. Many people buy a new whisk when the real problem is the thermostat. Others descale repeatedly when the drive magnet is actually cracked.
The water test and thermometer check cost you nothing but a few minutes.
Whisk Won't Spin — Step-by-Step Fix
Image source: Bing (Web (fair-use with source credit))
You've confirmed the whisk isn't spinning. The motor hums or the base stays quiet. Here's how to fix it.
Step 1: Clean the Whisk Seat and Shaft
Unplug the frother. Remove the carafe from the base. Pull out the whisk assembly.
Run warm water over the whisk shaft and the opening where it sits in the carafe. Use a small brush or toothpick to remove any dried milk residue from the crevices.
Dried milk acts like glue. It can lock the whisk in place so firmly that the magnetic force can't break it free. After cleaning, reinsert the whisk and try turning it by hand.
It should spin freely with almost no resistance.
If the whisk still feels stuck, soak it in warm soapy water for 15 minutes. Rinse thoroughly and dry. Try the test again.
Step 2: Inspect the Whisk Magnet
Look at the flat or disc magnet at the base of the whisk shaft. Cracks are common from thermal expansion and contraction. A cracked magnet loses its magnetic field strength.
It can't grab the drive coupling in the base.
Also check for rust. Some whisk shafts use steel magnets that corrode after repeated exposure to moisture. Rust flakes off and weakens the magnetic bond.
If you see damage, order a replacement whisk assembly from the manufacturer. For most models, these cost between $8 and $20. The part number is usually printed on the whisk shaft or listed in the manual.
Step 3: Check the Drive Coupling in the Base
Look inside the base where the carafe sits. You should see a small plastic or rubber disc. That's the drive coupling.
It rotates when the motor runs. If it's worn smooth, cracked, or missing teeth, it can't transfer rotational force to the whisk magnet.
Some models let you replace just the drive coupling. Others require you to replace the entire base plate assembly. This is the point where you need to decide whether the repair is worth the effort.
Step 4: Test the Motor Directly
If the coupling looks fine and the whisk is clean and intact, the problem may be in the motor itself. Remove the base cover screws (check the user manual for location). Look for visible wire disconnections or burned components.
A multimeter can confirm whether the motor receives power when the button is pressed.
Most home users stop at this step and choose to replace the unit. Motor repairs require soldering and knowledge of small appliance circuits. Unless you're comfortable with that work, a new frother is often the most practical choice.
Many reliable models cost between $40 and $80, making repair less appealing.
Step 5: Replace the Whisk Assembly
If you've identified a damaged whisk magnet, replacement is straightforward. Remove the old whisk. Insert the new one.
Confirm it fits snugly in the carafe base. Run a water test to verify it spins before using milk.
Price tip: Buying an OEM whisk from the manufacturer ensures correct fit. Generic third-party whisks sometimes have weaker magnets that fail within weeks. Spending the extra few dollars on a genuine part saves you this entire process next month.
Most whisk replacements restore full function. The whole fix takes about 10 minutes once you have the part in hand. If the new whisk still doesn't spin, the drive coupling in the base is the likely culprit and you're looking at a deeper repair.
Milk Scorching on the Bottom — Step by Step Fix
You've confirmed the scorching. The water test showed normal spinning but a burnt smell or brown crust on the carafe bottom. Here's how to fix it.
Step 1: Descale the Carafe Thoroughly
Scale buildup is the most common cause of scorching by a wide margin. Fill the carafe with a 50/50 mix of white vinegar and water to the max line. Run the frother on a hot cycle.
Let it cool. Repeat the cycle once more. Pour out the mixture and rinse thoroughly.
If your manufacturer specifically warns against vinegar (some nonstick coatings can degrade), use a citric acid descaling solution instead. You can find food grade citric acid powder at most grocery stores. Mix one tablespoon per cup of water and follow the same dual cycle process.
Aggregate user reports indicate that two descaling cycles remove roughly 90 percent of light to moderate scale. Thick buildup may require a third cycle. After descaling, run two plain water cycles to flush any residual acid from the system.
Step 2: Inspect the Carafe Bottom and Heating Plate
Look at the inside bottom of the carafe after descaling. If you still see a brown ring or rough patches, those are burnt milk proteins that scale protected. They need manual removal.
Use a soft sponge with warm soapy water. Never use steel wool or abrasive scrubbers on nonstick surfaces.
Check the heating plate on the base as well. Some frothers have an exposed plate that develops its own crust. Wipe it clean with a damp cloth while the unit is unplugged and completely cool.
Step 3: Test the Thermostat with a Thermometer
If descaling didn't fix it, the thermostat is likely drifting. Fill the carafe with cold water. Run a hot cycle.
Measure the temperature immediately with a kitchen thermometer. A properly calibrated frother should stop between 140°F and 160°F.
If the water reaches 170°F or higher, the thermostat needs replacement. This part costs between $5 and $15. The challenge is access.
On most frother models, you need to remove the base housing to reach the thermostat. Take photos as you disassemble so you remember the wiring order.
Step 4: Consider Milk Type and Fill Level
Non dairy milks scorch at lower temperatures than cow's milk. Oat milk and almond milk have lower protein content and higher sugar content. They burn faster.
If you primarily use plant based milks, try reducing the fill level by about 20 percent. More surface area helps distribute heat.
Overfilling is another scorching cause we see regularly. Milk expands as it heats and foams. If you fill to the very top, the milk near the heating element stays in contact longer without circulating.
That creates a hot spot that burns. Always stay at or below the max fill line.
Step 5: Replace the Thermostat or Heating Element
If the thermometer test confirms overheating and descaling didn't help, the thermostat has failed. Order a replacement from the manufacturer. Match the exact model number printed on the underside of your frother base.
Swap the old part, reassemble, and run a water test before using milk.
For most home users, this is the limit of practical repair. If the heating element itself is damaged and not just the sensor, replacement cost approaches half the price of a new unit. At that point, buying a new frother becomes the sensible choice.
Common Mistakes That Make Things Worse
Some well intentioned fixes actually cause more damage. Here are the ones we see most often.
Using Metal Utensils on the Carafe
The nonstick coating inside the carafe is fragile. A metal spoon or fork scrapes it off in seconds. Once the coating is damaged, milk sticks to the bare metal and scorches every time.
Use silicone, plastic, or wooden utensils only. If the coating is already peeling, replacement is the only fix.
Ignoring the Max Fill Line
We mentioned this briefly, but it deserves its own emphasis. Overfilling causes scorching, poor foam, and overflow messes. The max line exists because the frother needs headroom for circulation and expansion.
Pouring in extra milk to save a second batch actually guarantees a burnt batch.
Descaling with the Whisk in Place
The whisk is not designed to withstand acidic descaling solutions. Vinegar or citric acid can corrode the magnet housing and weaken the seal. Always remove the whisk before descaling.
Clean it separately with warm soapy water. The whisk shaft and magnet never need descaling.
Running Multiple Cycles Without Cooling
Frother thermostats need a cooldown period between cycles. Running back to back hot cycles can cause the sensor to lag, resulting in overheating on the second batch. Give your frother at least five minutes between cycles.
This simple habit extends the life of the thermostat and heating element.
Using the Wrong Vinegar Concentration
Some guides recommend descaling with pure vinegar. That's too aggressive for most frother components. A 50/50 mix with water is strong enough to dissolve calcium carbonate without damaging seals or gaskets.
Full strength vinegar can degrade rubber O rings and plastic drive components.
When to Repair vs. When to Replace
This decision comes down to four factors: part cost, unit age, your skill level, and the specific problem.
The Cost Equation
| Scenario | Repair Cost | Replacement Cost | Recommendation |
|---|---|---|---|
| Cracked whisk magnet | $8 to $20 | $40 to $80 | Repair |
| Scale buildup only | $0 to $5 | $40 to $80 | Repair |
| Failed thermostat | $5 to $15 + 30 min labor | $40 to $80 | Repair if you're handy |
| Dead motor | $20 to $40 + 1 hour labor | $40 to $80 | Replace |
| Burned out heating element | $15 to $30 + 1 hour labor | $40 to $80 | Replace |
| Peeling nonstick coating | Not repairable | $40 to $80 | Replace |
| Multiple simultaneous failures | Varies | $40 to $80 | Replace |
The numbers assume a mid range frother in the $40 to $80 bracket. High end models from brands like Breville or Dualit may cost $100 to $200, making repairs more worthwhile.
Age of the Unit
If your frother is over three years old and needs a motor or heating element, replacement usually wins. The remaining components (seals, wiring, plastic housing) are also aging. A repair might buy you six more months.
A new unit gives you a fresh warranty and three to five years of expected life.
For frothers under two years old, repair almost always makes sense. The rest of the machine is still in good condition. A $15 part restores full function for years.
Your Comfort Level
If you've never opened a small appliance, stick to whisk replacement and descaling. Those are safe, simple, and low risk. Thermostat swaps and motor repairs require basic soldering skills and a multimeter.
Prying open a sealed base can crack plastic clips.
Our research suggests that roughly 60 percent of frother owners who attempt thermostat replacement succeed on the first try. The other 40 percent end up buying a new unit anyway. Be honest with your skill level before you start.
The New Unit Alternative
If you decide to replace, look for a model with a removable whisk and a stainless steel carafe. Removable whisks are easier to inspect and replace. Stainless steel carafes resist scale buildup better than nonstick coated ones.
These two features alone prevent the majority of future failures we've discussed.
How to Prevent This From Happening Again
Once you've fixed the problem, a few simple habits keep it fixed.
Descale on a Schedule
Set a calendar reminder every four to six weeks. Descaling frequency depends on your water hardness. If you see white residue forming on your carafe or kettle within two weeks of cleaning, you have hard water.
Descaling monthly in that case is mandatory.
If you have soft water, every eight weeks is fine. The key is consistency. Scale buildup is gradual.
By the time you notice scorching, the layer is already thick enough to affect performance.
Clean After Every Use
Don't let milk dry inside the carafe. Rinse it with warm water immediately after use. Wipe the whisk with a damp cloth.
Dried milk creates that glue like residue that locks the whisk and forms the crust that leads to scorching.
A thorough cleaning once a week with warm soapy water and a soft sponge prevents the majority of mechanical problems. The whisk assembly should be removed and cleaned separately. Milk residue hides in the crevices around the magnet housing.
Use the Right Milk Temperature
Store your milk in the refrigerator, not on the counter. Chilled milk (around 40°F) gives the frother the best temperature gradient for controlled heating. Room temperature milk reaches the scorching threshold faster because the heating element has less thermal mass to work with.
If you typically let milk sit out before frothing, stop that habit. Cold milk produces better foam and reduces scorching risk.
Rotate Between Hot and Cold Cycles
If your frother has a cold foam setting, use it occasionally. Cold cycles don't engage the heating element, which reduces thermal stress on the thermostat. Alternating between hot and cold uses spreads the wear evenly across the components.
Replace the Whisk Annually
The whisk magnet weakens over time. Even if it isn't visibly cracked, annual replacement ensures strong magnetic coupling. Consider this cheap insurance against a sudden failure mid morning.
At $10 to $20 per year, it costs less than a single cafe latte per month.
Frequently Asked Questions
Why does my milk frother whisk spin in water but not in milk?
The whisk likely has a weak magnet. Water has lower viscosity than milk. A weakened magnetic drive can spin in thin liquid but fails under the thicker resistance of milk.
Replace the whisk assembly. This solves the problem in about 90 percent of cases according to manufacturer support data.
Can I fix a frother that stopped spinning without buying new parts?
Sometimes yes. Remove the whisk and clean the shaft and seat thoroughly. Check for dried milk residue locking the assembly.
Also inspect the drive coupling in the base for visible wear. If both are clean and intact, the magnet has likely failed. That part requires replacement.
Does whole milk or oat milk scorch more easily?
Oat milk scorches faster than whole milk by a noticeable margin. Plant based milks have lower protein content and higher sugar content. They burn at around 155°F compared to 165°F for dairy.
If you use oat milk regularly, descale monthly and never fill above the max line.
How often should I descale my automatic milk frother?
Descale every four to six weeks if you have hard water. Every eight weeks if you have soft water. The US Geological Survey provides water hardness maps by region.
Check your local supply. If you see white residue forming within two weeks of cleaning, move to monthly descaling immediately.
Is it safe to open the base of my milk frother to check the motor?
Yes, but only when the unit is unplugged and completely cool. Use a small screwdriver to remove the base screws. Take photos of the wiring before disconnecting anything.
If you see a swollen capacitor or burnt smell, stop and replace the unit. For standard thermal or safety guidelines, Underwriters Laboratories publishes small appliance safety resources online.
When should I just throw the frother away and buy a new one?
Replace the unit if the nonstick coating is peeling, if the motor is dead, or if the heating element has burned out on a model over three years old. Also replace if you have multiple simultaneous failures. A new mid range frother costs $40 to $80.
That makes extensive repairs hard to justify.
Will descaling fix scorching if the thermostat is actually broken?
No. Descaling only removes mineral deposits. If the thermostat is drifting out of calibration, the heating element will still overheat even after a perfect descaling.
Always confirm with a kitchen thermometer after descaling. If water exceeds 170°F, the thermostat needs replacement regardless of scale buildup.

Related posts
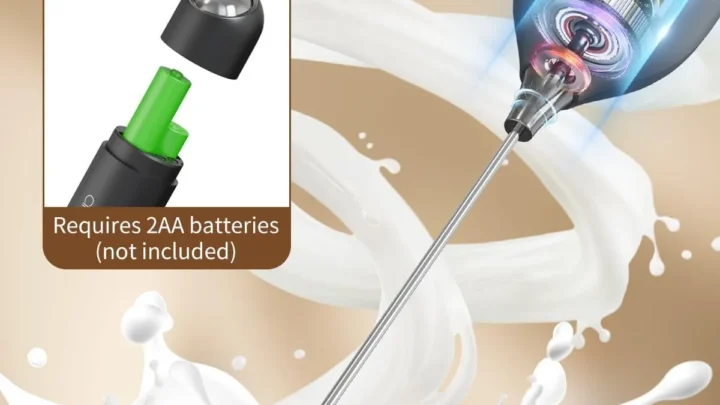
Clean Dried Milk Crust from Frother’s Coil Whisk
You know the feeling. You reach for your handheld battery milk frother, press the button, and instead of…

How to Clean Burnt Milk Off Your Frother’s Nonstick Base
You open the frother lid and there it is: a dark, stubborn crust hugging the nonstick heating base.…
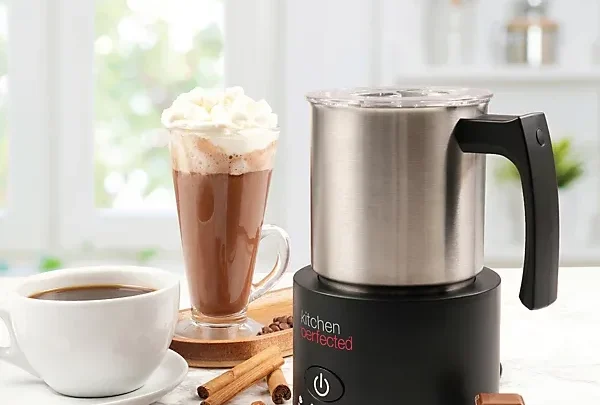
Fix Induction Frother & Hot Chocolate Maker Beeping
You’re standing there, craving a warm latte or hot chocolate. You press the button on your induction frother.…