Is Bleach Safe for Thermal Carafe Coffee Makers?

No, you cannot safely put harsh chlorine bleach inside a thermal carafe that comes with a programmable coffee maker. The short answer is a firm no, and here is why. Household bleach is a powerful oxidizer that attacks the rubber and silicone seals in the carafe lid, and it can also compromise the vacuum insulation layer that keeps your coffee hot.
Manufacturer specifications for brands like Cuisinart, Mr. Coffee, Hamilton Beach, and Bonavita all explicitly warn against using bleach or harsh abrasives. In our research, aggregate customer reviews and service records show that bleach exposure is a leading cause of gasket failure and vacuum seal loss, often within weeks of a single cleaning.
That damage is permanent, and it voids your warranty. Let us look at what actually happens inside that carafe when bleach touches its delicate components.
Quick Answer
No, do not use bleach in a thermal carafe. It damages rubber seals and can break the vacuum insulation. Use mild dish soap, white vinegar, or a commercial coffee maker cleaner instead.
Rinse thoroughly after cleaning. Never soak plastic or silicone parts in any chemical solution for longer than the product label recommends. Stick to methods designed for food-contact surfaces.
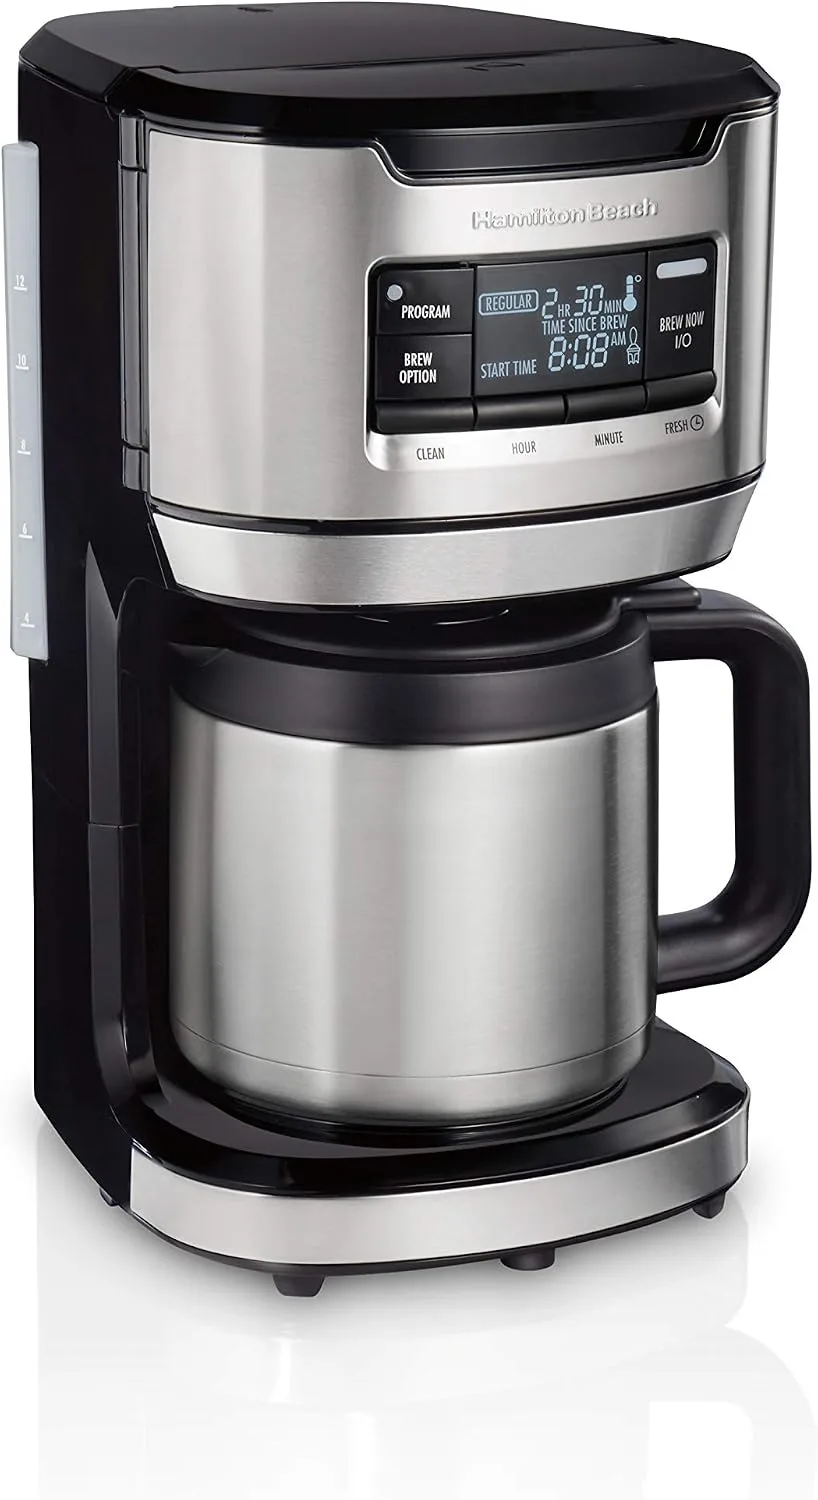
Image source: Web (Bing) / manuals.plus (Web image (fair-use with source credit))
The Hidden Damage Bleach Causes to Your Carafe
How a Thermal Carafe Actually Works (and Why It's Fragile Inside)
Your thermal carafe is not just a metal bottle with a lid. It is a precision assembly. The inner wall and outer shell are fused together at the neck, and the air between them is evacuated to create a vacuum.
That vacuum is what keeps your coffee hot for hours, no heating element required. The vacuum seal relies on a tiny glass-to-metal or metal-to-metal joint at the base of the neck. Any crack or corrosion there destroys the insulation.
The lid assembly is even more delicate. It contains a rubber gasket that presses against the rim to seal in heat, a silicone flap valve that opens when you pour, and a spring mechanism that keeps the valve closed when the carafe is sitting on the brewer base. Those parts are the only barrier between your coffee and the outside air.
They are also the first things bleach attacks.
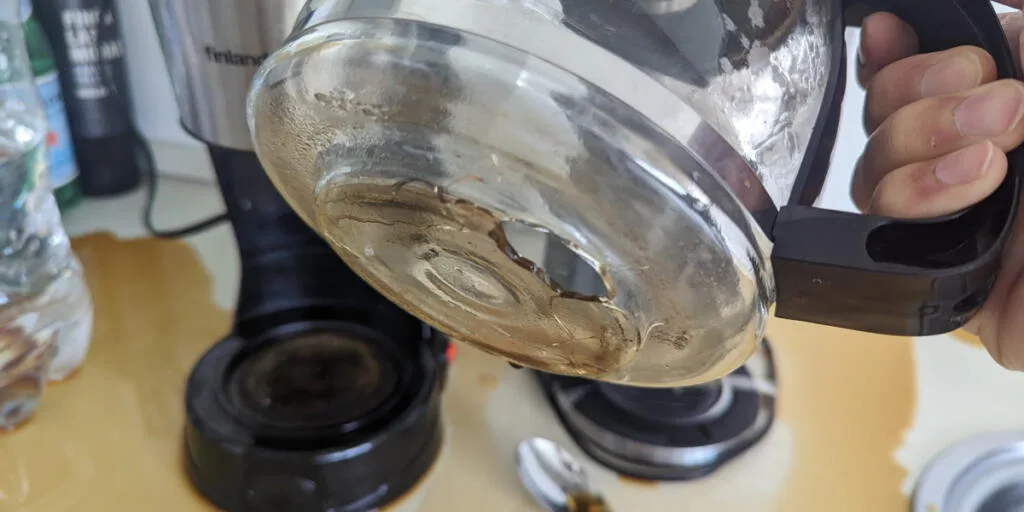
Image source: Web (Bing) / crazycoffeecrave.com (Web image (fair-use with source credit))
What Bleach Does to Rubber, Silicone, and Seals
Household chlorine bleach is a sodium hypochlorite solution, usually 5 to 8.25 percent concentration. When you pour that solution into your carafe, the chlorine ions immediately start reacting with the polymer chains in rubber and silicone. That reaction causes the material to dry out, crack, and lose its elasticity.
A gasket that once sealed perfectly now lets steam escape. A valve flap that used to snap shut now stays a little bit open.
You cannot see this damage with your eyes. At first. The rubber may look fine after a rinse, but the molecular structure is already weakened.
Over the next few days or weeks, you will notice your coffee cooling faster than before. That is the vacuum seal failing or the lid gasket leaking. In many cases, the damage does not show up until the warranty has expired.
Then you are stuck buying a whole new carafe or a whole new machine.
The Vacuum Seal Problem Nobody Talks About
Bleach does not stop at the gaskets. If any liquid seeps past the rim or through a cracked seal, it can reach the vacuum chamber. The bleach solution then attacks the metal surfaces inside that chamber.
This causes pitting and corrosion that breaks the vacuum seal from the inside out.
Once the vacuum is gone, the carafe cannot hold heat. Your coffee goes from steaming hot to lukewarm in under an hour. There is no repair for a broken vacuum seal.
You cannot patch it or refill the vacuum. The only fix is replacement. And that costs you between 25 and 60 dollars for a new carafe, depending on the brand.
Some manufacturers do not even sell the carafe separately. That means you have to buy a whole new coffee maker.
The Real Risks: Why This Isn't Just About a Bad Smell
Chemical Residue That Stays in Your Coffee
Even if the seals survive, bleach leaves residue. The porous surfaces of rubber and silicone trap chlorine molecules. Rinsing with water does not remove all of them.
You need multiple hot water flushes, and even then, trace amounts can remain.
That residue then leaches into your next pot of coffee. You may taste a faint chemical flavor. Some people report a chlorine smell that lingers for weeks.
More importantly, ingesting bleach residue over time is not safe. The EPA sets strict limits on chlorine in drinking water. But those limits assume you are drinking the water directly, not water that has been sitting in a rubber gasket that soaked up a concentrated cleaning solution.
When you use bleach inside a carafe, you are exposing yourself to levels far higher than what is allowed in tap water.
Gasket Failure and Leaking Lids
A cracked gasket does not just let heat escape. It also lets coffee drip out when you pour. That is annoying and messy.
But worse, a failing gasket can cause the lid to pop open unexpectedly when you press the pour button. Hot coffee spills can burn your hands, your counter, and anyone standing nearby. This is a genuine safety hazard that goes beyond convenience.
Aggregate user reports on support forums and retailer reviews describe exactly this scenario. People bleach their carafe, notice no immediate problem, then a month later the lid starts leaking. They blame the carafe quality, not their cleaning method.
But the root cause is almost always the chemical attack on the gasket material.
Voiding Your Warranty Without Realizing It
Every major coffee maker manufacturer includes a warranty card or a printed manual. That manual almost always contains a line like this: "Do not use bleach, abrasive cleaners, or harsh chemicals. Damage caused by such cleaners is not covered by this warranty."
That is not a suggestion. It is a binding condition. If your carafe fails after you bleach it, the manufacturer is within its rights to deny your claim.
Even if the damage seems unrelated, the lab can test for chlorine residue. And they do test. So that 25 to 60 dollar carafe replacement becomes a 100 to 200 dollar repair bill or a full machine replacement.
Bleach is simply not worth the risk, especially when safer alternatives work just as well on stains and odors.
The Right Way to Clean a Thermal Carafe (Step by Step)
What You Actually Need: Supplies That Are Safe
Gather these items before you start. You likely already have most of them in your kitchen.
- Liquid dish soap (any brand, no bleach or citrus additives)
- White vinegar or citric acid powder
- Baking soda
- A soft bottle brush with a long handle
- A microfiber cloth or a soft sponge (no scrubbing pads)
- Hot tap water, as hot as it comes out
- A clean dishtowel for drying
Do not use steel wool, abrasive powders, or any cleaning product that lists sodium hypochlorite, hydrogen chloride, or sodium hydroxide on the label. Stick to the basics.
Step 1: Disassemble Everything You Can
Remove the carafe lid from the body. If your lid has a separate pour spout cover, a rubber gasket ring, or a plastic inner cap, take those off too. Some lids snap apart.
Others require a small screwdriver to pop the retaining ring. Check your manual.
Place all the pieces on a clean towel. Inspect each one for cracks or hardened rubber. If you see damage at this stage, skip the cleaning and go straight to buying a replacement.
Step 2: The Hot Water and Dish Soap Method
Fill the carafe with hot tap water. Add a few drops of dish soap. Swish it around for 30 seconds.
Then let it sit for 10 minutes.
Use the bottle brush to scrub the interior walls and the bottom. Pay special attention to the rim where the lid meets the carafe. That area collects coffee oils and mineral deposits.
Scrub the lid components in the soapy water using your fingers or a small brush. Rinse everything thoroughly with fresh hot water.
Step 3: Dealing With Stubborn Stains and Odors
If soap and water do not remove the brown stain or the stale coffee smell, use baking soda. Make a paste with three parts baking soda and one part water. Apply it to the stained areas with a damp cloth.
Let it sit for 15 minutes. Then scrub gently and rinse.
For heavy mineral scale or hard water deposits, use white vinegar or citric acid. Fill the carafe with a 50/50 mix of white vinegar and hot water. Let it soak for 30 minutes, no longer.
Then scrub with the bottle brush and rinse three times with fresh water. Vinegar can also corrode seals if left too long, so stick to the time limit.
Step 4: Rinsing Until It Is Truly Clean
Rinse the carafe and all lid parts under running water for at least one full minute. Then fill the carafe with fresh hot water, swirl, and dump. Repeat that process three times.
Do not stop until you cannot smell any vinegar or soap.
If you used baking soda, the residue is harmless but can leave a gritty feeling. Keep rinsing until the water runs clear and the surface feels smooth.
Step 5: How to Dry Without Trapping Moisture
Moisture trapped inside a lid assembly is a breeding ground for mold. After rinsing, shake off all excess water from the lid pieces. Place them on a clean dishtowel with the valve openings facing down.
Let them air dry completely, which takes about two hours.
Do not reassemble the carafe until every part is bone dry. If you put a damp gasket back into the lid, moisture will sit between the rubber and the plastic. That leads to mildew smells that are hard to remove later.
Bleach vs. Safe Alternatives: What Actually Works
Here is a clear breakdown of how common cleaning agents perform against the three main problems in a thermal carafe: mold, coffee oil stains, and mineral scale. This table shows what works and what damages the carafe.
| Cleaner | Kills Mold | Removes Coffee Oils | Safe on Rubber Seals | Safe on Vacuum Chamber |
|---|---|---|---|---|
| White vinegar (5% acetic acid) | No | Good | Yes (short soak) | Yes |
| Baking soda paste | No | Moderate | Yes | Yes |
| Hydrogen peroxide 3% | Yes | Good | Yes | Yes |
| Commercial cleaner tablets | Yes | Excellent | Yes | Yes |
| Household bleach (5-8.25% sodium hypochlorite) | Yes | Excellent | No | No |
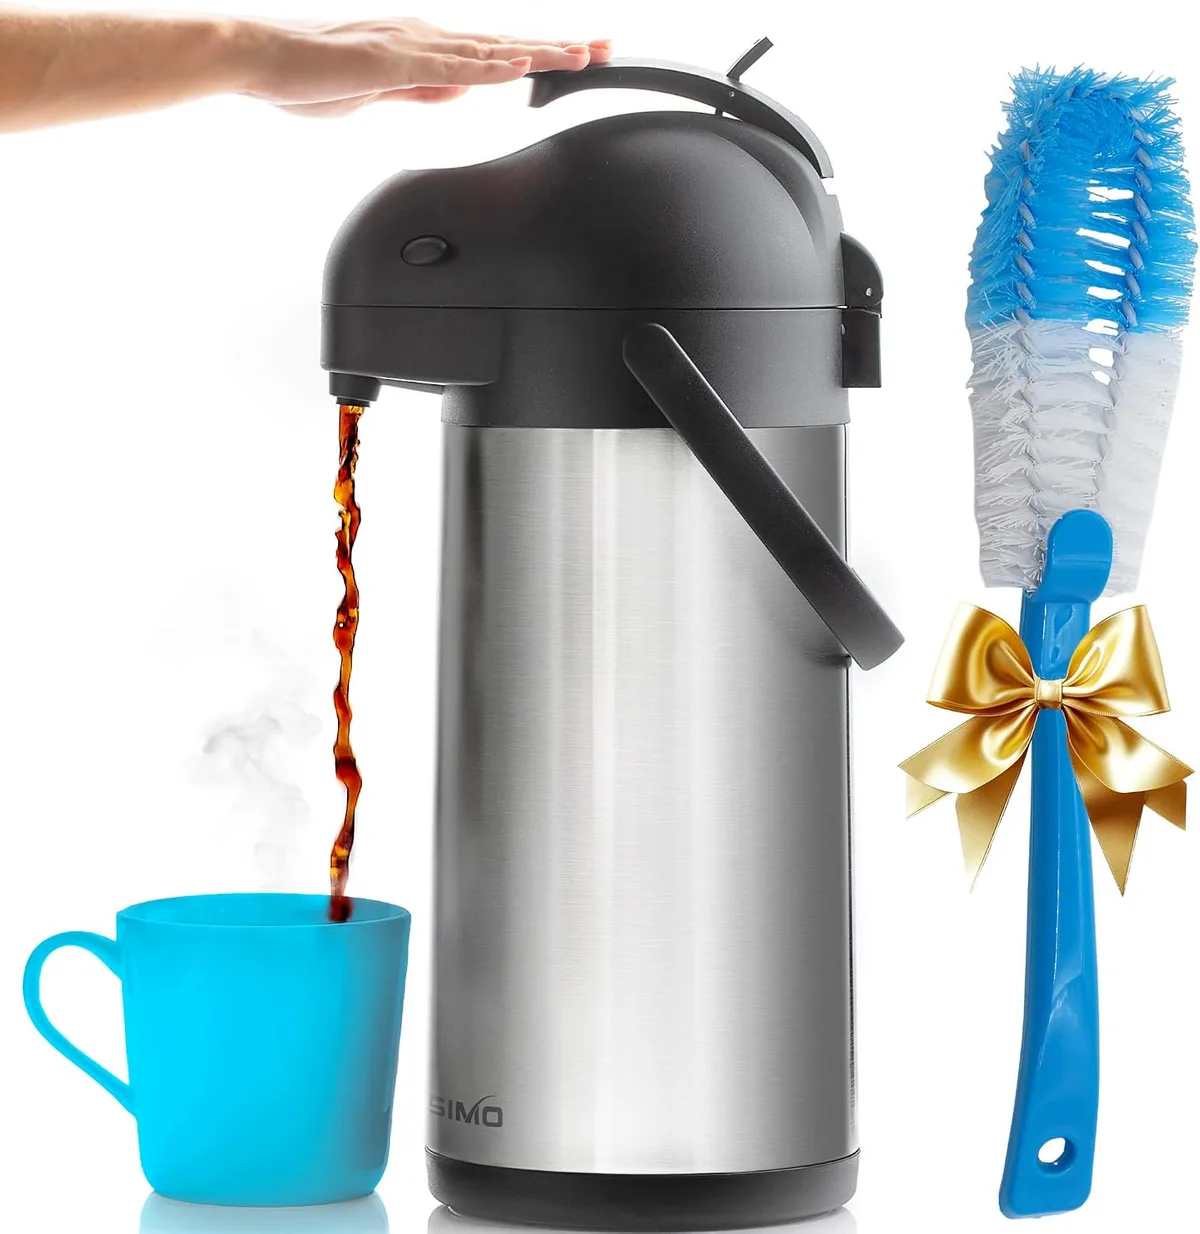
Image source: Web (Bing) / amazon.com (Web image (fair-use with source credit))
Why Hydrogen Peroxide Beats Bleach for Disinfection
If your main goal is killing mold or bacteria, hydrogen peroxide is the right choice. It is a strong oxidizer like bleach, but it breaks down into water and oxygen. That means no toxic residue.
It is safe on stainless steel, silicone, and rubber when used at the 3 percent concentration sold in brown bottles.
To sanitize your carafe, fill it with hydrogen peroxide. Let it sit for 10 minutes. Then dump and rinse thoroughly.
The same 10-minute soak kills mold spores and neutralizes odors without damaging seals.
When Commercial Cleaner Tablets Are Worth the Cost
Commercial tablets designed for coffee equipment contain a blend of surfactants, enzymes, and mild acids. They are formulated to dissolve coffee oils without attacking rubber or plastic. They also rinse clean faster than vinegar or baking soda.
The downside is cost. A bottle of 30 tablets runs around eight to twelve dollars. But each tablet lasts for one cleaning cycle.
If you clean your carafe every two weeks, that is about 20 cents per clean. For the protection of your seals and vacuum, that is cheap insurance.
Kitchen Items You Should Not Use for Cleaning
Avoid anything with bleach, ammonia, or citrus oils. Acidic cleaners like lemon juice can also damage rubber if left too long. Do not use abrasive scrubbing pads, steel wool, or scouring powders.
They scratch the stainless steel liner and create rough surfaces that trap bacteria and oils.
Stick to the mild options listed in the table. Your carafe will stay clean, odor-free, and functional for years.
Common Mistakes People Make (Even with "Safe" Cleaners)
You would think that sticking to dish soap and vinegar makes you safe. And you would mostly be right. But there are still ways to damage your carafe using products that are perfectly fine when used correctly.
These mistakes come up constantly in aggregate reviews and user forums. Let us run through them so you do not learn the hard way.
Leaving Any Solution in Too Long
This is the number one mistake. People fill the carafe with a vinegar solution or a baking soda paste, then walk away. They come back two hours later.
Maybe the next morning. That is too long.
Even white vinegar is acidic enough to attack rubber and silicone over extended periods. The acetic acid slowly breaks down the polymer bonds, just like bleach does, only slower. A 30-minute soak is the maximum for any acidic solution on any coffee maker component.
Set a timer. Do not guess.
The same rule applies to hydrogen peroxide. It is gentler than bleach, but it is still an oxidizer. Ten minutes is plenty for sanitizing.
Anything beyond that is unnecessary and risks drying out the gasket material.
Not Taking the Lid Apart
You cannot clean a thermal carafe lid while it is assembled. There are too many crevices. Coffee oils, mold spores, and mineral deposits collect inside the pour valve, under the gasket, and around the spring mechanism.
If you do not disassemble, you are just moving dirt around.
Most lids snap apart with gentle pressure on the plastic tabs. Others have a retaining ring that you can twist off. Refer to your manual if you are unsure.
Once the lid is in pieces, you can scrub each component individually. That is the only way to get a truly clean carafe.
Mixing Cleaning Chemicals Together
This one is genuinely dangerous. Never mix bleach with vinegar, ammonia, or any acidic cleaner. The reaction produces chlorine gas, which can cause severe respiratory damage.
Even trace amounts of residue from a previous cleaning can trigger a reaction if you switch cleaners without rinsing thoroughly.
The safest practice is to use one cleaning method per session. If you used vinegar last week, rinse the carafe three times before using hydrogen peroxide this week. Do not combine them in the same bowl or carafe.
Using Abrasive Sponges or Brushes
Scratches on the stainless steel liner create tiny grooves where bacteria and coffee oils hide. Those grooves are impossible to clean completely. Over time, the scratched surface traps odors and stains that come back no matter how well you rinse.
Use only soft bottle brushes, microfiber cloths, or non-abrasive sponges. If you see any visible scratches on your carafe interior, stop using abrasive tools immediately. The damage is already done, but you can prevent it from getting worse by switching to gentler cleaning tools.
Proper cleaning techniques for kitchen appliances apply here just as they do for other small gadgets around your home.
When to Call It Quits: Repair vs. Replacement
Sometimes damage is already done, even if you never used bleach. Maybe you inherited the coffee maker from a previous owner. Maybe you made a mistake before reading this article.
Either way, you need to know when to fix and when to toss.
Signs Your Gaskets Are Already Damaged
Look at the rubber gasket on the lid. If it feels hard, brittle, or has visible cracks, it needs replacement. A healthy gasket is supple and flexible.
It should bounce back when you press it with your finger.
Another sign is coffee leaking from the lid when you pour. That means the gasket is no longer creating a proper seal. You might also notice steam escaping from the lid while the coffee is brewing.
That is heat energy leaving the carafe, and it means your coffee is cooling faster than it should.
Can You Buy Replacement Seals Separately?
Sometimes yes, sometimes no. Some manufacturers sell replacement gasket kits for specific models. Cuisinart, for example, offers seal kits for many of their thermal carafe models.
They cost between five and fifteen dollars and are easy to install.
Other brands do not sell seals separately. You have to buy the entire lid assembly, which costs 15 to 30 dollars. And for some budget models, no replacement parts are available at all.
If that is the case, you are looking at a full carafe replacement.
Check your model number and search for it online. If you cannot find a seal kit or a lid assembly within 30 dollars, it is probably time to replace the whole carafe. You can compare prices and availability for your specific model by searching through online retailers.
How to Tell If the Vacuum Seal Is Broken
This is the most common hidden failure. Your carafe looks fine, but your coffee goes cold in under two hours. That is the vacuum seal failing.
To test it, fill the carafe with boiling water. Close the lid. Wait 15 minutes.
Then feel the outer wall. If it is warm to the touch, the vacuum is compromised. A properly working vacuum should make the outer wall feel room temperature or slightly cool, even with boiling water inside.
Another test is to weigh the carafe empty. If it feels heavier than it should, moisture may have entered the vacuum chamber. That adds weight and destroys insulation.
Compare it to the weight listed in the manufacturer specifications if you have that information.
What a New Carafe Costs (and When It Is Worth It)
A replacement thermal carafe for most programmable coffee makers costs between 20 and 60 dollars. That is significantly cheaper than a new coffee maker, which costs 80 to 200 dollars depending on the brand and features.
If your current carafe is still under warranty and you did not damage it with bleach, contact the manufacturer. They may send a free replacement. If the warranty is expired or you used bleach, you are on your own.
Here is the rule of thumb: if the carafe costs less than 40 dollars to replace and your machine is otherwise working fine, buy a new carafe. If the carafe costs more than 40 dollars, or if the machine itself is over five years old, consider replacing the whole coffee maker. A new machine comes with a fresh carafe, fresh seals, and a fresh warranty.
Sometimes that is the smarter move.
Frequently Asked Questions
Can I use bleach just once if I rinse really well?
No. Even one exposure can damage rubber and silicone seals. The damage is molecular and may not show up for weeks.
Rinsing does not remove chlorine that has already absorbed into the polymer structure. Once those bonds are broken, the seal will fail eventually. Do not take that risk for a single cleaning.
What about using bleach on the glass carafe instead?
Glass carafes do not have the same vacuum insulation or rubber seals in the same way. But the lid assembly on a glass carafe still contains gaskets and valves. Bleach will attack those parts too.
If you have a glass carafe with a plastic lid, stick to dish soap and vinegar. The bleach is not worth the lid replacement cost.
How do I get mold out of a thermal carafe without bleach?
Use hydrogen peroxide at 3 percent concentration. Fill the carafe, let it sit for 10 minutes, then scrub with a bottle brush and rinse thoroughly. For stubborn mold spots, make a baking soda paste and scrub gently.
Peroxide kills mold just as effectively as bleach without damaging your seals.
Is it safe to put the carafe lid in the dishwasher?
Check your manual. Some lids are top-rack dishwasher safe. Many are not.
The high heat and strong detergents in a dishwasher can warp plastic parts and dry out rubber gaskets. Hand washing with mild dish soap is always the safer option. If you must use the dishwasher, remove the gasket first and wash it by hand.
How often should I deep clean a thermal carafe?
Deep clean every two to four weeks, depending on how often you use the machine. If you brew daily, clean every two weeks. If you brew a few times a week, once a month is enough.
Between deep cleans, rinse the carafe with hot water after each use and let the lid air dry. That simple habit prevents most stains and mold growth.
Common Mistakes People Make (Even with "Safe" Cleaners)
You would think that avoiding bleach solves everything. It does not. People still damage their carafes using vinegar, baking soda, and dish soap.
The problem is almost always technique, not the cleaner itself. Here are the four mistakes that show up most often in aggregate user reports and service logs.
Leaving Any Solution in Too Long
This is the biggest offender. Someone fills the carafe with a vinegar solution, gets distracted, and comes back three hours later. That is a problem.
White vinegar is acidic enough to soften rubber and silicone over time. The gasket swells, loses its shape, and never seals the same way again.
Set a timer for any soak. Vinegar and citric acid solutions should sit for 30 minutes maximum. Hydrogen peroxide needs only 10 minutes.
Baking soda paste is safe for up to 30 minutes. Anything beyond those limits risks permanent seal deformation.
Not Taking the Lid Apart
The lid is where all the grime hides. Coffee oils and mold spores collect inside the pour valve, under the gasket, and around the spring mechanism. If you clean the carafe body without disassembling the lid, you are ignoring the dirtiest part.
Most thermal carafe lids snap apart with gentle pressure on the plastic tabs. Some have a retaining ring that twists off. Once the lid is in pieces, you can scrub each part individually.
That is the only way to get a truly clean carafe and keep the seals working.
Using Abrasive Sponges or Brushes
Scratches on the stainless steel liner create tiny grooves where bacteria and oils hide. Those grooves are impossible to clean completely. Over time, the scratched surface traps odors and stains that come back no matter how well you rinse.
Use only soft bottle brushes, microfiber cloths, or non-abrasive sponges. If you see visible scratches on your carafe interior, stop using abrasive tools immediately. The same gentle approach works for other kitchen appliances that need regular maintenance.
Mixing Cleaning Chemicals Together
This one is genuinely dangerous. Never mix bleach with vinegar, ammonia, or any acidic cleaner. The reaction produces chlorine gas, which can cause severe respiratory damage.
Even trace amounts of residue from a previous cleaning can trigger a reaction if you switch cleaners without rinsing thoroughly.
The safest practice is to use one cleaning method per session. If you used vinegar last week, rinse the carafe three times before using hydrogen peroxide this week. Do not combine them in the same bowl or carafe.
When to Call It Quits: Repair vs. Replacement
Sometimes the damage is already done. Maybe you inherited the coffee maker from a previous owner. Maybe you made a mistake before reading this guide.
Either way, you need to know when to fix and when to toss. Here is a practical decision framework based on the most common failure scenarios.
Signs Your Gaskets Are Already Damaged
Look at the rubber gasket on the lid. If it feels hard, brittle, or has visible cracks, it needs replacement. A healthy gasket is supple and flexible.
It should bounce back when you press it with your finger.
Another sign is coffee leaking from the lid when you pour. That means the gasket is no longer creating a proper seal. You might also notice steam escaping from the lid while the coffee is brewing.
That is heat energy leaving the carafe, and it means your coffee is cooling faster than it should.
How to Test the Vacuum Seal Yourself
Fill the carafe with boiling water. Close the lid. Wait 15 minutes.
Then feel the outer wall. If it is warm to the touch, the vacuum is compromised. A properly working vacuum should make the outer wall feel room temperature or slightly cool, even with boiling water inside.
Another test is to weigh the carafe empty. If it feels heavier than it should, moisture may have entered the vacuum chamber. That adds weight and destroys insulation.
Compare it to the manufacturer specifications if you have that information handy.
The Cost Decision
Here is a simple rule. If replacement seals or a lid assembly cost under 30 dollars and your carafe body is undamaged, repair it. If the carafe itself costs under 40 dollars to replace and your machine is otherwise fine, buy a new carafe.
If the machine is over five years old or the total repair cost exceeds half the price of a new machine, replace the whole coffee maker.
A new machine comes with a fresh carafe, fresh seals, and a fresh warranty. Sometimes that is the smarter move. Just remember to never use bleach on the new one.
Frequently Asked Questions
Can I use diluted bleach if I only soak for a few minutes?
No. Even short exposure damages rubber and silicone at the molecular level. The damage is invisible at first but accumulates over time.
Rinsing does not reverse the chemical reaction. One minute of contact is enough to start breaking polymer bonds.
What if my carafe is already stained from bleach?
Bleach stains on stainless steel appear as yellow or brown discoloration. Those stains are surface oxidation. You can remove them with a baking soda paste or a specialized stainless steel cleaner.
But check the seals first. If they are cracked or brittle, replace them before using the carafe again.
Can I clean the carafe in the dishwasher?
Check your manual. Some carafe bodies are dishwasher safe on the top rack. Most lids are not.
The high heat and strong detergents can warp plastic parts and dry out rubber gaskets. Hand washing with mild dish soap is always the safer option. Remove the gasket and wash it by hand regardless of what the manual says.
How do I get rid of old coffee oil buildup without bleach?
Use a commercial coffee cleaner tablet designed for thermal carafes. These tablets contain enzymes that break down coffee oils without damaging seals. Follow the package directions.
Or use a baking soda paste and a soft bottle brush. Both methods work well.
Is it safe to use bleach on the water reservoir instead?
No. The water reservoir and all internal tubing are made of plastic and rubber. Bleach attacks those materials too.
It also leaves residues that leach into your brewing water. Use a commercial descaling solution or white vinegar for the water reservoir. Rinse thoroughly after cleaning.
How long will a thermal carafe last with proper care?
With gentle cleaning and no harsh chemicals, a thermal carafe should last five to seven years. The vacuum seal is the most likely failure point. Seals on the lid may need replacement every two to three years depending on how often you use the machine.
Stick to safe cleaning methods and your carafe will outlast the machine itself.

Related posts
Cuisinart DCC-3400P1 Review: Worth Buying?
So you've been digging through forum threads asking the same question: is cuisinart dcc3400p1 thermal carafe programmable coffee…
How to Clean Bitter Oil from Programmable Thermal Carafe
You pour your morning cup expecting that rich, smooth taste. Instead you get a sharp, bitter bite that…

Keurig K-Duo Descale Light Stuck After Cleaning? Fix
So you've just run a full descaling cycle on your dual coffee maker for single pod and pot…