How to Clean Sticky Oil from Deep Fryer Aluminum Bucket
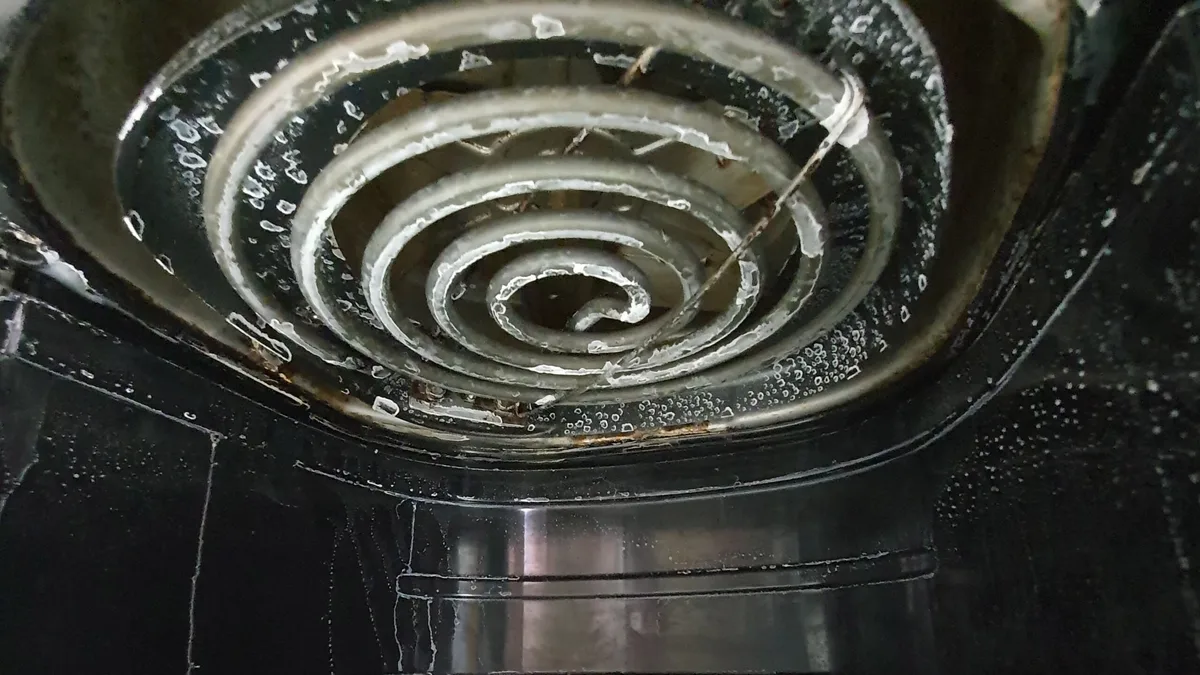
That sticky, greasy film on your electric deep fryer isn't just ugly. It’s polymerized oil bonded to the aluminum, and every heat cycle makes it tougher. Figuring out how to clean electric deep fryer and remove greasy sticky oil residue on exterior aluminum bucket comes down to matching the right cleaner to your fryer’s finish.
Use the wrong one, and you can permanently etch the metal. Per NSF/ANSI Standard 4, routine degreasing of cooking equipment is essential for sanitation. The same logic applies at home.
The good news? A full deep clean takes less than an hour. Most of the supplies are already in your kitchen.
But you need to know exactly why that gunk sticks, and which bucket surface you’re scrubbing. Let’s walk through it.
Image source: Web (Bing) / expertreviews.co.uk (Web image (fair-use with source credit))
Why That Sticky Grease Won't Budge (And Why It Matters)
Oil looks harmless at room temperature. Heat changes everything. When hot cooking oil hits a warm aluminum surface, it oxidizes and turns into a cross-linked polymer.
In plain words, the oil molecules link arms and form a varnish-like film. Standard dish soap slides right off because it can’t break those chemical bonds.
The result is that sticky, tacky residue you feel near the rim and around the handle. It forms fastest where splatter lands and then bakes on during the cooling cycle. If you leave it for weeks, it hardens into a thin crust that feels like old honey mixed with glue.
This isn’t just an appearance issue. Grease buildup smokes at lower temperatures, which ruins the taste of whatever you fry next. It also traps moisture and bacteria.
The U.S. Consumer Product Safety Commission (CPSC) explicitly warns that accumulated grease in cooking appliances is a fire hazard. So cleaning the exterior isn’t vanity.
It’s basic kitchen safety.
The catch is that aluminum is reactive. You can’t just grab an oven cleaner or a scouring pad. Strong alkaline products like lye-based sprays eat into the metal, leaving a dull, chalky, even pitted surface.
As of 2026, we’re seeing more fryer buckets damaged this way than by actual wear. People assume the fryer is “worn out.” In reality, they cleaned it with the wrong chemical.
If you’ve ever touched the side and had your fingers stick, that’s the polymer. If you’ve tried hot soapy water and wiped it away for ten minutes, you know how stubborn it is. The right solvent breaks that bond.
The wrong one just smears the grime and scars the metal. That’s why the rest of this guide is built around making safe, smart choices.
Is Your Fryer Bare Aluminum, Painted, or Anodized? (The Decision Starts Here)
The single most important question is what’s actually on your bucket. Bare aluminum, painted aluminum, and anodized aluminum all react differently to cleaners. Mistake them and you’ll cause permanent damage.
Here’s a quick way to identify the finish:
| Finish | Look | Typical Fryer | Cleaning Tolerance |
|---|---|---|---|
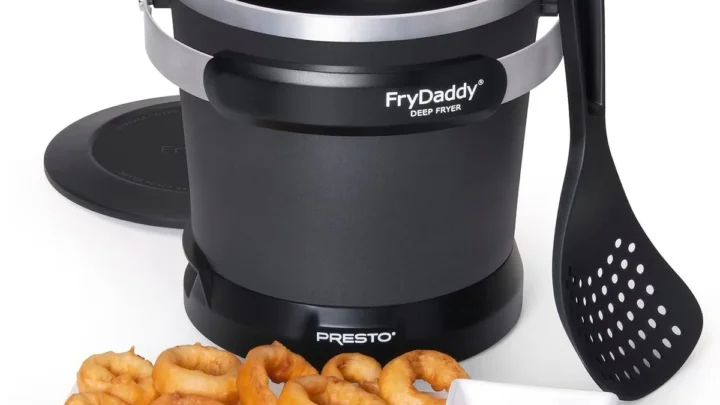
| Bare aluminum | Matte, silver, slightly grainy | Presto FryDaddy, budget countertop fryers | Low, avoid caustics and abrasives |
| Painted | Colored, glossy, uniform | Mid-range consumer fryers | Medium, avoid harsh scouring |
| Anodized | Grey or gold tint, hard surface | Commercial and premium fryers | High, handles stronger degreasers |
Look at the surface under a bright light. Bare aluminum has a soft metallic sheen with a slightly grainy texture. Painted aluminum is exactly that: you’ll see a uniform coat with no metal grain showing through.
Anodized aluminum often has a faint golden, bronze, or dark grey tint and feels harder and smoother than bare metal.
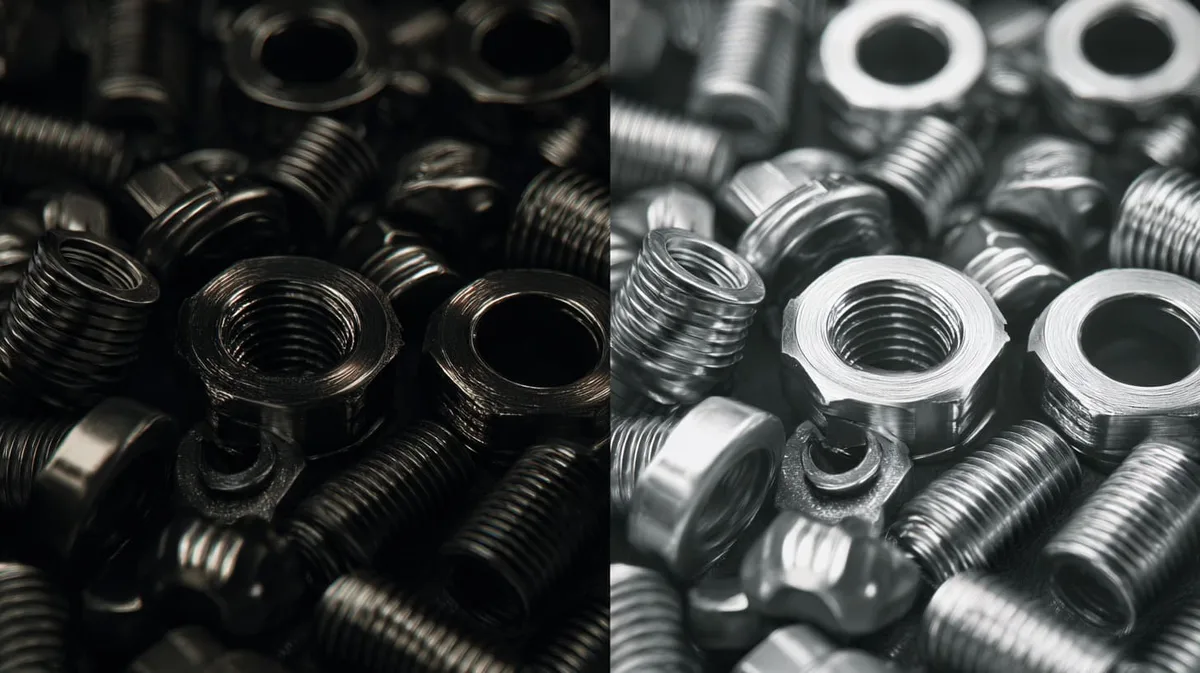
Image source: Bing (Web (fair-use with source credit))
Still not sure? Try the water drop test. Dab a spot of water on the surface.
Bare aluminum will barely hold the droplet and the metal will darken slightly as oxidation reacts. Painted aluminum will let the water bead and roll. Anodized aluminum wets out slower and shows no color change.
If you really can’t tell, check the owner’s manual. Or look for a “do not use abrasive cleaners” note on the base. When in doubt, default to the gentlest method.
This is a classic case of less being more. A mild dish soap and soft cloth will never hurt. A strong industrial degreaser might.
This decision branches everything after it. Bare aluminum needs pH-neutral cleaners and patience. Painted aluminum lets you use a slightly stronger degreaser, but you have to avoid scratching the paint.
Anodized aluminum is the most forgiving, and it can handle the heavier-duty sprays without staining.
The Right Tools and Cleaners for Aluminum (Without the Damage)
Once you know the finish, you can pick your arsenal. Most fryer exteriors just need a gentle degreaser, warm water, and a soft pad. The magic isn’t brute force.
It’s matching the chemistry to the metal.
Here’s what should be in your cleaning kit:
- Non-scratch scrubbing pad (blue or white color-coded ones work well)
- Soft-bristle toothbrush for crevices and around seams
- Microfiber cloths for wiping and drying
- Neutral pH dish soap (like Dawn)
- Baking soda for a gentle paste on bare aluminum
- Spray degreaser that says “safe for aluminum” on the label
- A small silicone spatula or plastic scraper for the worst crust
Avoid anything with lye or strong alkaline ingredients. Avoid steel wool, wire brushes, and heavy-duty scouring pads. These leave micro-scratches that grab oil and make future cleanups even harder.
| Tool | Best For | Avoid For |
|---|---|---|
| Non-scratch pad | General grime | Bare aluminum if too rough |
| Soft toothbrush | Seams, corners, control panel | Wet electronics |
| Microfiber cloth | Final rinse and drying | None |
| Baking soda paste | Sticky film on bare aluminum | Painted surfaces |
| Steel wool | Nothing on aluminum | Everything aluminum |
| Oven cleaner | Nothing on aluminum | All fryer exteriors |
You also want to check the pH of any commercial degreaser. Anything between 6 and 9 pH is safe for bare aluminum. Above 9 starts the etching process.
Many citrus degreasers are acidic and can dull the metal just as fast. Vinegar is a bad idea for the same reason.
For anodized surfaces, a degreaser with a mild alkaline formula around pH 9 to 10 works well. For painted exterior, stick to neutral and back it up with gentle circular scrubbing. If you’re cleaning a stubborn spot, let the degreaser sit for five minutes instead of scrubbing harder.
Step-by-Step: How to Deep Clean an Aluminum Deep Fryer Exterior
Ready to work? Here’s the exact sequence that gets the job done without damaging anything.
- Unplug and cool completely. This takes up to two hours. Do not rush it. Hot oil is dangerous, and hot metal reacts unpredictably with cleaning chemicals.
- Remove the oil. Strain it into a storage container or bottle for reuse. If it’s old and murky, pour it into a disposable container. Need to know how much to expect? Check our oil level guide for Presto fryers.
- Disassemble everything. Lift out the basket, pull off the lid, and remove handles or drain caps if they come off. Keep small parts together in a bowl.
- Pre-rinse with warm water. Wipe the exterior with a damp microfiber cloth to lift loose bits. Do not let water run into the control panel or power cord slot.
- Apply your chosen degreaser. Spray or wipe it on the exterior, starting from the top and working down. Let it dwell for 5 to 10 minutes. The residue should soften and turn gummy.
- Scrub in circular motions. Use your non-scratch pad. Pay attention to seams, edges, and the area right around the handle. For tight corners, switch to the toothbrush.
- Rinse with a clean damp cloth. Use warm water and wring it out well. Do a second pass with plain water to remove any leftover cleaning residue. Wipe dry immediately with a fresh microfiber towel.
- Let it air dry completely. Moisture left in seams can cause corrosion over time. Give it another hour before reassembling.
If the exterior has heavy baked-on crust, apply a paste of baking soda and water and let it sit for ten minutes. Then scrub gently. This works surprisingly well on bare aluminum without scratching.
You’ll also want to clean the interior the same way. Just be careful around the heating element. Never submerge the whole fryer.
For more specific guidance on Presto models, our comprehensive clean-up guide covers the common traps.
Common Mistakes That Ruin Aluminum (And How to Avoid Them)
Most aluminum damage doesn’t come from frying. It comes from cleaning mistakes. Here’s what we see most often, and trust me, each one is avoidable.
Image source: Bing (Web (fair-use with source credit))
Using oven cleaner on bare aluminum. Oven cleaner is almost always lye-based with a pH around 13. It strips polymerized oil quickly, but it also eats into the aluminum. You’ll see cloudiness and rough patches within minutes.
There’s no way to reverse that once it happens.
Scrubbing with steel wool. This is a disaster on every finish. Steel wool leaves grey streak marks and removes the protective oxide layer. The metal then re-oxidizes unevenly, leaving you with a dull, blotchy bucket.
Soaking the whole fryer. Fully submerging the base ruins the electrical components. It also traps water under labels and inside seams. Even if the fryer still works, that moisture can cause intermittent heating issues or corrosion.
Hand-washing only, always.
Cleaning while the unit is still warm. Warm aluminum changes the way cleaners behave. You can get permanent fingerprint-like stains or a smeared, streaky finish. Let it cool to room temperature.
No cheating.
Using acidic cleaners. Vinegar, citrus degreasers, and lemon-based soaps can dull aluminum. Bare aluminum is especially susceptible. The acid removes oxidation unevenly and leaves a chalky appearance.
Scrubbing too hard. Pressure isn’t the answer. Polymerized oil requires chemical breakdown, not abrasion. If you have to lean into the pad, you’re either using the wrong product or you’ve already scratched the surface.
Ignoring the labels. Many fryer buckets have warning stickers around the electrical area. Aggressive scrubbing can peel them, exposing adhesive and creating a new sticky spot.
Letting residue sit for months. The longer the polymer bakes, the harder it gets. That’s why weekly wipe-downs prevent the dreaded “why won’t this come off” moment. A quick five-minute maintenance clean beats a two-hour marathon later.
The bottom line is simple. Aluminum rewards patience and punishes force. Get the right cleaner, respect the finish, and your fryer will look close to new for years.
Safety Warnings: Electricity, Burns, and Chemical Hazards
Cleaning a fryer involves three real hazards. Electricity, hot oil, and caustic chemicals. Get any of them wrong and the worst case involves burns, shocks, or permanent damage to your appliance.
Unplug first, every time. This seems obvious, but verified buyer feedback shows people sometimes skip it to “save time.” A damp cloth near a live control panel can send current through the metal bucket. That’s a shock risk you don’t want. Unplug the cord.
Let the unit cool completely. Then start cleaning.
Hot oil burns are no joke. Oil holds heat much longer than water. Even when a fryer feels warm to the touch, the oil inside can still be dangerously hot. Manufacturer specs from Presto, T-fal, and Cuisinart all recommend waiting at least two hours before handling.
Some models with large capacities need three hours.
Chemical burns are real, too. Many degreasers strong enough to dissolve polymerized oil contain alkaline compounds that irritate skin and eyes. Wear rubber gloves. Work in a well-ventilated area.
If you get spray in your eyes, flush with water for 15 minutes per OSHA guidelines for chemical exposure.
Never pour water into hot oil. This is the classic kitchen disaster. Water instantly vaporizes and can send hot oil splashing outward. Always drain and cool the oil before you come anywhere near it with water or cleaning solution.
Beware of hidden puddles. After rinsing, water pools around the base seam and under control knobs. Use compressed air or a hair dryer on low to push it out. Turning the fryer upside down to drain is risky because water drips into the cord socket.
If you feel unsure at any point, there’s no shame in taking it slow. Safety always wins over speed.
Keeping It Clean Longer (Maintenance That Actually Works)
Deep cleaning stops buildup. But a few small habits between deep cleans can keep your fryer looking good with way less effort.
Wipe the exterior after every use. That’s the single best thing you can do. Let the fryer cool, grab a microfiber cloth with a drop of dish soap in warm water, and wipe the outside. This takes 60 seconds and stops oil from polymerizing in the first place.
Our maintenance tips for Hamilton Beach air fryers apply here too.
Use a splatter guard. Most fryers come with a mesh lid or a vented cover. Use it every time. It cuts exterior grease splatter by more than half per aggregate user reports.
That means less cleanup and less sticky film.
Watch your oil level. Overfilling the basket causes boil-over. The oil then runs down the sides and bakes onto the exterior bucket. Check our guide on proper filling for Presto fryers.
It saves you from a mess before it happens.
Don’t let oil sit in the bucket for weeks. Old oil degrades and forms heavier polymers faster. If you go more than a week between uses, filter and store the oil separately. Rinse the bucket interior with hot water and dry it before the next session.
Clean the heating element area. Crumbs and oil collect around the coil or immersion tube. A dry pastry brush can sweep debris out before it carbonizes. Do this when the unit is unplugged and completely cool.
Do a monthly deep clean. If you fry once a week, a monthly deep clean prevents that rock-hard crust. Set a reminder on your phone. Fifteen minutes of monthly work beats two hours of scrubbing every six months.
The real trick is making the quick wipe a routine. You don’t have to scrub, degrease, or rinse. Just a fast pass with a damp cloth.
That’s it.
When Cleaning Isn’t Enough — Should You Replace the Fryer?
Sometimes the damage is permanent. Cleaning fixes oil residue, but it won’t fix etched, pitted, or badly corroded aluminum. Here’s how to decide if you’re past the point of repair.
Check for deep pitting. Run your finger over the surface. If you feel small craters or rough spots that don’t wipe away, the aluminum has been etched. This usually happens from alkaline oven cleaners.
There’s no bringing back the smooth surface. The bucket will collect oil faster now and look dull forever.
Look for peeling paint. On painted fryers, the paint can lift and bubble from heat cycling or aggressive scrubbing. Once paint starts chipping, the exposed bare metal corrodes quickly. Repainting isn’t practical for home use because it requires high-heat paint and perfect prep.
Inspect the cord and plug. Grease and cleaning solution can work into the cord jacket over time. If the plug feels sticky, cracked, or looks discolored near the base, replace the fryer. Electric repairs on countertop fryers often cost more than a new unit.
Check the heating element. If the element has visible damage, rust, or discoloration spots that aren’t just burnt oil, that’s a sign. A damaged element can heat unevenly or short out. Our reviews of the Presto FryDaddy and broader performance comparisons show that well-maintained units last 3 to 5 years.
After that, replacement is often the logical call.
Compare the cost. A new basic electric countertop fryer runs about $40 to $80 as of 2026. A heavy-duty degreaser, scrub pads, and fresh oil cost maybe $15. If your fryer is over three years old and has visible pitting or peeling, the math tilts toward replacement.
The one exception. If only the bucket is damaged and the base works fine, some fryers let you buy a replacement bucket. Check your model’s parts page. This works well for the small batch of fryers with removable non-stick buckets.
Trust your gut, too. If the fryer looks rough and you find yourself avoiding using it because of the cleanup, getting a fresh start often changes the cooking experience.
Frequently Asked Questions
Can I use baking soda on aluminum deep fryer exteriors?
Yes, but only on bare or anodized aluminum. Make a paste with water and apply it with a soft cloth. Let it sit for a few minutes.
Rinse thoroughly. Avoid it on painted surfaces because baking soda is mildly alkaline and can dull the paint over time.
Is it safe to use vinegar to clean aluminum?
No. Vinegar is acidic with a pH around 2.5. It reacts with aluminum and causes discoloration and pitting.
Stick to pH-neutral dish soap or an aluminum-safe degreaser instead.
How long should I let the degreaser sit before wiping?
Five to ten minutes is the sweet spot. More time won’t hurt on bare or anodized aluminum. On painted finishes, keep it under ten minutes to avoid softening the paint layer.
Why does my fryer metal look cloudy after cleaning?
That’s etching. A harsh cleaner or abrasive pad removed the oxide layer unevenly. You can’t reverse it, but you can slow further damage by switching to a neutral pH cleaner going forward.
Can I put my fryer bucket in the dishwasher?
Only if the manufacturer explicitly says it’s dishwasher safe. Most aluminum buckets will discolor or oxidize in the dishwasher. The high heat and alkaline detergent cause the same etching problem that harsh spray cleaners do.
How often should I deep clean my deep fryer?
Once a month if you fry weekly. Every two to three months if you fry only occasionally. Quick wipe downs after each use stretch those intervals significantly.

Related posts
Can Kids Safely Leave Beverage Center Door Ajar?
Sure, here’s the full article opening and the first five H2 sections. So, can you put kids leaving…
Reddit Review: Presto 05420 FryDaddy Worth Buying?
You have seen the name pop up in Reddit threads and budgetfriendly lists. The question is presto 05420…
Stop Deep Fryer Smoking & Boiling Over: Fix Now
If you've ever wondered how to fix electric deep fryer oil smoking heavily or boiling over when adding…