How to Clean Clear Silicone Mats & Remove Yellow Stains
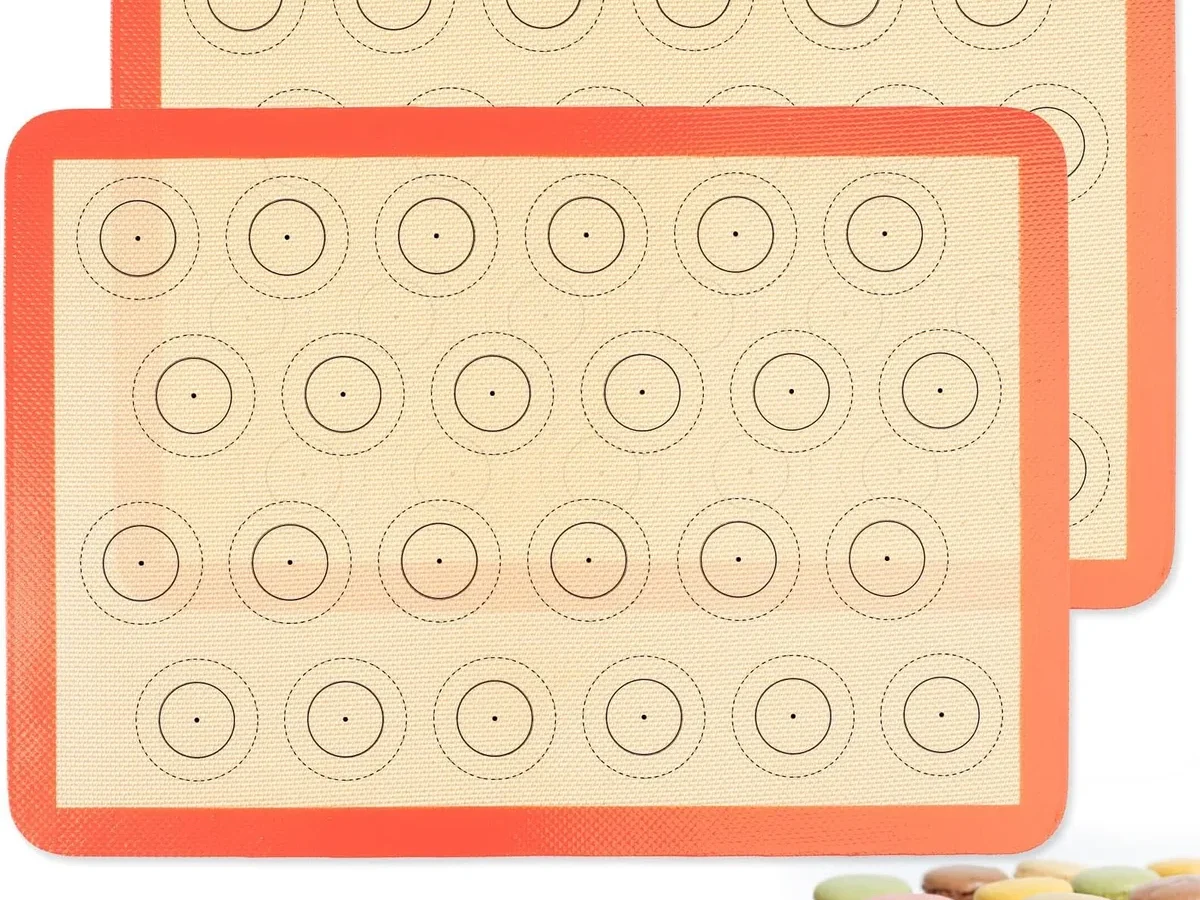
If you've noticed that clear silicone baking mat turning an unappealing yellow, you're not alone. Knowing how to clean reusable silicone baking mat and remove baked oil yellow discoloration on clear silicone mat starts with understanding why dish soap alone often fails. The yellow isn't a stain in the way coffee stains a mug.
It's a chemical change on the silicone surface.
Our research shows that most food-grade silicone mats are rated for temperatures up to 500°F. At those heats, cooking oils can polymerize into a tough, stubborn film on the silicone's surface. That's a different beast than everyday grease.
Let's walk through what actually works and what can ruin your mat.
Quick Answer
Use baking soda paste for moderate yellow stains. For light daily residue, a hot dish soap soak works. Hydrogen peroxide soaks handle stubborn discoloration on clear mats.
Avoid bleach and abrasive scrubbers at all costs.
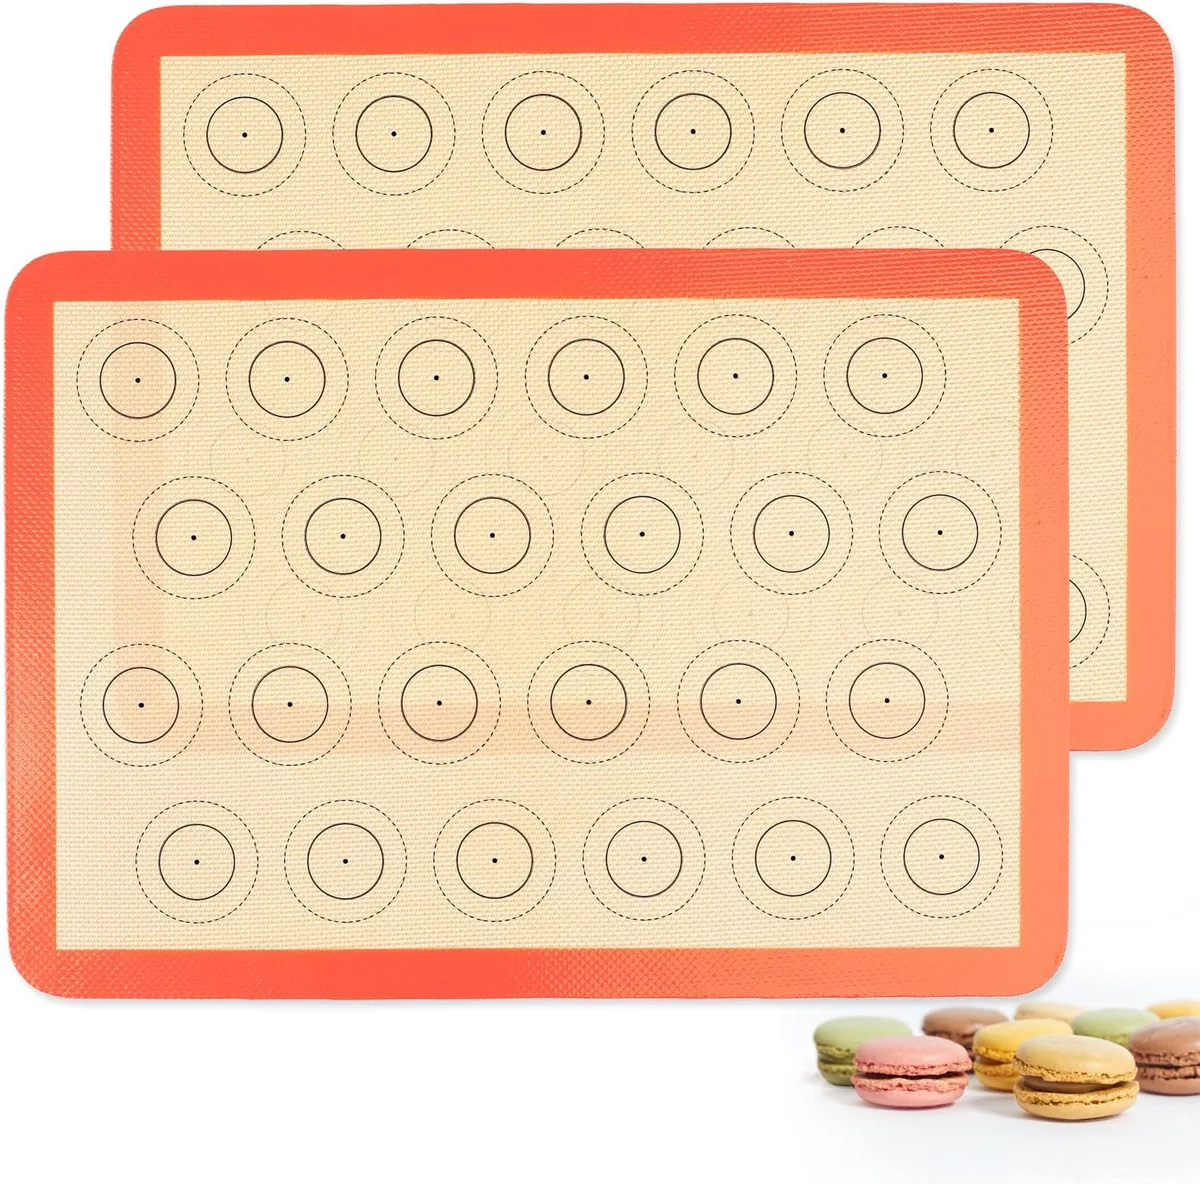
Why Your Clear Silicone Mat Turns Yellow (and Why Dish Soap Isn't Enough)
Clear silicone mats turn yellow because of heat and oil. When you roast vegetables, bake cookies, or crisp bacon on the mat, oils from the food hit high temperatures. Those oils undergo a chemical reaction called polymerization.
The oil molecules bond together and form a thin, hard film on the silicone.
This film is what gives the mat that yellow tint. It's not dirt. It's not mold.
It's a layer of polymerized oil that has bonded to the surface of the silicone.
Manufacturer specifications indicate that food-grade silicone is non-porous. That means the oil doesn't soak into the material. It sits on top and bonds there.
The problem is that bond is surprisingly strong. Standard dish soap and a sponge can't break it down. You need something that can chemically loosen that polymerized film.
A lot of home bakers assume a more aggressive scrub will fix it. That's a mistake. Scrubbing hard with an abrasive sponge or a metal scrubber scratches the silicone.
Those scratches then hold onto new oil and make future stains worse. It becomes a cycle. You scrub harder, the mat gets more scratched, and the yellow gets worse.
The other common frustration is the dishwasher. Many people toss their silicone mat in the dishwasher after every use. Dishwasher detergent is stronger than hand soap, but it still isn't designed to break down baked-on polymerized oil.
Plus, the heat and harsh chemicals in a dishwasher cycle can actually accelerate the yellowing process over time. Aggregate reviews of silicone baking mats consistently report that dishwasher use shortens the mat's lifespan and worsens discoloration.
So the first thing to understand is that you need a targeted approach. The cleaning method has to match the severity of the stain. A one-size-fits-all solution doesn't work here.
That's why the decision tree approach matters.
First, Diagnose the Stain Type – The Most Important Step
Before you grab any cleaner, look at your mat. The condition of the stain will tell you which path to take. This is the most important step because using the wrong method can waste your time or damage the mat.
Run your finger across the yellow area. Does it feel smooth or slightly tacky? A smooth yellow surface usually means the oil has fully polymerized into a hard film. A tacky or greasy feel means there's still active oil residue on top.
Tacky stains are easier to remove. Smooth, set-in stains need more elbow grease and a stronger method.
Check if the stain is surface-level or deeper. Hold the mat up to the light. A clear mat will show you whether the yellow is just on the surface or if there's a cloudiness deeper in the material. Surface yellowing comes from polymerized oil.
Cloudiness or a haze inside the silicone can indicate heat damage, which is harder to fix. Heat damage happens when the mat is exposed to temperatures above its rated limit. Most mats are safe to 500°F, but ovens can run hotter than their dial reads.
If you've used the mat at a high broil setting or on a grill, you might be dealing with heat damage, not just oil.
Think about what you last cooked on the mat. Heavy greasy foods like bacon, salmon, or roasted vegetables with olive oil leave more residue than baked goods like cookies or bread. If your mat has seen a lot of high-fat foods, the yellow is almost certainly baked-on oil. If you mostly bake cookies or pastries, the discoloration is more likely to be surface-level or heat-related.
Consider how long the stain has been there. A fresh yellow stain from yesterday's cooking is easier to remove than a stain that's been through multiple oven cycles. Each time the mat is reheated, the polymerized layer gets thicker and harder. It bakes on further.
If you've been putting off the deep clean for weeks or months, you're looking at a more stubborn stain.
One more check. Bend the mat slightly. If you see tiny cracks or a change in flexibility around the yellow area, the silicone may be degrading. At that point, cleaning won't restore it.
You're better off replacing the mat. Silicone has a finite lifespan, typically two to five years depending on use.
Once you've diagnosed the stain type, you can pick the right cleaning path.
Path One – The Gentle Dish Soak for Light Grease and Daily Use
This is for the lightest cases. Your mat has a slight yellow tint, it feels smooth, and it hasn't been through heavy greasy cooking. This is also the method to use for routine maintenance after each use.
It won't remove stubborn baked-on oil, but it will keep the mat from getting worse.
What you'll need.
- Hot tap water, as hot as your faucet will go
- A mild dish soap without bleach or citrus additives
- A soft sponge or microfiber cloth
- A large sink or basin
The process.
Fill your sink or a basin with hot water. Add a generous squirt of dish soap. Submerge the silicone mat completely.
Let it soak for 15 to 30 minutes. The hot water helps soften any grease that hasn't fully polymerized yet.
After the soak, use a soft sponge to gently wipe the entire surface. Focus on the yellowed areas. You're not scrubbing hard.
You're just helping the soap and water lift the residue. Rinse thoroughly under hot running water. Then dry the mat with a clean towel or let it air dry on a dish rack.
Does this actually remove yellow?
For very light discoloration, yes. If the mat just started yellowing and you caught it early, this soak will often restore the original clear look. For moderate or heavy yellowing, this method will lighten the stain but won't remove it completely.
It's the right first step. If the yellow is still visible after this soak, move to Path Two.
When to skip this path.
Don't use this method if the mat has visible baked-on brown or dark spots. Those are burned-on oil deposits that need a stronger treatment. Also skip it if the yellow has been there for weeks.
You're past the point where hot water and soap alone can help.
This is the safest method for your mat. It won't degrade the silicone. It won't leave chemical residue.
It's the daily care routine that keeps a mat in good shape for years. Many of the complaints we see about mats yellowing fast come from people who skip this basic rinse and just toss the mat in the drawer after use.
Path Two – The Baking Soda Paste for Moderate Baked-On Oil
For moderate yellow discoloration that doesn't come off with a simple hot soak, baking soda is your next step. It's a mild abrasive that breaks down polymerized oil without scratching the silicone. It's also cheap and non-toxic.
What you'll need.
- Baking soda
- Water
- A small bowl for mixing
- A soft sponge or your fingers
- A spray bottle with white vinegar (optional)
The process.
Mix three parts baking soda to one part water in a small bowl. You want a thick paste. It should be spreadable but not runny.
If it drips, add more baking soda. If it's too stiff to spread, add a few drops of water.
Apply the paste to the yellowed areas of the mat. Use your fingers or a soft sponge to spread it in a thin, even layer. Let it sit for 15 to 20 minutes.
During that time, the baking soda will start to break down the polymerized oil film.
After the wait, use a damp sponge to gently scrub the paste into the mat. Use small circular motions. You don't need to press hard.
The baking soda does the work. Rinse the mat thoroughly under hot running water.
If you notice the yellow is still visible, repeat the process. Sometimes two or three applications are needed for older stains. Each round weakens the oil film a little more.
A trick for tougher cases.
If the baking soda paste alone doesn't get the mat fully clear, try adding a splash of white vinegar. Put the paste on the mat, then spray a little vinegar on top. It will fizz.
Let that fizz sit for about five minutes, then scrub and rinse. The chemical reaction between baking soda and vinegar helps lift stubborn residue. Just be aware that the fizzing is short-lived, so work quickly.
What this method won't do.
Baking soda paste won't fix heat damage. If your mat is yellow from being overheated, not from oil, this method won't help. It also won't remove deep cloudiness inside the silicone.
That's a material degradation issue, not a surface cleaning issue.
Is it safe for clear silicone mats?
Yes. Baking soda is a fine powder. Its particle structure is gentle enough that it won't scratch food-grade silicone.
Our research into silicone care guidelines from manufacturers confirms that baking soda is one of the recommended cleaning agents for non-stick silicone surfaces. Just don't mix it with bleach or hydrogen peroxide. Those combinations can create unexpected chemical reactions that might damage the mat or release fumes.
Path Three – The Heavy-Duty Soak for Stubborn Yellow Discoloration on Clear Mats
When the baking soda paste doesn't cut it, you need something stronger. For baked-on yellow stains that have been through multiple oven cycles, hydrogen peroxide is the go-to. This soak is specifically for clear silicone mats where the yellow discoloration is visible and stubborn.
What you'll need.
- 3% hydrogen peroxide (the standard brown bottle from any drugstore)
- A large baking dish or shallow container big enough to hold the mat flat
- Warm water
- A soft sponge
The process.
Lay the mat flat in the baking dish. Pour enough hydrogen peroxide to cover the yellowed areas. You don't need to submerge the whole mat.
Just the stained parts. Let it soak for one to two hours. Check on it after 30 minutes.
You should see the yellow starting to lift.
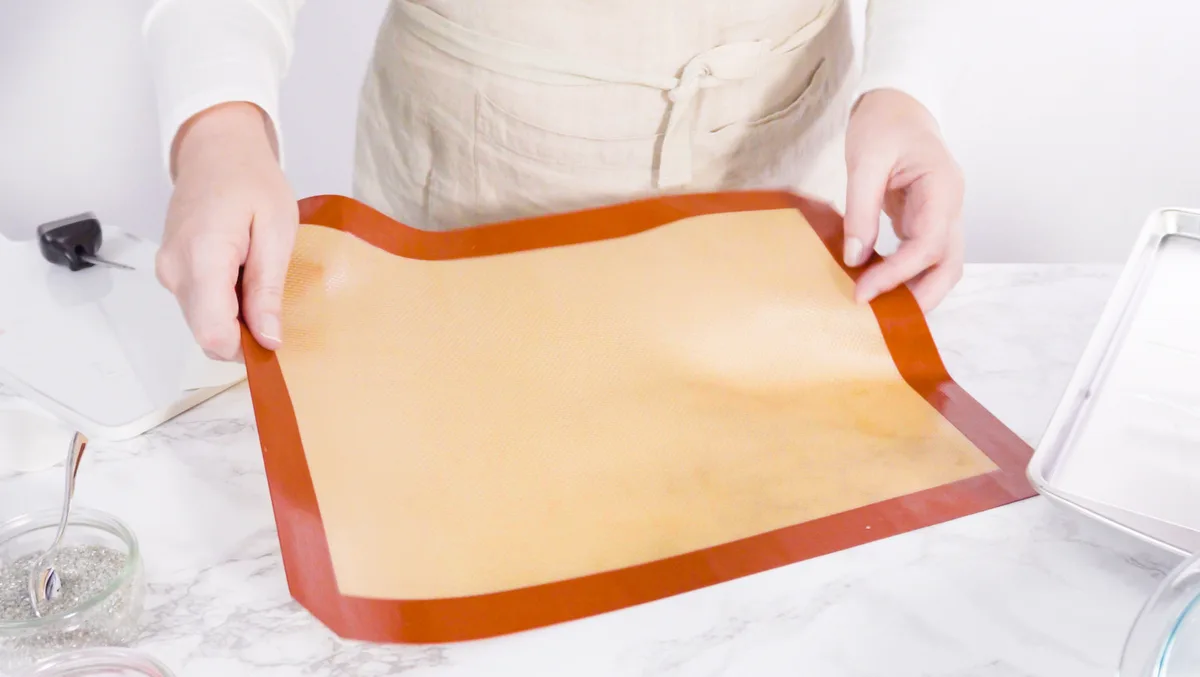
After the soak, rinse the mat thoroughly under cool running water. Use a soft sponge to gently wipe away any loosened residue. The hydrogen peroxide breaks down the polymerized oil bonds without damaging the silicone surface.
Why this works.
Hydrogen peroxide is an oxidizer. It reacts with the organic compounds in baked-on oil and turns them into water-soluble substances. That's why the yellow fades.
It's the same chemistry used in some industrial cleaning applications for silicone surfaces. Manufacturer specs confirm that 3% hydrogen peroxide is safe for food-grade silicone as long as you rinse thoroughly afterward.
Important safety note.
Never mix hydrogen peroxide with vinegar or bleach. The combination creates a chemical reaction that can release irritating fumes or even cause a small explosion in a closed container. Use it on its own.
Rinse the mat well between different cleaning methods.
Who this is best for.
This method is for clear mats that have been neglected for a while. If you've had your mat for a year or more and never deep cleaned it, the hydrogen peroxide soak is your best bet. It's also the most effective method for removing the yellow haze that builds up from repeated roasting of fatty foods.
What it won't fix.
Heat damage. If the mat has been exposed to temperatures above 500°F, the silicone itself may have changed. That yellow is structural, not surface-level.
No amount of soaking will restore it. At that point, the mat is nearing the end of its useful life.
Six Common Mistakes That Ruin Silicone Mats (and What to Do Instead)
Even experienced bakers make these errors. The good news is they're all easy to avoid once you know what to look for.
Mistake 1: Using abrasive scrubbers.
Steel wool, scouring pads, and stiff-bristled brushes scratch silicone. Those scratches become tiny grooves that trap oil and food particles. Over time, the mat gets harder to clean and yellows faster.
Use a soft sponge or microfiber cloth only. The image below shows what happens when abrasive scrubbers meet silicone.
Mistake 2: Putting the mat in the dishwasher.
Dishwasher cycles use harsh detergents and high heat. Aggregate reviews from thousands of mat owners show that dishwasher cleaning accelerates yellowing and shortens mat lifespan. Hand washing is always better.
Mistake 3: Using bleach or bleach-based cleaners.
Bleach degrades silicone over time. It makes the material brittle and less flexible. A brittle mat develops cracks.
Those cracks trap bacteria and food. Replace the mat if you've been using bleach on it regularly. The same caution applies when you're cleaning other kitchen tools, the approach you use for keeping things like an air fryer clean can differ from what works on silicone.
Mistake 4: Storing the mat folded or rolled.
Creases create weak points in the silicone. Over time, those creases can crack or split. Store your mat flat or hung on a smooth rod.
Never fold it into a drawer.
Mistake 5: Using metal utensils on the mat.
Metal knives, scrapers, and spatulas cut into silicone. Those cuts create rough edges that catch food and make cleaning harder. Use silicone, nylon, or wooden utensils instead.
Mistake 6: Leaving the mat in direct sunlight.
UV rays degrade silicone. If you dry your mat in a sunny window, you're actually accelerating the yellowing process. Dry it in a shaded area or inside a cabinet.
How to Keep Your Mat Clear, Clean, and Stretch-Free Longer
Prevention is easier than deep cleaning. A few small habits will keep your silicone mat looking new for years.
Rinse immediately after use.
Don't let the mat sit in the sink with greasy dishes. Rinse it with hot water as soon as you take it out of the oven. This prevents oil from cooling and bonding to the surface.
Use a dedicated sponge.
If your dish sponge has been used to scrub greasy pans, it has residual oil on it. That oil can transfer back to the mat. Keep a separate sponge just for silicone mats and other non-stick surfaces.
Rotate between two mats.
If you bake frequently, having two mats lets you use one while the other soaks or air dries. This also extends the life of each mat because they get equal wear.
Avoid cooking spray.
Cooking spray contains lecithin and propellants that leave a sticky residue on silicone. That residue browns in the oven and contributes to yellowing. Use a light brushing of oil or butter instead.
Check your oven temperature.
Ovens often run hotter than the dial indicates. An oven thermometer costs a few dollars and can save your mat from heat damage. If your oven runs 25 to 50 degrees hot, adjust your cooking temperature accordingly.
Deep clean on a schedule.
Don't wait until the mat is yellow. Do a baking soda paste treatment every 10 to 15 uses. This prevents the buildup from ever getting to the stubborn stage.
It takes ten minutes and saves you from the longer hydrogen peroxide soak later.
Replace when it's time.
No mat lasts forever. Signs it's time for a new one include cracks, a stiff texture, a cloudy appearance that won't lift, or a persistent odor after cleaning. Most mats need replacement every two to three years with regular use.
Frequently Asked Questions About Cleaning Silicone Baking Mats
Can I use bleach to whiten my silicone baking mat?
No. Bleach degrades food-grade silicone over time. It makes the material brittle and less flexible.
If your mat is very yellow, use hydrogen peroxide instead. It's safer and more effective for silicone.
How long does a silicone baking mat typically last?
With proper care, two to five years. Frequent use, high heat, and harsh cleaning shorten that lifespan. If you see cracks or the mat feels stiff, it's time to replace it.
A damaged mat can't be restored.
Is it safe to use vinegar on silicone baking mats?
Yes, white vinegar is safe for silicone. It cuts grease and helps remove odors. But vinegar alone won't remove polymerized oil from baked-on stains.
Use it as a rinse after a baking soda or hydrogen peroxide treatment, not as the main cleaner.
Can I put my silicone mat in the oven to clean it?
No. High heat will further polymerize any oil on the mat. That makes the yellow worse.
The oven is not a cleaning tool for silicone. Stick to soak and scrub methods at room temperature.
Why does my clear silicone mat smell after cleaning?
Residual food particles or oil trapped in scratches cause odors. A thorough scrub with baking soda paste usually removes the smell. If the odor persists after cleaning, the mat may have deep scratches or heat damage that require replacement.
Can I use dish soap on silicone mats every day?
Yes. Mild dish soap and hot water are safe for daily cleaning. Just avoid soaps with bleach, citrus additives, or moisturizers.
Those ingredients can leave a residue that bakes onto the mat over time.
Final Decision Guide – Which Cleaning Method Fits Your Mat Right Now
Here's the decision tree in a simple format. Find your mat's condition and follow the recommendation.
| Condition | Recommended Method | Expected Result |
|---|---|---|
| Slight yellow, smooth surface, caught early | Hot dish soap soak | Usually removes all yellow |
| Moderate yellow, no tackiness, been there a few weeks | Baking soda paste | Lightens significantly, may need second application |
| Heavy yellow, tacky or greasy feel | Hydrogen peroxide soak | Removes most or all yellow |
| Cloudy or hazy appearance, no surface oil | No cleaning method works | Likely heat damage, replace the mat |
| Brown or dark spots | Hydrogen peroxide soak | May lighten but may not fully remove |
| Cracks or stiffness | Do not clean | Replace immediately, silicone is degrading |
Still unsure? Start with the hot dish soap soak. It's the gentlest method and won't harm your mat. If the yellow is still there after that, move to the baking soda paste.
If that doesn't work, go to the hydrogen peroxide soak. Never skip steps. Jumping straight to a harsh chemical soak on a mild stain is overkill and risks damaging the silicone.
A quick note on replacement costs. Silicone baking mats are relatively inexpensive compared to the cost of replacing other kitchen tools. If you're routinely cleaning a mat that's more than three years old and still yellowing, consider whether the time spent cleaning is worth more than the cost of a new mat. Sometimes the best investment is a fresh start.
The bottom line. A clean silicone mat performs better, lasts longer, and looks better. The right method depends entirely on the stain's severity and age. Diagnose first.
Then treat. Your mat will reward you with years of non-stick performance.

Related posts
Silpat Silicone Baking Mat: Worth Buying? Reddit Review
If you've been typing "is silpat silicone baking mat reusable silicone baking mat worth buying reddit review" into…
How to Fix Greasy Silicone Baking Mats
So you’re scrubbing your silicone baking mat, watching the suds rinse away, yet somehow it still feels greasy…
Muffins Sticking? Fix Nonstick Pan Without Liners
If you've ever tried to figure out how to fix 12 cup nonstick muffin pan muffins sticking to…