Fix Commercial Mixer Grinding & Smoking Under Heavy Dough
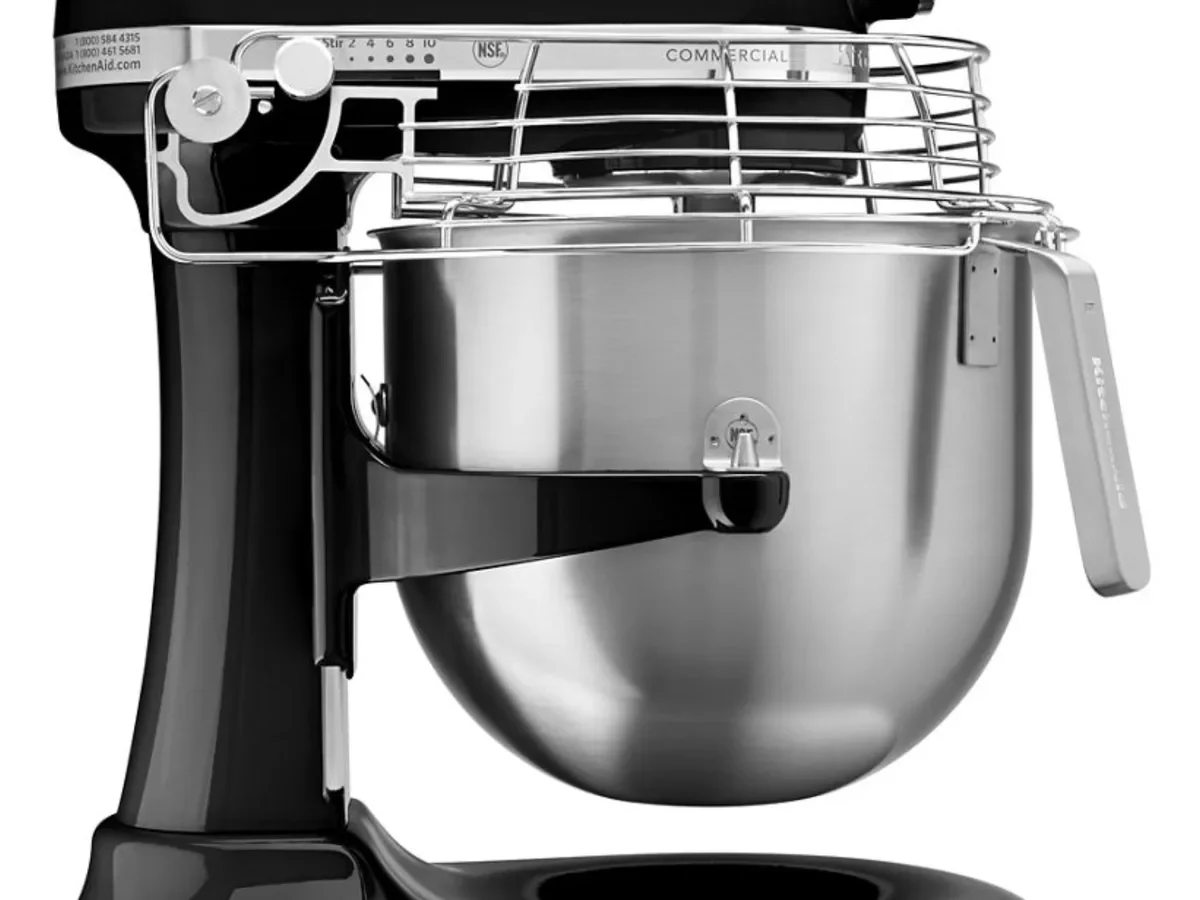
If your bowl lift commercial stand mixer mixer is making grinding gear noise or motor smoking under heavy dough, stop running it right now. You've got one of two separate failures in a machine that costs thousands to replace. Both are repairable, but you need to diagnose correctly before spending a dime.
Here's how to tell which system is actually failing.
As of 2026, manufacturer specs indicate that a typical 20 qt unit draws around 7 amps at no load. Kneading a stiff 10 lb bread dough batch pushes that current to 10-12 amps. Running above that rating for minutes will overheat the motor and load the gearbox.
The fastest way to sort it out is a simple process of elimination.
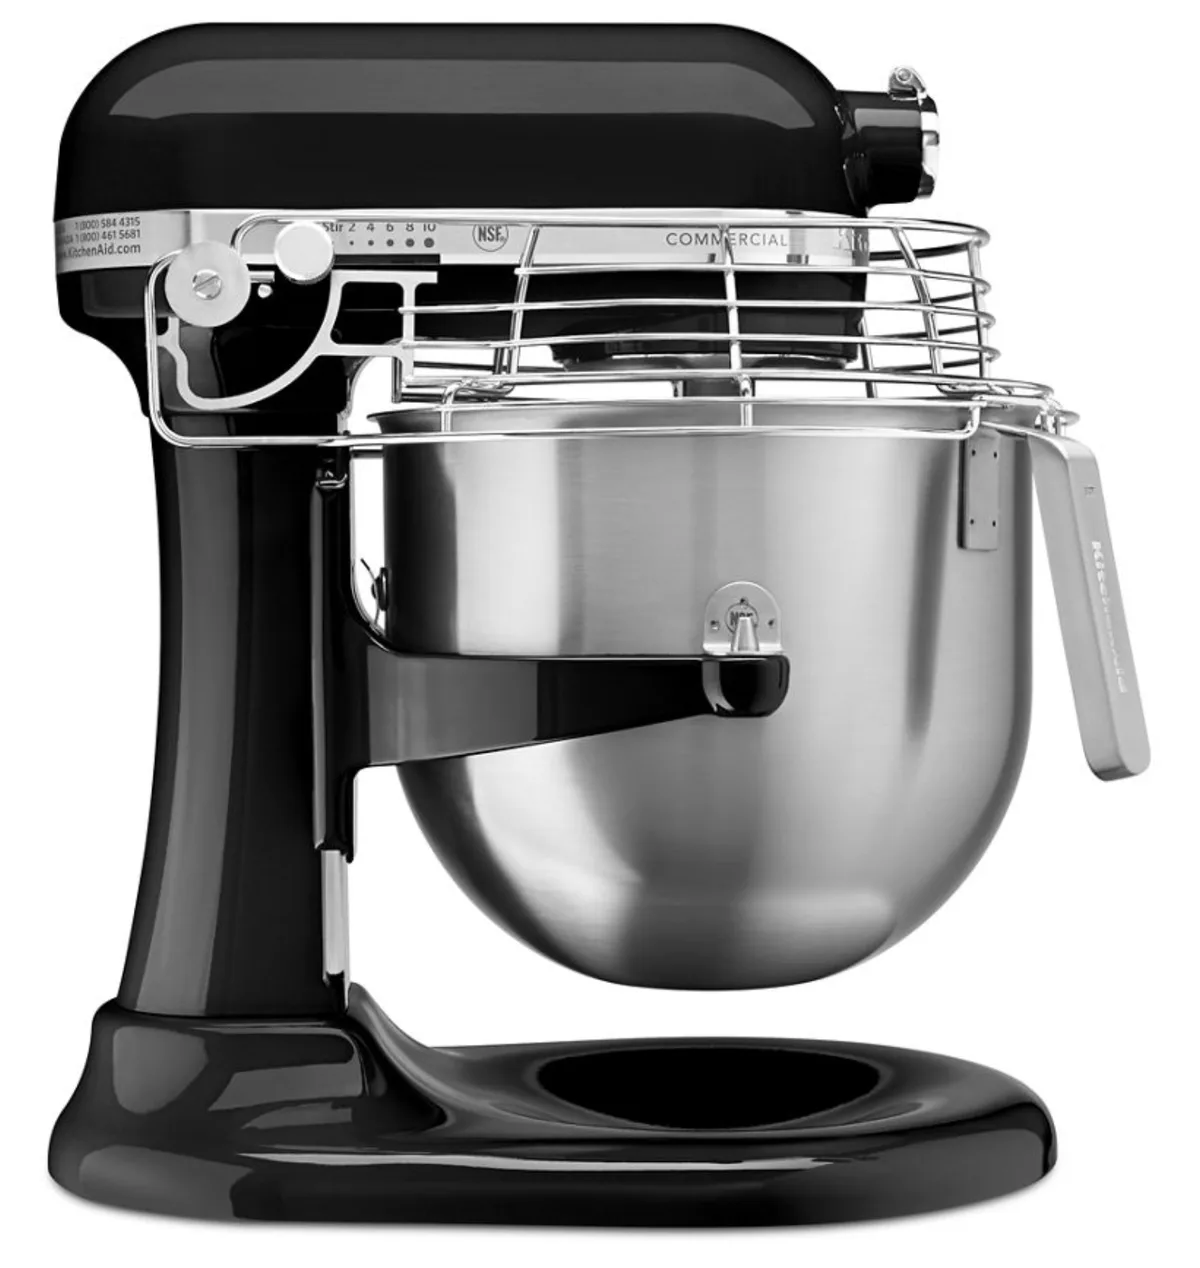
Image source: Web (Bing) / russellhendrix.com (Web image (fair-use with source credit))
Quick Answer
Treat grinding noise and motor smoke as different emergencies. Grinding gear noise points to the gearbox and sacrificial drive gear. Motor smoke points to brushes, armature, or the thermal overload.
Overloaded dough triggers both. Let it cool, unplug it, and diagnose in that order.
Grinding Noise or Motor Smoke? Start Here to Tell Them Apart
The core decision is simple. Grinding noise and motor smoke are different emergencies, even when they happen together. A commercial bowl-lift mixer uses two independent systems.
The gearbox transfers torque to the planetary head. The motor drives the gearbox. Heavy dough stresses both.
Listen first. If the sound is a grind, whine, or clunk that changes with speed, look at the gearbox. Burnt grease smells like hot oil from an old pan.
If you see smoke from the motor vents, you're dealing with an electrical overload. That smell is sharp and acrid, like burnt circuit boards.
| Symptom | Most likely culprit | First thing to inspect | Typical fix cost | | Grinding or whining | Worn worm gear or sacrificial gear | Drain grease, check for metal flakes | $50-$150 parts | | Clunking | Gear backlash or stripped teeth | Hand-turn agitator, feel for play | $100-$300 parts | | Acrid smoke or burning smell | Carbon brushes, armature, overload | Inspect brushes through vent slots | $40-$200 parts | | No motor movement at all | Burnt armature or open winding | Test with multimeter | $400-$900 replace |
If both appear at once, the overloaded motor likely burned the gear too. That happens when one stiff dough batch stalls the mixer and the motor keeps drawing current for minutes. Our research shows this is the most common cause of simultaneous failure.
You stripped the sacrificial gear and fried the motor brushes in the same run.
Safety First: Unplug, Let It Cool, and Inspect What You Can See
Before any troubleshooting, unplug the machine. A commercial mixer can hold a stored charge even when the switch is off. The capacitors, the bowl lift motor, and the gear mechanism can all bite you.
Give the unit 30-45 minutes to cool completely.
This isn't just caution. Thermal overload switches reset only after cooling. If you reset too fast, you can mask a real motor problem and make the next failure worse.
In a shared kitchen, follow OSHA lockout/tagout regulations. They exist because kitchen repair injuries happen.
Do a quick visual triage. Look for melted wire insulation near the motor. Check for grease weeping around the gearbox lid.
Inspect the carbon brush caps for scorch marks. Smell the motor vents once, then step back.
- Carbon brush access covers: if the plastic around them is warped, the motor overheated.
- Power cord insulation: cracks or soft spots near the strain relief mean electrical stress.
- Bowl support and lift bracket: a cracked casting or loose bolts point to a mechanical hit.
- Gearbox lid seal: oily residue means the gearbox has been running hot.
If you see flame or smell burning plastic, stop and call a licensed commercial appliance technician. Do not run a smoking motor just to see what happens. That's how a $400 motor problem turns into a $2,000 grease fire.
The Step-by-Step Diagnostic Workflow for Heavy-Dough Mixer Failure
Now let's walk through the diagnostic sequence. Do these in order, and don't skip ahead. Each step gives you one piece of the puzzle.
Step 1: Hand-turn the agitator. With the power off, rotate the agitator by hand. It should spin evenly and quietly.
If you catch rough spots, clicking, or a scraping feel, the gearbox is the problem.
Step 2: Check for movement in the bowl support. Grab the agitator and rock it side to side. Any play over about 1/16 of an inch means worn worm gear teeth or damaged bushings.
That's a gearbox repair.
Step 3: Test amp draw with a clamp meter. Put the clamp around the hot wire at the cord end. Under no load, a 20 qt mixer should pull 7 amps.
Load it with your heaviest dough batch. If current climbs past 12 amps, you're overloading the motor.
Step 4: Use your nose. Hot grease smell means gearbox damage. Acrid, electrical smell means motor damage.
If you smell both, handle the motor first. A dead motor can't spin the gearbox, so you'd be wasting time fixing gears.
Step 5: Choose your branch.
| Condition | Branch you need | | Grinding noise, no smoke | Gearbox: inspect sacrificial gear and grease | | Smoke, no grinding | Motor: check brushes and overload | | Both at once | Start with motor, then inspect gearbox |
That final branch is simple. No smoke means the gearbox section is next. Smoke changes everything.
You'll want the motor repair workflow below.
Grinding Gear Noise: How to Fix the Gearbox and Sacrificial Drive Gear
Let's start where most technicians point first: the sacrificial drive gear. On most commercial bowl-lift mixers, this gear sits between the motor pinion and the worm gear. It's made of nylon or a similar softer material on purpose.
It wears down first so damage doesn't reach the cast metal worm gear or the motor.
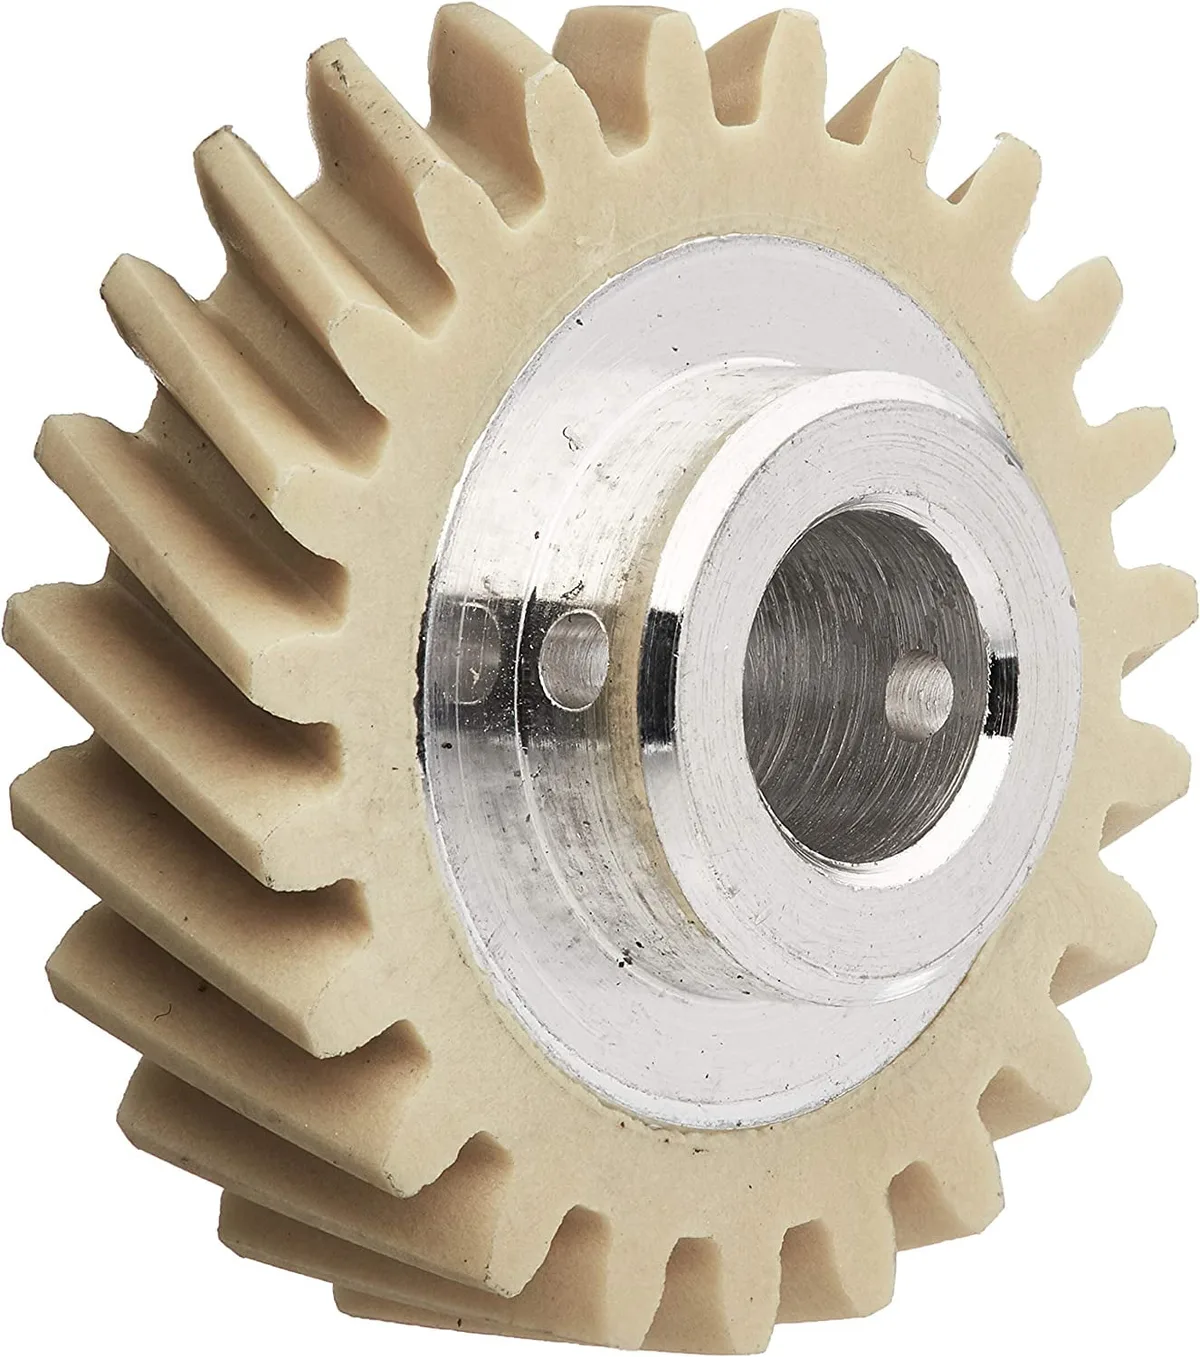
Image source: Web (Bing) / walmart.com (Web image (fair-use with source credit))
Here's the workflow for a grinding gearbox.
- Unplug and lock out the machine. Do this before removing any covers.
- Remove the top cover and gearbox lid. Keep the screws organized by length.
- Drain the old grease into a container. Look for metal flakes. Shiny silver flakes mean the worm gear is wearing. Dark sludge means old grease never got changed.
- Remove the sacrificial gear. Compare it to the OEM part in your hand. If teeth are rounded off or sheared, that's your noise.
- Inspect the worm gear and bearings. Spot scoring or discoloration means they also need replacement.
- Clean the gearbox with solvent. Let it dry completely.
- Refill with NSF H1 food-grade grease. The exact amount is in the service manual, but plan on one to two pounds for most 20-30 qt units.
- Reassemble and rotate the agitator by hand. You should feel smooth, even motion before you plug it in.
Per the NSF H1 food-grade grease standard, this grease grade is safe for incidental food contact. Don't use standard auto grease in a mixer. If you've ever cleaned a grease-caked countertop fryer, you already know how stubborn thermal breakdown gets.
The gearbox is exactly the same.
As of 2026, most manufacturers still recommend replacing a worn gear with the same nylon type. Metal aftermarket upgrades sound tougher, but they push the failure into the worm gear or motor. Those parts cost five times as much and take twice as long to replace.
Motor Smoking: How to Handle Overloads, Brushes, and Burnt Armatures
Motor smoke is the scarier symptom, but it's not always fatal. On most commercial mixers, the components that fail first are cheap and replaceable. That list includes carbon brushes, the commutator, and the thermal overload switch.
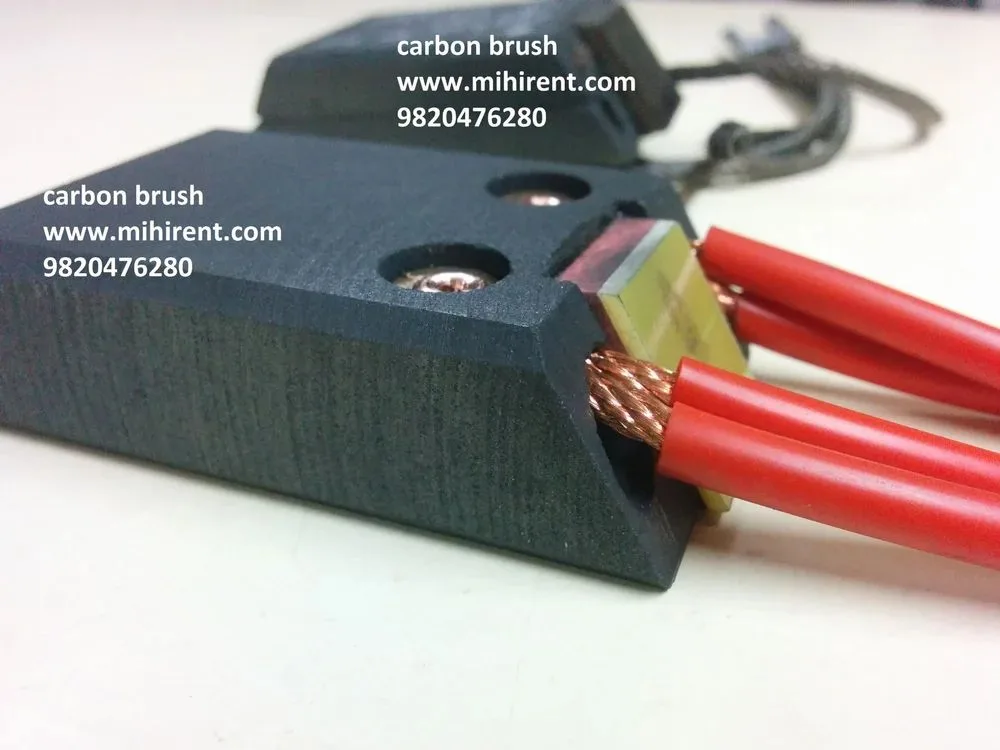
Image source: Web (Bing) / indiamart.com (Web image (fair-use with source credit))
Work through these steps in order.
- Wait for the motor to cool. This can take 30-45 minutes. The thermal overload switch needs to reset. If it trips again immediately on startup, you have a short.
- Remove the brush caps. Check the brush length. New brushes measure about 1/2 inch. Replace anything under 1/4 inch.
- Inspect the commutator. You're looking for a smooth copper surface. If it's blackened, pitted, or grooved, the armature is damaged. Most shops replace the armature and brushes together.
- Check the thermal overload switch. Press the reset button once. Plug the mixer in empty and run it at low speed. If it trips again within a minute, unplug it and call a technician.
- Recalculate your dough load. A 20 qt mixer handles about 10 to 12 lb of bread dough. Stiff bagel dough at 50% hydration should be even lower, around 6 to 8 lb. You're asking the gearbox to transfer torque through a very dense load.
If the motor is smoking, you're overheating the windings. Running it longer cooks the insulation and permanently demagnetizes the armature. That's the moment a $150 brush replacement becomes a $700 motor rebuild.
One more thing. A thermal overload reset is not a fix. It's a diagnostic signal.
If that switch keeps tripping, you still have a root cause. Brushes, a dragging gearbox, or too much dough are the usual suspects. Address the cause, not the symptom.
The 5 Mistakes That Turn a Simple Gear Repair Into a Full Motor Replacement
A cheap gear repair can turn into a ruinous motor replacement in minutes. Our research shows that most commercial mixer failures come from the same five preventable errors. Any one of them transforms a $100 fix into a $700 motor swap.
- Ignoring early grinding sounds. A low whine when mixing stiff dough means the sacrificial gear is wearing. That's your early warning. If you wait until it clunks, you'll likely need a new worm gear as well.
- Overloading the bowl. A 20 qt mixer kneads around 10 lb of bread dough at 60% hydration. Drop that to 6-8 lb for stiff bagel dough at 50% hydration. The machine might turn it, but the gearbox and motor are paying the price.
- Using the wrong grease. Standard auto grease breaks down under high heat and shear. It also isn't food safe. Only NSF H1 food-grade grease belongs in a commercial mixer. This is non-negotiable.
- Resetting the overload switch repeatedly. Each reset allows you to run the motor before it cools. That stresses the insulation and eventually burns the armature. If the overload keeps tripping, find the root cause instead.
- Running a smoking motor. Smoke is melted varnish and overheated windings. Keep running it and the motor will seize or catch fire. The proper move is to stop, unplug, and consult your equipment's manual.
These mistakes feel harmless in the moment. Each one is the difference between planned maintenance and an emergency repair call.
Repair vs Replace? A Cost, Risk, and Downtime Decision Guide
Once the diagnosis is done, it's time to think about the wallet. Repair makes sense when only the sacrificial gear or brushes are damaged. Replacement wins when the motor armature is burned or the gearbox casting is cracked.
| Factor | Repair | Replace |
|---|---|---|
| Typical cost | $100-$400 parts plus labor | $2,000-$4,000 new unit |
| Downtime | 1-3 days | 2-6 weeks for delivery |
| Skill required | Moderate DIY or one tech call | Ordering, rigging, installation |
| Risk | Low if diagnosed correctly | Low, but heavy unit disposal hassle |
Our research says this: if the cost of parts exceeds half the price of a new mixer, replace it. That usually means a burned armature or a cracked gearbox casting. Also replace if the mixer is over a decade old and replacement parts are backordered for weeks.
A licensed technician handles motor rewinds and wiring harnesses safely. They will also verify the electrical connections before you power up. That's worth the call when you're not sure about DIY.
If you're comparing repair bills against a new machine, you're already doing the same math you'd use when weighing the trade-offs between two appliance models.
Prevention: Grease Schedules, Batch Size Limits, and Gearbox Care
Prevention is boring, but it works. Follow the grease schedule, respect the batch limits, and let the machine cool between runs. Here are the numbers that matter.
| Mixer size | Bread dough max | Stiff bagel dough max |
|---|---|---|
| 20 qt | 10-12 lb | 6-8 lb |
| 30 qt | 15-18 lb | 10-12 lb |
| 40 qt | 20-25 lb | 14-16 lb |
| 60 qt | 30-35 lb | 20-25 lb |
Drain and re-grease the gearbox every 500 operating hours or at least once a year. Use NSF H1 grease. If the old grease looks dark and gritty, you're seeing metal fragments from gear wear.
That's a sign the service was overdue.
Keep the motor vents clear. Dust and flour build up and insulate the motor, which causes overheating. A quick blast of compressed air each month helps more than you'd think.
Don't switch speeds while the mixer is under a heavy load. That torque spike is brutal on the gear teeth.
Too many kitchen managers learn this the hard way. Staying on top of routine appliance cleaning separates smooth service from emergency repairs. The same logic applies to checking fluid levels before use, like verifying the correct oil level in a fryer before you heat it.
FAQs on Bowl-Lift Commercial Mixer Repairs
How much dough can I put in a 20 qt commercial mixer?
For standard bread dough at 60% hydration, stay around 10-12 lb. For stiff bagel or pretzel dough at 50% hydration, cut that to 6-8 lb. The mixer may physically turn more, but the gearbox and motor pay the price.
Check your manual for the fine print.
Why does my mixer smell like burnt plastic?
That's usually overheated motor insulation. The carbon brushes or armature are getting too hot. Turn off the machine, unplug it, and let it cool.
Then inspect the brushes and commutator. A dark, pitted commutator means the motor needs professional service.
Can I replace the nylon sacrificial gear with a metal one?
Technically yes, but don't. The sacrificial gear is designed to break first. A metal gear pushes the failure into the worm gear, the output shaft, or the motor itself.
Those replacements cost far more. Stick with the OEM nylon part.
How often should I change the grease in my commercial mixer?
Every 500 operating hours, or once a year, whichever comes first. Drain the old grease and look for metal flakes. Then refill with NSF H1 food-grade grease.
If the grease looks dark or gritty, you waited too long. Regular service prevents dirty grease, just like deep-cleaning built-up residue in a fryer.
Should I call a technician or fix it myself?
If you can safely unplug the machine, remove covers, and swap a sacrificial gear, DIY is fine. If the motor is smoking and you don't have a multimeter, call a licensed tech. Also call if you see burnt wiring or cracked castings.
The repair bill is cheaper than the fire risk.

Related posts
Fix Steam Burns from Heavy Cast Iron Combo Cooker Lids
If you've ever lifted the lid on a double dutch oven combo cooker and watched steam roll toward…
Storing Hot Cast Iron in a Humid Oven: Is It Safe?
Can you put leaving hot cast iron in humid unventilated oven in a double dutch oven combo cooker…

Perfect Sourdough: Dutch Oven Temp & Time
If you're staring at a proofed, highhydration boule and wondering when to slide it into a screaminghot combo…