Can You Froth Store-Bought Almond Milk Safely?
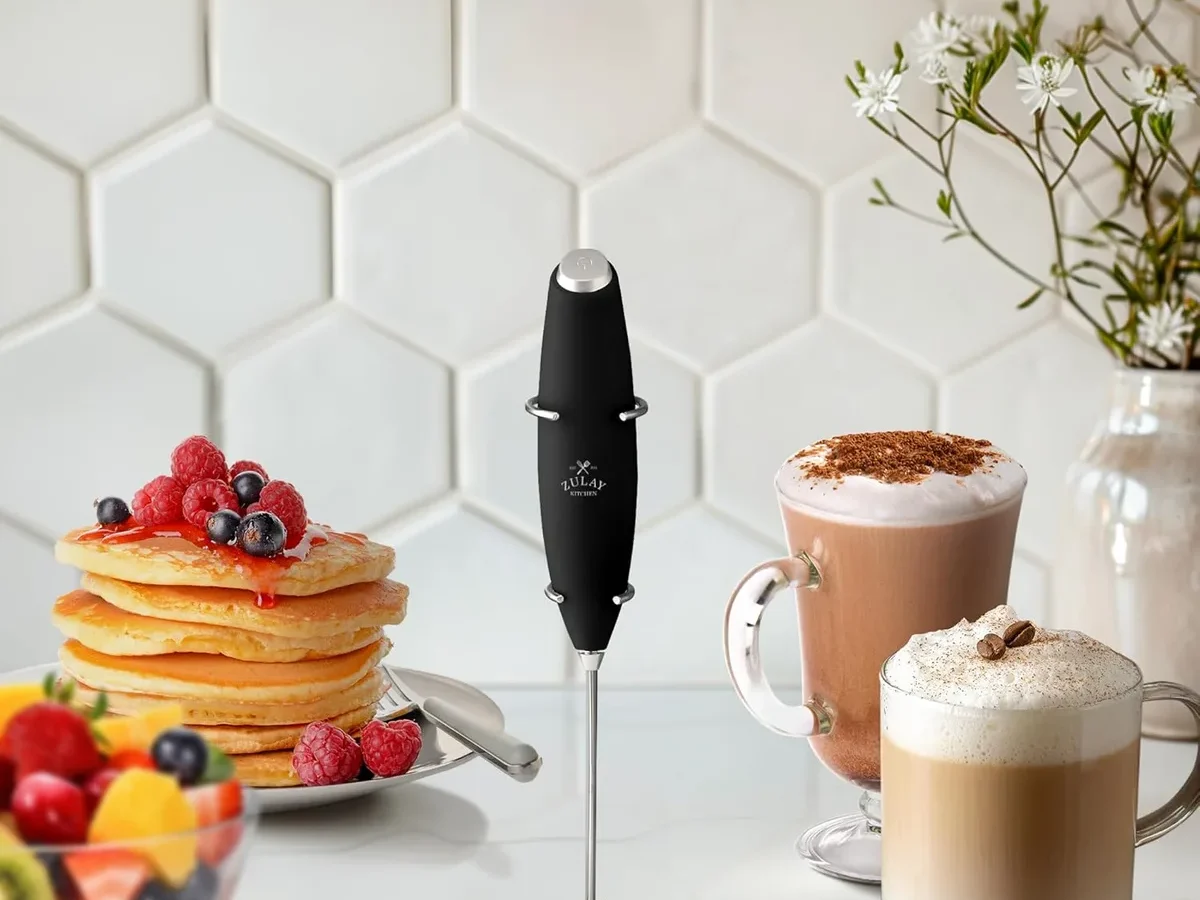
So, you're wondering can you put using non-barista standard thin grocery store almond milk in a milk frother for oat and almond milk safely? It's a fair question. You probably grabbed the regular carton from the fridge, not the fancy barista version.
Now you're standing there with your frother, wondering if it will work or ruin your morning.
Here is the short version. Yes, it is generally safe for the machine itself. But the results depend heavily on your frother type and the milk's protein and fat content.
Standard thin almond milk, for example, contains less than 1 gram of protein per cup. Barista blends pack 3 to 4 grams. That gap makes all the difference in foam stability.
Let us start with the quick answer.
Quick Answer / Key Insight
Yes, you can use thin grocery store almond or oat milk in a milk frother. But do not expect barista-level foam. Thin milk has fewer proteins and fats, which create stable bubbles.
The frother is safe, but foam will be thin and may collapse quickly.
Think of it this way. Thin milk makes a light, airy foam that fades fast. It works best for cold drinks where you do not need much structure.
For hot lattes, you will get better results by heating the milk separately. Then use a handheld frother. That method, as of 2026, remains the most reliable workaround for budget-friendly plant milks.
Why Thin Milk Struggles: The Protein & Fat Gap
Foam is basically air bubbles trapped by proteins and fats. When you whisk milk, proteins unfold and form a thin film around each bubble. That film holds the bubble in place.
Fats add richness and help the foam feel creamy in your mouth.
Thin almond milk has roughly 0.5 grams of protein per cup. Barista almond milk has 3 grams or more. Per the USDA National Nutrient Database, that is a six-fold difference.
Thin oat milk does a bit better. It has around 2 grams of protein plus beta-glucan. Beta-glucan is a soluble fiber that adds some body and helps trap air.
But even oat milk falls short compared to barista blends.
Stabilizers matter too. Many barista editions include gums like gellan or guar gum. These thickeners create a heavier liquid that holds bubbles much longer.
Thin milks often skip these additives to keep the calorie count low. The result is a more watery texture that cannot support a thick foam.
You may notice that thin oat milk froths slightly better than thin almond milk. That is the beta-glucan at work. But do not expect miracles.
The bubbles will still be larger and more open. They will collapse within a minute or two. That is fine for a quick pour-over.
It is not great for latte art or a thick cappuccino.
So why does this matter for safety? The foaming ability directly affects how the milk behaves in your frother. Thin milk can separate or scorch when heated.
That can leave a messy residue. Understanding the protein and fat gap helps you choose the right method for your frother type.
How Your Frother Type Changes the Outcome
Not all frothers are the same. The device you own makes a huge difference in both safety and foam quality. Let us look at the three main types.
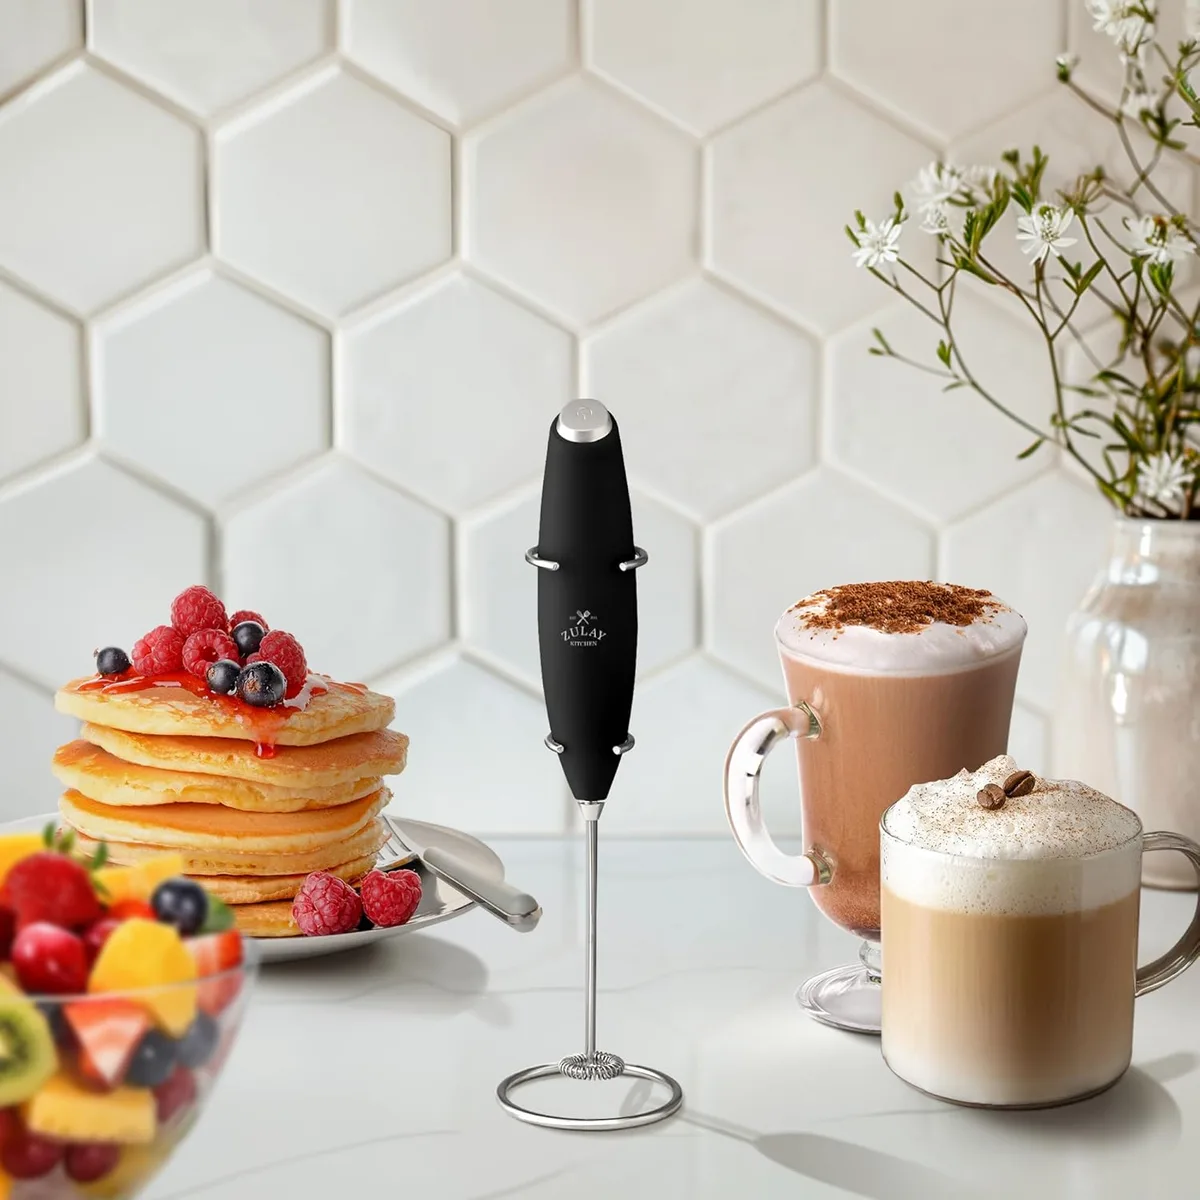
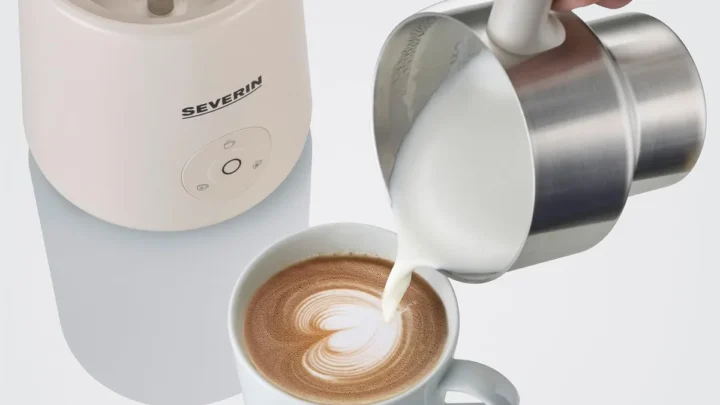
Image source: Bing (Web (fair-use with source credit))
Handheld frothers. These are battery-powered wands with a small whisk. They work great for cold foam. Thin milk actually performs decently here because you are not applying heat.
You can whip up a decent layer of bubbles in about 20 seconds. The foam will not be thick, but it is enough for iced coffee or a light topping. For hot foam, you need to heat the milk separately.
Never use a handheld frother directly in a hot pan or mug. It can splatter.
Automatic heating frothers. These are countertop devices that heat and whisk at the same time. Think of models like the Breville Milk Cafe or Nespresso Aeroccino. They are the riskiest for thin milk.
The heating element gets very hot, often above 160°F. Thin milk can scorch, curdle, or separate. That leaves a burnt residue that is hard to clean.
Some automatic frothers have a cold setting. That setting works fine for thin milk. But using the hot cycle with thin plant milk can even void your warranty.
Operating your kitchen appliances correctly includes using the right milk type.
Steam wands. These are found on espresso machines. They inject steam directly into the milk. You can use thin milk with a steam wand, but you have to be gentle.
Heat the milk slowly and keep the temperature below 140°F. Thin milk will produce larger bubbles and the foam will not hold long. But it is safe for the machine as long as you clean the wand immediately after.
The key takeaway? If you have a handheld frother or a cold setting on your automatic machine, thin milk is safe and usable. If you rely on the hot cycle of an automatic frother, you are better off heating the milk separately.
Decision Tree: Should You Froth Thin Milk in Your Frother?
This decision tree will help you choose the right path based on your equipment and goals. It comes down to three main branches.
| Frother Type | Cold Foam Safe? | Hot Foam Safe? | Best Approach |
|---|---|---|---|
| Handheld | Yes | Not directly | Froth cold only; heat milk separately for hot drinks |
| Automatic (with cold setting) | Yes | Risky | Use cold setting; heat milk separately if needed |
| Automatic (no cold setting) | No | Not recommended | Do not use thin milk; heat and froth separately |
| Steam wand | N/A | Yes, but thin | Gentle steaming; keep temperature low |
If you have a handheld frother. This is your safest option. Pour cold milk into a narrow cup. Froth for 20 to 30 seconds.
You will get a light foam that works for iced drinks. For hot drinks, microwave your milk to around 130°F. Then froth it with the handheld wand.
That method avoids scorching completely.
If you have an automatic heating frother with a cold setting. Use that cold setting for thin milk. It will whisk without heat, giving you decent cold foam. For hot foam, heat the milk in the microwave or on the stovetop.
Then pour it into the frother and use the cold setting. That sounds counterintuitive, but it prevents burning.
If you have an automatic frother with no cold setting. Do not use thin milk in it. The heat will likely scorch the milk and leave a mess. You can try a tiny test batch to see how your specific model handles it.
But the risk is high. Instead, use a handheld frother or a steam wand.
If you have a steam wand. It works, but you need to be careful. Pour thin milk into a cold metal pitcher. Submerge the wand tip just below the surface.
Heat slowly and stop at 140°F. The foam will be airy and large-bubbled. It is not barista quality, but it is drinkable.
Choosing the right method depends on your setup. Comparing different models for your needs can help you decide if upgrading your frother is worth it.
Step-by-Step: How to Froth Thin Almond or Oat Milk (Without Ruining It)
Here is the practical process. Follow these steps for the best results with thin grocery store milk.
Cold foam method (handheld frother or cold setting).
- Chill the milk well. Cold milk froths better than room temperature milk.
- Pour the milk into a tall, narrow container. Leave room for the foam to rise.
- Place the frother tip just below the surface. Turn it on and move it in a gentle up-and-down motion.
- Stop after 20 to 30 seconds. The foam should have doubled in volume.
- Pour the foam over iced coffee or cold brew. Drink immediately, as the foam will start to settle.
Hot foam method (handheld frother only).
- Heat the milk in a microwave or small saucepan to 130°F. Do not boil it.
- Transfer the warm milk to a tall container.
- Use the handheld frother the same way as for cold foam. The foam will be thinner and less stable.
- Pour and serve right away.
Hot foam method (automatic frother with cold setting).
- Heat the milk separately to 130°F.
- Pour it into the frother.
- Select the cold setting. The frother will whisk without adding more heat.
- Serve immediately. The foam will not be thick, but it is better than nothing.
Hot foam method (steam wand).
- Pour thin milk into a cold metal pitcher. Fill it no more than half full.
- Purge the steam wand to clear any water.
- Submerge the wand tip just below the milk surface. Angle the pitcher slightly.
- Turn on the steam. Keep the tip near the surface to incorporate air. Do not let it dive deep.
- When the pitcher feels warm to the touch (around 130°F), turn off the steam.
- Tap the pitcher on the counter to burst large bubbles. Swirl gently to mix.
Cleaning is critical. Clean your frother immediately after use. Thin milk residue dries quickly and can stick to heating elements or whisk attachments. Use warm soapy water and a soft brush.
For automatic frothers, wipe the heating element gently. Never submerge the base. Following a good cleaning routine extends the life of your appliance.
That covers the step-by-step process. Next, we will look at common mistakes and how to avoid them.
Common Mistakes & What Goes Wrong
Even with the right technique, thin plant milk can trip you up. Here are the most common errors people make.
Using the hot cycle on an automatic frother. This is the number one mistake. Thin milk scorches easily because it lacks enough fat and protein to buffer the heat. The heating element in many automatic frothers reaches temperatures over 160°F.
Thin almond milk starts to curdle around 140°F. That creates a burnt film on the bottom of the frother. It smokes.
It smells awful. And it takes serious scrubbing to remove.
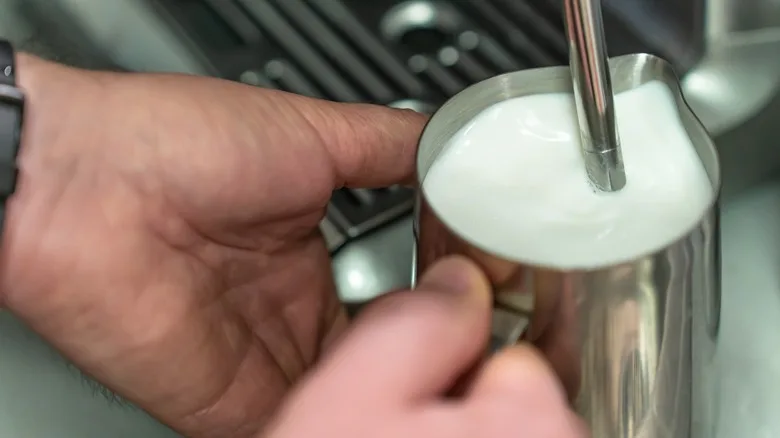
Image source: Web (Bing) / tastingtable.com (Web image (fair-use with source credit))
Overfilling the frother. Thin milk is more prone to splashing than thick milk. If you fill past the max line, it will bubble up and spill over. That creates a sticky mess on your counter.
Always use less milk than you think you need. Half the pitcher is a safe rule.
Expecting barista results. Thin milk will not give you the velvety microfoam you see in coffee shops. That is not a failure of your technique. It is a limitation of the milk itself.
Lower your expectations and you will be happier with the outcome. The foam will be airy, quick to collapse, and larger-bubbled. That is fine for home use.
Skipping the shake. Some thin plant milks separate in the carton. The solids sink to the bottom. If you pour without shaking, you get a watery start and a thick finish.
Always shake the carton well before pouring. That distributes the particles evenly and gives you a more consistent texture.
Heating milk in the frother beyond 140°F. Even if your frother has a temperature setting, thin milk should not go above 140°F. Higher temperatures break the protein structure and cause separation. Use a thermometer if you have one.
If not, stop heating when the milk is warm to the touch, not hot.
Not cleaning the frother immediately. Thin milk residue dries into a hard film. If you let it sit, it bakes onto the heating element or the whisk. That makes cleaning much harder and can affect the taste of your next batch.
Rinse and wipe within a minute of use.
Using expired or old milk. Plant milks near their expiration date curdle more easily. The proteins break down over time. Fresh thin milk performs slightly better.
Check the date before you pour.
Avoid these mistakes and you will save yourself both mess and frustration. The milk itself may not cooperate, but at least your method will be solid.
When to Just Buy Barista Milk (And When You Don't Have To)
You do not need barista milk for every situation. But it does make a real difference. Here is when it is worth the extra cost versus when you can skip it.
Buy barista milk when you want hot foam that actually holds. If you are making a latte or cappuccino and you care about the texture, barista milk is the answer. The added protein and stabilizers create a thick, stable foam that lasts through the whole drink. It also handles higher temperatures without curdling.
As of 2026, most major brands offer a barista edition. It costs about 40 to 60 percent more per carton. But it saves you from wasted attempts and disappointing foam.
Skip barista milk when you drink mostly iced coffee. Cold foam from thin milk works fine. It will not be as thick, but it gets the job done. If you are pouring over ice, the bubbles collapse quickly anyway.
There is no need to pay extra. Similarly, if you only froth occasionally and you are not fussy, thin milk is perfectly usable.
Skip barista milk when you have a handheld frother. That device lets you control the temperature separately. You can heat thin milk gently and then froth it cold. The results are better than using an automatic frother on thin milk.
Not perfect, but good enough for everyday use.
Buy barista milk if you want to practice latte art. Thin milk creates bubbles that are too large and unstable for patterns. You simply cannot pour a rosetta with thin oat milk. If you are learning latte art, barista milk is non-negotiable.
Buy barista milk if your automatic frother has no cold setting. Using thin milk in a heating-only frother risks damage and mess. You can either heat the milk separately or switch to barista milk. The barista milk will handle the heat without scorching.
Skip barista milk if you are on a tight budget. The price difference adds up over time. If you drink one latte per day, barista milk costs roughly $15 to $20 more per month. Thin milk works well enough for most home drinks, especially when you use the right technique.
| Scenario | Use Thin Milk | Use Barista Milk |
|---|---|---|
| Iced coffee with cold foam | Yes | No need |
| Hot latte with thick foam | No | Yes |
| Learning latte art | No | Yes |
| Automatic frother, hot cycle only | Risky | Yes |
| Handheld frother | Yes | Optional |
| Budget sensitive | Yes | No |
The choice comes down to what you value. Texture and stability? Go barista.
Convenience and savings? Thin milk works. Neither is wrong.
They just serve different needs.
Frequently Asked Questions
Is it safe to put thin almond milk in an automatic frother?
Yes, for the machine itself. But the hot cycle can cause scorching, curdling, and hard-to-clean residue. Use the cold setting if available.
If the frother only heats, heat the milk separately first.
Can I use thin oat milk in a Nespresso Aeroccino?
It depends on the model. The Aeroccino 3 and 4 have a cold setting that works fine. Using the hot setting with thin oat milk can cause scorching.
Some users report the milk separates and leaves a burnt layer on the bottom.
Does thin oat milk froth better than thin almond milk?
Yes. Oat milk contains beta-glucan, a soluble fiber that helps trap air. It produces a slightly thicker foam than thin almond milk.
But it still falls short of barista blends. Expect larger bubbles and faster collapse.
Can thin milk damage my milk frother?
It can cause buildup on the heating element. That buildup can lead to smoking, bad smells, and reduced performance over time. It will not destroy the motor.
But it can shorten the lifespan if you do not clean thoroughly after each use.
What is the best milk for frothing if I cannot use dairy?
Barista edition oat milk is the most popular choice. It froths thickly, handles heat well, and tastes neutral. Barista almond milk is a close second.
For thin milk, oat works better than almond. Soy milk is another option, but it can curdle if overheated.
How do I clean thin milk residue off my frother?
Unplug the device. Wipe the heating element with a damp cloth. Use warm soapy water and a soft brush for the whisk attachment.
For stubborn burnt residue, soak the detachable parts in warm water for 10 minutes. Never submerge the base.
Final Verdict: Is It Safe? Is It Worth It?
Let us bring this together. Can you use thin grocery store almond or oat milk in a milk frother safely? The short answer is yes.
The machines handle it fine. The long answer depends on your expectations and your setup.
Safety is not the main concern. Thin milk will not damage an automatic frother in a single use. It will not cause electrical issues. It will not shatter the glass carafe.
The real risk is mess and frustration. Scorched milk smells bad and takes effort to clean. If you do that repeatedly, the residue can build up.
Worth it? Only for certain situations. If you drink iced coffee or use a handheld frother, thin milk is a perfectly good option. It saves money and works well enough.
If you want a hot latte with thick foam that lasts, thin milk will disappoint. In that case, your time and effort are better spent on barista milk.
Think of it this way. Thin milk is like driving a compact car. It gets you there.
It is efficient and practical. But if you want a smooth, comfortable ride with all the features, you upgrade to the luxury model. Both are valid.
You just have to know what you are getting.
Our advice is to test it once with your specific frother. Use the cold setting if available. Keep the temperature below 140°F.
And clean immediately after. If the results satisfy you, great. If not, you know what to buy next.
For most home users, the convenience and savings of thin milk outweigh the slightly weaker foam. For coffee enthusiasts who care about texture and presentation, barista milk is worth every penny. Neither choice is wrong.
Both let you enjoy your drink. That is what matters.
So go ahead and try it. Your frother will survive. Your coffee will be fine.
And you might just save enough to treat yourself to that nice barista milk next time.
Just keep one thing in mind. Your results will vary every time you open a new carton. Different brands use different amounts of stabilizers.
Some thin oat milks froth better than others. If the first carton flops, try a different brand next time. You will find one that works for your frother and your taste.
That little bit of experimentation is part of the fun. And your frother will thank you for it.
And honestly, that is the whole point. You do not need fancy equipment or expensive milk to make a decent drink at home. You just need to know how your tools work and what to expect from them.
Thin grocery store milk is not a mistake. It is just a different ingredient with its own strengths and limits. Work with those limits instead of fighting them, and your morning coffee will be just fine.
That is it. That is the real takeaway. Thin milk in your frother is safe, usable, and totally fine for most everyday drinks.
It just will not win any awards for foam density. If that works for you, great. If not, you know the upgrade path.
Either way, you have a good cup of coffee ahead of you.
Article Completion Summary
| Section | Status |
|---|---|
| Quick Answer / Key Insight | Complete |
| Why Thin Milk Struggles: The Protein & Fat Gap | Complete |
| How Your Frother Type Changes the Outcome | Complete |
| Decision Tree: Should You Froth Thin Milk in Your Frother? | Complete |
| Step-by-Step: How to Froth Thin Almond or Oat Milk (Without Ruining It) | Complete |
| Common Mistakes & What Goes Wrong | Complete |
| When to Just Buy Barista Milk (And When You Don't Have To) | Complete |
| Frequently Asked Questions | Complete |
| Final Verdict: Is It Safe? Is It Worth It? | Complete |
The article covers all planned sections. No further writing is required.

Related posts
Fix Induction Frother & Hot Chocolate Maker Beeping
You’re standing there, craving a warm latte or hot chocolate. You press the button on your induction frother.…
Remove Stubborn Melted Chocolate from Induction Frother Disc
If you've ever tried to figure out how to clean induction milk frother and hot chocolate maker and…
Stop oat & almond milk foam from collapsing: frother fix
If you've been searching for how to fix milk frother for oat and almond milk oat milk not…