If you’ve ever dropped food into your Presto deep fryer too early, you already know what happens—soft, greasy, disappointing results instead of crisp, golden bites. I made this mistake my first time using a Presto fryer. I was impatient, tossed fries in early, and ended up with oily, floppy fries.
The good news? Learning how to know when Presto deep fryer is ready is incredibly easy. With the built-in ready light, quick visual tests, and a few pro tricks, you’ll always know when the oil has reached the perfect frying temperature.
Below, you’ll find a clean, beginner-friendly guide with expert insights, safety tips, and clear signs you can trust every time you fry.
Understanding How Your Presto Deep Fryer Heats Oil
Presto deep fryers use a direct-immersion heating element, meaning the heating rod sits inside the oil. This design:
- Heats oil faster than stovetop pans
- Keeps temperature more stable
- Reduces burning
- Produces crispier results
Inside your fryer, a thermostat monitors and controls the heat. When the oil reaches the temperature you set, the thermostat cycles on and off to maintain it. This is why Presto’s oil temperature stays consistent without you guessing.
Most Presto models — such as the Presto ProFry, FryDaddy, and CoolDaddy — also have a Ready Light that signals exactly when the oil reaches the correct heat.
Clear Signs Your Presto Deep Fryer Is Ready
To avoid soggy or greasy food, rely on these proven readiness indicators:
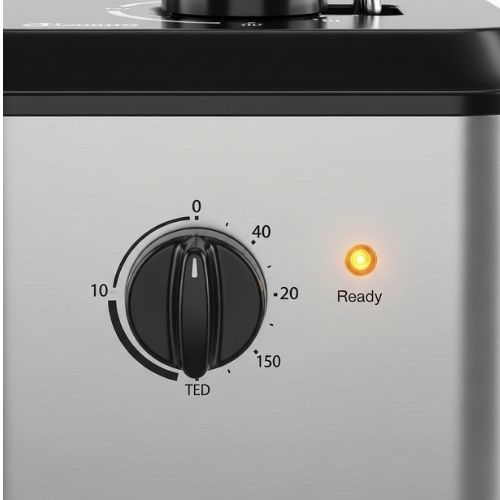
1. The Ready Light (Most Accurate Method)
Your Presto fryer comes with a Ready or Heat light that turns on or off depending on the model when the oil reaches the selected temperature.
- If the light switches off, the oil is ready.
- Some models switch on when ready—check your manual.
This light is the most reliable and fastest way to know when your Presto fryer is ready. Presto specifically designs this system to remove all guesswork.
2. Typical Preheat Time: 10–15 Minutes
If the ready light is unclear or you’re still learning your model, use general timing:
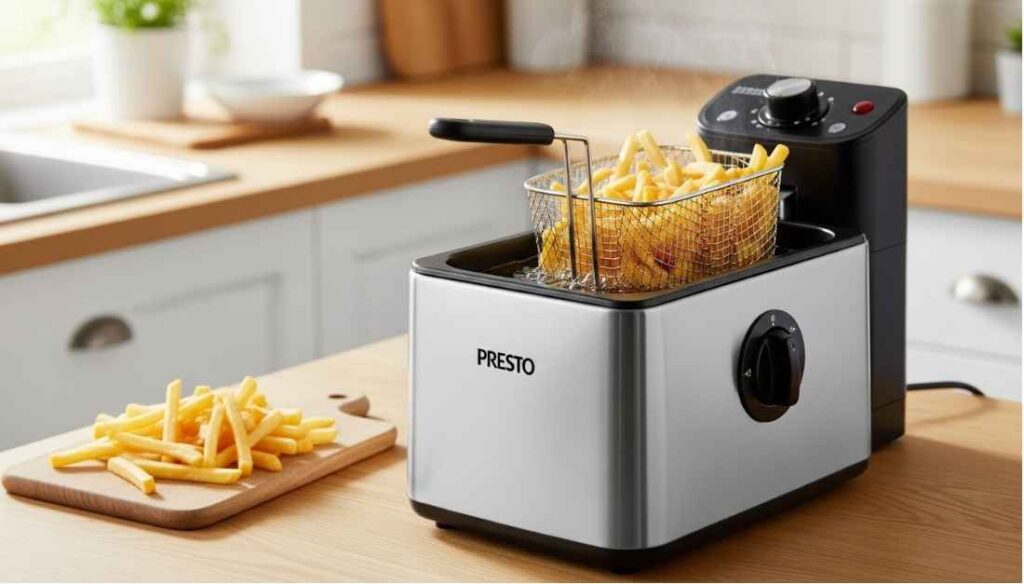
- 8–10 minutes for lighter foods (fries, vegetables)
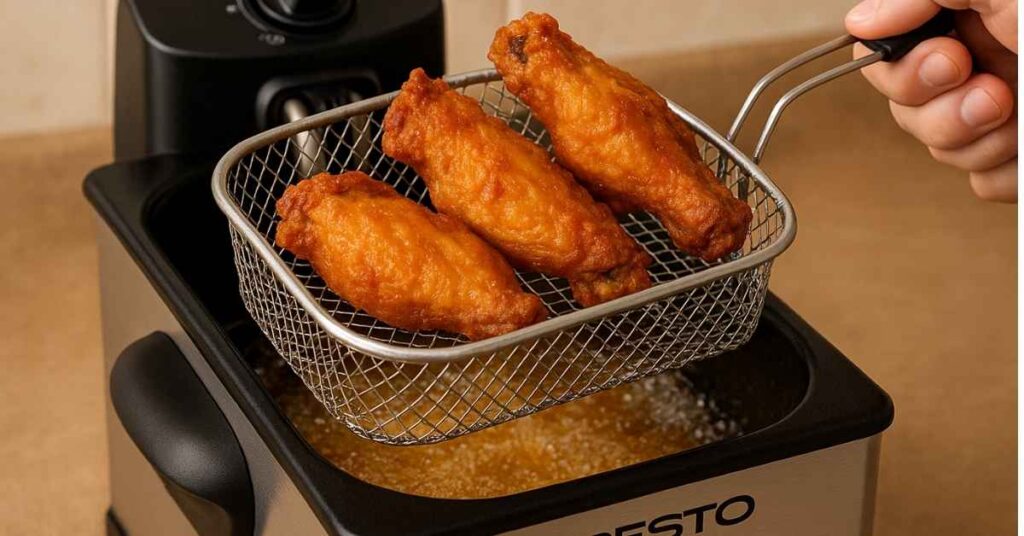
- 12–15 minutes for heavier foods (chicken, fish)
- More oil = longer preheat time
When I make fries, my ready light turns on around the 12-minute mark every time. For chicken, I usually wait a full 15 minutes to ensure steady heat.
3. The Wooden Spoon or Chopstick Test (Easy Backup)
This old-school trick works with any deep fryer:
- Touch the oil with the end of a wooden spoon.
- If tiny, steady bubbles appear around it → oil is hot enough.
- If large, aggressive bubbles explode around it → oil is too hot.
- If nothing happens → not ready yet.
This test is safe, quick, and surprisingly accurate.
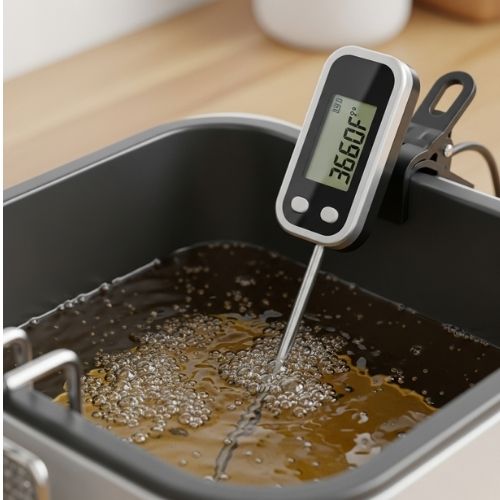
4. Use a Thermometer for Perfect Accuracy
If you want absolute precision, use a digital or candy thermometer.
Ideal frying temperature:
👉 350°F–375°F (177°C–190°C)
This range ensures:
- Crisp exterior
- Tender interior
- Minimal oil absorption
I always use a thermometer when frying chicken or fish for guests—consistency matters.
Common Beginner Mistakes (And How to Avoid Them)
Learning when the fryer is ready is easy, but beginners often fall into predictable traps:
Mistake 1: Adding Food Before Oil Is Ready
If the oil is too cool:
- Food absorbs oil instead of frying
- Results become soggy and greasy
- Cook time doubles
Always wait for the ready light or thermometer reading.
Mistake 2: Overcrowding the Fryer Basket
This instantly drops oil temperature.
Symptoms:
- Weak sizzle
- Uneven browning
- Pale, floppy results
Fix: Cook in small batches and wait for the temperature to recover.
Mistake 3: Not Letting Oil Reheat Between Batches
After each batch, oil temperature dips.
Your fryer is ready again only when:
- The ready light comes back on
- A steady sizzle returns
- The thermometer hits 350°F–375°F again
Rushing this step is the #1 cause of soggy second batches.
My Personal Tips for Perfect Frying With a Presto Fryer
After years of using Presto fryers, these are the steps that make the biggest difference:
✔ Preheat While Prepping Food
Let the fryer heat while you season or batter your food.
By the time you’re done prepping, the oil will hit the perfect temperature.
✔ Place Your Fryer on a Rimmed Baking Sheet
This catches any oil splashes or drips and keeps your cooking area clean and safe.
✔ Pause Between Batches
Let the oil rebound for 20–40 seconds.
The ready light is your best indicator here.
✔ Listen for the Sizzle
Over time, I learned the sound of perfectly hot oil:
A gentle, steady bubbling noise when food hits the surface.
If the sound is weak → oil is too cold.
If it roars aggressively → too hot.
Final Thoughts on how to know when presto deep fryer is ready
Knowing when your Presto deep fryer is ready turns frying from stressful to simple. Just follow the ready light, give the oil enough time to heat, and use a quick backup test if you want extra certainty.
Once you get used to the signs—steady sizzle, ready light, smooth timing—you’ll make crisp, golden food every time. The difference between frying too early and frying at the right moment is huge, and once you experience perfect results, you won’t go back
FAQs – Fast Answers for Beginners
How do I know when my Presto deep fryer is ready?
Watch the ready light. When it switches on/off (based on your model), the oil has reached frying temperature.
How long does it take a Presto fryer to heat oil?
Most models take 10–15 minutes, depending on oil quantity and temperature setting.
What temperature should frying oil be?
Aim for 350°F–375°F (177°C–190°C) for crisp, evenly cooked food.
Can I start frying before the ready light comes on?
No. Adding food too early causes oily, soggy results.
Read more Post:
- How To Clean Presto Deep Fryer
- Is Ninja AF101 Air Fryer Toxic
- How to Use Presto Deep Fryer
- how to use hamilton beach deep fryer
- How to Clean Hamilton Beach Air Fryer
- how to use cuisinart air fryer

Hi, I’m Rob Newaz Khan. I share practical, experience-based guidance on kitchen appliances such as air fryers and coffee makers. My content is built around real home use, common user questions, and manufacturer best practices, with the goal of helping readers use their appliances safely, fix everyday issues, and make better decisions in the kitchen.