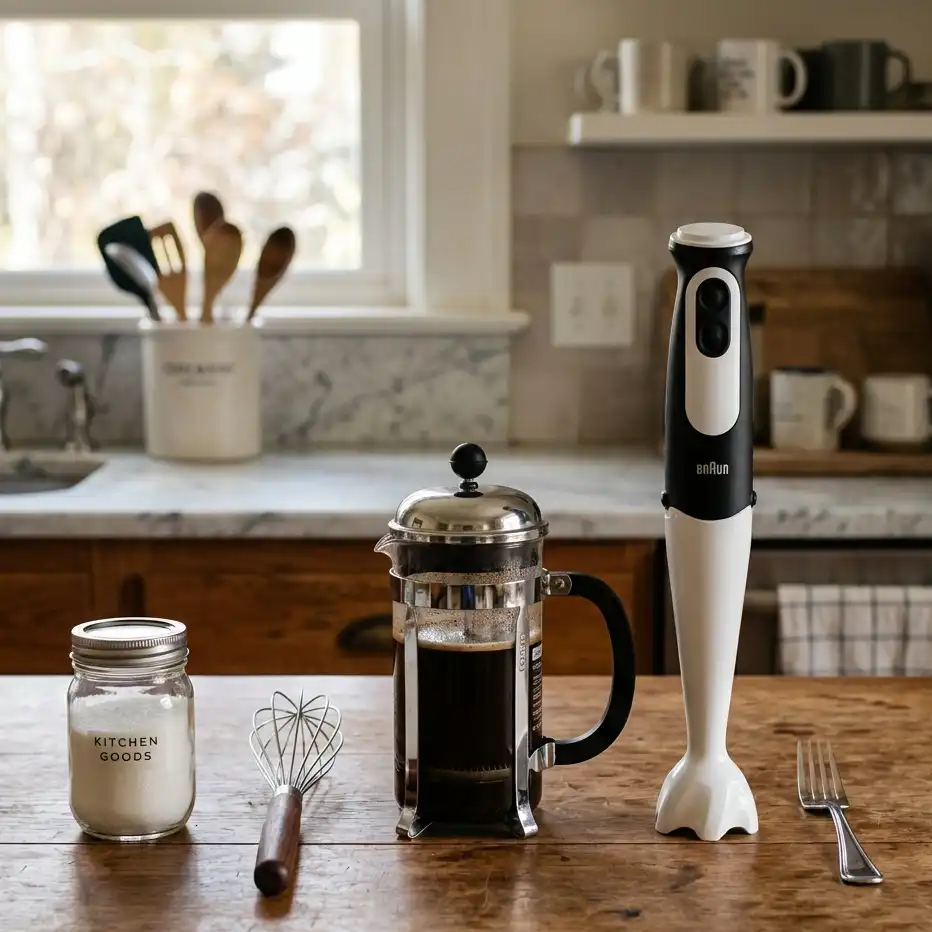
Ever wanted that creamy coffee foam but had no gadget at home? I’ve been there too, and learning How to Froth Milk Without Frother is simpler than it sounds—you just use tools like a jar or whisk to add air to warm milk. In my own kitchen, I’ve made café-style foam with basic items you’d find in most U.S. homes, and it works surprisingly well.
The simple truth is this: with the right method and warm milk, you can get smooth foam anytime—so let’s dive in and make your next cup better.
How to Froth Milk Without Frother
Frothing milk at home sounds fancy, but it is actually very simple. You can learn how to froth milk without a frother using tools already sitting in your kitchen. Warm milk plus air creates soft foam for lattes, cappuccinos, and iced coffee.
Add air to warm milk and gently heat it to lock the foam in place.
Understanding Milk Frothing Fundamentals
What Milk Frothing Actually Does
Milk frothing adds air to warm milk, creating creamy foam for coffee drinks.
Milk frothing changes texture, not flavor. Tiny air bubbles mix with milk proteins and fat. These bubbles make milk light and smooth.
Simple answer: frothing traps air inside milk to create foam.
Air builds bubbles. Heat stabilizes them. Proteins hold everything together. This basic science explains why almost any method works.
Microfoam vs Dry Foam Explained
Microfoam has very small bubbles. It looks shiny and pours like wet paint. Coffee shops use it for latte art.
Dry foam has larger bubbles. It feels fluffy and sits on top of drinks.
Quick answer: Microfoam is silky; dry foam is airy.
Why Heat and Air Matter in Milk Texture
Warm milk stretches easily. Cold milk resists foam. Most barista guides recommend 60–65°C (140–150°F) for a stable texture.
Too much heat damages milk proteins. Foam then collapses quickly.
Short answer: Warm milk holds foam better than hot milk.
How Cafés Create Foam Without Specialized Machines
Many people think expensive machines make great foam. In reality, foam comes from technique. Baristas often practice manual aeration using pitchers before touching espresso machines.
Answer: good foam depends on air control, not expensive equipment.
Choosing the Right Milk Before Frothing
Whole Milk vs Low-Fat vs Non-Dairy Performance
Whole milk tastes rich and creamy. Low-fat milk foams faster but feels lighter. Plant milk varies widely depending on protein content.
Quick answer: fat adds creaminess; protein adds stability.
Protein and Fat Content Influence on Foam Stability
Milk proteins like casein and whey surround air bubbles. This prevents foam from collapsing quickly. Dairy science research consistently confirms this behavior.
Simple answer: more protein helps foam last longer.
Best Milk Types for Latte, Cappuccino, and Cold Drinks
- Latte → whole milk or barista oat milk
- Cappuccino → low-fat milk
- Cold foam → skim milk
Answer: match milk type to the texture you want.
Many U.S. cafés now use oat milk because it balances foam stability and flavor.
Temperature Range That Produces Stable Foam
Ideal frothing temperature sits between 55–65°C (130–150°F).
Boiling milk weakens foam instantly.
Short takeaway: warm milk, never boiling milk.
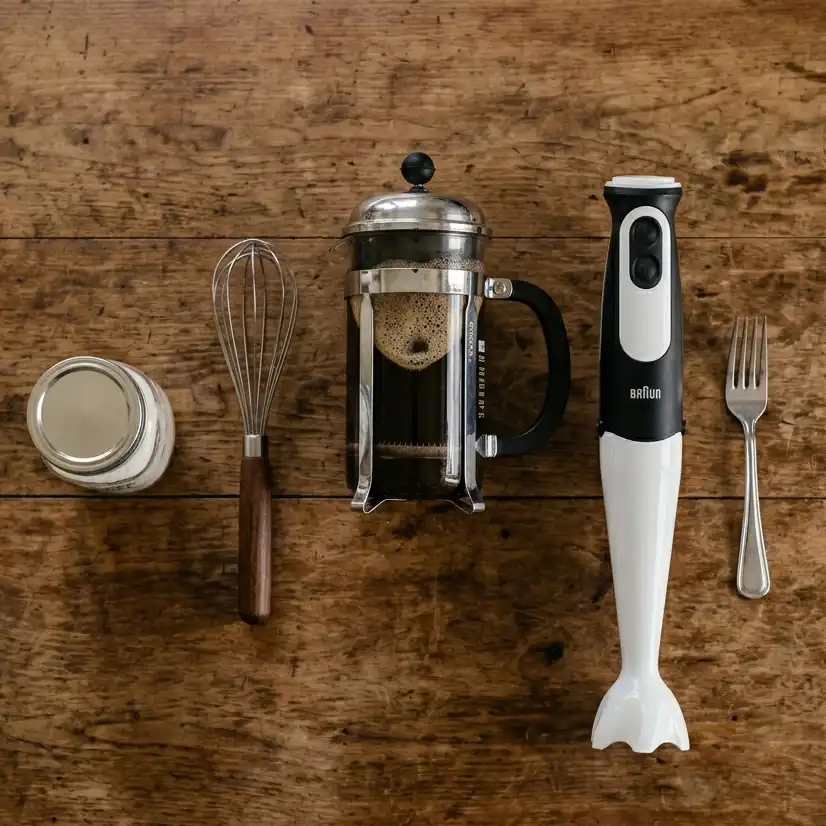
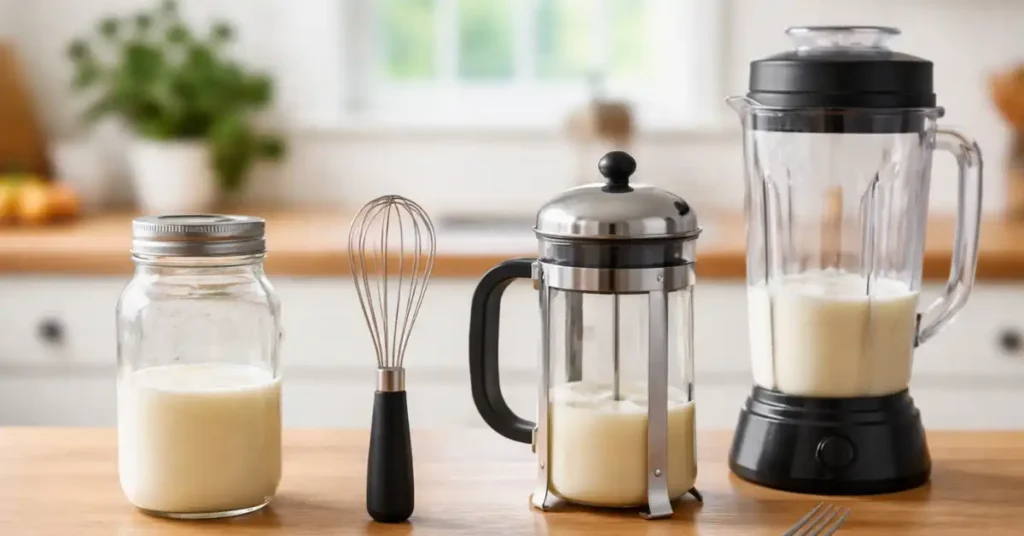
Methods to Froth Milk Without a Frother
Jar Shaking Method (Fastest Manual Technique)
Shake milk in a sealed jar for 20–30 seconds, then heat to stabilize foam.
- Fill the jar halfway.
- Shake strongly.
- Heat briefly.
Answer: shaking forces air into milk quickly.
This method works well for busy mornings.
Hand Whisk Method for Controlled Foam Texture
Heat milk in a saucepan. Whisk fast using short motions. You control foam density easily.
Quick answer: Whisking gives balanced foam with practice.
French Press Method for Café-Style Microfoam
Warm milk first. Pump the plunger up and down. The mesh screen spreads air evenly.
Answer: A French press closely imitates the espresso steam wand action.
Many home baristas in the U.S. prefer this method for lattes.
Hand Mixer or Blender Method for Dense Foam
Blend warm milk for about ten seconds. Longer blending creates stiff foam.
Short answer: Electric mixing adds air the fastest.
Fork Method When No Tools Are Available
Use a fork and stir quickly. It takes effort, but it works in emergencies.
Answer: Any fast motion can create foam.
Microwave Stabilization Technique After Frothing
Heating after aeration tightens bubbles. Foam becomes smoother and stronger.
Simple takeaway: gentle heat locks the foam structure.
Step-by-Step Process Optimization
Heating Milk Safely Without Scorching
Use medium heat. Stir often. Never let milk boil.
Answer: Slow heating protects milk flavor and structure.
How Long to Froth for Different Foam Styles
- Latte → 10–15 seconds
- Cappuccino → 20–30 seconds
- Cold foam → longer mixing
Short answer: More frothing creates thicker foam.
Controlling Bubble Size for Smooth Texture
Tap the container lightly. Swirl milk before pouring.
Answer: removing large bubbles creates café-style texture.
Preventing Large Bubbles and Foam Collapse
Avoid aggressive shaking and overheating.
Simple rule: gentle aeration builds stable foam.
Equipment Alternatives Found in Most U.S. Kitchens
Mason Jar vs Protein Shaker Comparison
Both trap air effectively. Protein shakers foam faster because of the mixing balls.
Answer: Sealed containers work best for shaking methods.
Saucepan vs Microwave Heating Differences
A saucepan gives precision. Microwave saves time.
Short answer: control vs convenience.
Blender Types and Foam Consistency Outcomes
High-speed blenders make dense foam. Hand blenders produce a softer texture.
Answer: Blade speed controls bubble size.
When Household Tools Outperform Cheap Frothers
Low-cost frothers often create uneven foam. Manual techniques can outperform them.
Insight: Skill matters more than equipment price.
Foam Texture by Coffee Style
Latte Foam Requirements
Latte foam should pour smoothly and blend into the coffee.
Answer: Latte foam looks glossy and fluid.
Cappuccino Foam Balance
Traditional cappuccinos use equal parts espresso, milk, and foam.
Short answer: Thicker foam defines cappuccino style.
Flat White Microfoam Expectations
Flat whites require extremely fine bubbles.
Answer: foam should nearly disappear into milk.
Iced Coffee and Cold Foam Adaptations
Cold milk foams best with shaking or blending.
Simple takeaway: cold foam needs stronger agitation.
Common Mistakes That Ruin Milk Foam
Overheating Milk
Boiling destroys proteins.
Answer: Too much heat ruins foam.
Using the Wrong Container Size
Containers must remain half empty.
Short answer: Space allows air expansion.
Frothing Cold Milk Incorrectly
Cold milk requires extra mixing energy.
Answer: stronger agitation fixes cold foam issues.
Pouring Technique Errors
Pour slowly while swirling.
Tip: Pouring affects texture as much as frothing.
Troubleshooting Foam Problems
Foam Disappears Quickly
Milk may be overheated or low in protein.
Answer: Stable foam needs proper temperature.
Milk Not Frothing at All
Use fresher milk or lower-fat content.
Quick fix: fresh milk froths better.
Foam Too Thick or Too Dry
Reduce frothing time.
Answer: Less air creates smoother foam.
Burnt Taste or Separation Issues
The heat was too high.
Short solution: always warm milk gently.
Safety and Handling Considerations
Avoiding Steam Burns and Spill Risks
Never heat-sealed containers.
Answer: Always remove lids before microwaving.
Microwave Heating Precautions
Heat in short bursts. Stir between intervals.
Rule: Even heating prevents overflow.
Safe Temperature Handling for Home Kitchens
If the cup feels too hot to hold, the milk is overheated.
Answer: Comfort testing helps control temperature.
Maintenance and Cleanup After Frothing
Preventing Milk Residue Buildup
Rinse tools immediately.
Short answer: Fresh cleanup prevents odor and buildup.
Cleaning Different Tools Properly
Warm water and mild soap work well.
Answer: Clean tools keep flavors fresh.
Hygiene Practices for Daily Use
Always clean before the next drink.
Simple takeaway: hygiene improves taste consistency.
Situational Use Cases
Quick Morning Coffee Routine
Jar method saves time.
Answer: The fastest foam needs minimal setup.
Travel or Dorm Room Setup
A jar or shaker works anywhere.
Short answer: Manual frothing is portable.
Office Coffee Without Equipment
A microwave and a spoon are enough.
Answer: Basic tools still make good foam.
Camping or Minimal Kitchen Environments
Heat milk over a flame and shake safely.
Insight: foam is possible almost anywhere.
When Manual Frothing May Not Be Enough
High-Volume Coffee Preparation Limits
Manual frothing slows large batches.
Answer: best for single drinks.
Texture Expectations for Advanced Latte Art
Professional latte art needs precise microfoam.
Short answer: Steam wands provide consistency.
Signs You May Benefit from a Dedicated Frother
Daily heavy use may justify buying one.
Answer: frequency determines equipment needs.
Performance Factors: How to Froth Milk Without Frother
Manual methods perform well when temperature and technique stay consistent.
| Method | Foam Density | Stability | Consistency |
|---|---|---|---|
| Jar | Medium | Good | Medium |
| French Press | High | Very Good | High |
| Whisk | Medium | Medium | Medium |
| Blender | High | Good | High |
| Fork | Low | Low | Low |
Ratings
- Jar — 7/10
- French Press — 9/10
- Whisk — 7/10
- Blender — 8/10
- Fork — 5/10
Ease of Use: How to Froth Milk Without Frother
Manual methods remain beginner-friendly.
| Method | Learning Curve | Time | Cleanup |
|---|---|---|---|
| Jar | Very Easy | Fast | Easy |
| French Press | Easy | Fast | Medium |
| Whisk | Medium | Medium | Easy |
| Blender | Easy | Very Fast | Medium |
| Fork | Very Easy | Slow | Easy |
Ratings
- Jar — 9/10
- French Press — 8/10
- Whisk — 7/10
- Blender — 8/10
- Fork — 6/10
Value for Money: How to Froth Milk Without Frother
Manual frothing saves money while delivering strong results.
| Method | Cost | Durability | Value |
|---|---|---|---|
| Jar | Free | High | Excellent |
| French Press | Medium | High | Excellent |
| Whisk | Low | High | Very Good |
| Blender | Medium | High | Very Good |
| Fork | Free | High | Good |
Ratings
- Jar — 10/10
- French Press — 9/10
- Whisk — 9/10
- Blender — 8/10
- Fork — 7/10
Overall Practical Results: How to Froth Milk Without Frother
Manual techniques can reach near café quality with good technique.
| Method | Quality | Reliability | Best Use |
|---|---|---|---|
| Jar | Good | High | Daily Coffee |
| French Press | Excellent | Very High | Lattes |
| Whisk | Good | Medium | Small Drinks |
| Blender | Very Good | High | Multiple Cups |
| Fork | Basic | Low | Emergency |
Ratings
- Jar — 8/10
- French Press — 9.5/10
- Whisk — 7/10
- Blender — 8.5/10
- Fork — 5/10
Practical Takeaways for Consistent Results
Method Selection:
Use a jar for speed, a French press for quality, and a blender for volume.
Milk Strategy:
Choose higher-protein milk for stable foam.
Repeatable Routine:
Warm milk → add air → stabilize with heat → swirl before pouring.
Final answer: learning how to froth milk without a frother depends on temperature control, air incorporation, and consistent technique—not expensive tools.
FAQs
What is the easiest way to froth milk without a frother?
The jar method is the easiest way. Shake warm milk in a sealed jar, then heat it. It creates quick foam with no tools, making it perfect for beginners at home.
Can you froth milk without a frother using cold milk?
Yes, but it is harder. Cold milk can foam with shaking or blending, but the bubbles don’t last long. Warm milk works better for stable foam and a smooth texture.
How long does it take to froth milk without a frother?
It usually takes 20–40 seconds. Shaking or whisking adds air fast. Heating takes another 20 seconds. The full process is quick and easy for daily coffee.
Which milk works best for frothing milk without a frother?
Whole milk works best for creamy foam. Low-fat milk makes more bubbles but feels lighter. Oat milk is a good non-dairy choice for easy and stable foam.
Why is my milk not frothing without a frother?
Milk may be too hot or too old. It could also lack protein. Use fresh milk and keep it warm, not boiling. Proper temperature helps foam form and stay longer.