The first time I learned how to clean Presto deep fryer, I expected grease everywhere and a long cleanup. To my surprise, it was much easier than I thought. And the payoff was huge—better-tasting food, less odor, and a fryer that worked like new.Over the years, I’ve cleaned several models, from the Presto ProFry to the Cool Daddy and Fry Daddy. I’ve tested quick cleans, deep cleans, baking soda, vinegar, and even made a few mistakes along the way. In this guide, I’ll show you exactly how to clean a Presto deep fryer at home, step by step, using simple tools and safe methods that actually work.
How Do You Clean a Presto Deep Fryer?
To clean a Presto deep fryer, let the oil cool, drain and strain it, wash removable parts with warm soapy water, wipe the heating element carefully, and deep clean with baking soda or vinegar when needed.
Why Cleaning Your Presto Deep Fryer Matters
I clean my fryer for four simple reasons: taste, safety, lifespan, and savings.
- Better taste – Old oil traps old flavors. Clean oil means fresh-tasting food.
- Longer fryer life – Grease buildup damages parts over time.
- Safer cooking – Excess grease increases fire risk.
- Save money – Clean oil lasts longer and can be reused safely.
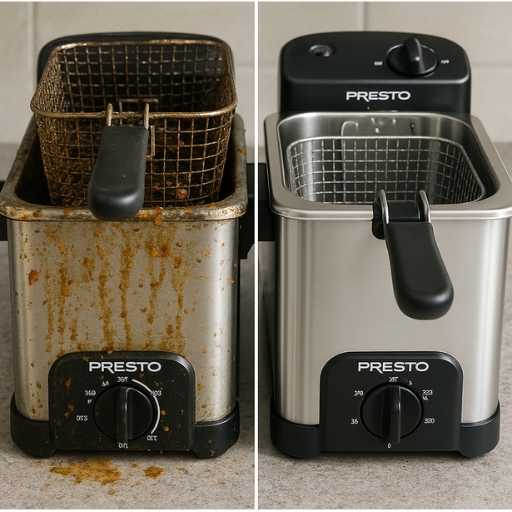
A clean Presto deep fryer doesn’t just look better—it performs better.
How to Clean a Presto Deep Fryer (Basic Cleaning Steps)
No matter which Presto model you own, these steps work almost every time.
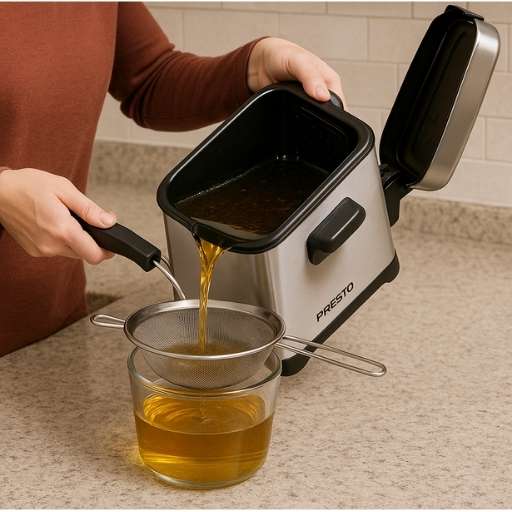
Step 1: Let the Oil Cool and Drain It
Unplug the fryer at all times, and allow the oil to cool fully. After cooling, transfer the oil into a clean, airtight container using cheesecloth or a fine mesh sieve.
👉 Tip: Straining oil removes crumbs that cause bad smells and faster spoilage.
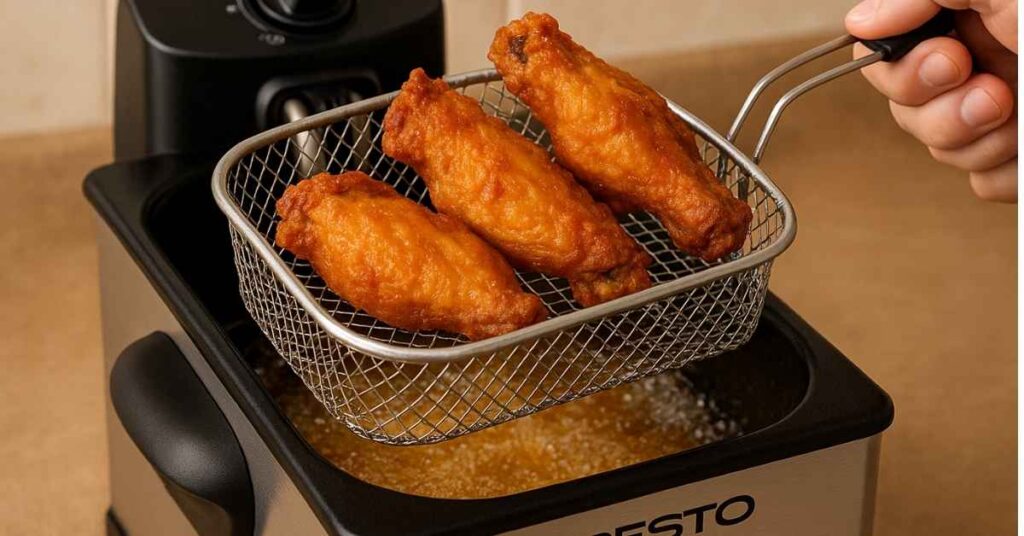
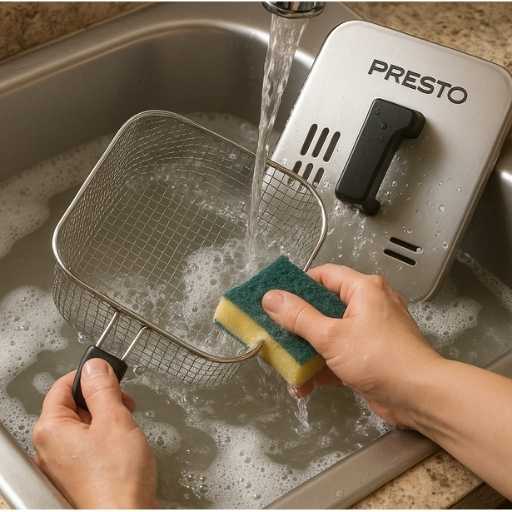
Step 2: Wash the Basket and Lid
These parts collect the most grease.
- Wash with warm water and dish soap
- Use a soft sponge
- Many Presto baskets and lids are dishwasher-safe (check your manual)
For stuck grease, a light baking soda paste works well.
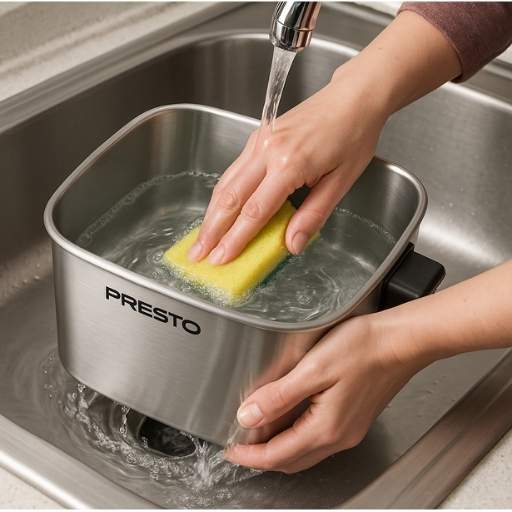
Step 3: Clean the Fryer Pot or Bowl
If your model has a pot that can be taken off, wash it with warm, soapy water and rinse it thoroughly.
- Avoid steel wool or harsh scrubbers
- Dry completely before reassembly
Scratches make future cleaning harder.
Step 4: Wipe the Heating Element and Control Unit
This step needs care.
- Never submerge the control unit
- Wipe gently with a damp cloth
- Dry fully before plugging back in
Think of it like cleaning a phone charger—wipe, don’t soak.
Step 5: Clean the Exterior
A damp cloth is usually enough. For greasy spots, use a drop of dish soap or baking soda paste.
This final step makes the fryer look clean and new again.
Deep Cleaning a Presto Deep Fryer (Weekly or Heavy Use)
If you fry often, a deeper clean once a week keeps odors and grease from building up.
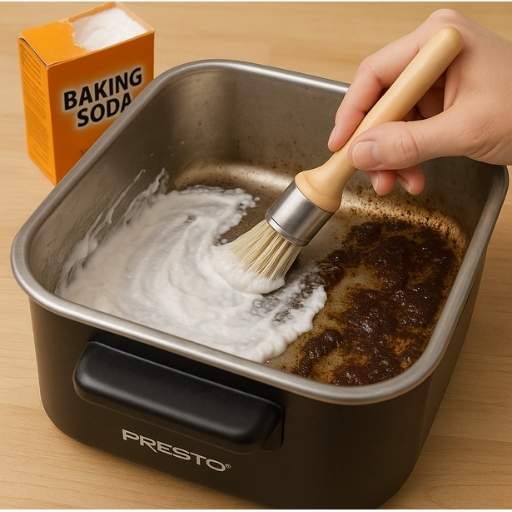
How to Clean a Presto Deep Fryer with Baking Soda
When soap isn’t enough, baking soda saves the day.
What I do:
- Baking soda and water produce a paste.
- Spread it on greasy areas
- Let sit for 5–10 minutes
- Scrub gently with a soft brush
- Rinse and dry
✔ Safe
✔ No scratches
✔ Cuts heavy grease fast
How to Clean a Presto Deep Fryer with Vinegar
If your fryer smells like old oil, vinegar works wonders.
My vinegar method:
- Fill the pot with water
- Add 1 cup white vinegar
- Simmer gently for 10–15 minutes
- Cool, drain, rinse, and dry
This removes stubborn odors trapped in the metal.
Model-Specific Cleaning Guides
Different Presto fryers need slightly different care.
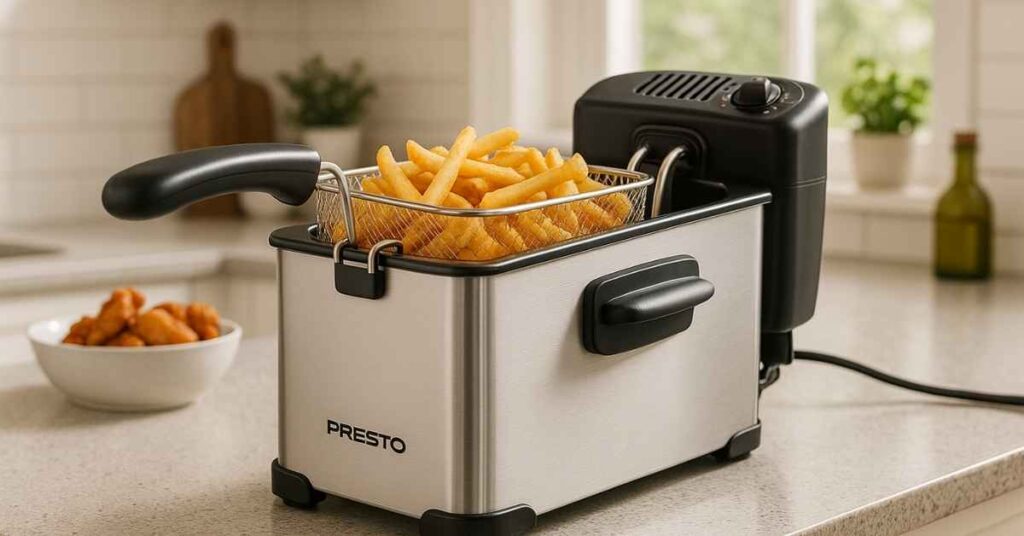
How to Clean Presto ProFry Deep Fryer
- Remove and wash the large pot
- Basket and lid are often dishwasher-safe
- Dry everything fully before adding oil
Best practice: wash after every few uses.
How to Clean Presto Cool Daddy Deep Fryer
- Wash basket and lid as usual
- Check the odor filter:
- Replace disposable filters
- Rinse washable filters and air-dry
- Replace disposable filters
- Wipe inside the lid where grease builds up
Clean filters = fewer kitchen smells.
How to Clean a Presto Fry Daddy
This model has no removable pot.
- Let oil cool and pour out slowly
- Wipe inside with a soapy cloth
- Never immerse the unit in water
It takes patience, but regular cleaning keeps it easy.
How to Clean Presto Deep Fryer Filter
- Disposable charcoal filters → replace
- Washable filters → rinse and dry fully
A clean filter helps reduce oil odor and smoke.
My Personal Tips That Make Cleaning Easier
How I Store Oil After Straining
I always strain cooled oil into a glass jar with a lid. This removes crumbs and keeps oil usable longer.
My Favorite Cleaning Hack
A warm vinegar-water simmer loosens grease and removes smells better than soap alone.
A Mistake I Made (So You Don’t)
I once used steel wool on my Fry Daddy. It scratched the surface and made grease stick worse later.❌ Never use steel wool
✔ Use soft sponges or brushes
Final Thoughts
Cleaning a Presto deep fryer is easier than most people think. The key is to build a habit. Drain and strain the oil, wash the basket and lid, wipe the heater, and give the outside a quick clean. That’s it—simple steps that keep food fresh, the fryer safe, and oil lasting longer.
The truth is, the more often you clean, the faster it gets. Skip it a few times and grease builds up, making the job harder. But if you clean after each use, it takes only minutes. A light clean after frying and a deeper scrub each week is the best routine.
Everyone finds their own tricks. I like simmering vinegar water to kill smells, but some people swear by baking soda or cheesecloth for straining oil. What about you? Share your best Presto fryer cleaning hack in the comments—I’d love to learn from your tips.
visit official website
FAQs on How to Clean a Presto Deep Fryer
Can I put Presto fryer parts in the dishwasher?
Yes, most baskets, lids, and pots are dishwasher-safe (check your model).
What’s the best way to get rid of old oil smell?
Boil water with vinegar for 15 minutes, then rinse.
Can I reuse oil in my Presto fryer?
Yes, if strained and stored properly—discard when it smells or looks bad.
How do I clean the heating element safely?
Unplug, let cool, and wipe gently with a damp cloth—never immerse in water.
Read related Post:
- Ninja SP351 Review
- presto 05420 frydaddy electric deep fryer review
- Ninja SP151 Review
- How Much Oil For Presto Deep Fryer
- How To Clean Presto Deep Fryer
- Ninja AF101 Air Fryer Toxic
- How to Use Presto Deep Fryer
- How to Clean Hamilton Beach Air Fryer
- is the cuisinart air fryer toxic
- how to clean gowise air fryer

Hi, I’m Rob Newaz Khan. I share practical, experience-based guidance on kitchen appliances such as air fryers and coffee makers. My content is built around real home use, common user questions, and manufacturer best practices, with the goal of helping readers use their appliances safely, fix everyday issues, and make better decisions in the kitchen.